- Joined
- Jun 17, 2021
- Messages
- 3,202
- Points
- 588

Wow! I just re-discovered this log. Very impressive! I hope you'll have me along for the ride.
Pete
Pete
 |
As a way to introduce our brass coins to the community, we will raffle off a free coin during the month of August. Follow link ABOVE for instructions for entering. |
 |
 |
The beloved Ships in Scale Magazine is back and charting a new course for 2026! Discover new skills, new techniques, and new inspirations in every issue. NOTE THAT OUR FIRST ISSUE WILL BE JAN/FEB 2026 |
 |

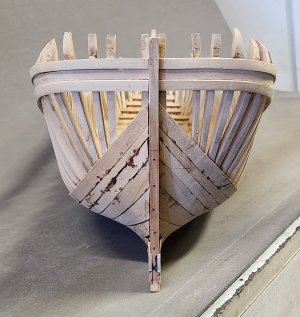
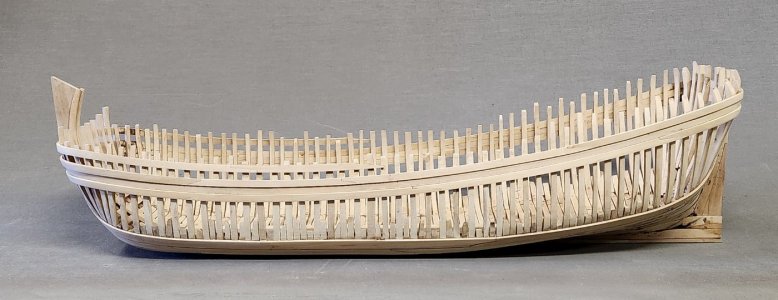
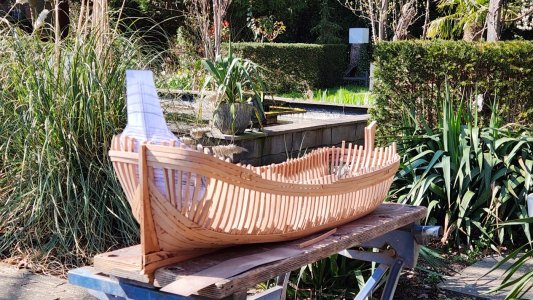
It is always interesting to watch your work. There is something unusual and very interesting in it. Recreating such a vessel is not just work with a set but a real historical event))The sun was shining today so some corse sanding of the inside of the hull.
For this I use the Proxxon angled grinder with a sanding disc.
Works perfectly and fast.
View attachment 504201
View attachment 504202
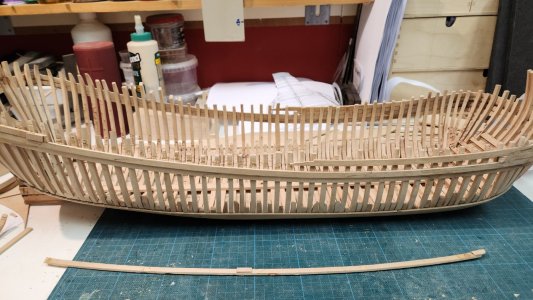
The high speed gives some discoloration which can be easily sanded away afterwards.
View attachment 504203
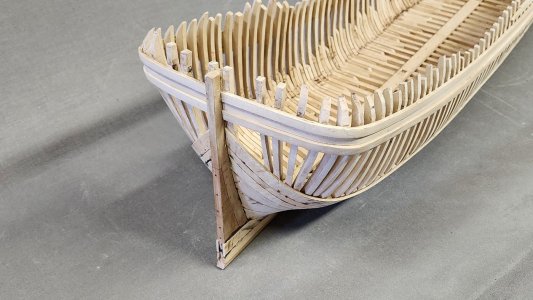
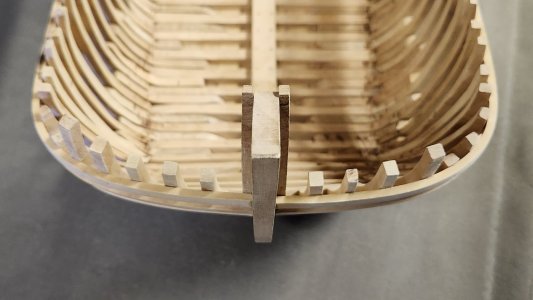
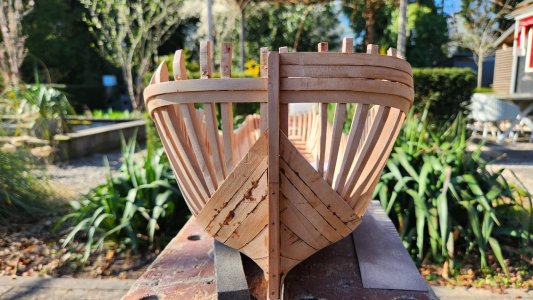
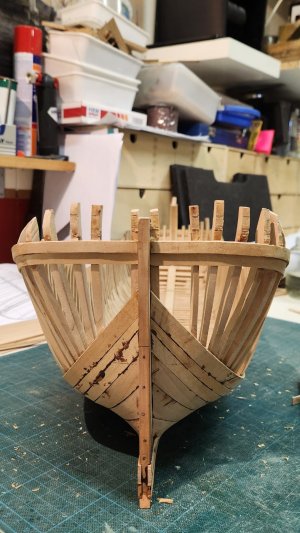
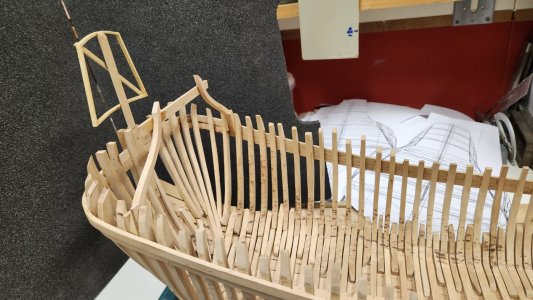
The last oplangen in the stern are fitted.
Above the short ones on both sides of the sternpost the loading doors will be cut afterwards.
View attachment 504204
After this I will fit the top wale above the scheerstrook.
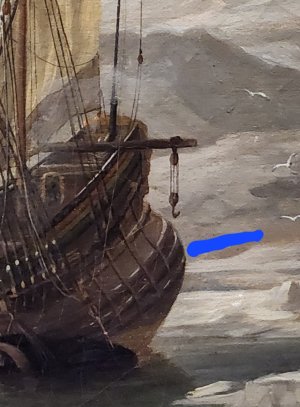
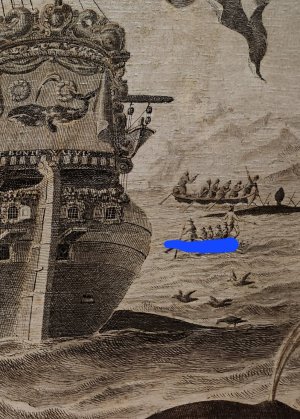



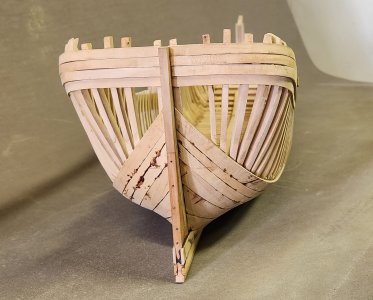
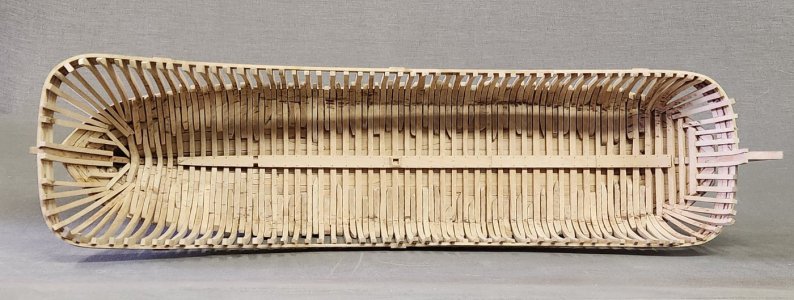
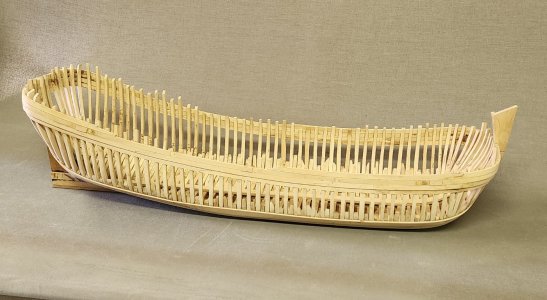


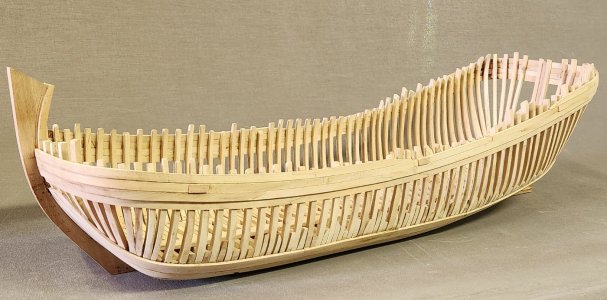
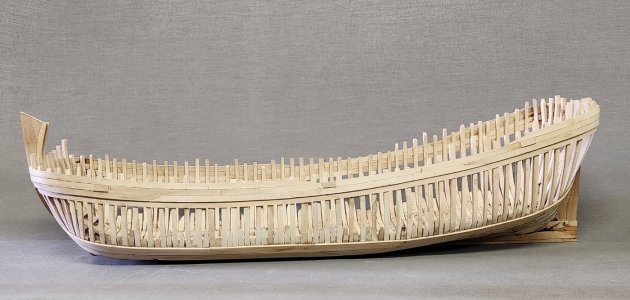


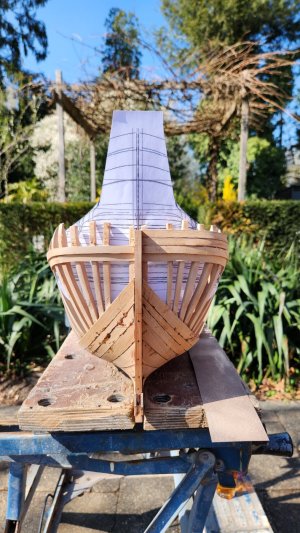
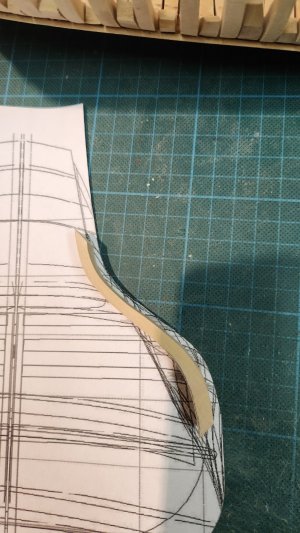

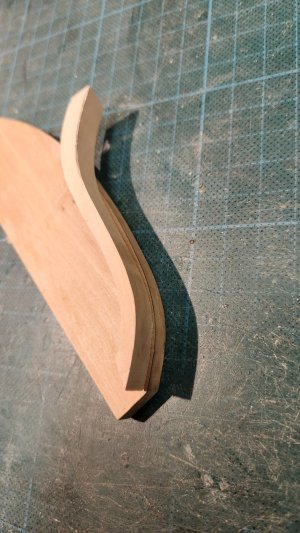

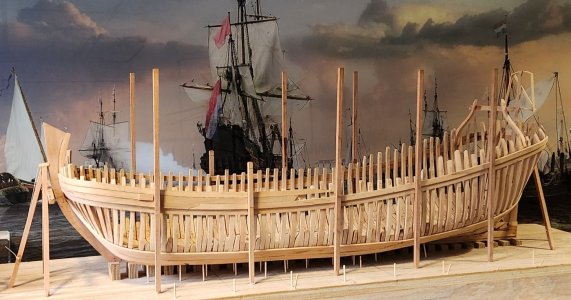
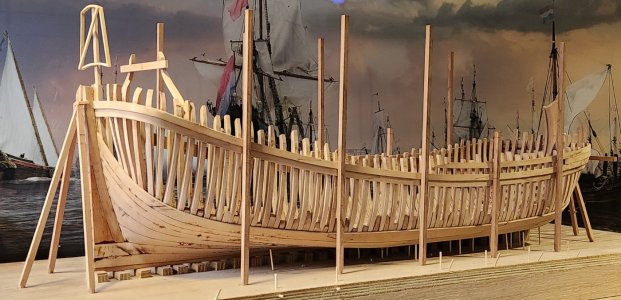
A paper mold is always a great help by aligning, Maarten. Nice to see how the lines of the stern got there shape.Dismantling on the stern has started.
The stern top wale on the PS is removed. I have printed the sternview of my Delftship model and fitted inside to give you an idea of the approximate shape.
View attachment 512986
View attachment 512987
The sanding starts, beautiful weather so working in the garden. The PS side is roughly shaped.
View attachment 512988
On to the SB side, removing the stern top wale and the scheerstrook.
View attachment 512989
You can now clearly see the difference between the PS and SB side.
View attachment 512990
To determine the shape I decided to place some of the top timbers.
Again my delftship drawing came in helpfull.
View attachment 512993
The outward and inward radius of the stern top timber is the same as the radius of the center frame bilge. If I compare it to my centre frame template.
View attachment 512991
View attachment 512992
Additionally I made the a set up of the stern frame to create the shape of the upper hull with "cent latten" strakes in a later stage of the build.
View attachment 512994
View attachment 512995
View attachment 512996
These parts I remove again as I will first fit the lower wales and then start working on the ceiling planks. These are now still easily accesible and will be far mote difficult when the toptimber are fitted.
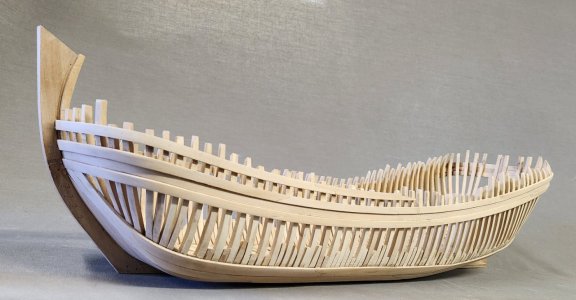
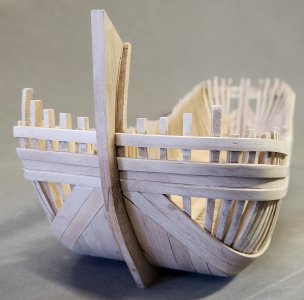
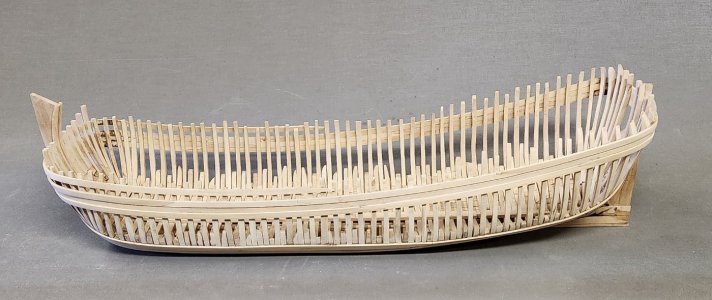
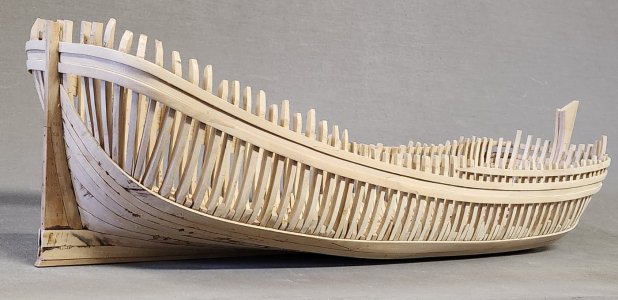
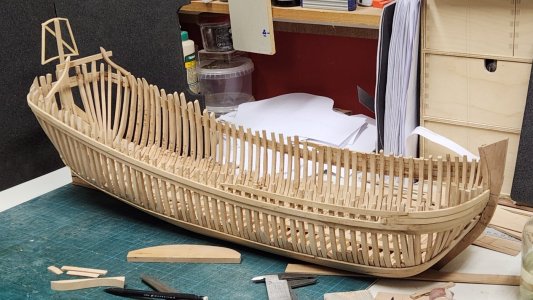
Some last pictures of the beautiful fluyt shape.
View attachment 512997
View attachment 512998
Next time the lower wale.


Wow, that's the level! Glad to see that work is underway, I am waiting for new updates!Dismantling on the stern has started.
The stern top wale on the PS is removed. I have printed the sternview of my Delftship model and fitted inside to give you an idea of the approximate shape.
View attachment 512986
View attachment 512987
The sanding starts, beautiful weather so working in the garden. The PS side is roughly shaped.
View attachment 512988
On to the SB side, removing the stern top wale and the scheerstrook.
View attachment 512989
You can now clearly see the difference between the PS and SB side.
View attachment 512990
To determine the shape I decided to place some of the top timbers.
Again my delftship drawing came in helpfull.
View attachment 512993
The outward and inward radius of the stern top timber is the same as the radius of the center frame bilge. If I compare it to my centre frame template.
View attachment 512991
View attachment 512992
Additionally I made the a set up of the stern frame to create the shape of the upper hull with "cent latten" strakes in a later stage of the build.
View attachment 512994
View attachment 512995
View attachment 512996
These parts I remove again as I will first fit the lower wales and then start working on the ceiling planks. These are now still easily accesible and will be far mote difficult when the toptimber are fitted.
Some last pictures of the beautiful fluyt shape.
View attachment 512997
View attachment 512998
Next time the lower wale.
Thx to you all for comments and likes.Admirable work!
I'm a little surprised that the rear wood pieces below the scheerstrook aren't more convex. I wouldn't have expected that.
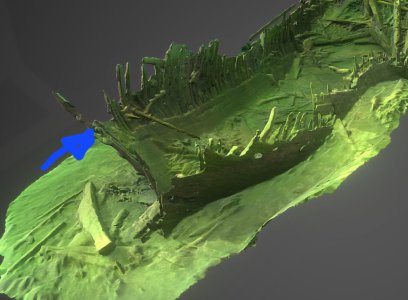
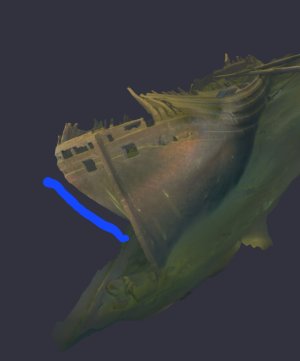

Wow Maarten. I can just watch and marvel. Cheers GrantDismantling on the stern has started.
The stern top wale on the PS is removed. I have printed the sternview of my Delftship model and fitted inside to give you an idea of the approximate shape.
View attachment 512986
View attachment 512987
The sanding starts, beautiful weather so working in the garden. The PS side is roughly shaped.
View attachment 512988
On to the SB side, removing the stern top wale and the scheerstrook.
View attachment 512989
You can now clearly see the difference between the PS and SB side.
View attachment 512990
To determine the shape I decided to place some of the top timbers.
Again my delftship drawing came in helpfull.
View attachment 512993
The outward and inward radius of the stern top timber is the same as the radius of the center frame bilge. If I compare it to my centre frame template.
View attachment 512991
View attachment 512992
Additionally I made the a set up of the stern frame to create the shape of the upper hull with "cent latten" strakes in a later stage of the build.
View attachment 512994
View attachment 512995
View attachment 512996
These parts I remove again as I will first fit the lower wales and then start working on the ceiling planks. These are now still easily accesible and will be far mote difficult when the toptimber are fitted.
Some last pictures of the beautiful fluyt shape.
View attachment 512997
View attachment 512998
Next time the lower wale.
The Grant, same for your new Enterprise build.Wow Maarten. I can just watch and marvel. Cheers Grant
