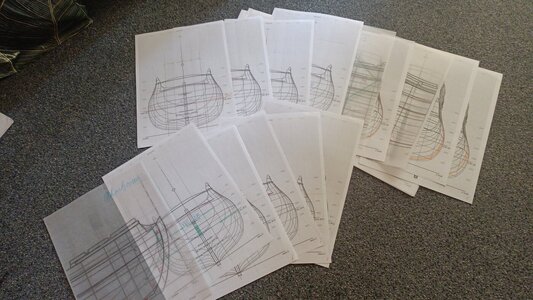
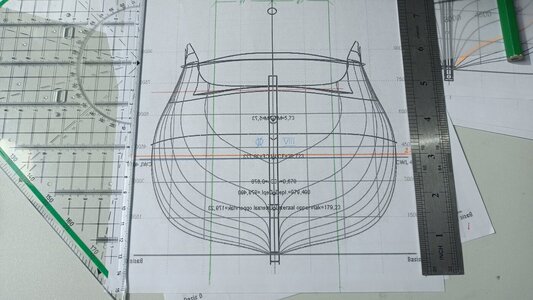
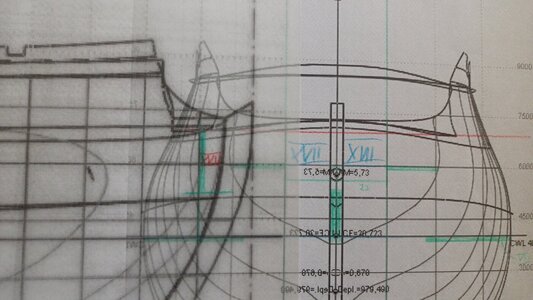
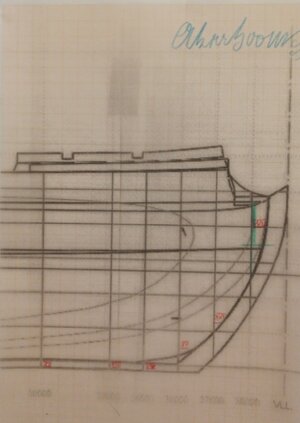
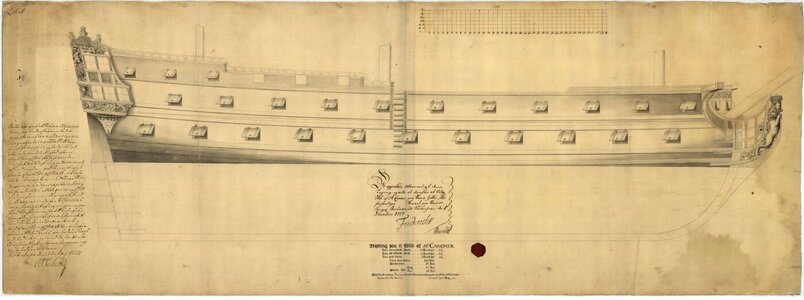
AKERBOOM 1681 after Ab Hoving nominally 1/66 but drawings in 1/64

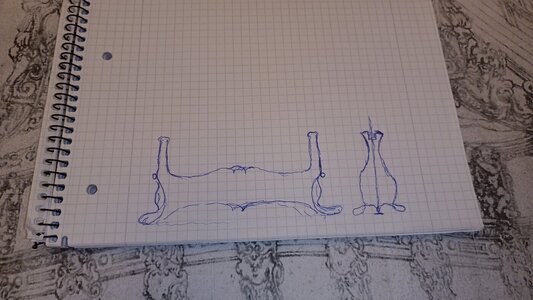
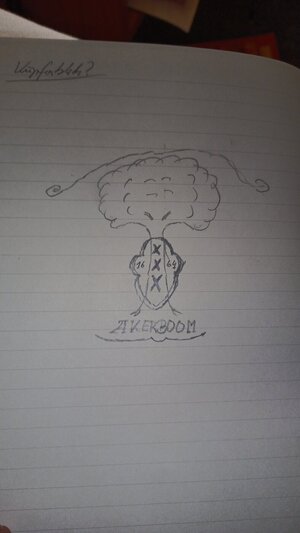
As I do think on the stand I do dream of a silversmith's work's imitation and tryed to catch the style of the period in the names plate starting my AKERBOOM's sketch book:
IMG_20240321_202932_396.jpg
...there is a very long rocky road to go but I thought to catch the short creative momentum in this rough doodling.

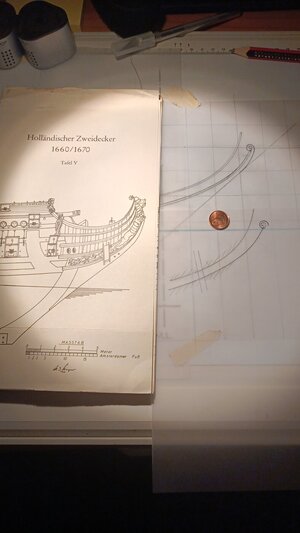
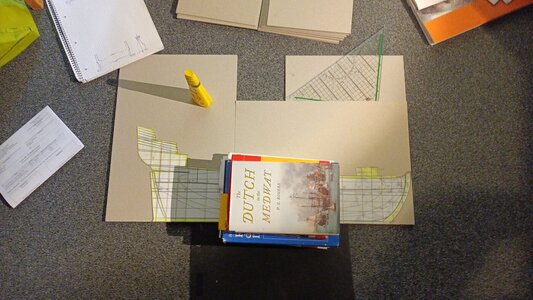
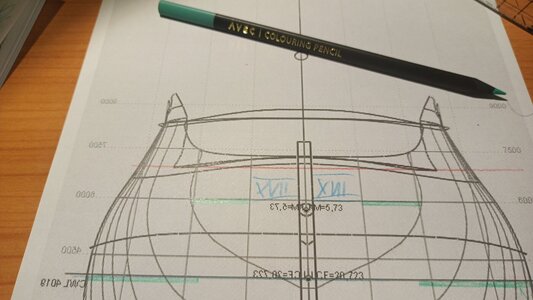
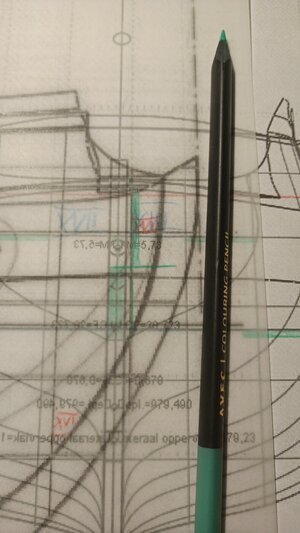
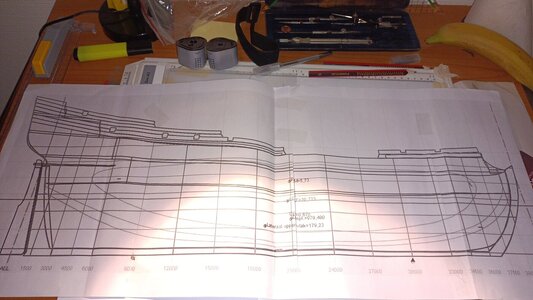
Then I hurried over to the desk and tried put two points to fix the technical stand:
IMG_20240321_201222_594.jpg
And being teach that it is allowed to be lasy I choose bulkhead V and it's sister XII to keep the hull upright.

The decoration should be coloured like silver later on and added to the stand. So I have to try on chrome effect can spray colour and to Citardel Nurin Oil + Sepia Ink as oxydation imitation and warming up the hole Pseudopolis' silver.

Hope you do like it - I am not very satisfied about the results - but a small step foreward is better than the next model davistated by pure aggression about the ugly result and my frustration due to my overperfectionism. And I was able to catch some imaginations of ideas before they are forgotten again.
IMG_20240321_203617_657.jpg
 
As I do think on the stand I do dream of a silversmith's work's imitation and tryed to catch the style of the period in the names plate starting my AKERBOOM's sketch book:
View attachment 436553
...there is a very long rocky road to go but I thought to catch the short creative momentum in this rough doodling compared to the WvdV:
Screenshot_2024-02-17-12-25-45-817-edit_com.miui.gallery.jpg

Real progress is on the gallion very little in today:
IMG_20240321_200503_579.jpg
copying the gallion to try some patterns for the bent broken Board.
And defenition of the stand's restingepoints:

IMG_20240321_201222_594.jpg
The small threeangles at bulkhead V and XII.
 
Hello my dear friends, welcome to some highly motivating real/physical progress:

IMG_20240322_155511_351.jpg
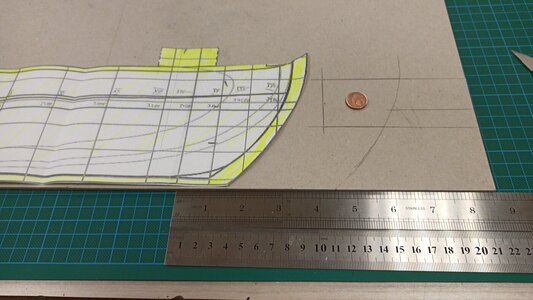
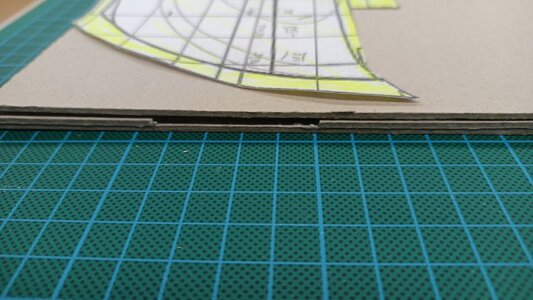
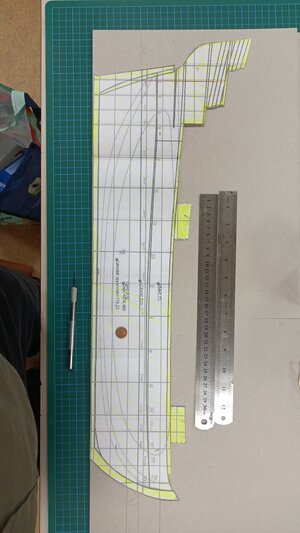
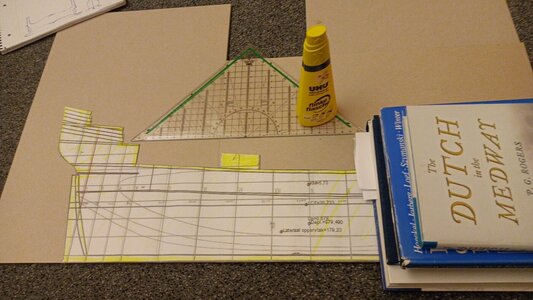
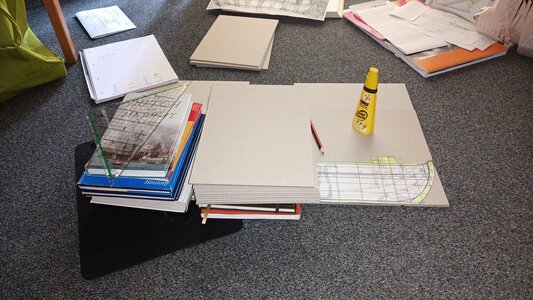
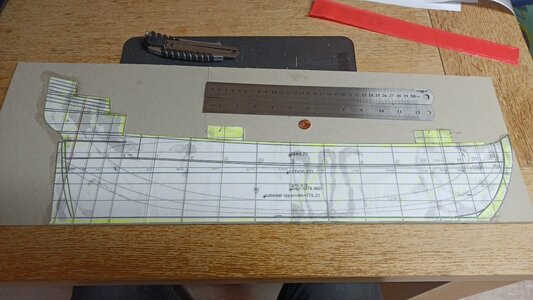
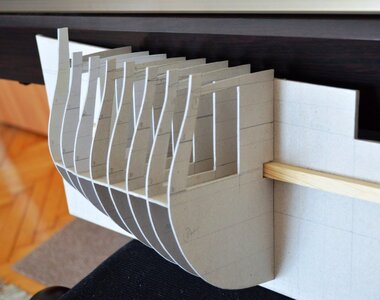
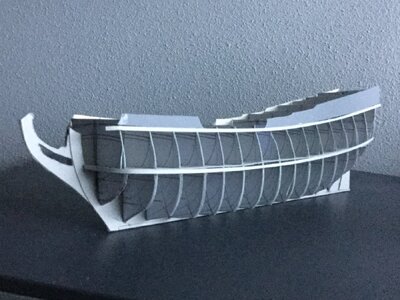
Three layers of two millimeters cardboard were glued together, so the "backbone" of AKERBOOM is straight and stiff. Up there you see my decission to keep the centerboard only as high as the Verdeck - adding two stanchions (yellow) above to support the decks above - they May be removed later. And to the aft you do see the pile of enclosed "Deck Houses" to stabilize the high structure there not only by a few bulkheads. This may be an overprotecting solution - but on the other hand I do not risk any scenario of horror of a fully detailled but sadly crashed transom due to a crumbling structure of inadequant cardboard.

As today I was in the creative therapy group and by this was able to use the big cutting matt and a big amount of good wood glue. Due to this I started designing a slot to fix the gallion into:
IMG_20240322_155413_263.jpg
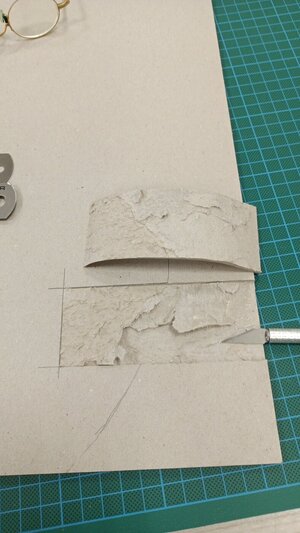
And so I glued together the first two layers of cardboard:
IMG_20240322_155703_502.jpg
To cut out the groove by scalpell - a tiny bit cleverer modelbuilders than me would had done the cutting job before glueing the sheets of cardboard...:rolleyes:
IMG_20240322_161014_618.jpg
But I did get what I wanted to archive: a slot to rest in the gallion save:
IMG_20240322_131635_391.jpg
Very simple mathe - 30mms above 15mms below the CWL.

Here for the friends of solid backbones the hole solution:
IMG_20240322_155539_115.jpg
And I do think my AKERBOOM is not only a little bit bigger than Ab's model.

Edit:
IMG_20240322_193346_872.jpg
Tonight the drawing will be glued onto the center board step by step - so I can deal with the grooves for the 3mm thick bulkheads (Made from the 1800g cardboardthat arrived today) and I have some Work to do over the weekend.

Now I am planing the stand here a first doodling:
IMG_20240322_191907_806.jpg
 
Last edited:
Hi Chris,

I found your log today and was really surprised, to see your new project and that you are building with paper. I wish you a lot of fun and success.
 
Hi Chris,

I found your log today and was really surprised, to see your new project and that you are building with paper. I wish you a lot of fun and success.
Thank you very much Christian! The progress is slow but the small steps do go into the right direction. It is totally obviouse that I do not have any chance to compare to Ab's AKERBOOM in 1/77 but I'll try my best to get my skills to produce something not too much shocking.
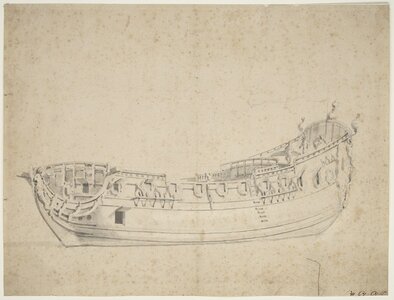
Otherwise I could change the ship's name to "Flying Dutchman". It is Just a question of paint as Richard Wagner tells us in the opera:
"Bloodred the sails
Back the mast."
here the recent Leipzig opera's DfH with it's impressing ship:
hollaender_schiff.jpg

Thanks for joining in here hoping you do have fun with your interpretation of TRITON.
 
Chris, you're off to a great start. All small steps count towards the finished model. Don't over-burden yourself with the minutia. Consider that the building up of a model like this is a perpetual layering of detail. You can skip this layer or that, if you feel it is too much effort for too little reward. The main thing is to just enjoy the process.
 
Chris, you're off to a great start. All small steps count towards the finished model. Don't over-burden yourself with the minutia. Consider that the building up of a model like this is a perpetual layering of detail. You can skip this layer or that, if you feel it is too much effort for too little reward. The main thing is to just enjoy the process.
Thank You very much Marc for this very friendly helpfull hand - that is very kind of you. I try to watch on it as building an onion - laying skin onto skin, little on little. Nobody heerds me towards a finish line - only my inner criticism! And when in progress I should be more gentle to me. Not to bining my started model by fist.

I rechently do deal with some questions:
IMG_20240325_201154_941.jpg
Using the uppest deck of full length - "Verdeck" as Ab does it and adding the CWL does give the hull enough horizontal stability - hopefully.
Hopefully - as the two layers are quite close to each other:
IMG_20240325_201209_279.jpg
I am very innheavy duty with my question as my "big fat Dutch gial" is even without gallion over two feet long.

IMG_20240325_202408_615.jpg
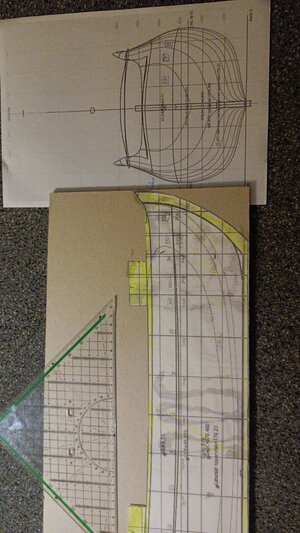
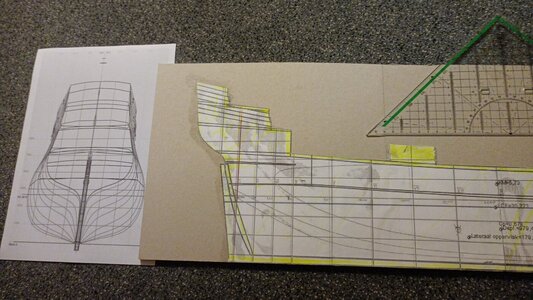
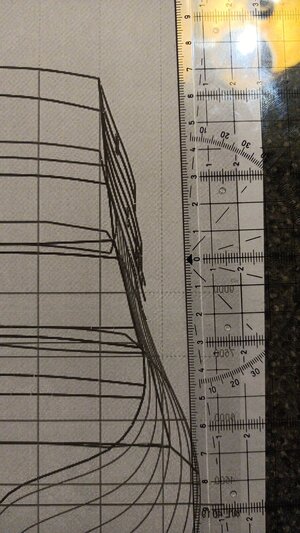
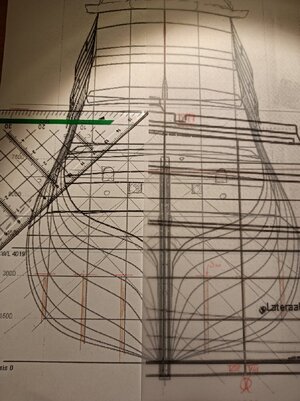
The next troublemaker is my eye unable to seperate the hull's lines from the grey to get a smooth curved surface onto the hull with rightly cut out bulkheads. Does anybody has any advice how to deal with this?

IMG_20240325_201209_279.jpg
 
Last edited:
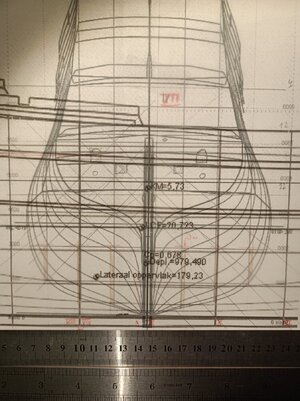
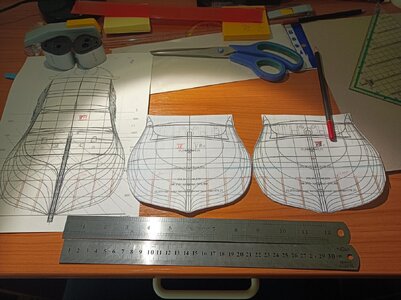
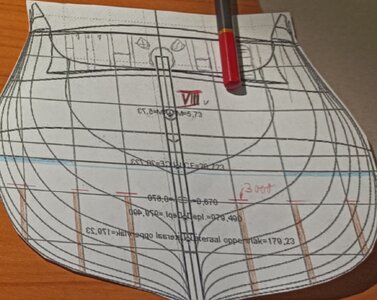
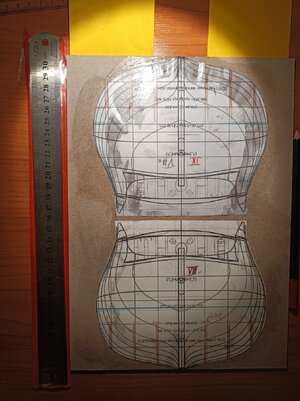
At the time for each bulkhead I made a separate copy of the lines plan and cut out the form of each bulkhead with scissors. This gives you the added advantage that you can emphasize the line per bulkhead before you cut it out.
 
At the time for each bulkhead I made a separate copy of the lines plan and cut out the form of each bulkhead with scissors. This gives you the added advantage that you can emphasize the line per bulkhead before you cut it out.
Thanks Herman,
I will try to do my very best. So I started with the most complex bulkhead N° XVII the foremost and smallest bulkhead at all:
IMG_20240326_101002_348.jpg
Than I addedt the horizontal slots half the deeps of WL 6000mms
IMG_20240326_101748_815.jpg
after this I marked the lining for the centerboard for logical fitting:
IMG_20240326_102238_999.jpg


tbc
 
At the time for each bulkhead I made a separate copy of the lines plan and cut out the form of each bulkhead with scissors. This gives you the added advantage that you can emphasize the line per bulkhead before you cut it out.
Hello Hermann I started with the drawings of the slots covardly in the easier part of the hull the bow side:

IMG_20240326_133945_727.jpg

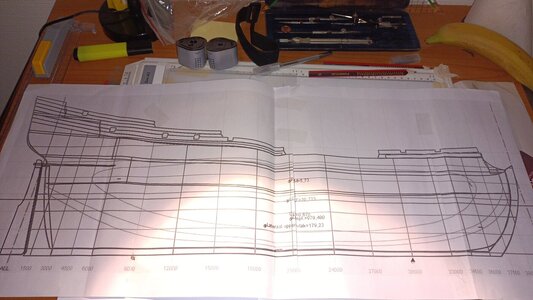
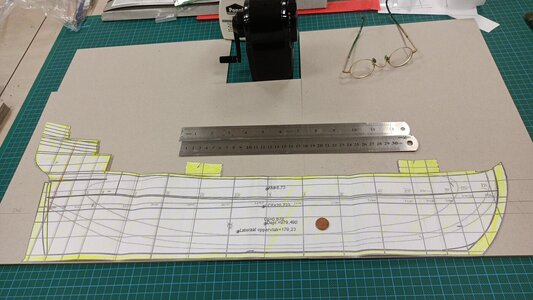
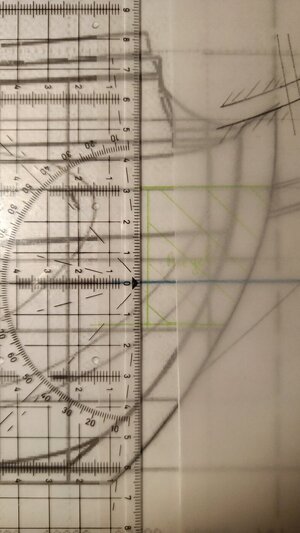
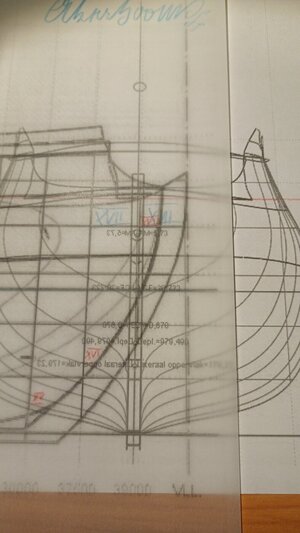
And to make shure do produce less silly nonsense out of my mind: All the bulkheads are checked by the frostpaper copy of the centerboard.

IMG_20240326_130228_104.jpg
So here for the last bow sided bulkhead N°VIII I decided to draw the very first horizontal layer 2mm above the CWL making use of the CWL as an uninterupted line.
The first and foremost bulkhead is nearly out of the CWL horizontal layer so I have to invent something different - Not very clever but hopefully it will work:
IMG_20240326_135409_218.jpg

And I do need to deal with the breakhead.

But here is no enclosing bulkhead of the back in the technical drawings of the back deck's structure of good young Ab towards the stern:
Polish_20240326_140139940.jpg

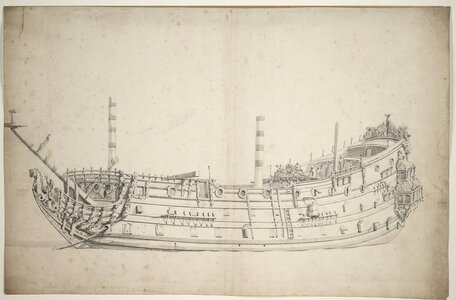
Irritatingly in the often discussed artist drawing of good old William (here due to better visibility from the sisterships GIDEON 1664) there is a bulkhead below (in my interpretation) the handrails of the backdeck:
Polish_20240326_135531438.jpg
There may be any kind of "Arc beside Arc Artwork" or a simple line of boring fire buckets (as gunpowder charges wouldn't been exposed so much?)

So I added the CWL-2mm-layer so far now (And for bulkheads N° XVII and XVI some special tricky solutions.

The more complex curved slots of 1mm (?) thickness for the cardboard underlayer of the "Verdeck" have to be made

and I do need solutions for the aft rising structure.

Is there any fault so far obviouse? If than please let me know before I do start to cut out the bulkheads with their all their slots.
 
Last edited:
Let's start with youngest history my dear friends by a quote of a wellknown American:

There are many ideas that arebold, exciting, innovative and new,” but also foolish.
D. R.

Due to this lines I stopped the project and do start a cut out to test it's fragility in real. Go on to try if my bold, exiting, innovative and nearly newish ideas do work in reality. So I am not going set at risk my three layers centerboard I managed to complete - but only the cut offs of it may be killed in this experiment...

IMG_20240328_142523.jpg
Here my bulkhead N° IX the most stern side one under the frostpaper version of the sideview to figure out where to cut and where it is foolish to cut...

And here N°s IX, VIII ,and VII side by side:
IMG_20240328_142045.jpg

So I can check over these four free days infront of me what is idiotic within my plan; in particular what is bolt in my idea to add further slots into the formers to stabilize to hole structure by weakening the bulkheads:
Polish_20240328_144726073.jpg
Blue is the horizontal stabilization aline and below the CWL;
Brown is the sextett of vertical layers (as on the side view's drawing) slots ending at the 3000mm line and ending 2,1mm below the CWL.

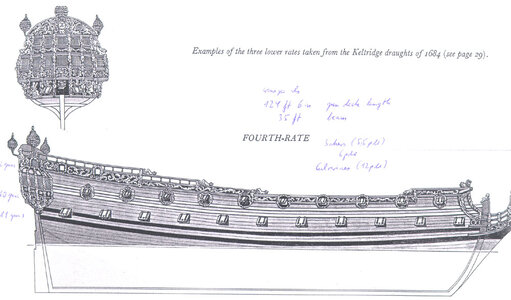
These are all the exciting ideas for the under water ship - but how to deal with the hull - as the gunport lids are closed or opened max. about 5° as (mostly) these here:
keltridge1684-4th.jpg
py9361_28122bd2-0f9b-4317-98e6-edfacc6dd93c_1024x1024.jpg.5620636d785a001d80328cc80821270d (1).jpg
kSuvmo2.jpg41EtIwr.jpg

there isn't much to see inside the hull - but on the open decks.

Also I do have to deal with the "horns" of my bulkheads and how to connect them in the correct way.

So I do cut out the midsection without getting a propper mid section model...

What do you think about my plan?

keltridge1684-4th.jpg
 
Last edited:
Fascinating how you invent a whole new complicated method. I am glad I am just a simple mind with simple methods. If I were todo it your way I would quickly be brought to an asylum by strong guys in white jackets. :)
Dear Ab, please don't wonder as I AM already at an asylum with strong nurses in white jackets and jackets being enclosed over your back... ;)

I do hope it will be possible to removed some of the structural additives over the time to simplify the building process. As you have to deal in a smaller scale 1/77 and Doris' "ROYALE KATHY" built in 1/55 had had much more bulkheads
6.thumb.jpg.fac2d44e0fec14807e6802d19bca9acc.jpg
©Doris

and added structural strength by wooden beams, ect.
I just try to stay on the very very save side to avoid any structural collapse of the hull as the longest distances between the bulkheads admidships
IMG_20240328_204340.jpg

are 45mms or for our Imperial friends in old money: nearly
1-3/4'' and due to this long gap to bridge I am affraid of the "Hungry Horse Effect" you mentioned so intensivly. Or have troubles with stability as the horizontal layers of the decks will not be enough to keep the hull straight.

Perchance you are absolutely right to stay on the easy side while I am overduing and (very German) overengeenerging the hull's structure... I am willing to do this as it gives the feeling to me to have done any possible structural support to avoid a useless - due to the Horse's starvation - first layer of the hull by neglecting this source of trouble. Sorry for this, Ab, but as we do stay in Germany:
"I cannot get out of my skin."
 
Last edited:
Hello my dear friends, hopefully it is still interesting to you. Here my little steps foreward of this day:

IMG_20240329_200315.jpg
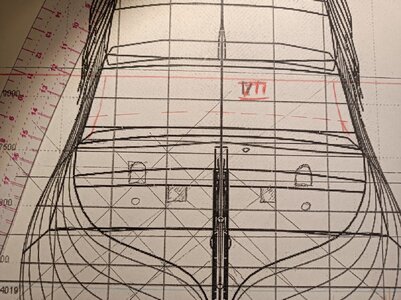
I did glue the bulkheads VIII and IX on the 3mm bookbinder's (very hard) cardboard and tryed out to add the deck's curve onto the drawing of bulkhead VII in red (dotted line) after figuring out the right place by taking the frostpaper side view and transfering the lines of the hull's top and deck into the drawing.

Here the process of the transfering sideview measurements into the bulkhead VII's copy:
IMG_20240329_195211.jpg

Here the result (upper one hull's hight - below the deck) of today's completed work - I also imagined the "horns on the bulkheads" and so we are at here:
IMG_20240329_200049.jpg
So tomorrow I'll try to transfere the deck's and hull top's position on the two glued bulkheads.

If I am completly wrong in here, so please stop me!
 
Last edited:
I always think this is the fun part.
The only suggestion I can make here is about the choice of your cardboard. You chose a thick, sturdy board with a thickness of 3 mm, which is fine for the construction, but cutting will be a harsh process. Poor arms and fingers. If you take 1 mm cardboard instead you can easily cut it and if required you can double or even triple it. Simply cut around the first layer. Saves a lot of sweat and swearing.
But of course, that's your own choice...
Thanks Ab and Christian, I had thoughts in my head telling* me about laminating my own "ply-cardboad" by pileing layers a top each other - as you both suggested. And so the thinner material will be much cheaper to purchace, too.
IMG_0107.jpeg
On your hull, Ab, everything looks very light and easy to be build - what is your trick!?

Thanks for the hint!

_______
*No - it does not was the heating's talkaktive radiator...
 
Last edited:
Back
Top