Amerigo Vespucci, Panart 1:84 scale

[QUOTE = "Ken, post: 114405, członek: 4639"]
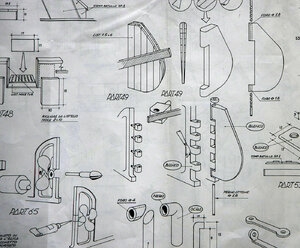
Cześć Mirak, Pomyśl tylko, Panart robi ten model w różnych rozmiarach, mój to skala 1:84, powinieneś sprawdzić, czy Twój jest taki sam jak mój, ponieważ plany mogą być niekompatybilne, są różne w szczegółach i rozmiarach

rozpoznać
[/ZACYTOWAĆ]
Witaj Ken. mój model jest w skali 1;84 Instrukcje ze strony tej którą mi podałeś mam już pobrane,ale w nich nie są podane wymiary masztów i rei i na podstawie tych książeczek nie dam rady zrobić masztów i całego takielunku dlatego zwróciłem się z prośbą Bardzo dziękuje Ci za zainteresowanie Pozdrawiam .Mirek
 
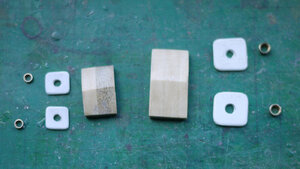
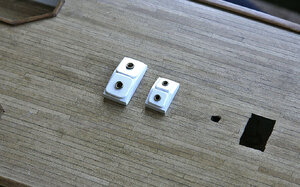
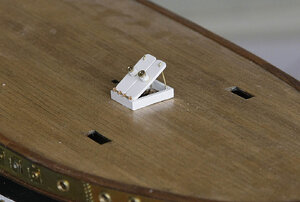
Hi, Just a quick post. I've finished my first of the many deck fittings, a couple of skylights, ( the correct size ) The hull has been prepared for painting and I'll do that soon. I feel that the model is starting to become interesting.

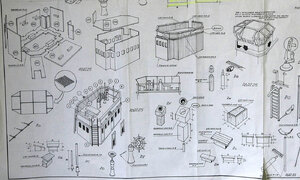
Mirak, I'll get my plans copied for you by the weekend.

Ken095.jpg096.jpg
 
Hi, Just a quick post. I've finished my first of the many deck fittings, a couple of skylights, ( the correct size ) The hull has been prepared for painting and I'll do that soon. I feel that the model is starting to become interesting.

Mirak, I'll get my plans copied for you by the weekend.

KenView attachment 165819View attachment 165820
This kit was already interesting when you opened the box :-).
Lovely work.
 
Hello All.

Thanks for those who took the time to give me their likes.

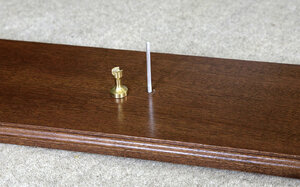
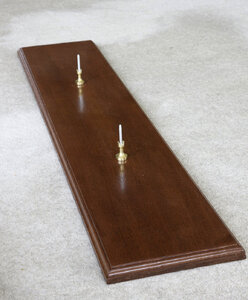
I have been preparing the base for displaying the model for a few days, mainly waiting for the sealer and varnish to dry. I got a piece of sapele from my local wood yard, and routed the edge. After sanding I tried some dyes on the underside to get the shade that I wanted, light teak was my preferred, I sealed it then a couple of coats of poly finished it off. The columns are Amati which I got from Cornwall Model Boats, they were quite cheap, they are pre drilled, the rod is from one of my wife’s knitting needles, she doesn’t know!

Ken

097.jpg098.jpg
 
Hi Mirek, I tried to send you copies of the plans but got the following message.
Your message wasn't delivered to mirekmotyk@interia.pl because the address couldn't be found, or is unable to receive mail.
 
[QUOTE = "Ken, post: 114765, członek: 4639"]
Cześć Mirek, Próbowałem kupić Ci kopie burt, ale otrzymałem następującą wiadomość.
Twoja wiadomość nie została dostarczona na adres mirekmotyk@interia.pl, ponieważ nie udało się znaleźć adresu lub nie można odebrać poczty.
[/ ZACYTOWAĆ]
Witaj Ken .Bardzo cię przepraszam popełniłem błąd nie wpisałem jednej literki .Prawidłowy adres mirekmotyka@interia.pl Pozdrawiam Mirek
Wcześniejsze
 
[QUOTE = "Ken, post: 114765, członek: 4639"]
Cześć Mirek, Próbowałem kupić Ci kopie burt, ale otrzymałem następującą wiadomość.
Twoja wiadomość nie została dostarczona na adres mirekmotyk@interia.pl, ponieważ nie udało się znaleźć adresu lub nie można odebrać poczty.
[/ ZACYTOWAĆ]
Witaj Ken .Bardzo cię przepraszam popełniłem błąd nie wpisałem jednej literki .Prawidłowy adres mirekmotyka@interia.pl Pozdrawiam Mirek
Wcześniejsze
Witaj Ken .Bardzo dziękuje za przesyłkę jutro idę do drukarni wydrukować.Dzięki tobie może uda mi się dokończyć ten piękny model .Pozdrawiam Mirek
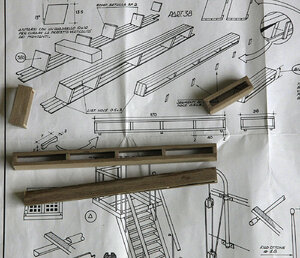
 
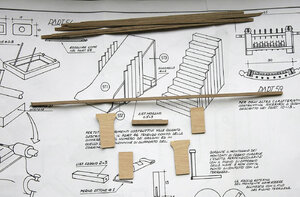
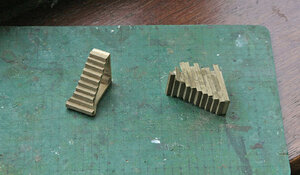
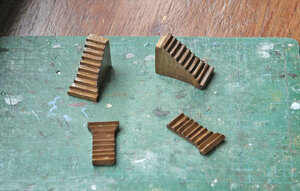
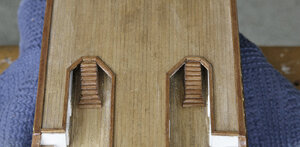
Hi, Another short update on my build. I was going to start painting the hull but again got sidetracked. I decided to make up the staircases, a small, not difficult project. I don’t think that any explanation is needed as the pictures show the whole process. I’ll add the handrails once they are fitted in place on the deck.


Ken100.jpg101.jpg102.jpg103.jpg
 
Hi, Again thanks for your likes.


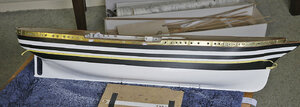
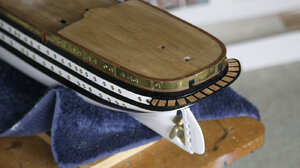
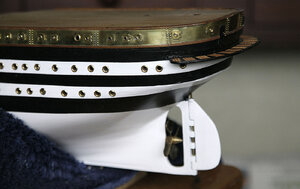
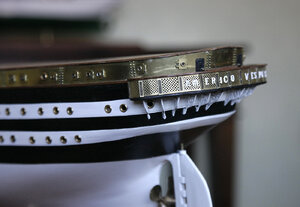
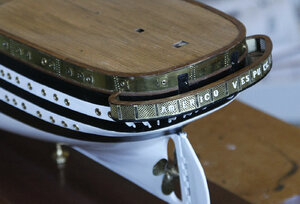
It was now time to decide how I was going to present the model with regards to its finished look. I’ve decided not to go with an authentic appearance, ie colour scheme and fittings, but go my own way for an aesthetic but none authentic display. I like the unpainted look of the brass plating and just the black and white hull, no anti foul bottom. I’ll also leave the rails and stations in brass and introduce as much mahogany as I can get away with, who doesn’t like brass and mahogany on a boat.


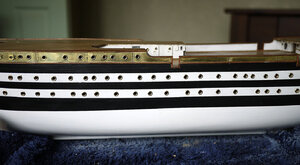
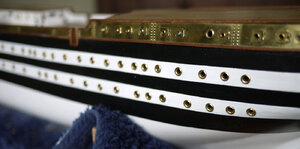
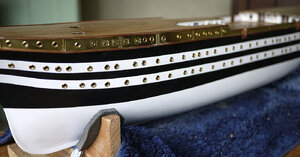
I have made quite some progress recently; I have finished painting the hull and fitted all the port holes, though not without issues.


I sprayed the hull with an acrylic undercoat then used Humbrol satin enamel for the white and Caldercraft dull black acrylic for the rest. I did two coats of white using a 1\2 in flat brush, I find that the enamel is self levelling and the finish looks perfect for this type of hull, I thin the black about 50-50 with water and put on about 7 coats, being this thin the coats dry quickly and leave no sign of brush strokes. I used Tamika masking tape, after putting the tape on I paint a watered down acrylic varnish along the edge, this seals it and there is no paint seep so the edge is perfect. I’m delighted with the finish that I achieved I don’t think that I could have improved on it.


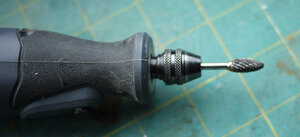
Then came the portholes, I transferred their position from the plans. To start with the drilling out of these was a disaster, the side strips being only .5mm thick just tore at the edges and split, I tried small, large, blunt, sharp drills, I tried filing them out, all with the same result, it wasn’t until I tried using a cone shaped router then things improved, a perfect aperture with ease every time, it ground it’s way in rather than cut so no tares or splits thank goodness. I repaired the ruined strip and painted them again, after that things went well which was a good job as there were well over 100 to be done. I fitted the brass portholes to finish off.


I’m sorry that I didn’t photograph the actual progress but I got too involved with the job in hand so all you have is the end result


Ken073.jpg075.jpg077.jpg076.jpg074.jpg
 
Hi Heinrich, Thanks for your positive thoughts on my build. Its my intention to keep everything as simple as possible, the detail as well as the colour. If by adding scale detail means things will look cluttered then I’ll leave that detail out, as you mentioned less is often more especially if it’s done well.

Ken.
 
Hi,

First thanks again to those of you who are following my build and for your likes and comments.


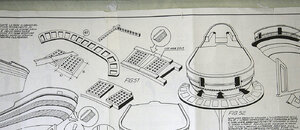
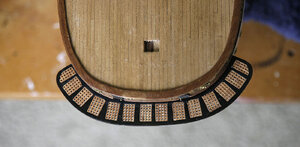
My build is progressing nicely and I have just completed the stern gallery, it went well with no issues. I kept the construction as simple as I could and have not kept to its proper colour scheme again choosing just black and varnished wood, some staining was applied.


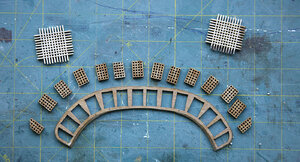
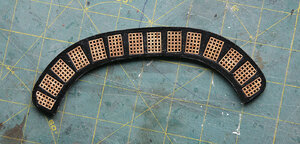
The pre cut ply was too large to fit the hull properly so I added three planking strips to the inner edge, with the extra meat I was the able to sand it back to get an exact fit to the hull. I made up the several gratings then using the plans as a guide only, assembled it, painted and varnished then added the name. The only disappointment was that one of the cast supports was missing, I left the gap at the centre to keep it symmetrical and hope that the ships boat which will eventually hang over the stern will hide the omission, apart from that it came out well.


Ken085.jpg086.jpg087.jpg088.jpg089.jpg090.jpg090.jpg091.jpg092.jpg
 
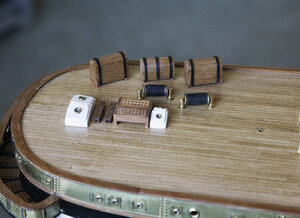
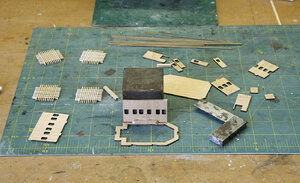
Hi, The build continues at a good pace. Today’s post shows some of the smaller projects that I’ve made up whilst waiting for paint/glue to dry, they include some hatches, waist lockers, deck storage units, skylights etc.


I’ve shown my start on the wheelhouse, I’ll continue showing this soon, I’ve done more of it but I haven’t sorted the photos out yet, it’s coming out better than expected


Ken

126.jpg127.jpg128.jpg094.jpg104.jpg105.jpg
 
Back
Top