- Joined
- Aug 8, 2019
- Messages
- 5,571
- Points
- 738

@Masters Mate @Kilo66 @MunroIII @frankieg thanks for your visit and kind words of appreciation. They're more then welcome.
Thanks all for you visit and likes.
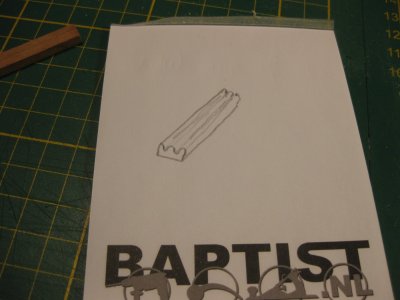
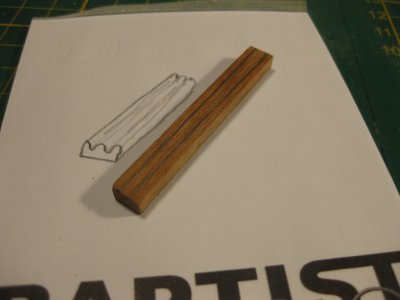
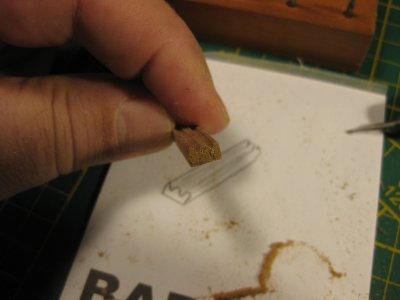
There are several methods for transferring a drawing to wood. I like the method with carbon paper the most and therefore use that one, call me old-fashioned. Of course, there are other methods and you are of course free to use them. Especially if you want to be very precise. In fact, I usually only use it for the outer lines. But like I said, find a way you like.
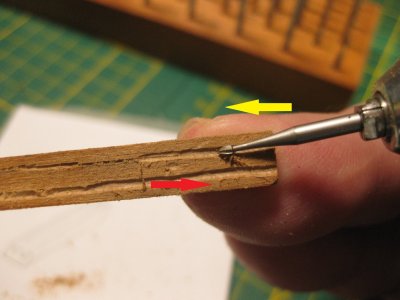
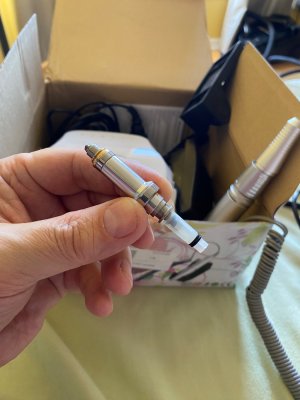
As for securing your wood or workpiece, you may of course use a bench clamp, hand clamp, or something along those lines as secured to a larger piece of wood. Then it all depends on your workpiece, how big it is and what the intention is. You will have to find this out by experience, but I can tell you that most of it is just done freehand. Partly due to the fact that the method I discussed, with the nail studio equipment, you get very little force on the wood. But also the handyness you then have, you can approach your workpiece from all angles in an easier way and there is more feeling in what you do. With a fixed workpiece, you don't have that freedom. I do make use of my worktable, which I sometimes put the workpiece against and can then hold it in place better with my hand and have more control. Sometimes a small wooden box underneath to keep it more at eye level. These are not written rules, but more guidelines on how to proceed.
Hopefully this answers your questions.
Thanks all for you visit and likes.
Thanks YT, your welcome to.Hi, Stephan. Thanks for amazing and very inspiring tutorial. Special thanks for links to purchasing the tools. I immediately got cravings to buy all that stuff straightaway. I have some questions, inquiries on technics you are using. First I am still not quite sure of the method to transferring a picture to the wood. Could you please elaborate? Secondly I noticed you hold the wood workpieces in your hands while milling them. Would not it be more practical to have them somehow connected to some surface for stability and to avoid possible breakages?
There are several methods for transferring a drawing to wood. I like the method with carbon paper the most and therefore use that one, call me old-fashioned. Of course, there are other methods and you are of course free to use them. Especially if you want to be very precise. In fact, I usually only use it for the outer lines. But like I said, find a way you like.
As for securing your wood or workpiece, you may of course use a bench clamp, hand clamp, or something along those lines as secured to a larger piece of wood. Then it all depends on your workpiece, how big it is and what the intention is. You will have to find this out by experience, but I can tell you that most of it is just done freehand. Partly due to the fact that the method I discussed, with the nail studio equipment, you get very little force on the wood. But also the handyness you then have, you can approach your workpiece from all angles in an easier way and there is more feeling in what you do. With a fixed workpiece, you don't have that freedom. I do make use of my worktable, which I sometimes put the workpiece against and can then hold it in place better with my hand and have more control. Sometimes a small wooden box underneath to keep it more at eye level. These are not written rules, but more guidelines on how to proceed.
Hopefully this answers your questions.
Last edited:


