- Joined
- Dec 16, 2016
- Messages
- 1,179
- Points
- 493

 |
As a way to introduce our brass coins to the community, we will raffle off a free coin during the month of August. Follow link ABOVE for instructions for entering. |
 |
 |
The beloved Ships in Scale Magazine is back and charting a new course for 2026! Discover new skills, new techniques, and new inspirations in every issue. NOTE THAT OUR FIRST ISSUE WILL BE JAN/FEB 2026 |
 |


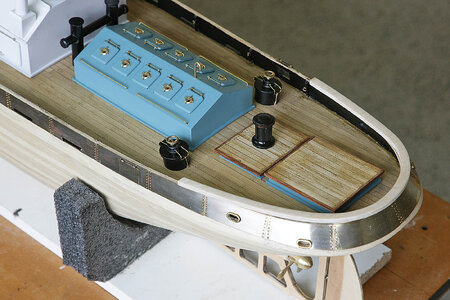
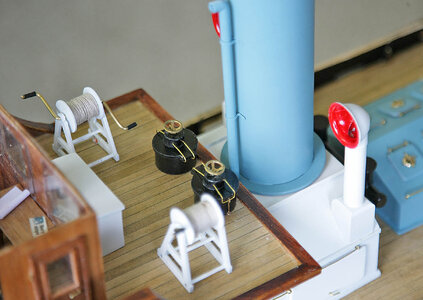

Thanks Jan. The more detail I put in the more I get encouraged to keep adding stuff, it’s great for motivation.Excellent, excellent. Each additional detail adds more "life" to your build.
Jan

Thanks Paul. I find that I like making detailed parts at this scale, my fingers cope much better which makes for a more enjoyable buildLots of nice details falling into place, Ken! Wonderful work!

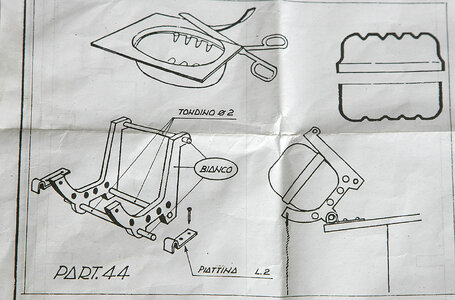
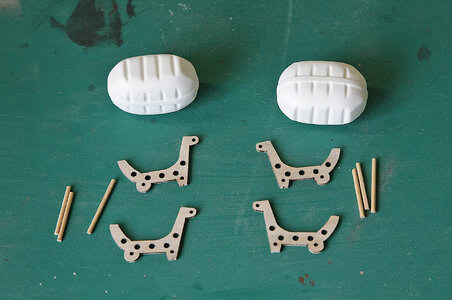


Hi Adry, Thanks for your compliment,The truth is that it looks gorgeous on you. A marvel in my opinion.

Hi Jan, Thanks, I didn’t find it finicky, it needed doing so I was happy just to make it happen, all part of the buildWow, a lot of finicky work for a great result. Nicely done.
Jan

Hi Paul, Thanks for your kind remark. You’ll understand that when you see what needs doing unless you give it your best shot you’ll always regret not having a proper go, it’s sometimes only a little extra work but often easier than you think it will be.Brilliant! That cap rail looks fantastic so the extended effort was well worth it, Ken!
I had a lot to read to catching up your build till now, Ken. A lot of nice details and some very nice riveted bulwark plates.Hello, Thank you for taking an interest in my build, and thank you again to those members who have commented and given their likes.
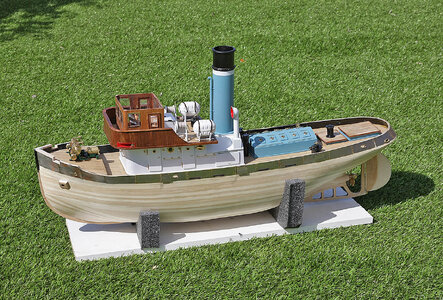
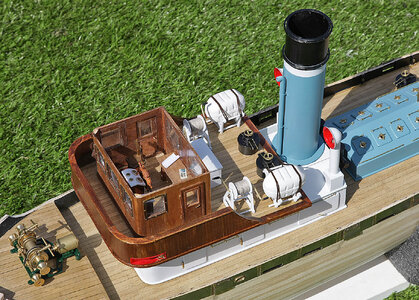
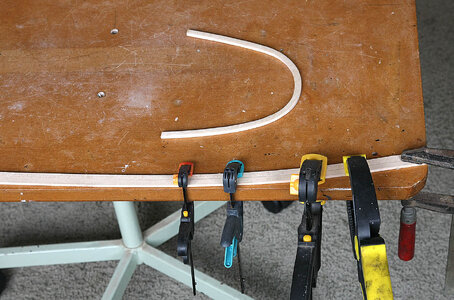
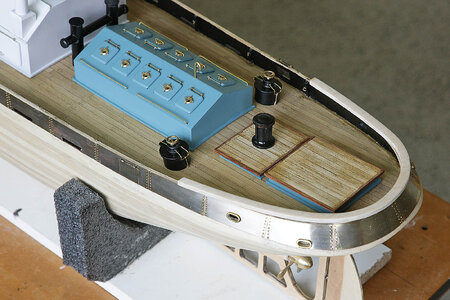
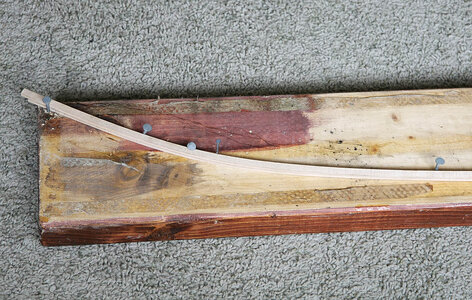
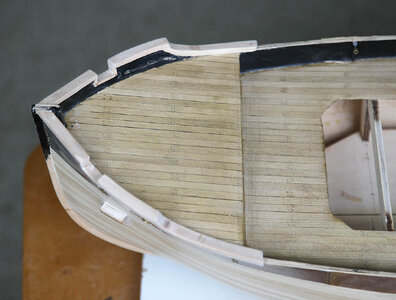
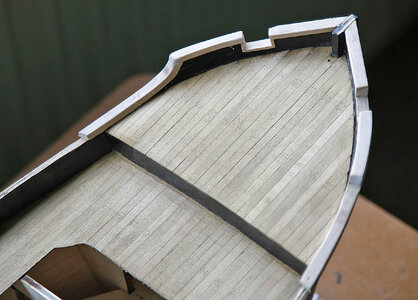
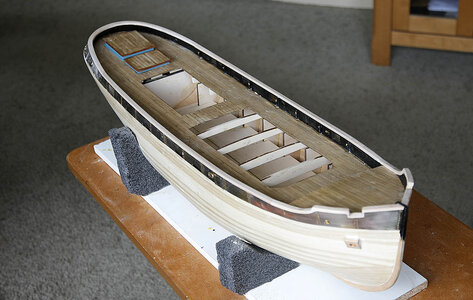
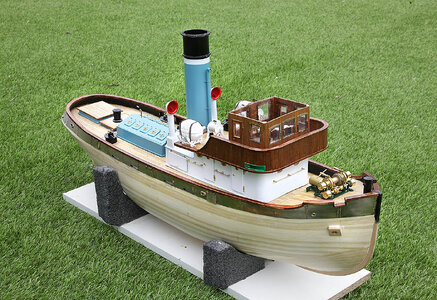
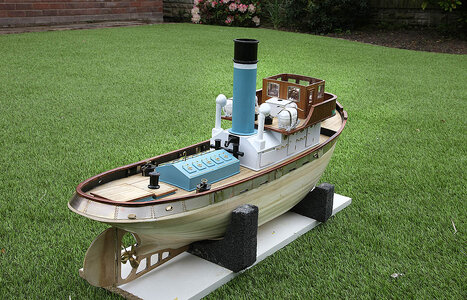
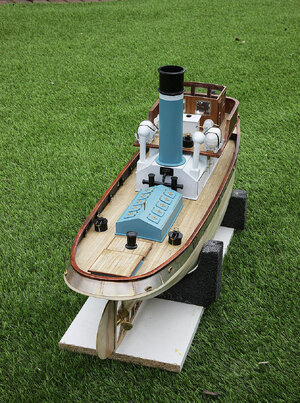
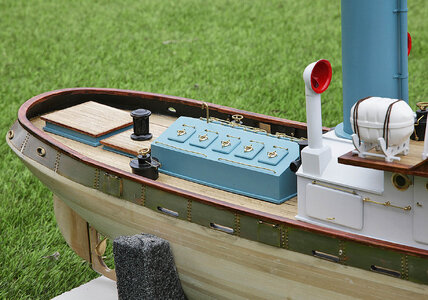
The build is still coming along nicely and without any stress, the plans are good, all that I need do is interpret them to my way of building. Today I’m showing how I made up the top rail, this was probably the most difficult part of the build to get right. The rail is 8mm x 4mm, it is made up from straight lengths of wood which at this size is very difficult to edge bend to get a curve, at the same time towards the front it has a sharp upwards curve. The same strip of wood is to be used for the stern, they would have you make it in several sections a bit like a hexagon, but when you sanded it to a curve you would narrow it and would see all of the joins through the varnish, not very satisfactory. I decided to cut the stern section from a 4mm sheet of ply, I hoped that staining would mask the ply edge and thankfully it worked well enough. I made up the forward part of the rail using 10mm wide strip then once in place I sanded it to a slight curve which gave me the correct 8mm width. The upward curve which at the same time had an inward curve I made up from several layers of thin 12mm width planks, each being easily bent, I again sanded them to the required curve and width. I had been soaking and bending the main length of rail for about a week, a little more each day, using a hot air gun to get them steaming, eventually I got them to hold the necessary curve before finally fitting. I sanded, sealed, stained and varnished to finish, I was very pleased with the final result, it turned out better than I’d expected.
View attachment 447374
View attachment 447375
View attachment 447376
View attachment 447377
View attachment 447378
View attachment 447379
View attachment 447380
View attachment 447381
View attachment 447382
View attachment 447383
