-

Win a Free Custom Engraved Brass Coin!!!
As a way to introduce our brass coins to the community, we will raffle off a free coin during the month of August. Follow link ABOVE for instructions for entering.
-

PRE-ORDER SHIPS IN SCALE TODAY!
The beloved Ships in Scale Magazine is back and charting a new course for 2026!
Discover new skills, new techniques, and new inspirations in every issue.
NOTE THAT OUR FIRST ISSUE WILL BE JAN/FEB 2026
You are using an out of date browser. It may not display this or other websites correctly.
You should upgrade or use an alternative browser.
You should upgrade or use an alternative browser.
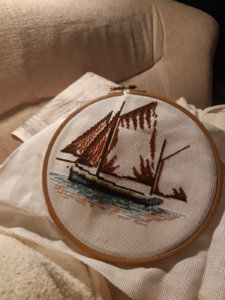
Looks like bragozzo/trabaccolo fishing boat from northern Adriatic, not sure. Lovely work.Dear fellow modelers,
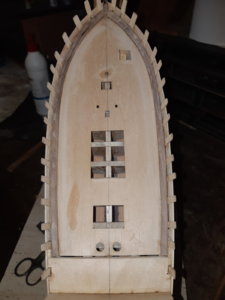
just quick update on my wife´s ship.
View attachment 141173
Do anybody know the type and name?
Canoe21
Lawrence
Hello Matus, You are making great progress on your Virginia Sloop, good looking cannons that is for sure. Looks like you just might be able to convince your Admiral to sew the sails for you, good luck.
Regards Lawrence
Regards Lawrence
Dear fellow modelers,
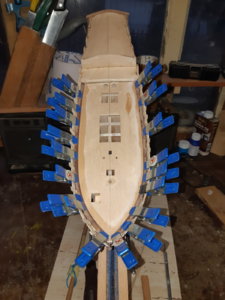
again I have stolen 2 hours for myself. I was working on waterways.
First I needed to trim them to required form. I used my electric tool. It was super ease and super fast. Everything was then smoothed by sanding paper. Also bulkhead tops were sanded to minimum.
Here are some pictures.
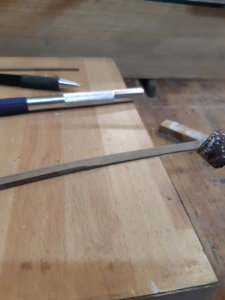
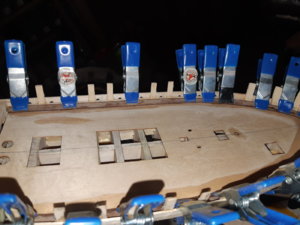
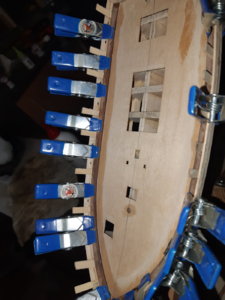
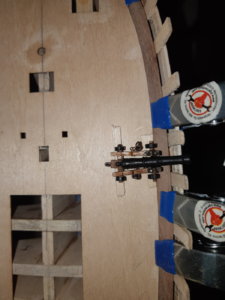
I had to bevel the back side of waterway for better fit. From the pictures you can also see I have new clamps. They are great for this type of work.
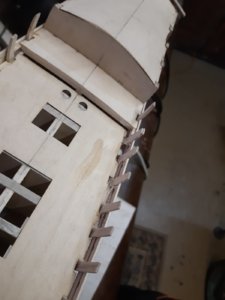
Here you can see the fit also with inside Spirketing (botton ) plank. Nothing was glued yet.
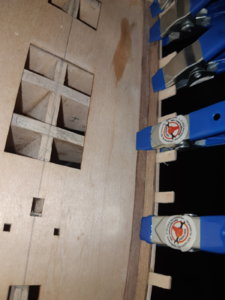
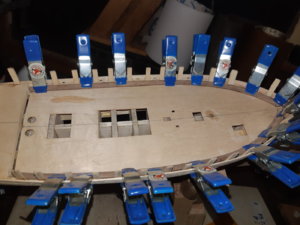
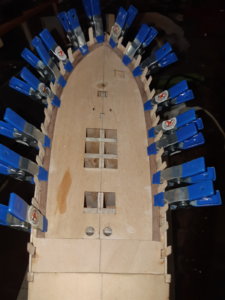
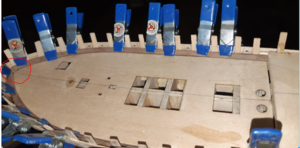
There are no visible gaps between waterway and false deck. What do you think about the gap in red circle? Should I fill there some walnut filler or let it be like it is? I do not think it will be visible in final view.
Here is fit with cannon.
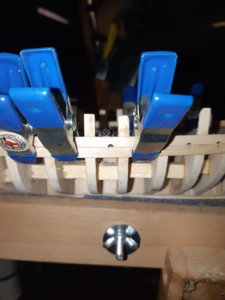
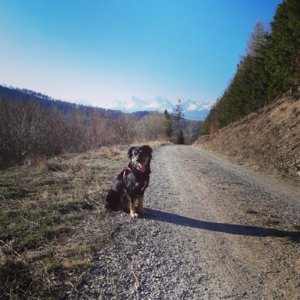
And here is happy doggo after 10 km run (for her it was maybe 15 KM) . Zara is saying hi to all members.
Till next time.
Thanks for comments and help.
again I have stolen 2 hours for myself. I was working on waterways.
First I needed to trim them to required form. I used my electric tool. It was super ease and super fast. Everything was then smoothed by sanding paper. Also bulkhead tops were sanded to minimum.
Here are some pictures.

I had to bevel the back side of waterway for better fit. From the pictures you can also see I have new clamps. They are great for this type of work.

Here you can see the fit also with inside Spirketing (botton


There are no visible gaps between waterway and false deck. What do you think about the gap in red circle? Should I fill there some walnut filler or let it be like it is? I do not think it will be visible in final view.
Here is fit with cannon.


And here is happy doggo after 10 km run (for her it was maybe 15 KM) . Zara is saying hi to all members.

Till next time.
Thanks for comments and help.
nice work overall, Matus! Great job fitting the taffrail and fashion pieces.I have one more question for you guys. Are you glueing the cannons on your deck or just rope fixation is enought?
I fix guns to the deck by pinning them with thin brass rods, then a small drop of epoxy under each truck.
To test wood appearance, use mineral spirits (paint thinner). It will show you how the finished wood will look, but evaporates completely without causing problems with gluing.
nice work overall, Matus! Great job fitting the taffrail and fashion pieces.
I fix guns to the deck by pinning them with thin brass rods, then a small drop of epoxy under each truck.
To test wood appearance, use mineral spirits (paint thinner). It will show you how the finished wood will look, but evaporates completely without causing problems with gluing.
DocBlake that is great idea with the brass rod.
By the mineral spirit you mean ordinary spirit? I used water in past. It can show you the wood grain. Do you think it is OK?
In general wood look is the best for me and wood have its errors, it is not perfect
You can use water, but it will raise the grain on the wood, making it “fuzzy” after it dries. Non-water based solvent...what you would use to thin oil-based paint should work.
Kurt Konrath
Kurt Konrath
When sanding I use isopropyl alcohol to wipe wood down, give clean clear wet look for a minute and dries off very fast. Helps wipe glue off as well.
Dear fellow modeleres,
again quick update from my workshop. I was able to start with some planking. Here are some pictures. For the bow part I needed to steam planks little bit to be able to fit them properly. I am using CA glue for gluing. It is fast but some errors occured. Little bit of putty will manage it.
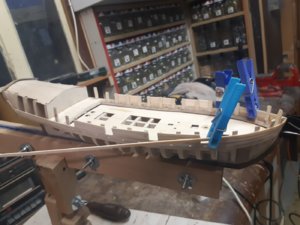
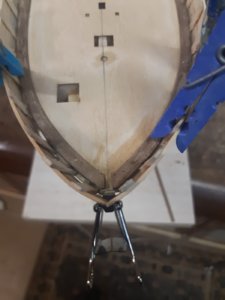
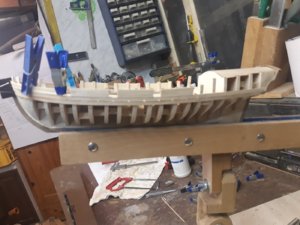
It is funny because when I finished wateraways I was also finishing mind objective set on the beginning. Now when I am starting with planking it is like starting new project from scratch. .
.
I was also thinking about coloring some parts. Probably inside of the ship will be red, also cannon openings will be red. Wale, strake and fasion pieces on stern will be black. I need to experiment with color and danish oil a little bit but I think it will work for me like that.
Till next time.
again quick update from my workshop. I was able to start with some planking. Here are some pictures. For the bow part I needed to steam planks little bit to be able to fit them properly. I am using CA glue for gluing. It is fast but some errors occured. Little bit of putty will manage it.


It is funny because when I finished wateraways I was also finishing mind objective set on the beginning. Now when I am starting with planking it is like starting new project from scratch.
I was also thinking about coloring some parts. Probably inside of the ship will be red, also cannon openings will be red. Wale, strake and fasion pieces on stern will be black. I need to experiment with color and danish oil a little bit but I think it will work for me like that.
Till next time.
Dear fellow modelers,
yesterday was again a blast in my workshop. Doing a lot of things at ones. I am trying my revel colors and danish oil on wood. It is looking pretty good. I will post pictures later.
I am finishing with 1st layer of planking for upper layer. I also filled filler parts for openings between internal and external layers of planking. Firstly fillers between external planking and waterways and then opening for sweep ports. Here are some pictures from process.
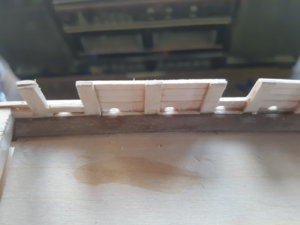
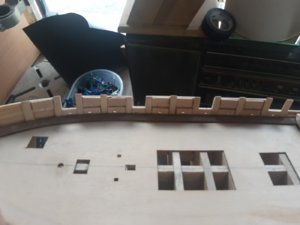

Here is planking from bow part.
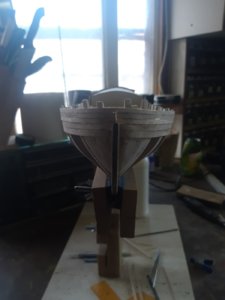
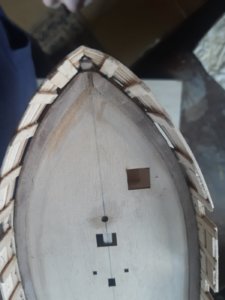
For first layer I will use the walnut planks from kit. I want to do the contrast color I have seen on one build and it looked awesome. What I mean by that is I will use bass wood for second layer, only for one plank.
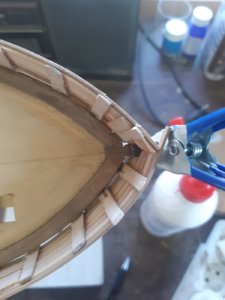
Total building time 105 hours. I crossed that 100 hour line yesterday .
.
Till next time.
yesterday was again a blast in my workshop. Doing a lot of things at ones. I am trying my revel colors and danish oil on wood. It is looking pretty good. I will post pictures later.
I am finishing with 1st layer of planking for upper layer. I also filled filler parts for openings between internal and external layers of planking. Firstly fillers between external planking and waterways and then opening for sweep ports. Here are some pictures from process.


Here is planking from bow part.


For first layer I will use the walnut planks from kit. I want to do the contrast color I have seen on one build and it looked awesome. What I mean by that is I will use bass wood for second layer, only for one plank.

Total building time 105 hours. I crossed that 100 hour line yesterday
Till next time.
Last edited:
Dear fellow modelers,
today was perfect day. Beautiful warm weather, few hours in workshop, spent some time with wife and biking.
Here is picture of colored walnut scrap wood. Everything was sanded up to 400. Used black color and then danish oil on it. I like it very much.
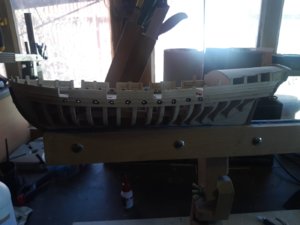
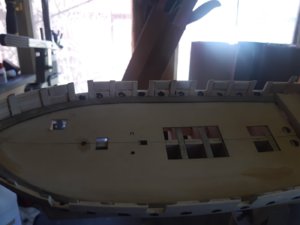
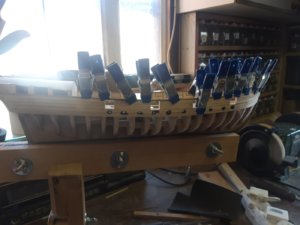
I made some progress with planking. I used black color for openings in sides of ship. Here are some pictures from process.
And one last picture from mi bike trip. Enjoy .
.
Till next time.
today was perfect day. Beautiful warm weather, few hours in workshop, spent some time with wife and biking.
Here is picture of colored walnut scrap wood. Everything was sanded up to 400. Used black color and then danish oil on it. I like it very much.

I made some progress with planking. I used black color for openings in sides of ship. Here are some pictures from process.


And one last picture from mi bike trip. Enjoy

Till next time.
Last edited:
As much a love to see your beautiful photos of the view of the mountains, I am freezing...  I love summer most! But please post more of them, they are amazing views!

I am more of a winter person. If you have -15 degrees of celsius (5 degrees Fahrenheit ) you can go faster and warm yourself but if you have 35 degrees of celsius (95 degrees Fahrenheit) you can not put down your own skinAs much a love to see your beautiful photos of the view of the mountains, I am freezing...I love summer most! But please post more of them, they are amazing views!

Dear fellow modelers,
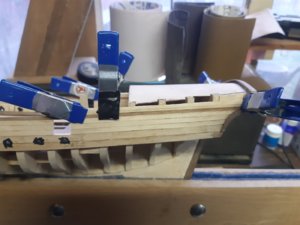
building is going very slowly. Every plank is like stand alone project. I am following the plans.
From now I am trying to use only PVA glue as it is better for fitting the planks. When I started with CA glue there were visible spaces between planks.
Here are some pictures form progress.
This is picture of part of the ship I am currently working on.
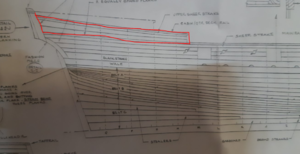
And here is the progress.
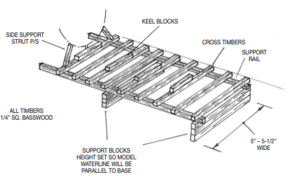
As there is some time between glueing the planks with PVA glue, so I started with making of stand for the ship. I did not like the one which was in the plans.
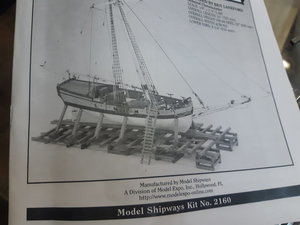
I liked more the one on the cover of the manual.
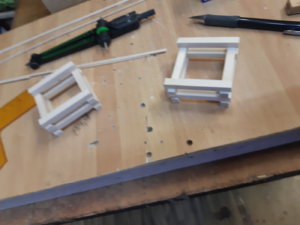
So I started with building it. Firstly I started to sand everything. Then choose the lenght of small pallets 5 cm and glued first two together.
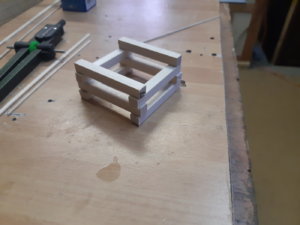
Thanks again for likes and support.
Till next time.
building is going very slowly. Every plank is like stand alone project. I am following the plans.
From now I am trying to use only PVA glue as it is better for fitting the planks. When I started with CA glue there were visible spaces between planks.
Here are some pictures form progress.
This is picture of part of the ship I am currently working on.

And here is the progress.

As there is some time between glueing the planks with PVA glue, so I started with making of stand for the ship. I did not like the one which was in the plans.

I liked more the one on the cover of the manual.

So I started with building it. Firstly I started to sand everything. Then choose the lenght of small pallets 5 cm and glued first two together.


Thanks again for likes and support.
Till next time.
Last edited:
Dear fellow modelers,
tommorow is my birthday. I will be 31 . Yesterday and today I wanted to do a lot of modeling, but as is alway go you plan something and something completely different will happen. But it was also a blast
  .
.
Wiring of lights in my workshop went off. I do not know why. I have never worked with electric wiring before but after few hours and one telephone call to my friend I was able to repair it. It is so satisfying when something works even when it the end it was prety easy.
Still I was able to work 2 hours on the ship. Step by step, plank by plank I am continuing. Here are some pictures.
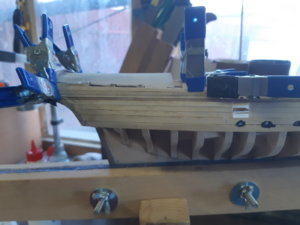
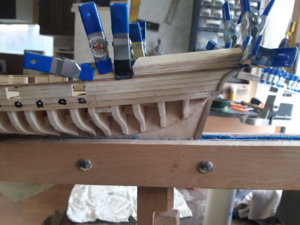
You can see I finished the top planking. Now I will start with big boy stuff and actual planking of the ship .
.
I also added tops of cannon opennings. Here is a picture.
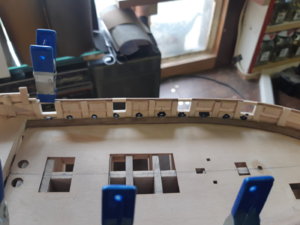
I found one error. In the picture below you can see that shim below of taffrail is not flush. I wan to add some more shim and somehow sand it flush.
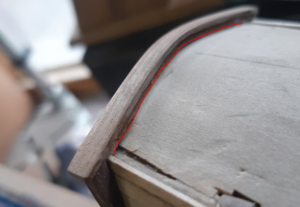
I have one question for you. Is it better to add wood putty at fist and then sand it or sand it little first and then add putty and sand it again?
Last picture is from yesterday bike trip. Enjoy.
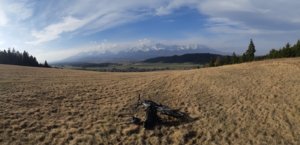
Till next time.
Total hours spent on project 109.
tommorow is my birthday. I will be 31
Wiring of lights in my workshop went off. I do not know why. I have never worked with electric wiring before but after few hours and one telephone call to my friend I was able to repair it. It is so satisfying when something works even when it the end it was prety easy.
Still I was able to work 2 hours on the ship. Step by step, plank by plank I am continuing. Here are some pictures.


You can see I finished the top planking. Now I will start with big boy stuff and actual planking of the ship
I also added tops of cannon opennings. Here is a picture.

I found one error. In the picture below you can see that shim below of taffrail is not flush. I wan to add some more shim and somehow sand it flush.

I have one question for you. Is it better to add wood putty at fist and then sand it or sand it little first and then add putty and sand it again?
Last picture is from yesterday bike trip. Enjoy.

Till next time.
Total hours spent on project 109.


Jan


