A week late but congratulations to you both for your 46th Peter.

 |
The beloved Ships in Scale Magazine is back and charting a new course for 2026! Discover new skills, new techniques, and new inspirations in every issue. NOTE THAT OUR NEXT ISSUE WILL BE July/August 2026 |
|
 |
As a way to introduce our brass coins to the community, we will raffle off a free coin during the month of August. Follow link ABOVE for instructions for entering. |
|



 Great job! Interesting project!

Bravo Peter. Are you on another bike trip ? This time in the Czech RepublicI started this build and log at the end of August 2023.
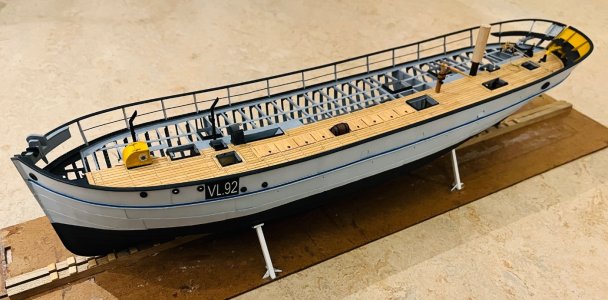
At the end of the 1st year I was on page 46, post #903 and showing this:

After the 2nd year it was page 100, post #1983 and showing this:
View attachment 631111
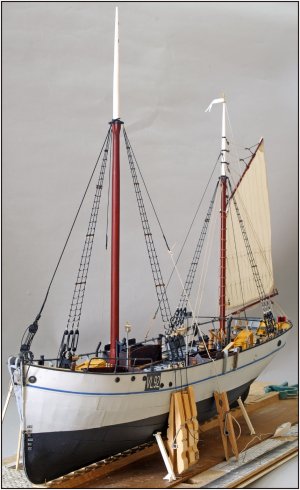
Now the 3rd year has done it’s page 143 and post #2843 and it going to look like a sailing lugger:
View attachment 631112
I would like to express my appreciation for all your returning visits, 'likes', and posts with the various types of comments. In addition to building the model, maintaining this build-log gives a lot of satisfaction. So, regarding the Balder, you haven't seen the last of me yet. Up to the finish in this 4th year.
Regards, Peter
 .
.

If I remember right, Peter mentioned displaying this model in the foyer of my house...Rather than read back 2843 posts to see if you mentioned this before, I’ll ask here. This lugger is so beautiful is it going to a particular location for display or proudly on display at home?
Thanks, Sergey. After the second year I could start with this overall statistics. Hopefully this year the last for the Balder.I see you also remembered some statistics like I did in my last post.
Thanks, Grant. Yes, on the road again with 3 of the 4 bike-mates:Bravo Peter. Are you on another bike trip ? This time in the Czech Republic
Cheers Grant
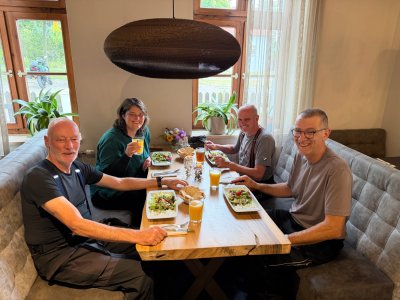
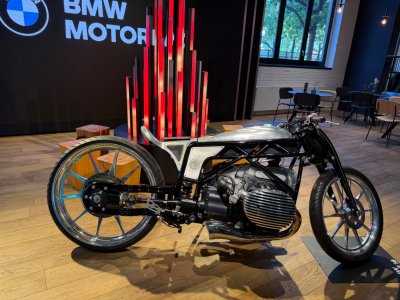
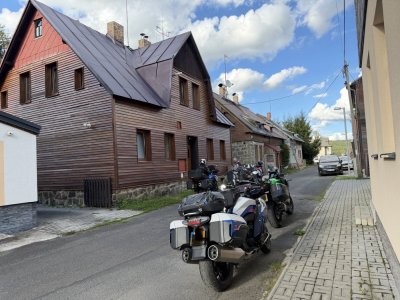
Thanks, Daniel. Only relevant issues and some holiday stuff. Then we get also some background info of our fellow builders.I appreciate multi-year build logs Peter; it's like getting to visit old friends on a regular basis. In fact, there are some build logs that I kind of hate to see come to completion. I'm looking forward to your year number 4.
For sure not the Museum in Vlaardingen, Roger. It used to be the Fisheries Museum. Now it’s a 'Historical' museum. It seems they would rather be rid of their ship models than keep them. There needs to be more of ‘an experience’. Apparently, people need to be able to press a lot of buttons.Rather than read back 2843 posts to see if you mentioned this before, I’ll ask here. This lugger is so beautiful is it going to a particular location for display or proudly on display at home?
With this quote in my answer to Roger:If I remember right, Peter mentioned displaying this model in the foyer of my house...
 )
)

This is one of the more impressive scratch builds I've seen so far.I started this build and log at the end of August 2023.
At the end of the 1st year I was on page 46, post #903 and showing this:
After the 2nd year it was page 100, post #1983 and showing this:
View attachment 631111
Now the 3rd year has done it’s page 143 and post #2843 and it going to look like a sailing lugger:
View attachment 631112
I would like to express my appreciation for all your returning visits, 'likes', and posts with the various types of comments. In addition to building the model, maintaining this build-log gives a lot of satisfaction. So, regarding the Balder, you haven't seen the last of me yet. Up to the finish in this 4th year.
Regards, Peter
Thank you very much for this compliments and very nice words, Johan. I really appreciate this!This is one of the more impressive scratch builds I've seen so far.
The research, the selection of the materials, the countless hurdles being thrown up and resolutions being found, plus the patience and craftsmanship involved and all I haven't mentioned, makes this a one of a kind model.
Scratch building, as is shown in amongst others this build log, is highly feasible and I hope this sets a trend of other modellers, transferring their dreams to build their favorite model, of which no kit exists.
:

 . Cheers Grant
Thanks, Grant. ‘Just Beat(ds) it!Good afternoon Peter. Good to see you back safe and sound from your Czech bike trip. Now I know how to make beads….


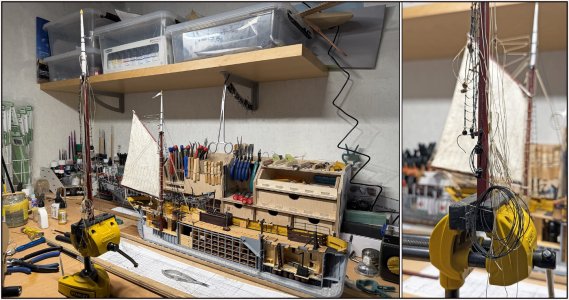
Hi Peter, I hope you enjoyed your road trip.Time for a new post, even though there isn't much news to report. It’s more of a repeat of the steps taken with the mizzenmast.
It does, however, offer a glimpse into the 'organized chaos' of my workspace
View attachment 635008
With the mainmast in the vice and all the lines and blocks installed.
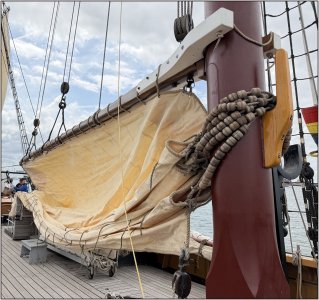
While working on the mainmast, I also turned my attention to making the beads for the lines that guide the mainsail along the mast:
View attachment 635009
PS: They have already orderen new beads for the lines on the gaff itself.
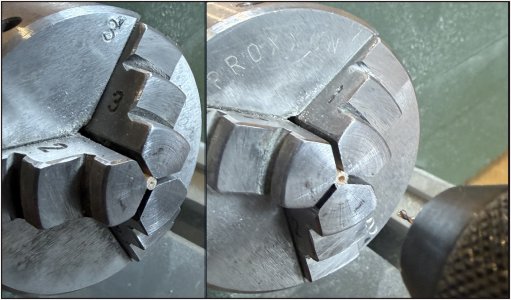
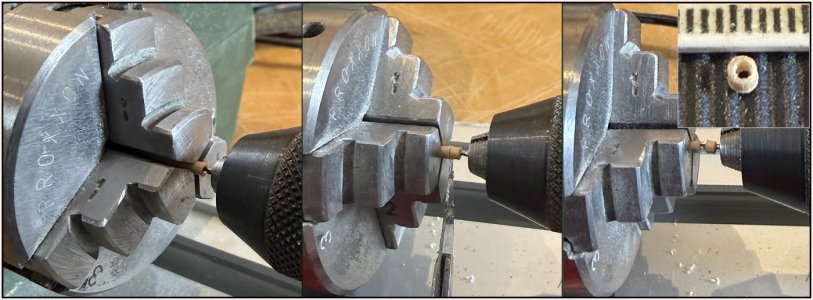
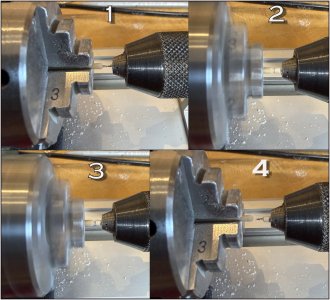
I ultimately opted for cocktail sticks, which I thinned down slightly. I avoided bamboo toothpicks due to their texture.
View attachment 635010
1: drill a 0.6 mm hole in the center;
2: make the initial cut with a fine triangular file;
3: slowly rotate it into shape until the bead snaps off;
4: retract the drill chuck and remove the bead from the drill bit.
Then do it again, and again, and again...
View attachment 635011
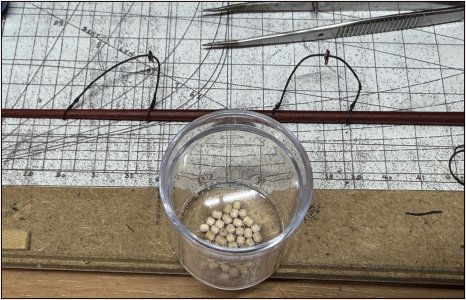
That yields an initial batch to test how they will function with the sail and along the mast. Also included are the two bridles for the gaff, the construction steps for which I’ve already shown.
Regards, Peter
Hi Dom. The sticks I used are 2 mm in diameter. If you put the stick at the edges of the 3-claw the wood has a good support and will not slice.Hi Peter, I hope you enjoyed your road trip.
I'm just back from holidays myself and just catching up. I like the beads, I need to make the fairleads that attach to the shrouds and your method may work quite well, but I need to go down to 2mm OD and have a larger internal hole because I need to run three lines through each fairlead - I may struggle!
Dom