Belle Poule 1780 by Donnie

Hi Donnie!

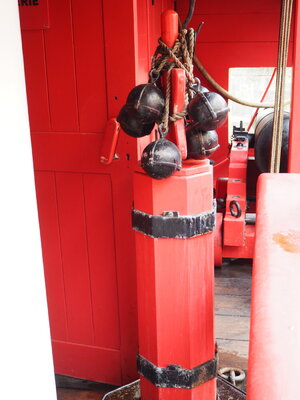
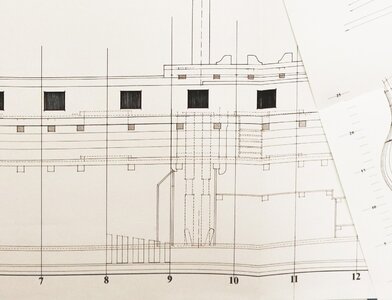
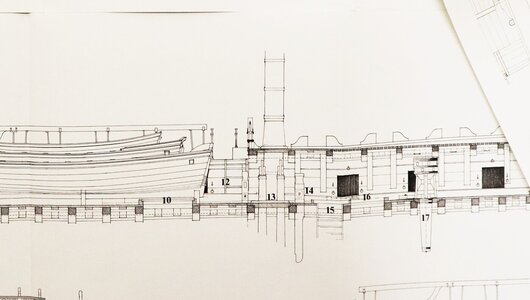
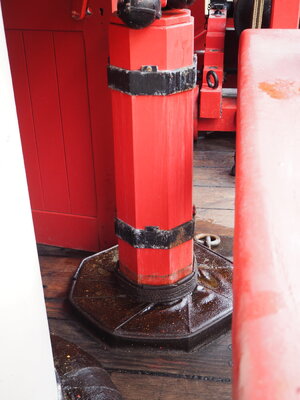
The pumps.
P7050061.JPG
Seal on the gun deck.

P7050060.JPG
The upper part of the pump is weighted to keep the pump piston down. This is also the end of the pump. At the top you can see a hook. A rope is attached to it, which is passed through the deck above.
hermione2.jpg
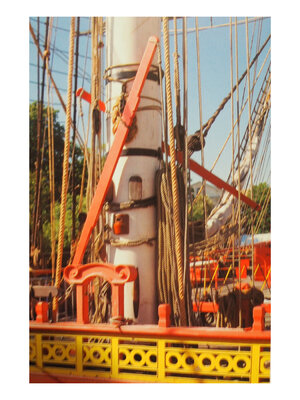
The pump handles are attached to the mast and then pull the pump piston upwards via the rope.

Best regards
Thomas
 
Last edited:
Thank you Thomas and Uwe - it is greatly appreciated :)
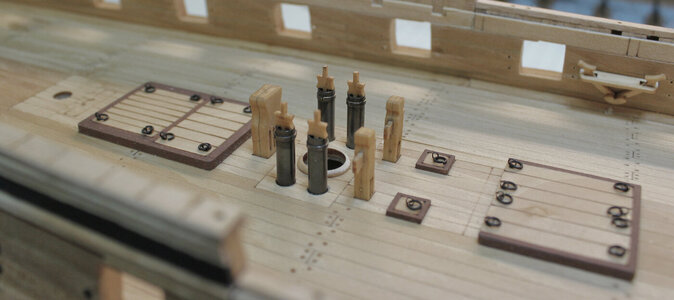
. . . and here are the pumps as strange as they look. Some of this will be covered up by some of the upper deck planking (of which I am only going to partially do)

deck-items25.jpg
 
Latest:
preparing the cannon ball trays. I used a brown "wash".

deck-items26.jpg


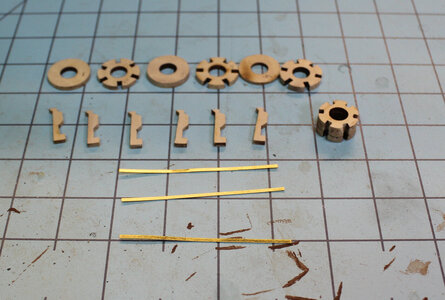
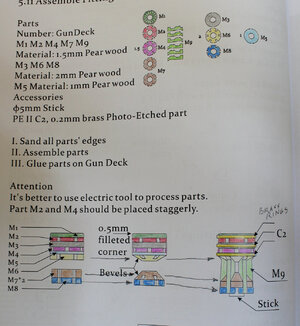
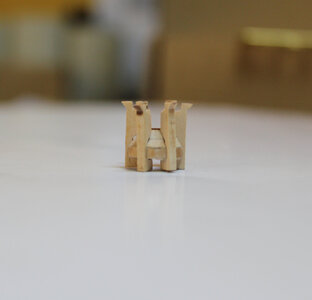
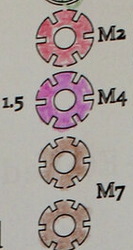
This next group is the Capstan. The instruction are kind of confusing - so - I color coded the parts to make sure I have the correct order. More information to follow as I build this thing. You might want to check all of this yourself - I hope that I have the SEQUENCE correct.

deck-items27.jpg


deck-items28.jpg
 
The only thing I wish that it looked more used and aged. Not sure how to do that.
I did alot of weathering in plastic modeling. The problem is unless you're going to do many tests to see how it'll end up you can ruin a great model. Also key is don't treat the entire model as an object to be weathered. Each component must be looked at individually and weathered or you end up with a great model that has just been made to look dirty and that's a disaster even more so since your work is so neat and clean. Wood is difficult to weather as it absorbs and once it has you're stuck with it. I would really think about if you want to go that route. JMO
 
Thank you all for the likes. It is appreciated. Continuation of the Capstan - slow going - Remember that M8 is on the bottom while M7 has two of the same. It is M7 alone that will be beveled !!!

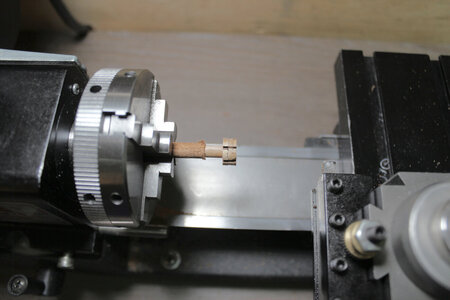
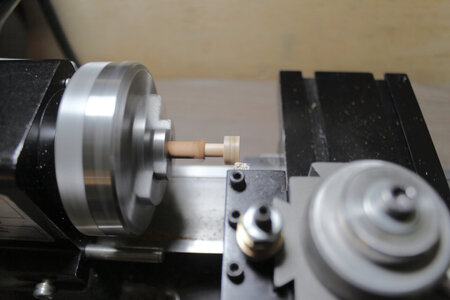
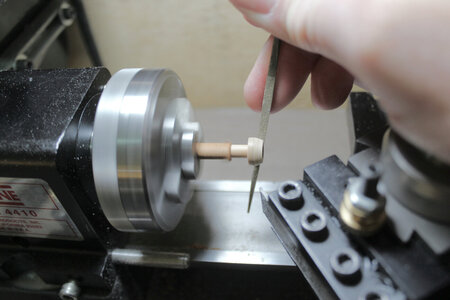
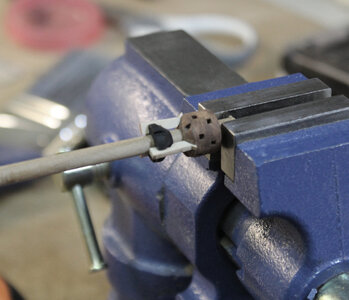
So, I know that not everyone has a lathe, but if you do, this was my method. You can use a drill and find a way to mount the lower part of Capstan in it. I used a wooden dowel trimmed down to where there is a tight fit.

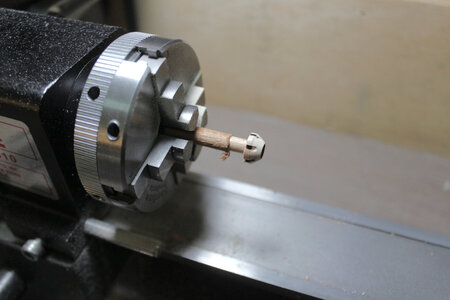
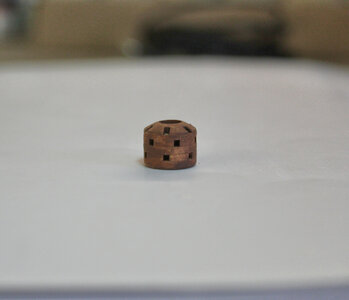
I only used a "cutting tool" to trim the entire 'wheel' off evenly. This is what the first two images are showing.

BEFORE TRIM

deck-items29.jpg


AFTER TRIM

deck-items30.jpg


I decided to use a file to dress up the part. Using a lathe tool is a little too rough on this part. Course sand paper will also work.

deck-items31.jpg

deck-items32.jpg

deck-items33.jpg


deck-items34.jpgdeck-items35.jpg
 
Lovely work Donnie. That would have taken me hours to do.
 
Thank you all for the likes. It is appreciated. Continuation of the Capstan - slow going - Remember that M8 is on the bottom while M7 has two of the same. It is M7 alone that will be beveled !!!

So, I know that not everyone has a lathe, but if you do, this was my method. You can use a drill and find a way to mount the lower part of Capstan in it. I used a wooden dowel trimmed down to where there is a tight fit.

I only used a "cutting tool" to trim the entire 'wheel' off evenly. This is what the first two images are showing.

BEFORE TRIM

View attachment 352191


AFTER TRIM

View attachment 352192


I decided to use a file to dress up the part. Using a lathe tool is a little too rough on this part. Course sand paper will also work.

View attachment 352193

View attachment 352194

View attachment 352195


Nice work! Right now I'd have to use a wood lathe but certainly doable with a Nova chuck...great ideas Don!
 
Thank you everyone for your support - well, Heinrich, it is taking me hours to do !!! LOL. This Capstan I don't think can get anymore smaller and tedious and to have so many parts to it. --- Moving onward. The upper portion of the Capstan will need the same beveling, but different angle.

deck-items38.jpg


Starting to combine the lower and upper. I found it best to mount the assembly on the dowel to keep it still and from moving around.

deck-items37.jpg


Changing directions a little bit - I decided to mount the ball trays while the glue is setting on the Capstan. I thought it was best to do this as the Cannons might be in the way.

deck-items36.jpg


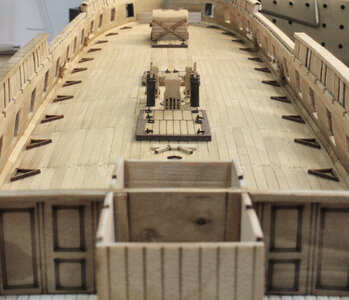
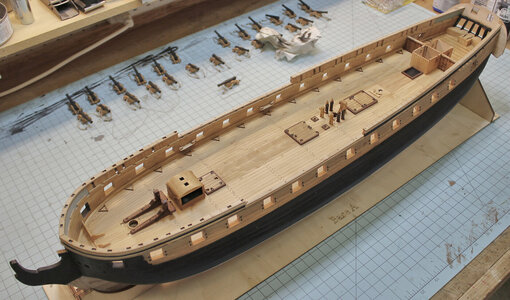
And now for a wide of the whole thing so far.

deck-items39.jpg

deck-items40.jpg
 
Thank you everyone for your support - well, Heinrich, it is taking me hours to do !!! LOL. This Capstan I don't think can get anymore smaller and tedious and to have so many parts to it. --- Moving onward. The upper portion of the Capstan will need the same beveling, but different angle.


Starting to combine the lower and upper. I found it best to mount the assembly on the dowel to keep it still and from moving around.


Changing directions a little bit - I decided to mount the ball trays while the glue is setting on the Capstan. I thought it was best to do this as the Cannons might be in the way.


And now for a wide of the whole thing so far.

View attachment 352868

View attachment 352869
Great looking ship. Just curious about the capstan, how did you make those holes so square? Did you drill holes and then filed the hole?
 
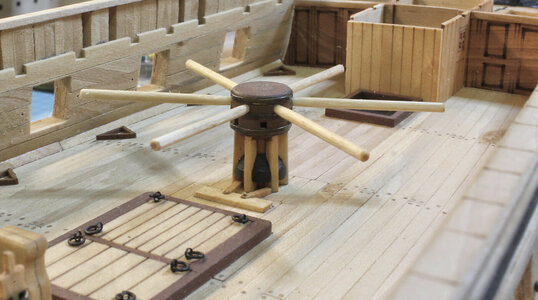
Finally, the Capstan.

Such awesomely made Capstan required stylish bars, below are some examples of capstan bars used on Baunty and Catty Sark for references.

Bounty_II_capstan_bars.JPG


Bars.jpg
a2bnhmy4f8j31.jpg
 
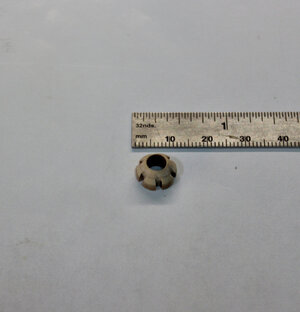
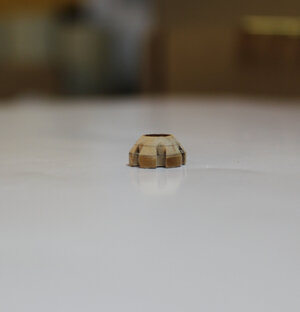
The capstan is made up of 6 "plates". each plate has a notch that is equal spaced. Therefore, when all the plates are "sandwiched" it produces the effect of a square opening.

1674357647905.png
 
Jim,
yep, I should have made mine more sylish - but most all of this is going to be covered up with beams and stuff. But, the unit has not been glued in yet. I might do a little more to them to make more appealing. A pretty nice Capstan with UGLY as heck bars.
 
This is really good work, Donnie! I have noticed that it seems like you are making an extra effort with this build - you must be enjoying it! Your Belle Poule is really looking excellent!
 
You've created a real work of art with the Capstan! I don't have the skill yet to allow me comment on the bars.
The picture of the ship from above is beautiful. You should be one happy and content person.
 
Back
Top