Looks very accurate Donnie. 

 |
As a way to introduce our brass coins to the community, we will raffle off a free coin during the month of August. Follow link ABOVE for instructions for entering. |
 |
 |
The beloved Ships in Scale Magazine is back and charting a new course for 2026! Discover new skills, new techniques, and new inspirations in every issue. NOTE THAT OUR FIRST ISSUE WILL BE JAN/FEB 2026 |
 |


- Ora sono pronto a contrassegnare la posizione in cui praticare i fori per i bulloni di ferro ai coperchi del portello dei cannoni.
- Le istruzioni ti dicono quali unghie usare. Dovrai tagliare la LUNGHEZZA di circa la metà perché sono troppo lunghi. Tuttavia, puoi tagliarli più corti se lo desideri.
- Questa immagine fa parte delle planimetrie che mostrano la posizione dei Chiodi sulla fiancata dello scafo. I buchi nei piani sono troppo vicini al mio desiderio. Pertanto ho apportato una modifica minima e aggiunto circa 0,5 mm alle dimensioni complessive per "spostare" le teste dei chiodi un po' più lontano dai coperchi delle porte, come mostrato di seguito. Le dimensioni sono in millimetri.
- Utilizzando uno strumento affilato per indentare il punto per la perforazione.
- Questo è uno strumento super carino di Micro-Mark che è un must . La ganascia del mandrino è un accessorio aggiuntivo. È un cacciavite ma come puoi vedere puoi usarlo anche come trapano. Il trapano o l'utensile SPEED funziona alla giusta velocità di rotazione per consentire un grande controllo. Non è come un dremel. Direi che l'RPM è di circa 120 giri al minuto. Al contrario di Dremel che è vicino a 3000 a 5000 e oltre. Questi sono i dettagli dell'ordine, i numeri degli articoli Set di driver Power Tech ultra-sottili Articolo n.: 89993 , Mandrino per trapano per cacciaviti elettrici di precisione Articolo n.: 86259
Hi Francesco. Donnie building the model of LeBelle Poule, your plans are from La Belle. They are different ships, though.Hi Donnie, the cannon hatches are single leaf, why did you mark them on both sides?

Good morning, I apologize for the mistake I made of not having read enough, forgive me?Hi Francesco. Donnie building the model of LeBelle Poule, your plans are fro La Belle. They are different ships, thought.

Good morning, I apologize for the mistake I made of not having read enough, forgive me?Thank you Jim for helping with this answer.
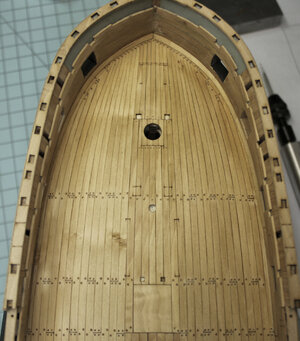
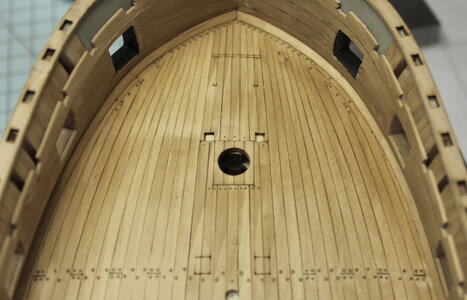
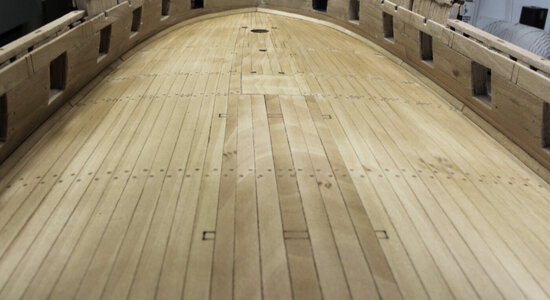
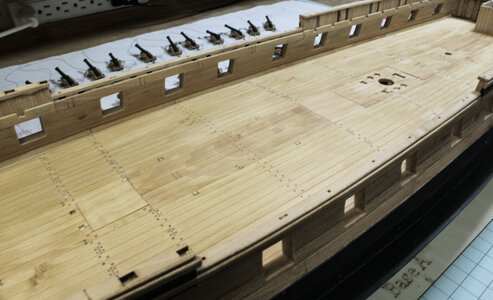
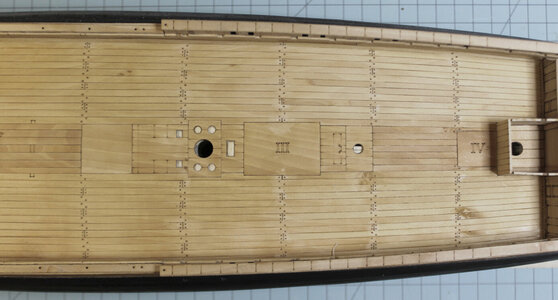
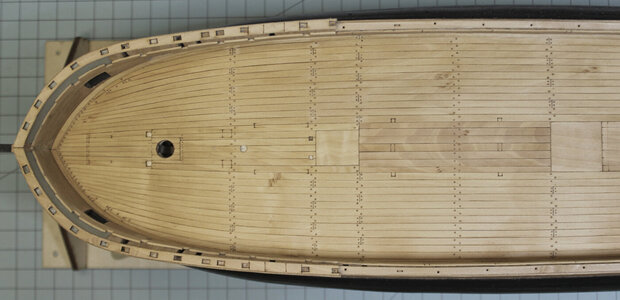
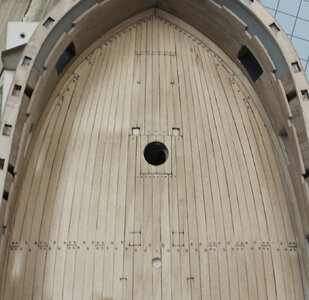
I am finished for now with the treenailing. Most of it was done WITHOUT glue. Just drill the holes and tapped the toothpick in. They are not coming out.
Now, I have to install the Bolts onto the side of the Port Lids before I can start on the Deck Furniture and Cannons. I have my old T3i canon camera back working again. Last year, I removed the IR glass so the camera would take photos of "Astronomical Full Spectrum photography". Needless to say, that does not look good in real-life photos. So, I finally got an IR Filter that screws onto the front of the lens (as a means to correct IR Blocking. Since I had taken the IR Blocking Glass out).
I wish now I had not done that, and as it turned out, I never really got to do any astronomy photography with it.
Oh, it had a coat of Linseed Oil on the deck.
View attachment 347787View attachment 347788View attachment 347789View attachment 347790View attachment 347791View attachment 347792View attachment 347793
That’s a very nice looking deck, Donnie.Thank you Jim for helping with this answer.
I am finished for now with the treenailing. Most of it was done WITHOUT glue. Just drill the holes and tapped the toothpick in. They are not coming out.
Now, I have to install the Bolts onto the side of the Port Lids before I can start on the Deck Furniture and Cannons. I have my old T3i canon camera back working again. Last year, I removed the IR glass so the camera would take photos of "Astronomical Full Spectrum photography". Needless to say, that does not look good in real-life photos. So, I finally got an IR Filter that screws onto the front of the lens (as a means to correct IR Blocking. Since I had taken the IR Blocking Glass out).
I wish now I had not done that, and as it turned out, I never really got to do any astronomy photography with it.
Oh, it had a coat of Linseed Oil on the deck.
View attachment 347787View attachment 347788View attachment 347789View attachment 347790View attachment 347791View attachment 347792View attachment 347793
No worries at all!!! Happy Holiday's , Francesco!Good morning, I apologize for the mistake I made of not having read enough, forgive me?

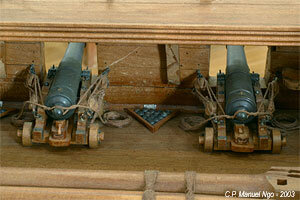
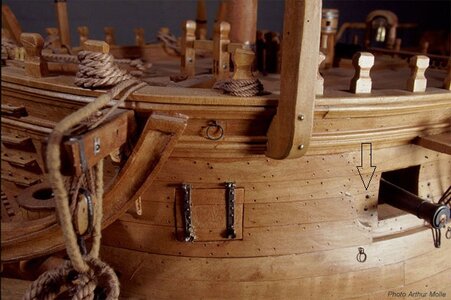
Hi Donnie, in that position I think they are the hooks for the rigging of the guns, those gunboats on the main deck I don't think there are theHi Frank, of course, I will forgive you. It is ok.
Thank you all for the likes -
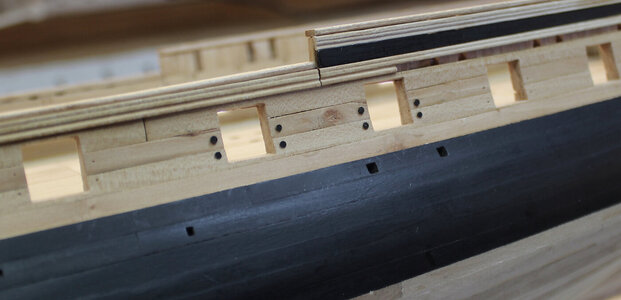
Now, starting on the Iron Bolts - 1) Brass Black, 2) Rinse Water, 3) then a little machine oil to help seal in the black.
The Bolt's heads do not insert 100% flush, but they do sit tight. I thought about trying to "recess" them, but that might be difficult to repeat the process so they all look the same. This image is very close up. In real life, they look flush with planking. The nail heads could have been a little smaller in diameter, but it is what it is.
View attachment 347863

There is a guy that completed the Santisima Trinidad cross section with a weathered look. Here is one of his videos for the deck. I am sure if you youtube'd this you could get the rest of his videos.The only thing I wish that it looked more used and aged. Not sure how to do that.
