Belle Poule 1780 by Donnie

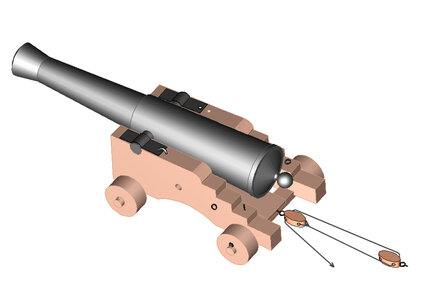
Thank you all for the generous input and info - it is really appreciated. I am now rigging up the rear axel pulley that will be attached via line to the Deck Eye Bolts.
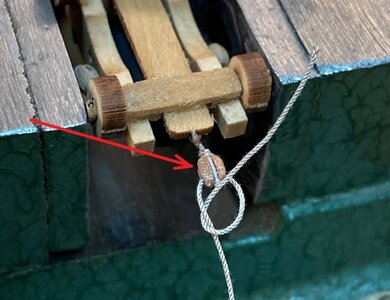
I attempt to show my work-flow. Since the pulleys are so tiny, it does not take much (as far as knots go and a little CA glue). Therefore, I am only using a single half knot and using a tap of thick CA. All of the knots I do are from the back or bottom side so that the clutter of things will not show on the top good side.
There is very little tension if any - so, I am not concerned about a full functioning knot.

After this step is only one more and that is the Breech line. I also plan to rig that off of the ship.


cannons32.jpg

cannons33.jpg

cannons34.jpg

cannons35.jpg

cannons36.jpg

cannons37.jpg
 
I am now rigging up the rear axel pulley that will be attached via line to the Deck Eye Bolts.
Hallo Donnie,
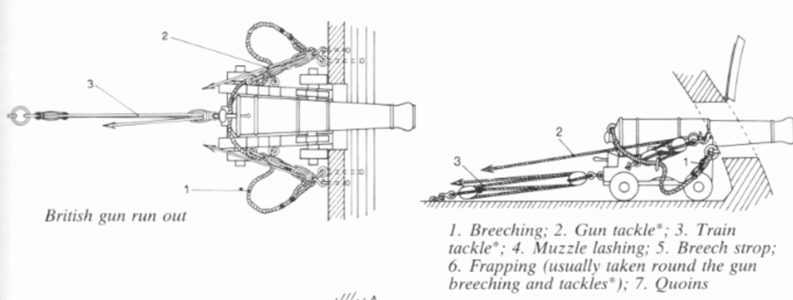
In the same simplified way (half knot with CA glue) you could also make the train tackle for pulling the carriage backwards in a more correct way.
In the moment you used the wrong hole of the fixed block, so the rope is not running over the (imaginary) wheel inside the block.

cannons33.jpg

Second you used a single block, but here the block fixed at the gun carriage should be a double block,
because the rope has to run twice through this block, so that the seaman standing on deck are able to pull the rope

Screenshot 2022-07-20 133148.png

If you make it like you prepared in the moment you have only one fixed rope from the carriage towards the deck eye bolt.
Just an opinion, that with some more cm of rope and using a double block instead a single block you have a much better appearance

sorry for my two cents here
 
Hello Uwe,

I do have double blocks, however, I find that the scale seems too crowded and most all the cannons I am rigging are on the second deck and most will not be seen.

you are 100% correct in all regards. In my study, I find several variations of single, double, etc. I also find a carriage that does not employ the rear pulley set.
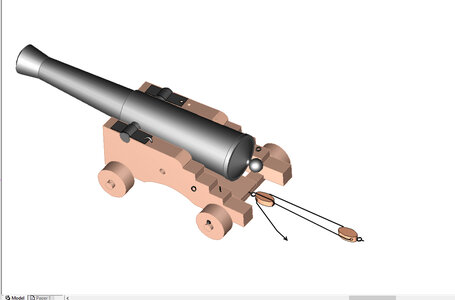
Another situation is that the Block(s) that I am using has "two" holes. In my observation, a single sheave block should only have one hole and that is where the line passes through via the single pulley. However, these single sheave blocks have as you notice two holes. One on each end of the block. Therefore, I decided to be creative and use that extra hole to pass the line to make the fixed point. If you look at these two images, you will see the path that the line takes. It begins at the Carriage Block, then proceeds to Deck Block, then the line passes back to the Carriage Block, then after which the line terminates on the deck.


However, yes, I wish I should rig as you suggested, but I am thinking about the constraints I am working with. The two images show the block with two holes of that I have. The other image shows the block as supposed to with only one hole.

I hope that perhaps I explain the problem that I currently have - and yes, I wish I could find another better method. I will consider the opportunity to change out the carriage side block with a DOUBLE BLOCK.

NOTICE THE TWO HOLES ON THESE BLOCKS

version01.jpg


IN MY OPINION, THESE BLOCKS SHOULD ONLY HAVE ONE HOLE. HOWEVER, THIS IS NOT A MAJOR PROBLEM. NOTE THAT I REMOVED THE
EXTRA HOLE IN THE DRAWING BELOW.


version02.jpg
 
Hello Donnie!

SANY0095.JPG
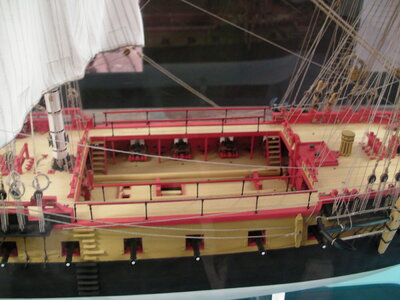
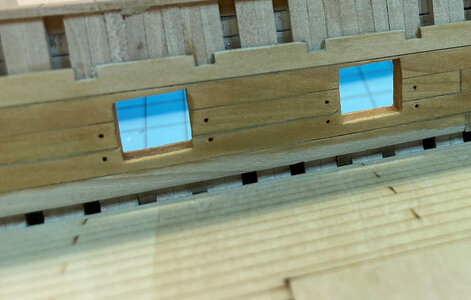
On many museum models in larger scale the retrieval rig for retracting the gun is completely missing (on the photo a large model of Hermione in Rochefort).
1668759700235.png
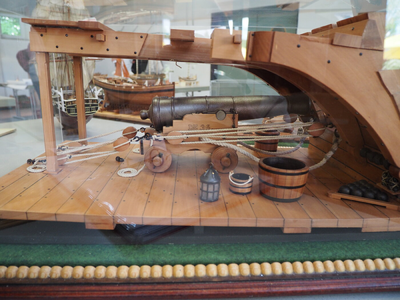
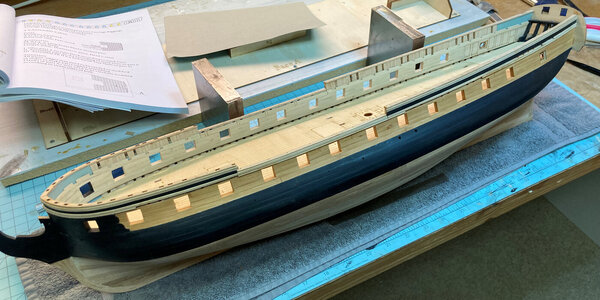
On larger scales, perfect rigging are presented, which is very difficult to realize in this smale scale (on the photo the battle station of our member Karl Weinmann).

Do not crazy. I will not rig my cannons.

Best regards
Thomas

edit: Two photos subsequently attached for better explanation.
 
Last edited:
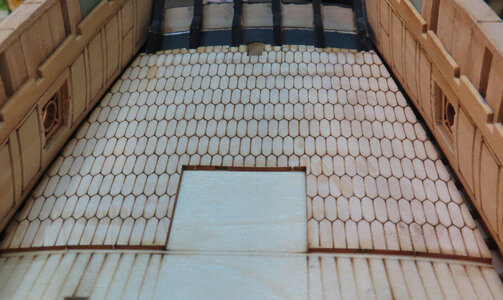
On many museum models in larger scale the retrieval rig for retracting the gun is completely missing (on the photo a large model of Hermione in Rochefort).
You are absolutely right.
Also on most contemporary models the guns are not rigged in any way, only sometimes the breeching, very rare the guns have full tackles
 
Well, on this model, I have already started the full rigging and I have to finish what I started - :rolleyes:
It is best for me to continue with my plan. However, I really do appreciate everyone's feedback and suggestions.
 
Good going Donnie. I think your cannons look very good. I for one would be interested to see your workflow.
 
Thank you all for the likes.
I am prepping up the Bulwark Eye Bolt and Ring holes. I decided to paint some of the inside of Bulwarks with Linseed oil to see how it looks. I did not paint the oil all the way to the lower plank because the waterways will be installed there and I did not want to risk the glue not sticking.


EDIT: NOTE MARCH 5, 2023:

Please take note to be very mindful of the location of the eyebolts spacing to the Cannon Port Opening. If the Eye Bolts are spaced too far from the Cannon Port Openings, then they will be IN THE WAY of the Knees.

cannons39.jpg

planking-58.jpg
 
Last edited:
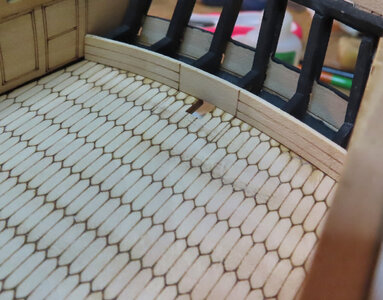
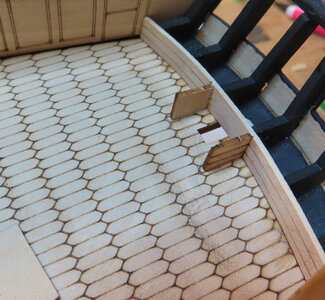
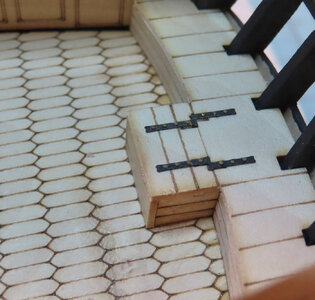
Taking a break from the Cannons, I thought I would work on this rear section. It is some housing that covers the Rudder. These are the steps. I am using a .3 x 6mm bit. Very fragile.

The brass hinges are put in Brass Black. The hinges are already made from the PE sheet. The nails are very tiny and are .3mm in diameter (if I remember).


gundeck-43.jpg

gundeck-44.jpg

gundeck-45.jpg

gundeck-46.jpg

gundeck-47.jpg

gundeck-48.jpg

gundeck-49.jpg

gundeck-50.jpg
 
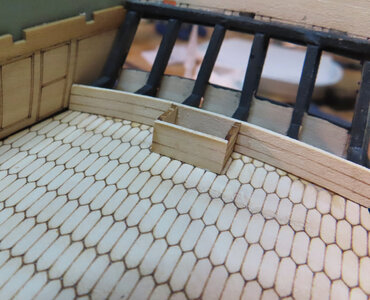
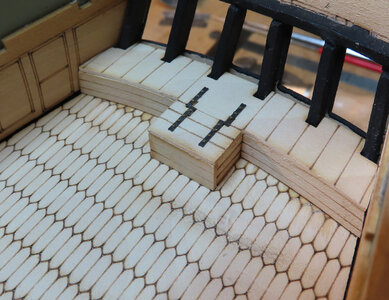
The latest on the completion of that hatchway (?) into the rudder section.

gundeck-51.jpg

gundeck-52.jpg

gundeck-53.jpg

gundeck-54.jpg

gundeck-55.jpg

gundeck-56.jpg


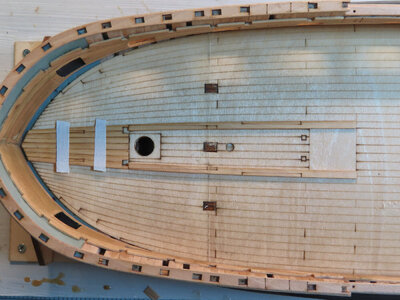
And here is a sneak peek at the first part of the Deck Planking Strips. All of which are laser cut. These are not glued down. I am using those two pieces of white masking tape to hold them tight against each other to see how the planks align with the score marks on the false deck.

deck-planking01.jpg
 
Since most deck planking pieces are in "sets" that are opposite of each other, I find that It is best (in my opinion) to file or sand both symmetrical parts together. This way, you are maintaining the same thicknesses. Just enough filing to remove the char is about all that is needed.

deck-planking03.jpg


This is SECTION I of the Deck Planking. The parts at this time are taped down for trial fitment.

deck-planking04.jpg


SECTION I is now glued in (using white glue)


deck-planking05.jpg
 
Hi Donnie. Everything looks excellent and it looks as if the deck planking follows the scored lines nicely. Just a thought - on my Willem Barentsz when I planked the deck with the Pear Wood and not the kit-supplied Abach, I left the char marks on the edges of the planks. In my opinion, it gave a beautifully, natural caulking effect.
 
Heinrich, I thought about doing the same, but the problem that I had or have is that the planks are just a little too wide and I have to file them down so that they would fit in the scored lines. Otherwise, I would have done just that - I know the effect would really be nice as you say.
 
Heinrich, I thought about doing the same, but the problem that I had or have is that the planks are just a little too wide and I have to file them down so that they would fit in the scored lines. Otherwise, I would have done just that - I know the effect would really be nice as you say.
Makes perfect sense Donnie. If they are too wide, they obviously need to be adjusted.
 
Just completed the MID sections I, II, III, and V as seen by the photos below.


SECTION I
deck-planking06_SEC_I.jpg

----------------------------------------------------------------------------------------------------------------------------


SECTION II
deck-planking06_SEC_II.jpg

----------------------------------------------------------------------------------------------------------------------------


SECTION III
deck-planking06_SEC_III.jpg

-----------------------------------------------------------------------------------------------------------------------------


SECTION V
deck-planking06_SEC_IV.jpg

--------------------------------------------------------------------------------------------------------------------------------


OVERALL MID SECTION
deck-planking06_SEC_all-mid.jpg
 
Back
Top