Looks great. You are doing a wonderful job on the kit.
.
.
 |
As a way to introduce our brass coins to the community, we will raffle off a free coin during the month of August. Follow link ABOVE for instructions for entering. |
 |
 |
The beloved Ships in Scale Magazine is back and charting a new course for 2026! Discover new skills, new techniques, and new inspirations in every issue. NOTE THAT OUR FIRST ISSUE WILL BE JAN/FEB 2026 |
 |


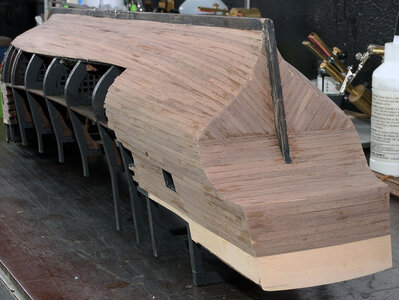

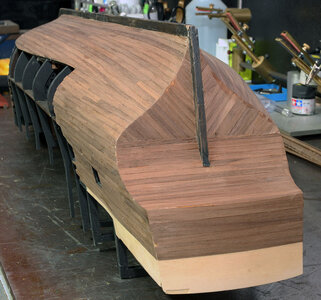

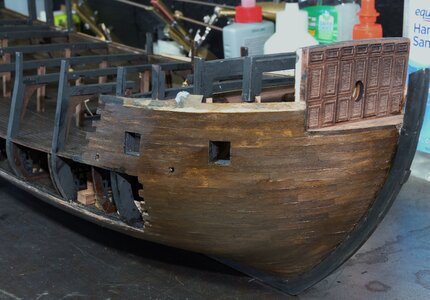
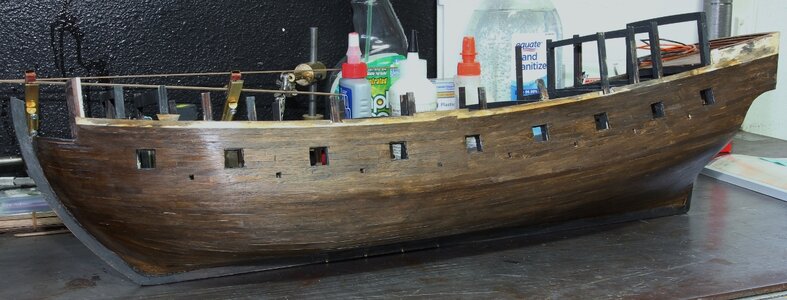
Does that mean you had your gun carriage bases backwards too? Mine are already installed, so I guess I’m stuck.Between last night and this afternoon I managed to get the planking finished to above the guns and sanded the heck out of it.
View attachment 188764
View attachment 188765
View attachment 188766
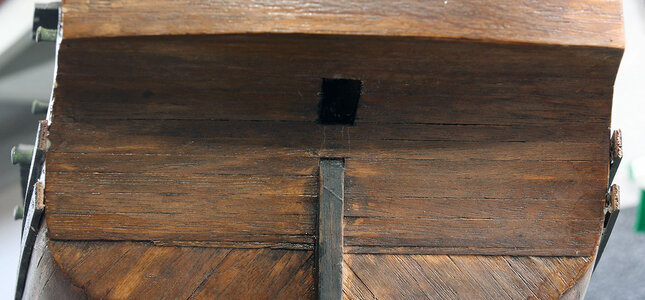
Then I summoned the Admiral and we had a discussion about colors. I took a flat sheet of plywood and did some mock planking and the finished the planked areas with Black stain and wipe on poly, wipe on poly, tongue oil, and amber shellac. And drum roll, the winner was. Wipe on poly. I shoowed the Admiral some photos of Reggies build (@WarrLight) and she liked it so that is the direction I'm going. I will be adding more of a weathered look the odd brown spots will be blended in.
View attachment 188767
View attachment 188768
View attachment 188769
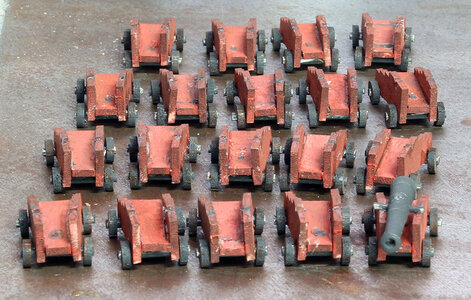
And while I was waiting for the poly to dry I reassembled my gun carriages the correct direction.
View attachment 188770
So I need to detail the guns up and finish the gun deck now. Glad to be done with that lower planking definately not my favorite part of ship building.

Between last night and this afternoon I managed to get the planking finished to above the guns and sanded the heck out of it.
View attachment 188764
View attachment 188765
View attachment 188766
Then I summoned the Admiral and we had a discussion about colors. I took a flat sheet of plywood and did some mock planking and the finished the planked areas with Black stain and wipe on poly, wipe on poly, tongue oil, and amber shellac. And drum roll, the winner was. Wipe on poly. I shoowed the Admiral some photos of Reggies build (@WarrLight) and she liked it so that is the direction I'm going. I will be adding more of a weathered look the odd brown spots will be blended in.
View attachment 188767
View attachment 188768
View attachment 188769
And while I was waiting for the poly to dry I reassembled my gun carriages the correct direction.
View attachment 188770
So I need to detail the guns up and finish the gun deck now. Glad to be done with that lower planking definately not my favorite part of ship building.
Yep they were backward like yours.Does that mean you had your gun carriage bases backwards too? Mine are already installed, so I guess I’m stuck.
I read that you used the tongue oil and a wash, and tried the tongue oil by itself. I just have more confidence in the poly, and my plan is to weather it similar to a plastic model. I think the poly will seal the wood and make the weathering easier. I've never tried putting anything over the tongue oil. I did try one section with black stain which is basically a wash but thought it came out too black. I've done tons of plastic models and weathering and think I'm more likely to be successful with my air brush. We'll just have to wait and see how it turns out.Looking good @MystRacing....just a note, though, I used tung oil on my BP, but in certain areas applied a very light black acrilyc wash after scratching the strips with a blade. The walnut planks will render a little bit darker than the bare ones. But the tung oil leaves a deep satiny finish. Keep up the excellent work.
The person I’m building it for loves wood look. I think I won’t weather it too much as a result, but will use the tongue oil. I’m not sure yet about the ornaments. Gold looks a bit gaudy with this ship. I’ve thought about silver that is blackened a little, but I’m not sure how to make it so yet.Yep they were backward like yours.
I read that you used the tongue oil and a wash, and tried the tongue oil by itself. I just have more confidence in the poly, and my plan is to weather it similar to a plastic model. I think the poly will seal the wood and make the weathering easier. I've never tried putting anything over the tongue oil. I did try one section with black stain which is basically a wash but thought it came out too black. I've done tons of plastic models and weathering and think I'm more likely to be successful with my air brush. We'll just have to wait and see how it turns out.
Thanks for the likes.
PS: good work.The person I’m building it for loves wood look. I think I won’t weather it too much as a result, but will use the tongue oil. I’m not sure yet about the ornaments. Gold looks a bit gaudy with this ship. I’ve thought about silver that is blackened a little, but I’m not sure how to make it so yet.

No wonder my guns aren’t sticking!Good work Jodie and nice progress. I wouldn't attempt to glue anything onto a surface that has been treated with Tung Oil. It just won't stick. I exclusively use Tung Oil but because I have access to 100% pure Tung Oil I have the luxury of diluting it with mineral turpentine to get exactly the colour or sheen that I like.
Thanks for the heads up Heinrich. I was concerned about getting paint to stick to it didn't even think about the glue.Good work Jodie and nice progress. I wouldn't attempt to glue anything onto a surface that has been treated with Tung Oil. It just won't stick. I exclusively use Tung Oil but because I have access to 100% pure Tung Oil I have the luxury of diluting it with mineral turpentine to get exactly the colour or sheen that I like.

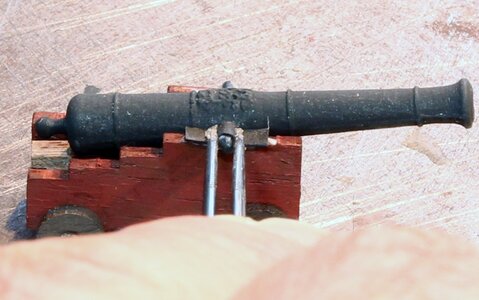
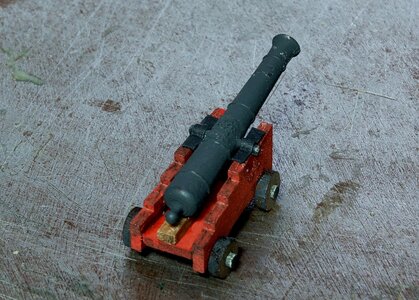
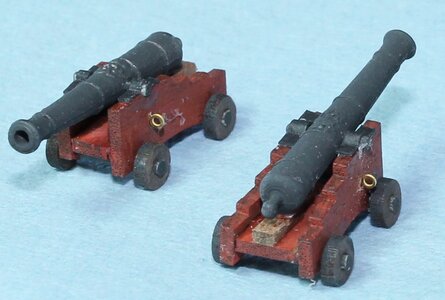

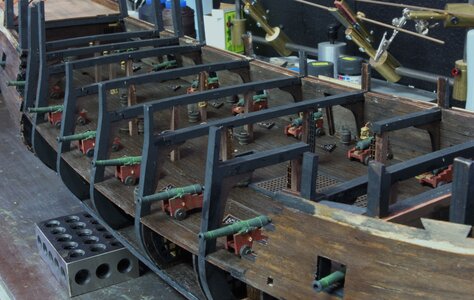
Thanks for explaining the steps you did on the cannons etc. Great job so far. It is good to see so many Pearl projects going on.Well I kind of took a break because I was contemplating my finishes and working on a couple other projects. I finally got back to the Pearl. It's about time to furnish the gun deck so I turned my attention to the canons. Like others I felt they looked pretty plain in kit trim. I didn't want to make a multi-day project out of the guns with a bunch of rigging but wanted some embellishment. So I added a quoin. I didn't bother making a triangle or anything I just cut some short pieces of wood and glued them in place. Then I used black card stock to create capsquares. I just eyeballed cutting these out with scissors and pressed them into place with tweezers.
View attachment 192406
And pressing into place.
View attachment 192407
Here's the finished capsquares, it only took about 30 minutes to do 18 canon.
View attachment 192408
And finally I added the brass eyebolts from the kit that I did not use on the lanterns, just for decoration. I need to do some cleanup of the glue and then add some more weathering.
View attachment 192410
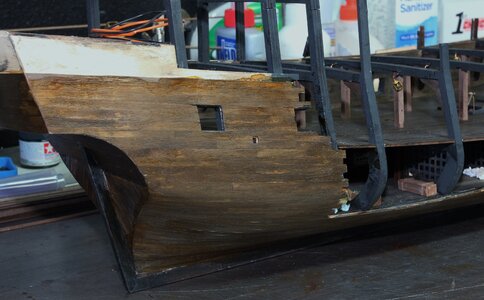
I also decided the side of the ship itself was too light colored and clean looking. So I threw caution to the wind and put a light coat of black stain on the hull. I liked the darkness but it seemed to monotone so I took my amber Shellack and put a coat of it over the top to bring out the wood. I feel like this created the used weathered, but no beat to pieces look I was hoping for. I think it'll have a nice contrast with the darker black wales etc.
View attachment 192414
View attachment 192415
View attachment 192417


Good to see you back at it, Jodie! I think you were the furthest along on this iteration of the Black Pearl and I got a lot of good tips from you. You do fine work. Beware of the shifting illustrations going from one version to another.I didn't entirely quit working on this model but did take a pretty long break. The admiral told me she wanted me to finish this model, so I'm back at it.
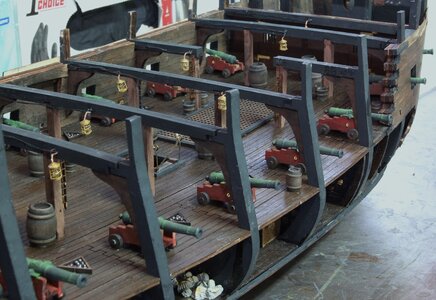
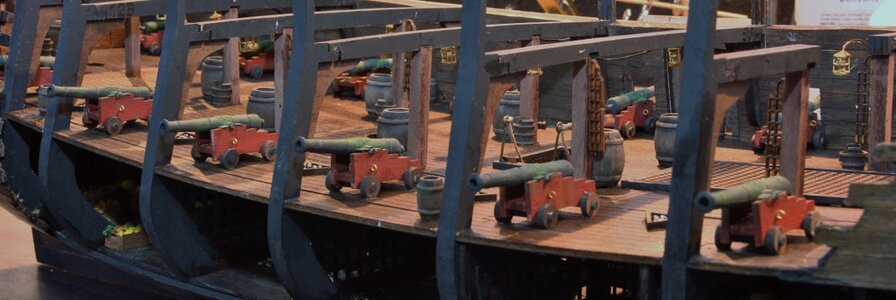
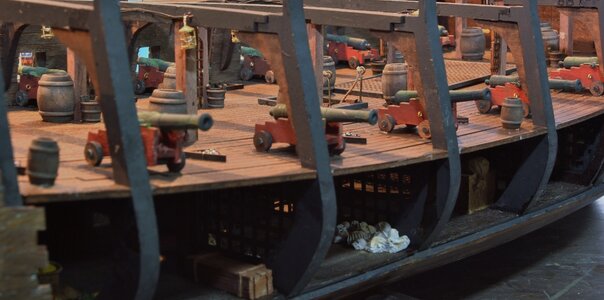
It's finally time to put on the canons and barrels etc. on the gun deck. I went ahead on put the canons buckets and barrels along with the canon balls and triangles on. I thought about rigging the canons, at least with the large rope around the knob but decided that most people that see this in real life won’t think anything about the canon rigging.
View attachment 210198
View attachment 210199
I also decided that what was there at this point was enough. It looks a little sparse from the top, but here’s close to the view that will actually show with the next deck on. I can also add some more details along the front at any time, if I decided more would look better. This was with the shop light on above the model the color in the previous pictures were taken in natural light so are much closer to the in person appearance..
View attachment 210200
View attachment 210201
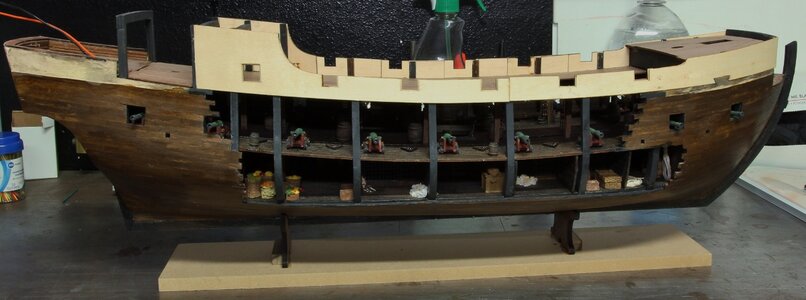
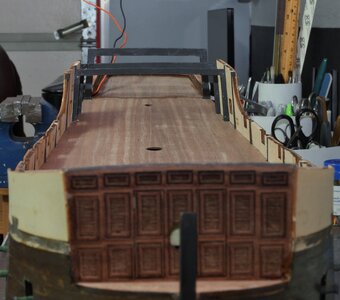
So next up I put the main deck on. This took a bit of trimming to get to fit in easily but not a lot, because I had used the deck to set the spacing when I glued the ribs on way back near the beginning.
View attachment 210202
Here’s the three parts that were included for a stand. The walnut stand piece on the right was broken it two places. Don’t know if I did that or it came that way. I’ll take credit for it being as I don’t know any better. The included top grade particle board is a bit of a disappointment with the part in the manual appearing to be a nice piece of grained wood.
View attachment 210203
And here it is put together with a couple 3/8” square scraps glued at the bottom to reinforce it. I’ll probably make a nice stand out of something different later. I traced the shape of the risers so I could make templates to cut them out of some other wood. I’m using this as a building stand so I’m pretty confident I would just break it without the reinforcements.
View attachment 210204
Here’s the ship sitting on the stand with a few more parts included. I added the upper plywood sides and the cross member below the foredeck as well as the foredeck. These parts fit with a relatively minimal amount of adjustments.
View attachment 210205
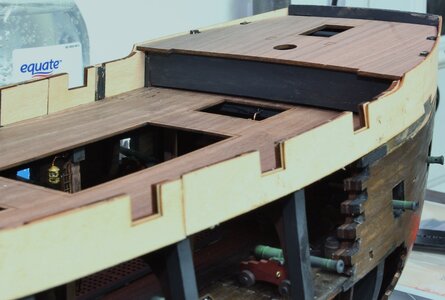
Next was adding the insides of the bulwarks. I was careful at this point to make sure I had the plywood sides lined up with the edge of the deck to form a nice curve. It took some sanding to get the inner gun port lined up with the outside but not nearly as much effort as the gun deck needed.
View attachment 210206
View attachment 210207
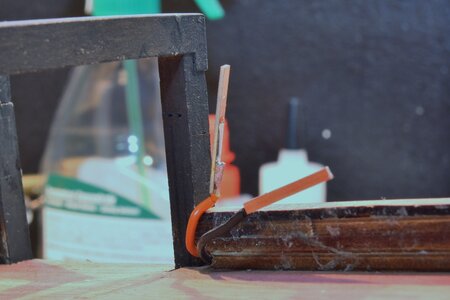
I also cut the wires from below and soldered them to a couple strips of circuit board. I discussed earlier that these were for building model railroad track is where I got them. I then cut the circuit board strips and glued them to the back of the frame. Once I get some black paint on the orange wire they should be well hidden and all of the lantern wires can be soldered to the terminal strips. I didn’t take a photo of the strips after they were cut and glued in place but I’m sure I’ll get one down the road.
View attachment 210208
