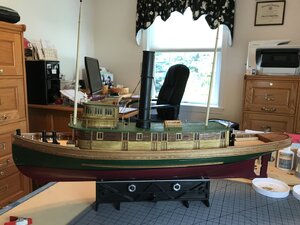
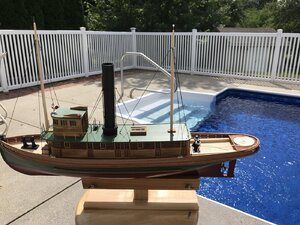
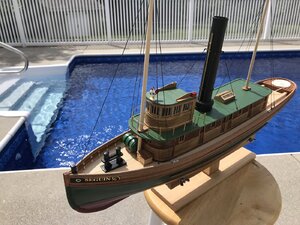
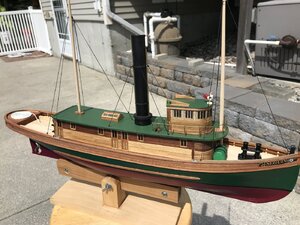
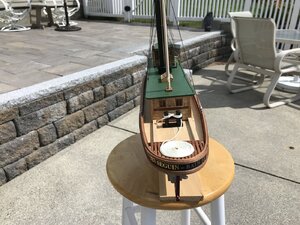
Bluejacket Tug Sequin 1/4” scale

I am a fan of the contrasting wood color tone.
Was there much difficulty in bending the walnut? Did you soak in water for a day first?

Love the chicken and the black smoke stack.
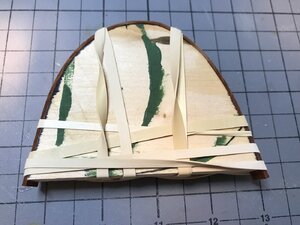
Yup, the Mahogany was a tough bend. I made a outline form of the stern, soaked the Mahogany in very hot water, finger bend it to test the pliability and repeated the procedure until I could bend it around my “form/jig”. Once the Mahogany was attached to the “form/jig” I placed it in a bowl of hot water and let it soak overnight.

43658614-FD54-4330-BAED-F3126D4261EA.jpeg

Sounds like a lot of work, but the end result was a very nice curved piece that fit.

Jan
 
Rainy day, excuse to work in the boatyard:

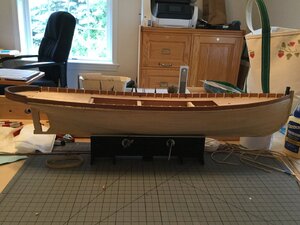
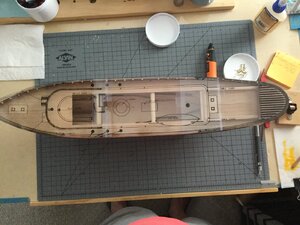
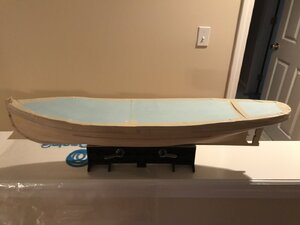
Making progress on the deck. Glued in forty two frameheads. Found another of those pesky errors. While sanding the hull after planking, I inadvertently broke off most of the vertical posts that were added to the frames prior to the frame and keel assembling. I cut and glued in some new ones before I stared the bulwark planking. Unfortunately they were too short.

777D864C-3813-4CBD-A1DF-310D4D73E93B.jpeg
I replaced them with new Mahogany pieces while in the process of adding all the frameheads. Those will be a reminder when I look at the build in the future.

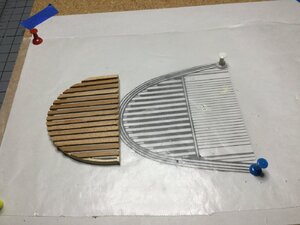
Next on the agenda was the building the stern grating.

50C062A5-296B-43D3-ADC4-FBF9B6790877.jpeg

This part was fun but time consuming. After couple of false starts I managed to get it done.

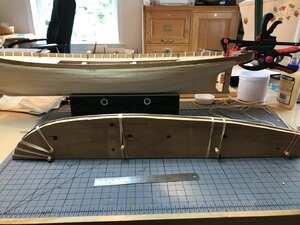
Last on the agenda for today was make a jig to bend the bulwark cleat, two 1/16" square pieces of Mahogany 25" long.

D8AEA881-6820-4F83-AF0C-81B233924F34.jpeg

I used the left over cutout that the deck was attached to as a template, traced the curve of the deck onto a piece of 1 X 4" board, added some dowels and viola, I was in business.

In the background of the picture you can see the stern grating being glued in place.

Jan
 
Last edited:
The stern gratings will blend in beautifully with the mahogany - yet retain its own distinctive character. That is the beauty of working with contrasting woods.
 
The Hull:

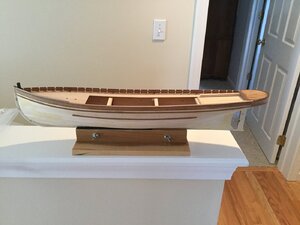
A bit more progress. The bulwark cleats have been installed, the Port side is complete with the cap rail and rubbing strakes having been added. The cap rail was a bit tricky, I broke several of the 1/16 X 1/8 inch Mahogany strips trying to bend the them edgewise to follow the curve of the bow. My final process was to steam the pieces, start a gradual bend, let them dry on my "jig", steam them again and continue the gradual bend. I took several days before I was happy with the outcome.

B3A38883-09E3-486F-9C31-D3D869826D99.jpeg

The Starboard pieces are in the "jig" drying.

So far everything for build appears to be in the right place.

E80F95CC-C7EB-4E6F-A20E-B554717F6BF0.jpeg

The overlay I made has been a great help. It's been easier to use to spot items on the deck than trying to scale them from the plans.

Jan
 
Last edited:
Another rain day, Thunderstorm cells moving through. Good day to work in the boatyard:

Managed to finish the cap rails and rubbing strakes on the S’board side. Spent a little time masking the areas that will not be painted.

78C36380-C126-4E04-8BD9-5697E8CA2BBC.jpeg

I looked at the hull and thought “maybe a deck gun, a conning tower, diving planes and couple of torpedo tubes”. :p

Jan
 
Last edited by a moderator:
Hi Jan. Now you are talking. I so wish there was a truly detailed kit available of a submarine. But back to business. Your hull looks beautiful and very very neat. Well done!
 
Another wet day and some time in the boatyard:

A little more work on the hull getting the final paint scheme in place.

E89100B0-56A0-4871-95AC-4777AF2CC61E.jpeg

I have to add the black water stripe between the red and green colors, add the propeller and rudder to complete this part of the build.

Jan
 
Last edited by a moderator:
Love the colour scheme Jan! Its the same as the Haarlem's! The maroon and black combination is such a classy one!
 
Another rain day, Thunderstorm cells moving through. Good day to work in the boatyard:

Managed to finish the cap rails and rubbing strakes on the S’board side. Spent a little time masking the areas that will not be painted.

View attachment 164348

I looked at the hull and thought “maybe a deck gun, a conning tower, diving planes and couple of torpedo tubes”. :p

Jan
Jan
A very beautiful job that is already achieving some very impressive achievements
 
The hull:

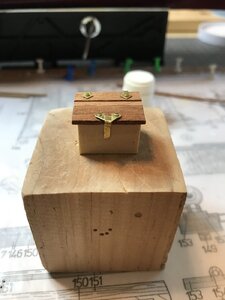
I had some fun cobbling together the ice chest.

1D5E5E85-5A40-4048-8FD6-83487ADCCD2E.jpeg
It’s built from bits and pieces that were left over.

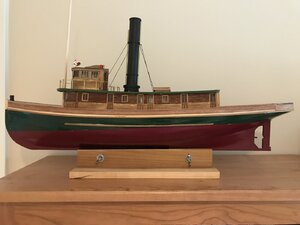
The hull is now complete. I‘ve ordered a 95mm lifeboat kit, the block of wood supplied in the kit was to be carved into a lifeboat. My earlier experience with carving was a disaster, hence the kit order.

26E2BDDF-1D29-42DF-8D30-7A69CD2758EC.jpeg

I’m pleased with combination of colors on the hull. When I started the build I had color scheme in mind and this result is very close.

Jan
 
Final Assembly:

I had time today add the deckhouse to the hull, set and rig the masts and add bits and pieces to the deck.

C026411D-CB73-4B1B-B185-E48A9F734500.jpeg

9B80EEE5-F117-42A3-89E4-B11898B2DF83.jpeg

72222738-7E67-437A-80E9-8CCCB0D7B35A.jpeg

B1D6F835-1FA9-43D5-9DA2-552717C1C90C.jpeg

Last construction will be the lifeboat kit, which hopefully arrives next week. I also need to go to the Lumberyard to get material to build a baseboard.

Jan
 
Back
Top