Heinrich & Dean, thanks for kind words,
Don, agreed, the transom is tricky. Did some cleanup on it but will wait until the back deck is in place before taking it any further.
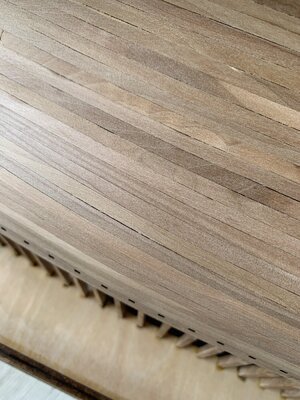
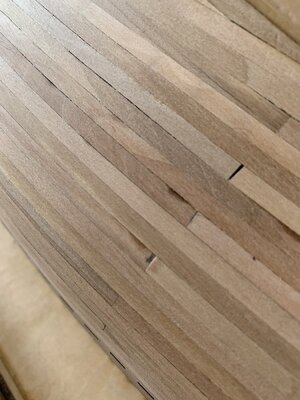
Did cleanup work on the deck beams. Got it sanded and polished it up a bit on the exposed side of the deck (right hand in photos).
It's hard to show the polished effect on an iPhone camera, but I may leave the beams that way.
View attachment 212953
View attachment 212956
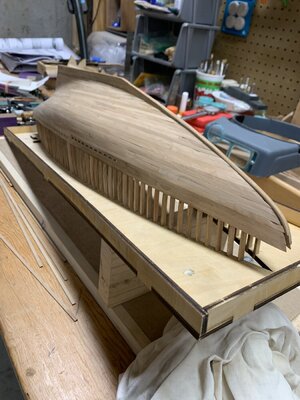
worked on fitting of the decks to make sure the masts openings/deck opening were aligned
and tried to figure out how to clamp the deck while gluing.
I've been planning on building some Ed Tosti style clamps but haven't got there yet.
Instead I took the high tech approach and used craft sticks and small clamps to put downward pressure on it. It's actually pretty effective.
Still trying to decide how to finish deck and beams.
I'll be using the kit provided deck as I want this to be an "out of the box" build.
Normally I'd want to plank it myself but I actually want to get this one finished (a challenge for me).
I was going to try a warmer darker honey colored stain on the nibbling planks (easy for starboard, not so easy on port).
Maybe I will just stain on parts 24-29 when they go on above the nibbling planks.
Since deck installation has to be done next, I've got some decisions to make!
View attachment 212955
Regards, Dave


")


")


