• Ships of Scale has incorportated an extra level of security when you log In. Please follow on-screen prompts to acknowledge that you are not a robot via a "Check Box" or a "Pictorial Check Box Puzzle". This is needed due to higher level of AI Activity Security.
  • SUBSCRIBE TO SHIPS IN SCALE TODAY!

    The beloved Ships in Scale Magazine is back and charting a new course for 2026!
    Discover new skills, new techniques, and new inspirations in every issue.

    NOTE THAT OUR NEXT ISSUE WILL BE July/August 2026
  • Win a Free Custom Engraved Brass Coin!!!
    As a way to introduce our brass coins to the community, we will raffle off a free coin during the month of August. Follow link ABOVE for instructions for entering.

Bluenose Model Shipways 1:64 Beautiful ship

Here are some of the details that need to be addressed on the hull
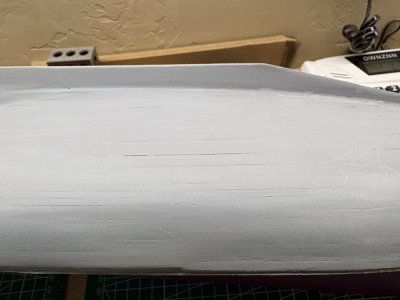
IMG_0419.jpeg


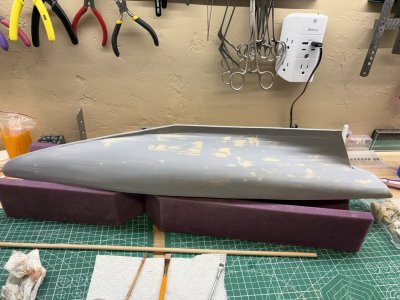
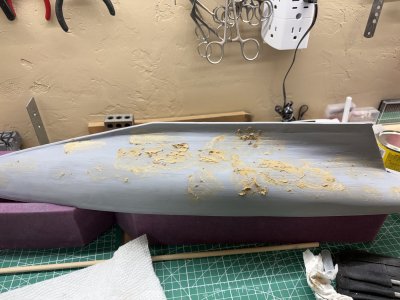
I sanded the primer and brushed off the dust. (May be best to do this outside) I applied wood filler to the most prominent areas. The wood filler did not seem to adhere to the primer very well. It may be necessary to use some of the putty used for plastic modeling like Tamiya putty, but we will see.
IMG_0422.jpeg

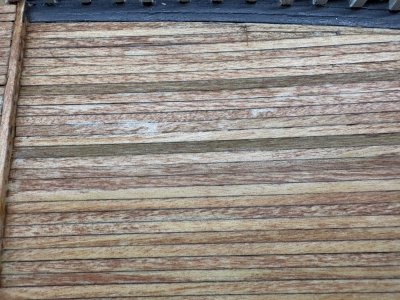
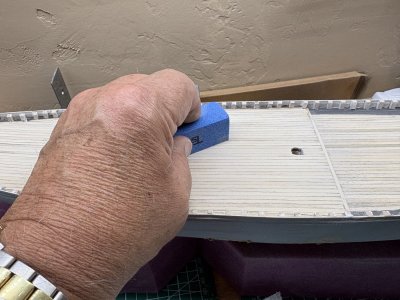
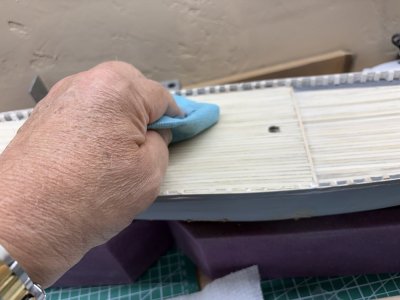
While waiting for this to dry I used a fine sanding block actually used for manicures to sand the deck. It was then brushed off and wiped with a tack cloth.
IMG_0425.jpeg

IMG_0426.jpeg

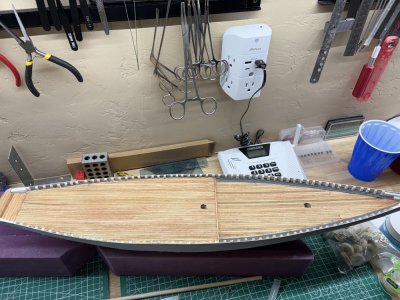
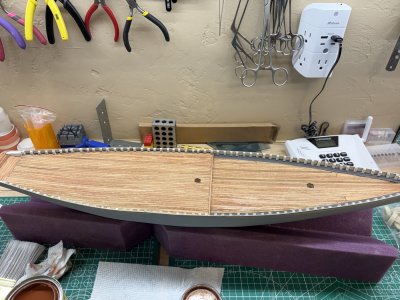
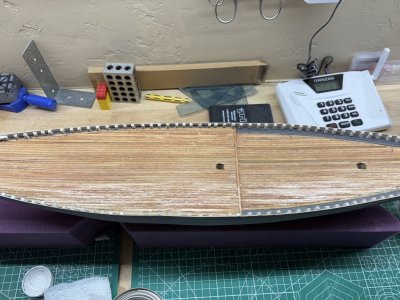
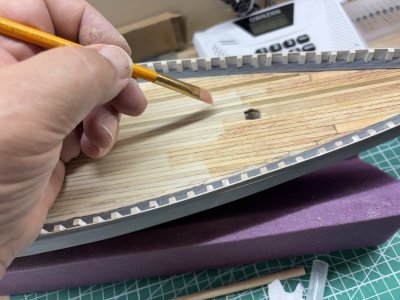
The deck was then stained with minwax colonial maple stain.
IMG_0427.jpeg
IMG_0429.jpeg
 
Last edited:
Here are some of the details that need to be addressed on the hull
View attachment 636942


I sanded the primer and brushed off the dust. (May be best to do this outside) I applied wood filler to the most prominent areas. The wood filler did not seem to adhere to the primer very well. It may be necessary to use some of the putty used for plastic modeling like Tamiya putty, but we will see.
View attachment 636943

While waiting for this to dry I used a fine sanding block actually used for manicures to sand the deck. It was then brushed off and wiped with a tack cloth.

View attachment 636944

View attachment 636945

The deck was then stained with minx colonial maple stain.

View attachment 636946
View attachment 636947
That gives the deck a nice warm color, Rob.
Regards, Peter
 
After allowing the filler to dry I sanded it. You can see a lot of areas where the filler covered the gaps between planks.

IMG_0432.jpeg


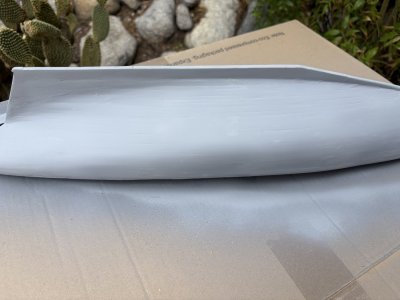
A second coat of primer was applied. The hull is noticeably smoother.

IMG_0433.jpeg

I will probably do one more cycle of sanding, filler, sanding, and primer. As I said before, I do not want the hull to be so smooth that you can not see any of the underlying planking.
 
What wood was used for the decking. I'm making another YQ Bluenose and didn't like the plywood deck that was provided. I want to upgrade this time.
 
What wood was used for the decking. I'm making another YQ Bluenose and didn't like the plywood deck that was provided. I want to upgrade this time.
The deck planking is 1/16 x 3/32" strip. I believe it is basswood. If you look earlier on I was not pleased with how it looked when first put down, However with sanding it really became much better. Here is a source.


Rob
 
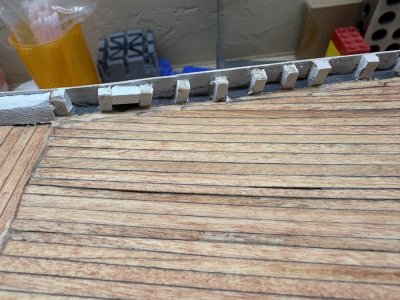
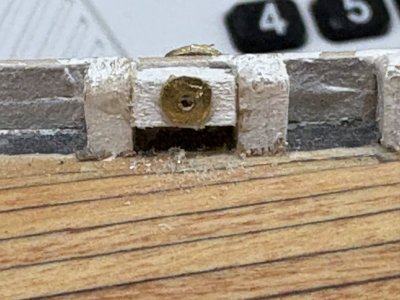
After looking at the suburban ship models website and his wonderful build of the Bluenose, i saw that there are mooring chocks at the stern of the ship. These are a small detail that can be easily missed. I used some leftover stanchions for the support block that goes between 2 rear stanchions.

IMG_0438.jpeg

A small hole was drilled through the support block to make sure where to place the exterior part of the chock. Two cast metal pieces are provided. but they are poorly made and looked out of place. Instead some thin brass sheet was used. The sheet was cut using a jeweler's saw and the corners rounded using the rotary sander of the nail drill. Holes were drilled in using the nail drill and the brass sheet glued into place using CA. These will be painted later to match.

IMG_0440.jpeg
 
The third coat of primer covered a bit more. I am going to stop at this point with the primer to let some of the underlying structure show.

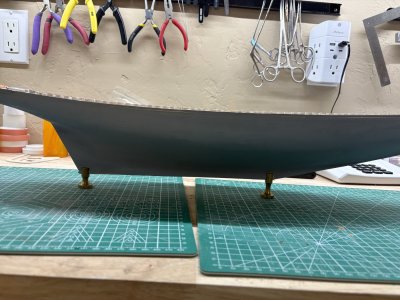
This ship came with 2 pedestals to display it on. In order to get the ship in its right orientation as the stern sits a little deeper in the water, I measured from two known points on the plans (where the masts are) down to the low water line shown in the plans and put in points. I then drew a line from those points. I slid along the pedestals (one is shorter than the other) until the line was level. I then set the pedestals to those areas. Of course with my usual luck the keel would not slip into the pedestals and those areas had to be chiseled away a bit for the pedestals to fit.

IMG_0467.jpeg

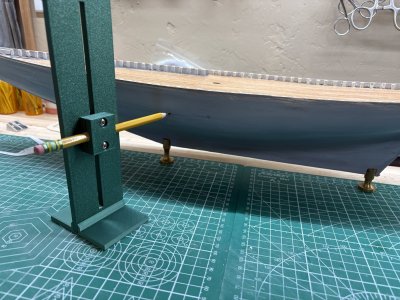
I used a waterline marker that was 3D printed at my local library. The plans for this were published by SOS member KeDennis who has kindly released them and others for the ship building community.


I placed the pencil at the height of the line I drew and followed along the hull. It worked well.

IMG_0469.jpeg

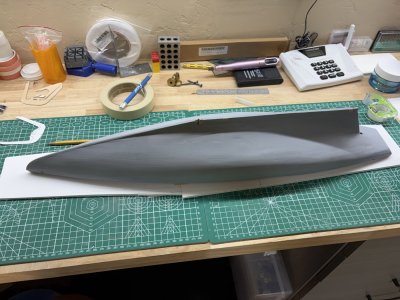
In order to start on the rails I taped together some foam board and put an outline of the deck on it.

IMG_0468.jpeg
 
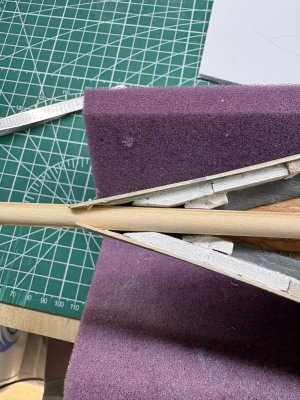
Before adding the rails to the top of the bulwarks, I wanted to make sure the bowsprit could fit in. I took a 1/4"dowel and see how it fit with the knighthood hawse timbers and chafing blocks. The chaffing blocks had to be tripped back a bit.

IMG_0475.jpeg

I slowly pared back the bulwarks, especially the one plank closest to the deck until the dowel fit tightly.

IMG_0478.jpeg

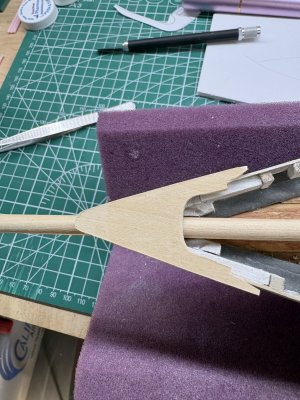
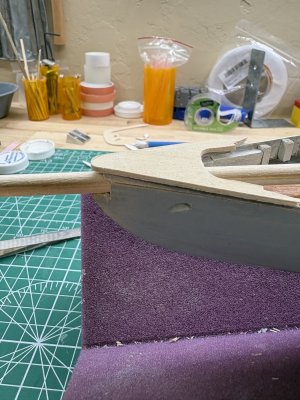
I dry fitted the bow rail cap to the bow to make sure the bowsprit would not interfere with the positioning. It fit easily.

IMG_0479.jpeg
IMG_0480.jpeg
 
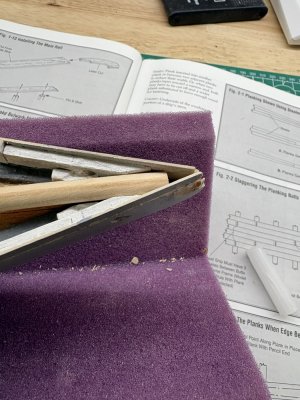
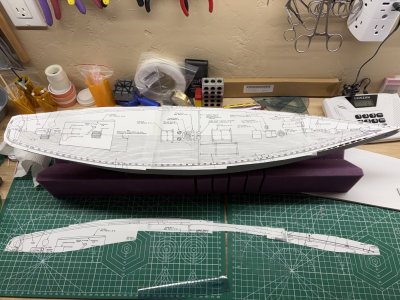
I will be making the rails out of some 1/16" sheets of basswood I have. To get some dimensions I copied the plans and cut out and assembled the outline of the ship which actually, for once, seemed to fit well. I then made 2 copies of the rail portion (the plans only show the rail on the port side). I plan on cutting these out after figuring where I want the scarf joints to lay. I will then glue these using rubber cement (one flipped over for the starboard side) and cut the pieces out of the boxwood sheets.

IMG_0482.jpeg
 
Before adding the rails to the top of the bulwarks, I wanted to make sure the bowsprit could fit in. I took a 1/4"dowel and see how it fit with the knighthood hawse timbers and chafing blocks. The chaffing blocks had to be tripped back a bit.

I dry fitted the bow rail cap to the bow to make sure the bowsprit would not interfere with the positioning. It fit easil
View attachment 638380
Nice work, Rob! We're running practically parallel!
 
Back
Top