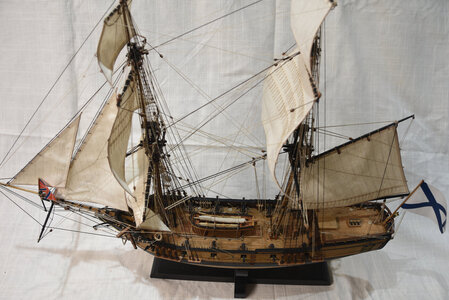
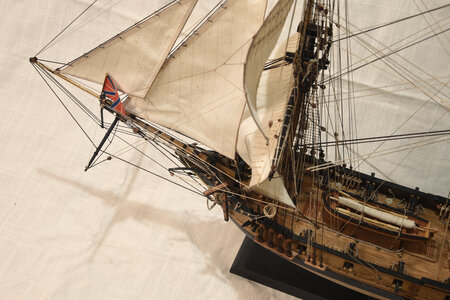
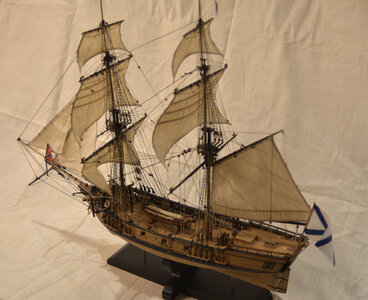
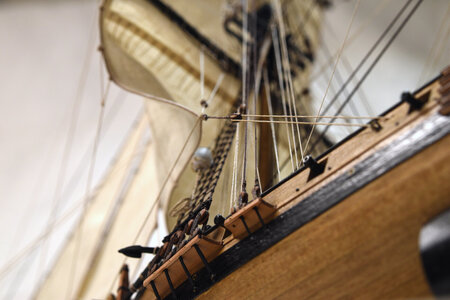
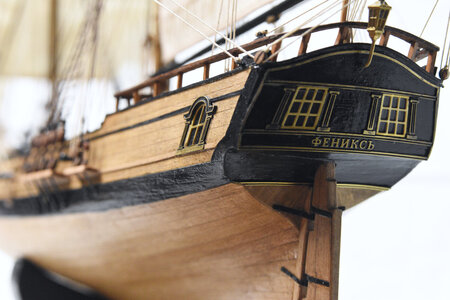
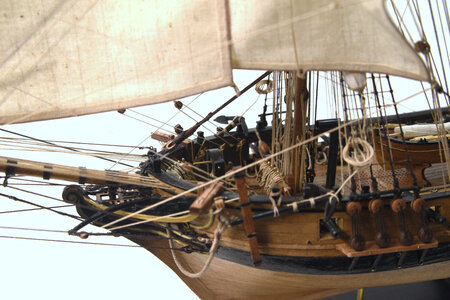
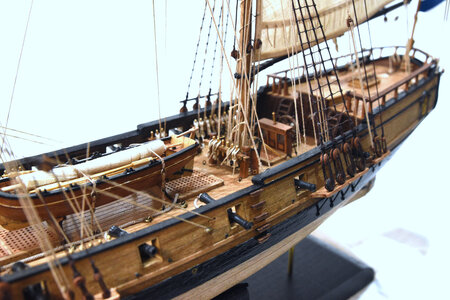
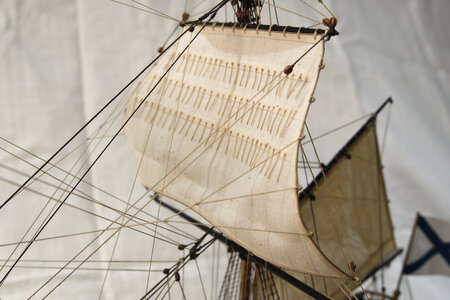
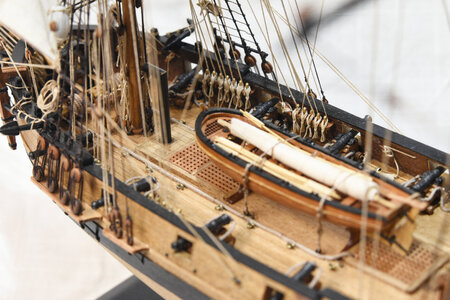
Brigantine Phoenix, by Master Korabel [COMPLETED BUILD]

You are sure to find the dropped blocks and tackle only after the ship is in final display case.

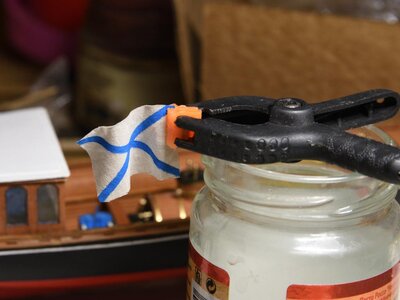
I like your flags, maybe you can post a small build log on tips and techniques used to make and hang them.
 
I have this kit on my "to get" list with the accessories they sell to go along with basic kit.

I hope Santa finds time to look at my list this year.
Well, if you were good the whole year, Santa will definitely drop something, hopefully what you are looking for, instead of yet another tie...
 
Here is my way of making flags and by all means it is not "my way or highway", instead yet another way of doing similar tasks.
There is another how-to article on our forum, fairly similar to want i was doing, so companying these two (and other resources), i am confident that anyone will be able to make its own way... Enough with "ways"....

First, i will make a document using any drawing program you are familiar with. The most important part is software capability to print in the "real" size so flags will not be either to small or too big... The software am using is called EazyDraw, it will cost $20 in licensing fees for the whole year. The software has some other licensed features, like templates, etc but i don't need them for now. Of course, any other drawing software will do the trick.

B1.jpg

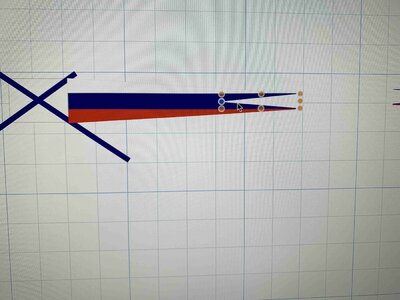
I have created a document, using different drawing tools, but mostly just lines, triangles and other geometrical forms.

B29.jpg

Every flag in this document consists of set of objects, lined up to make a desired form.

B20.jpg

For example, in this case the selected box is filled with a white colour, box line are set up for very light grey just to make sure i have some marks where to make a cut afterwards...
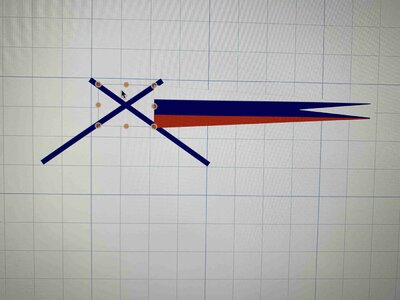
B21.jpg

B22.jpg

B23.jpg

B24.jpg
The white triangle selected below has been removed before printing, because i am printing on a white material anyway and don't need to add one more layer of colour on the material, but you can leave it as-is.
B27.jpg

The two blue lines are left a bit longer, to assist in lining up properly both sides before transferring image on material.
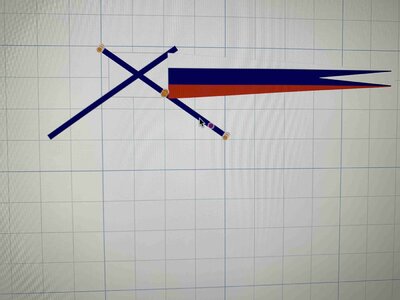
B26.jpg

I have done the same thing for other flag.

B25.jpg

For this flag, i draw two lines at the corners of the cross, again to assist with aligning process.. and i will cut the flag following those black lines.

B30.jpg

Once i am happy with drawing, i export a file into .pdf format. This is common file format for Adobe Reader or other software. The only reason for this step is that my computer i use to make a drawing, does not "see" the networked printer. Sorry, cannot help not using computer mambo-jumbo, as these things do make my day-to-day life... Exporting to pdf will make printing easier for me..

B31.jpg

Document exported in pdf and opened with Adobe Reader.

B33.jpg

When setting up document for printing, the most important step is to make sure the printing scale is set to 100%.

B32.jpg

When putting the transfer paper in printer tray, make sure that blank side of the paper sheet is facing up, if you are using LaserJet printer. For inkjet printers it might be different but you can easily testing the correct side...

....
 
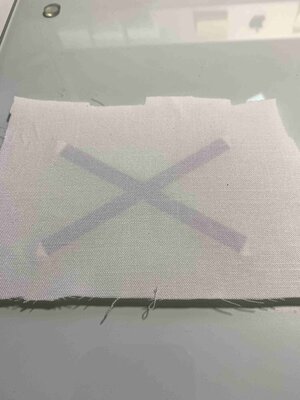
Once the printer did its job, we can start on second step, transferring the image to the cloth.

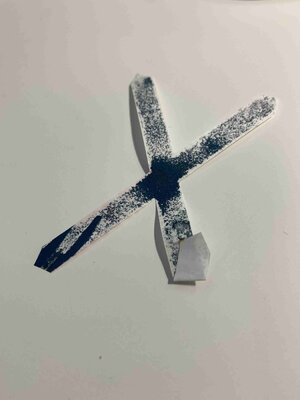
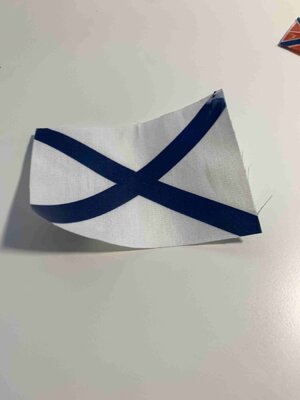
First we cut, in this case blue lines. The reason for cutting the lines and not just to cut a whole flag as a box, is that all those white areas in the flag will be transferred over to material making it very stiff. For situation where you actually cannot cut small pieces, like when you making a coast of arms or similar, than you might not have an option than to cut it as one whole piece..

B50.jpg

Here i left cross lines that will be at the bottom, a bit longer so i can line them up with a top part a bit easier...

B51.jpg

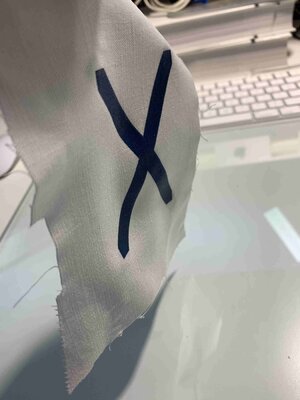
The material is ironed....

B61.jpg

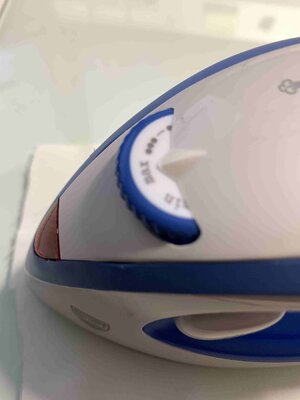
I am using traveling iron, you can "borrow" your home iron but i find it easier to use the small one... For this task, do not use steam...

B62.jpg

Making a sandwich, the bottom end is in place, transferring image facing up, then cloth...

B63.jpg

.. the top one is in place as well, but in the wrong way....

B64.jpg

If you iron it this way, you will ended up with a blue cross on your iron...

B65.jpg

Correct way, transferring image facing down..

B66.jpg

Turn the iron on high setting and wait a minute. Once iron is hot, place it on the work piece. Don't have to move it, just make sure all parts of the image are equally covered with the heat. If you miss one part you can come back and re-heat it again...

B67.jpg

B68.jpg

For this flag, i used iron for a two minutes, on highest setting. Once it is done, remove the iron.

B69.jpg

You can start peeling off the top right away or wait til material is not hot... it should peel easily... if not reheat that troublesome spot again. Until you remove the top part of the paper, you can reheat it with no issues. Just make sure not to overheat, as this is still a cloth that can get burned...

B70.jpg

B71.jpg

Bottom part is peeled off as well..

B72.jpg

B93.jpg

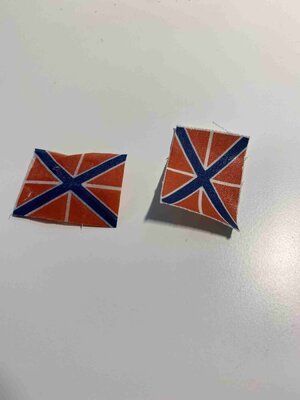
Now we are ready to cut a flag in the correct size..

B95b.jpg


B96.jpg

B95a.jpg

And the end result..

B97.jpg

B98.jpg

....
 
Once the flag is cut, you can run a tiny layer of fabric glue...

B73.jpg

.. to protect flag edges from loosing the thread... I put a bit on all edges and dry it out with fingers, same as with any glue...

B97.jpg

B98.jpg

Then i drop a bit of a glue to one edge and attach a line to it so we can mount it to the ship...

B99.jpg

That it is, flag is ready..

B100.jpg

I tested few different materials until i get results that are fine for me.. even tiny paper can be used. I ordered some rice paper so will try printing it on that material, just for test and fun....

B42.jpg

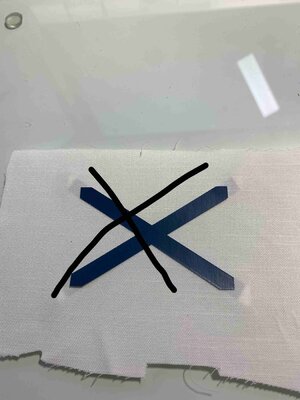
Some mistakes..

B40.jpg

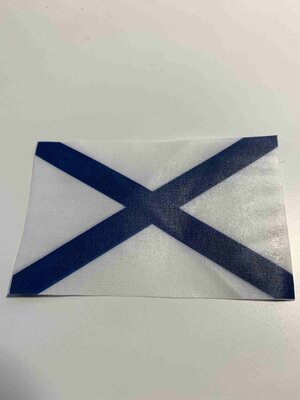
This is a situation when the white colour is also printed on the cloth, instead of just blue lines... the flag is very stiff and hard to make it look natural...
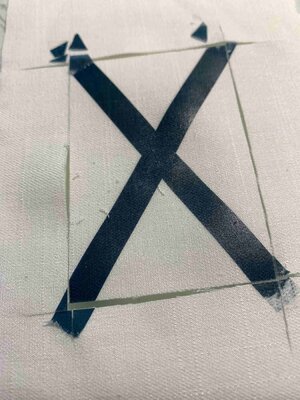
B43.jpg

B41.jpg

Hopefully this post will assist with future flag making tasks... and don't forget to disconnect the iron after you are done...

B80.jpg

Happy modelling...
 
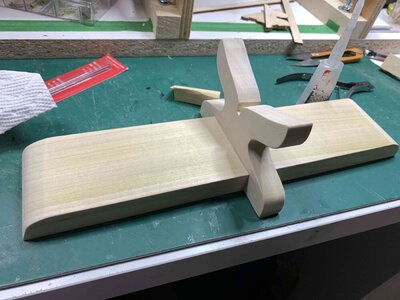
The stand is made out of some scrap poplar located in my workshop...

traced the hull ...

505.jpg

and transferred on the wood. Then cut the shape with a saw, run the bottom board thru planner few times and ...

500.jpg

Then i put a coat of oak stain but did not like the end result and finished with a matt black layer.

501.jpg

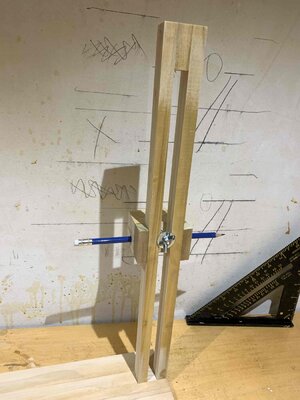
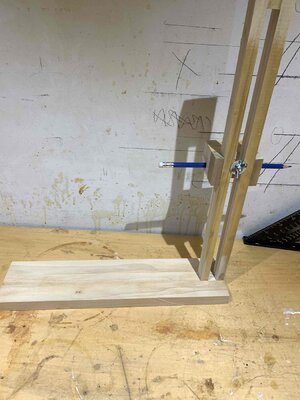
Extra holding parts are made out of brass tube and a 2mm steel rod which replaced the screw on the picture.

502.jpg


503.jpg

504.jpg

Happy modelling..
 
Beautiful ship she has become. You must be very proud! I like this kit and have it on my wishlist for a while. Your own input make her standing out from "the rest". Congratulations with this result and I'm curious which model will be the successor?

regards,
Pter
 
Beautiful final result my friend. I am very happy for you, but sad at the same time that I will not be able to follow along this build. How about the Polotsk some time in the future?
 
I know, because I follow your build log from the ground up. As I said before and will repeat again, your patience and diligence have done their job! You have crafted a beautiful model to be proud of. ThumbsupThumbsupThumbsup
 
Back
Top