Kurt Konrath
Kurt Konrath

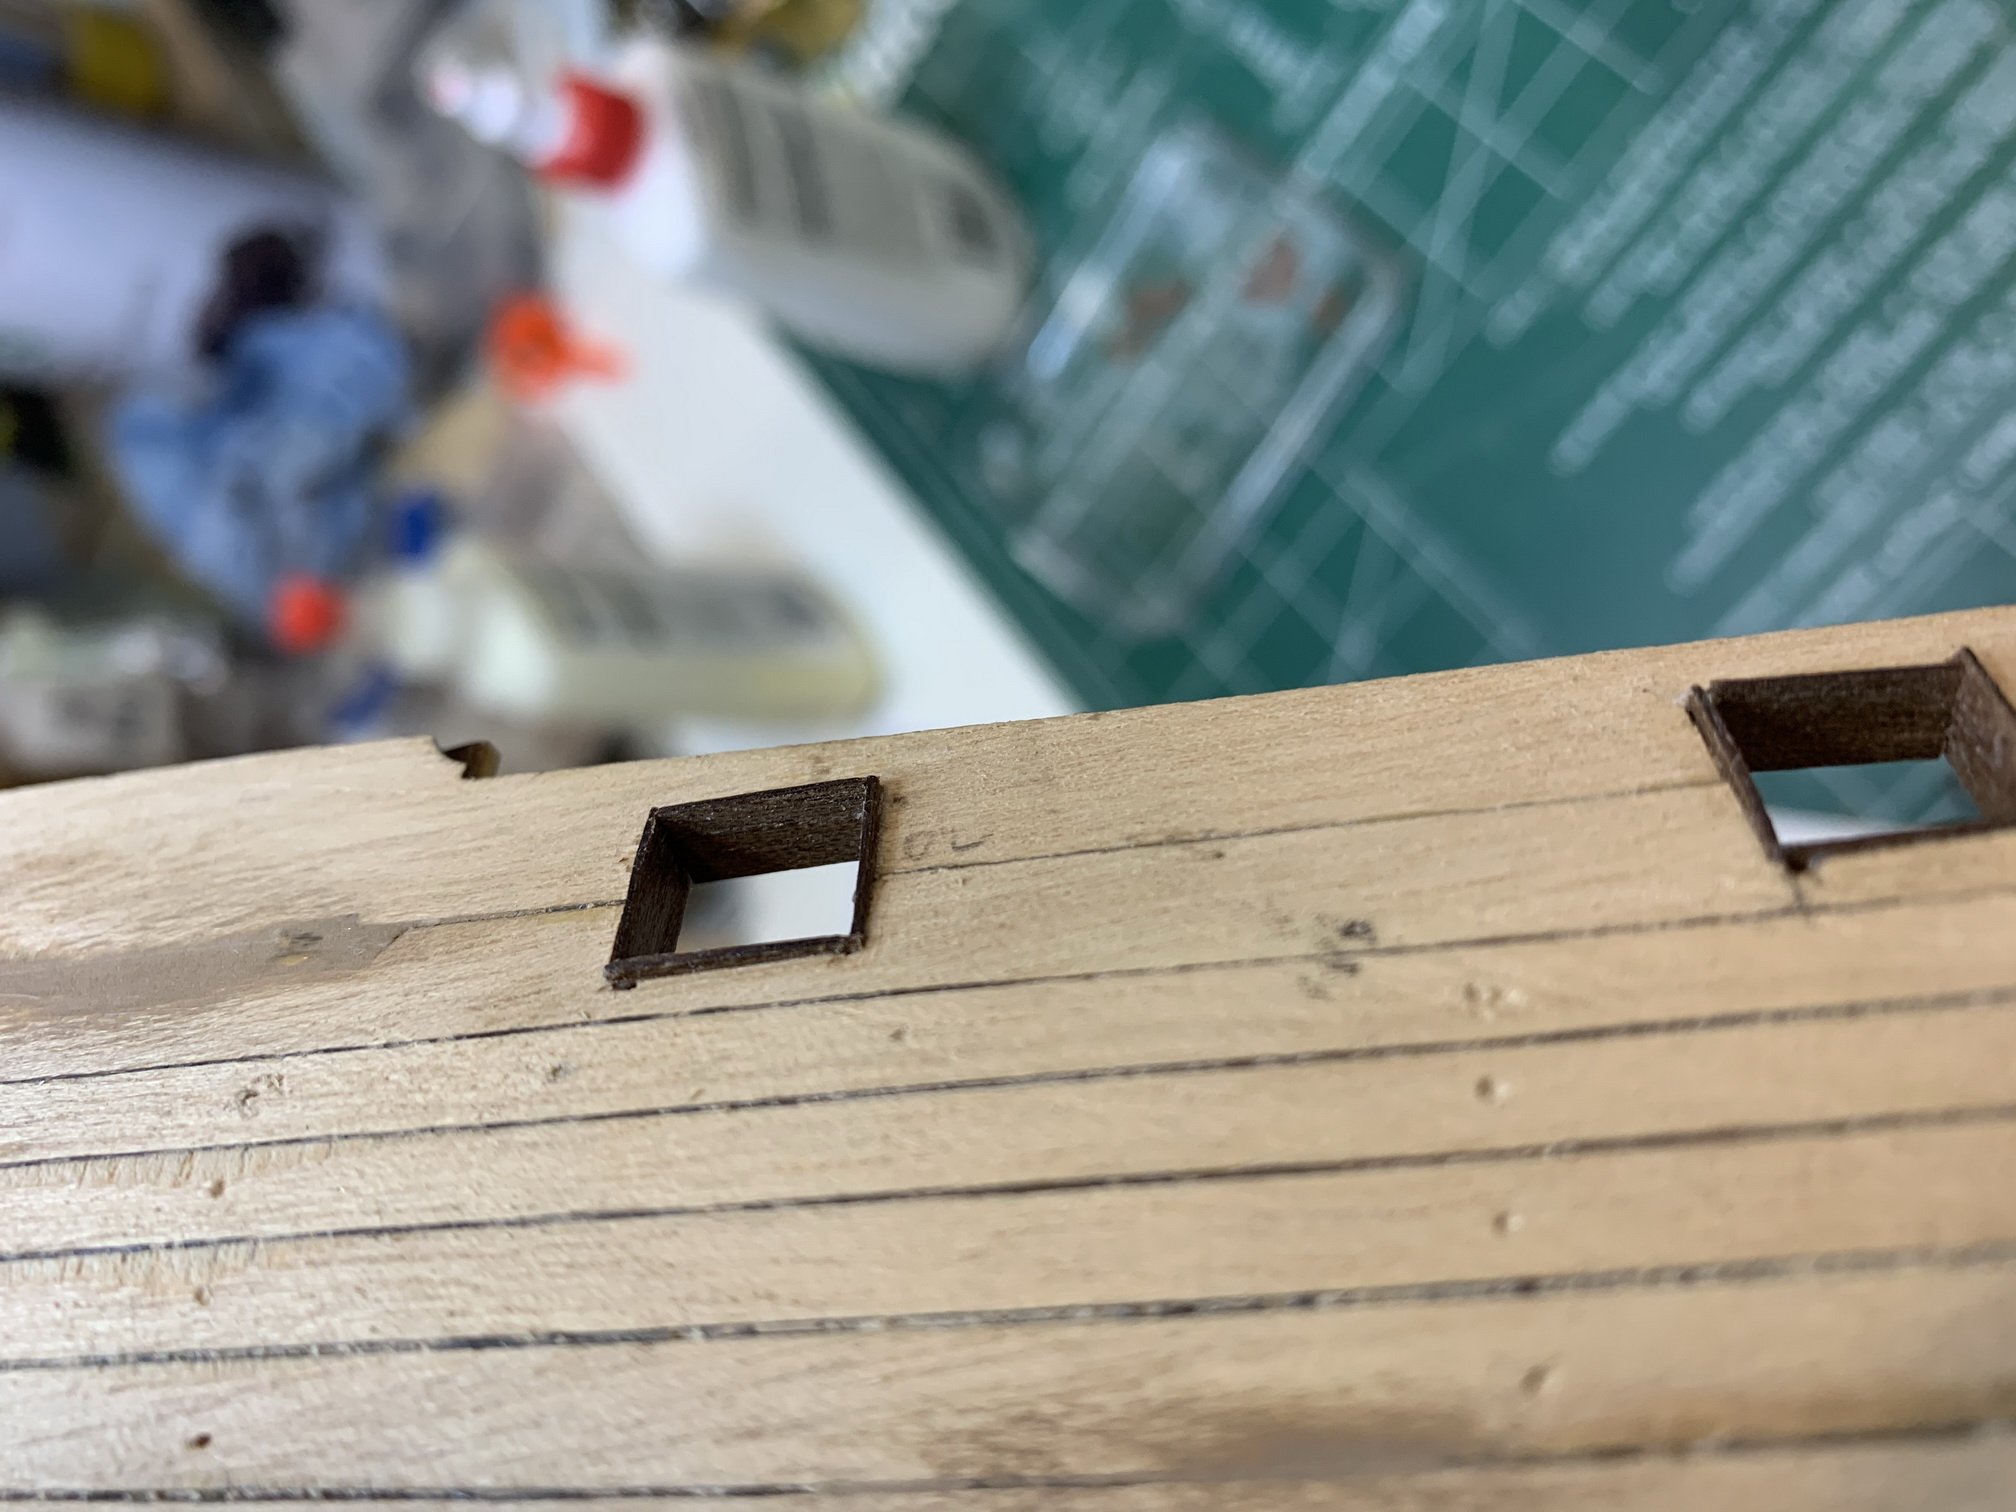
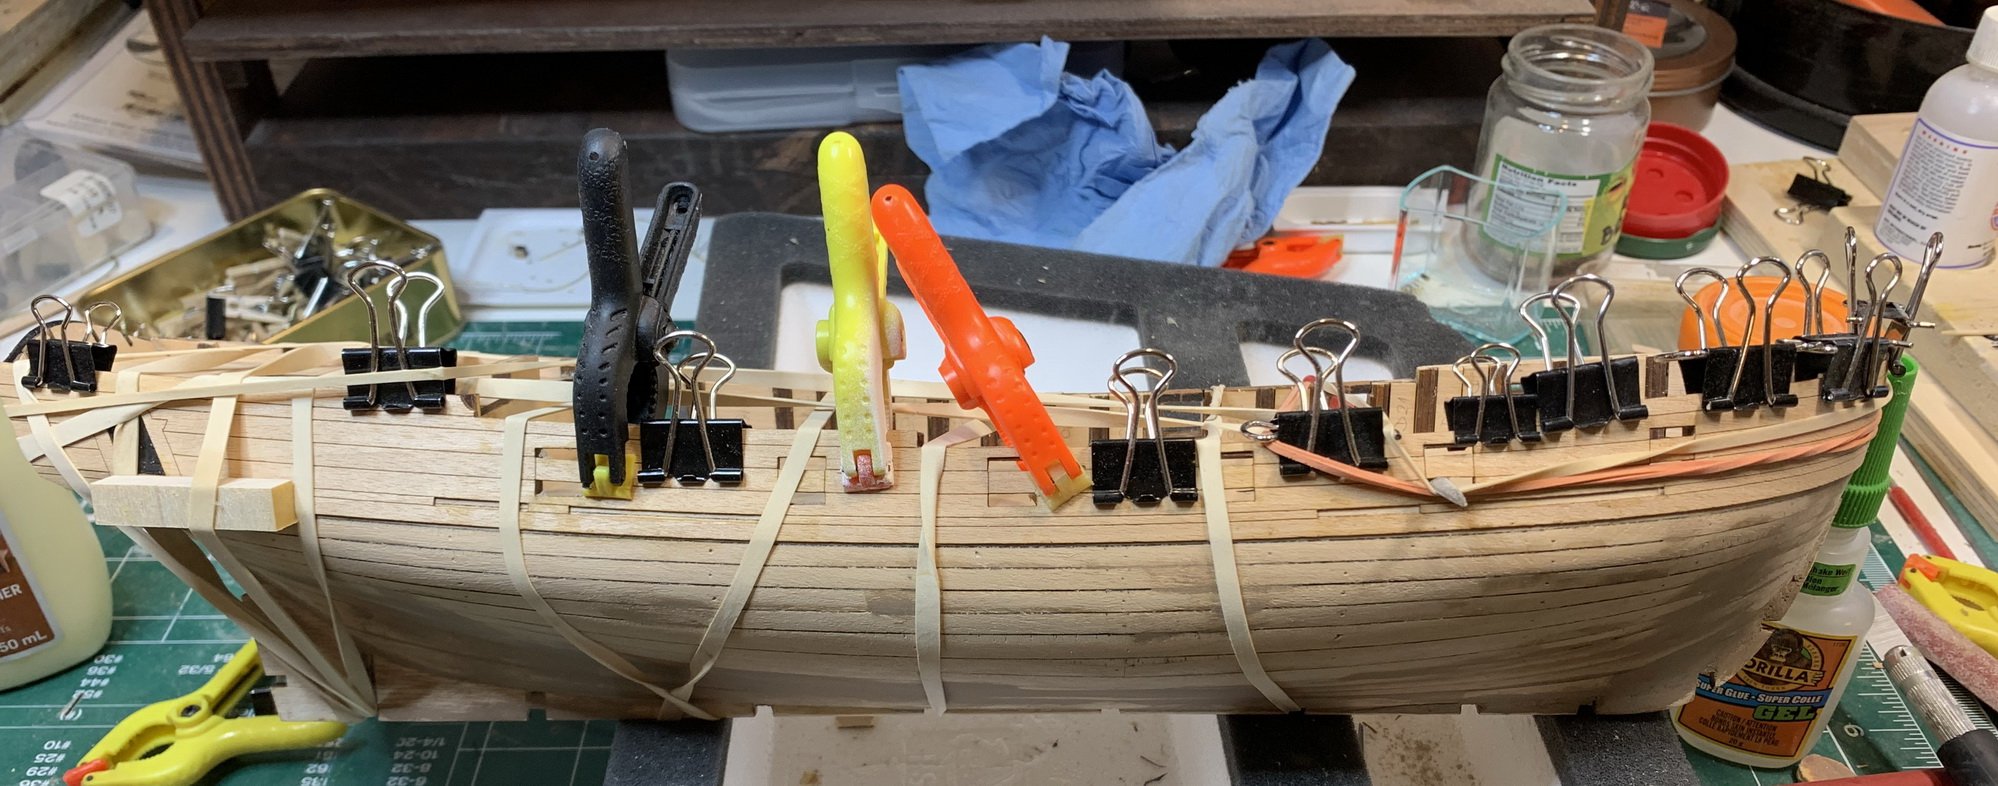
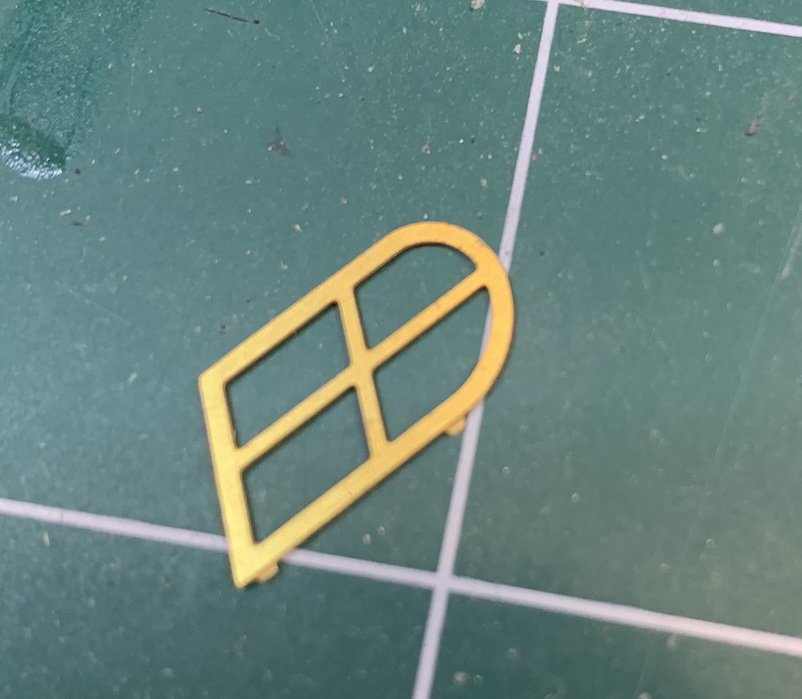
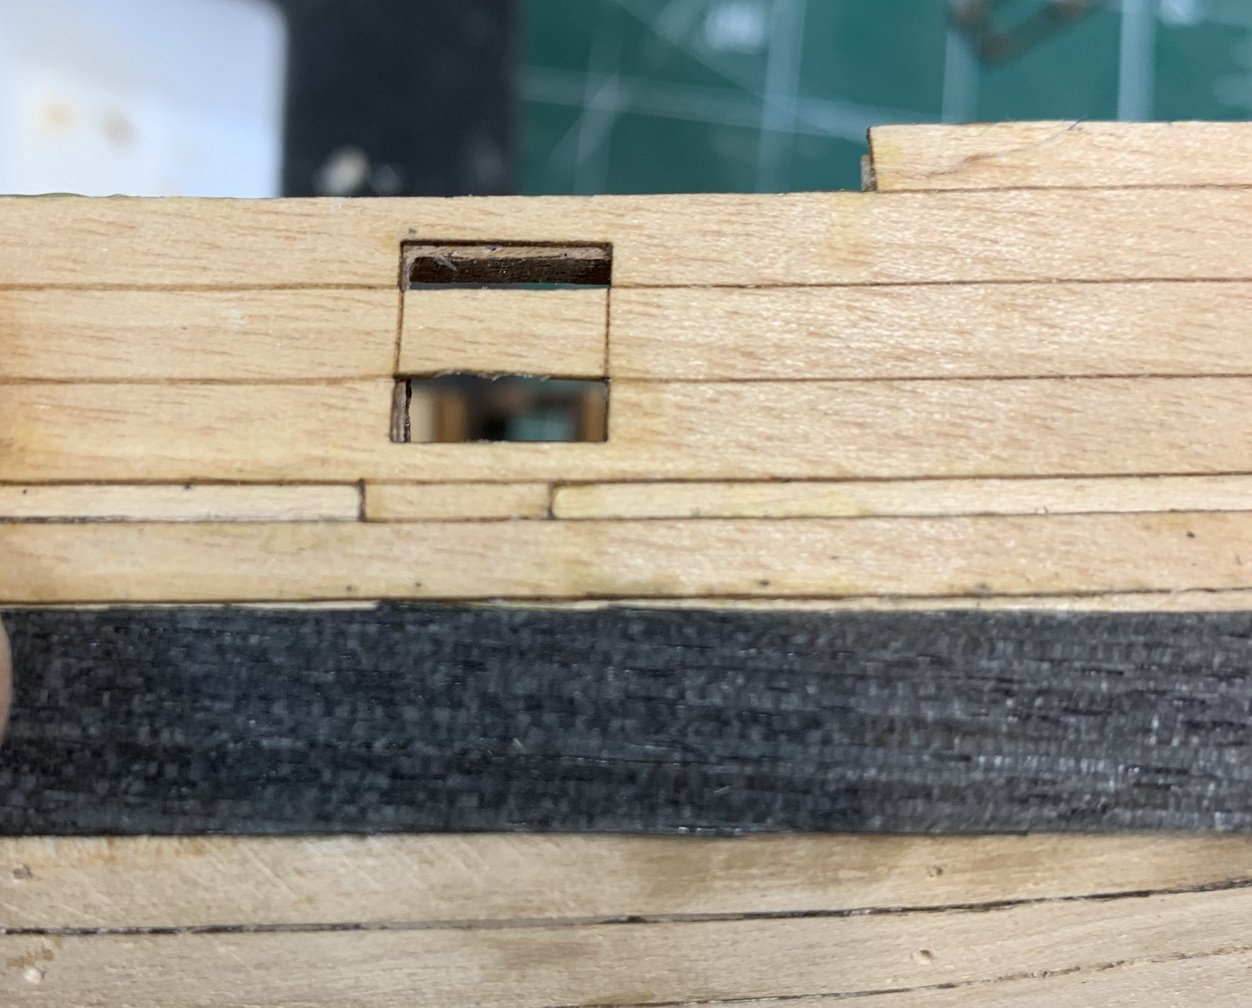
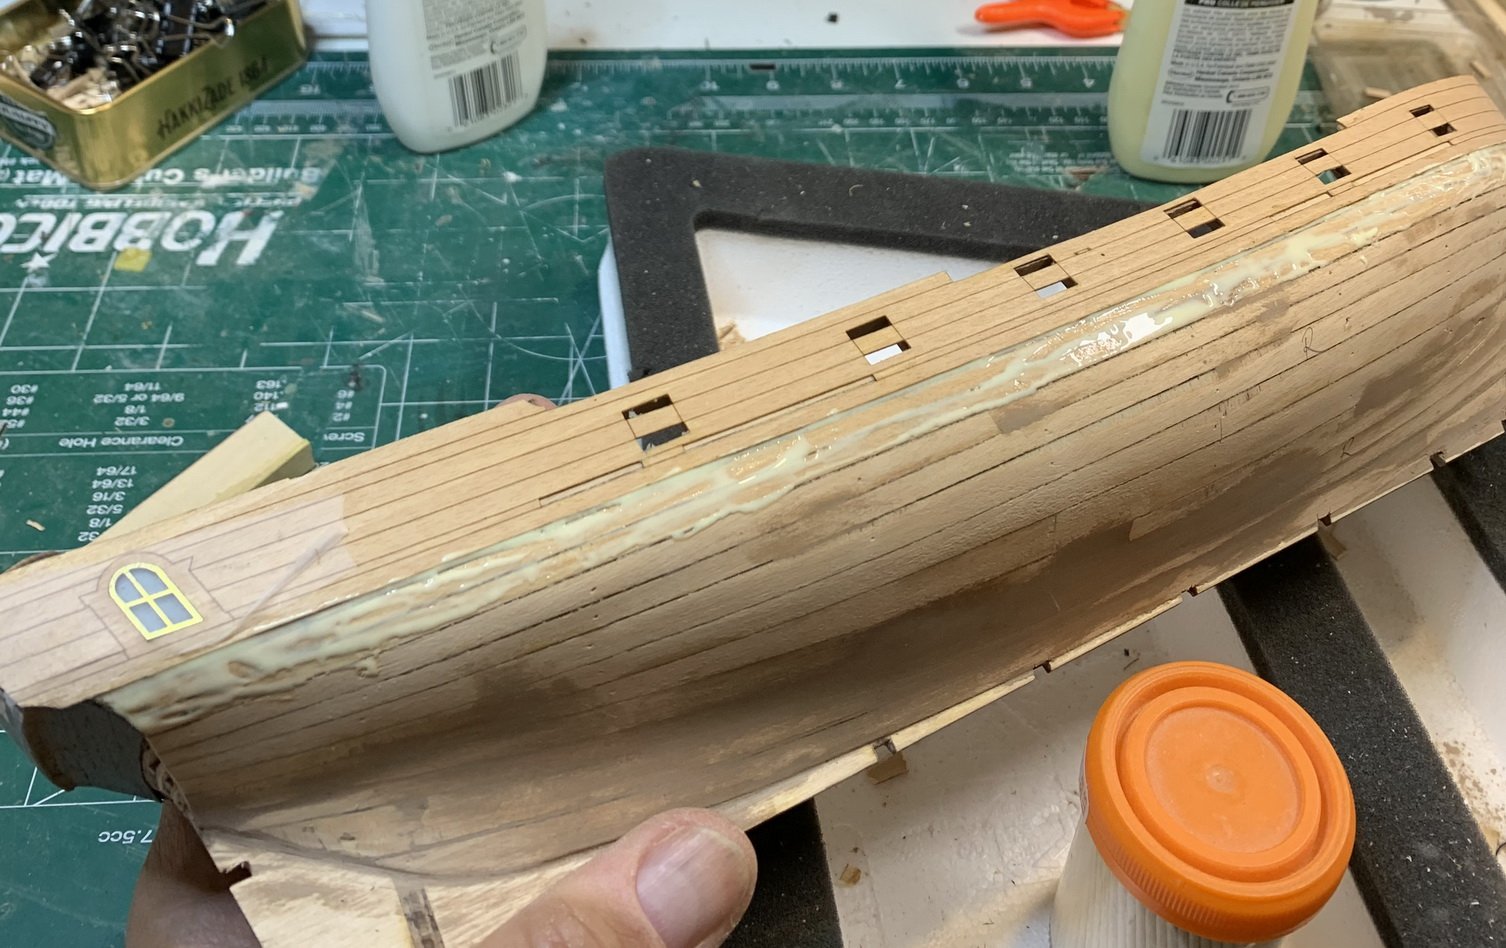
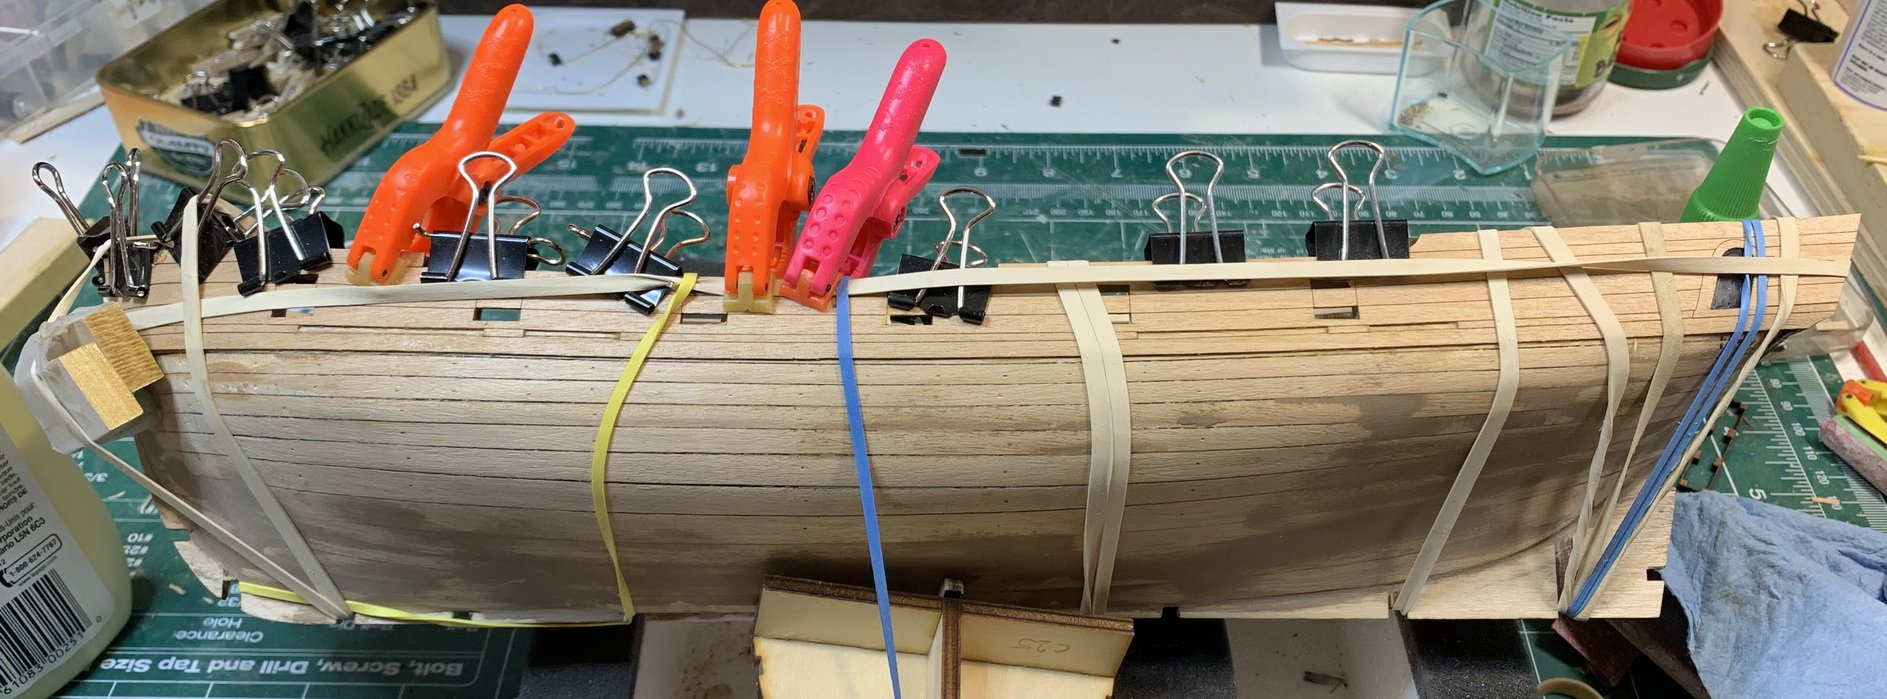
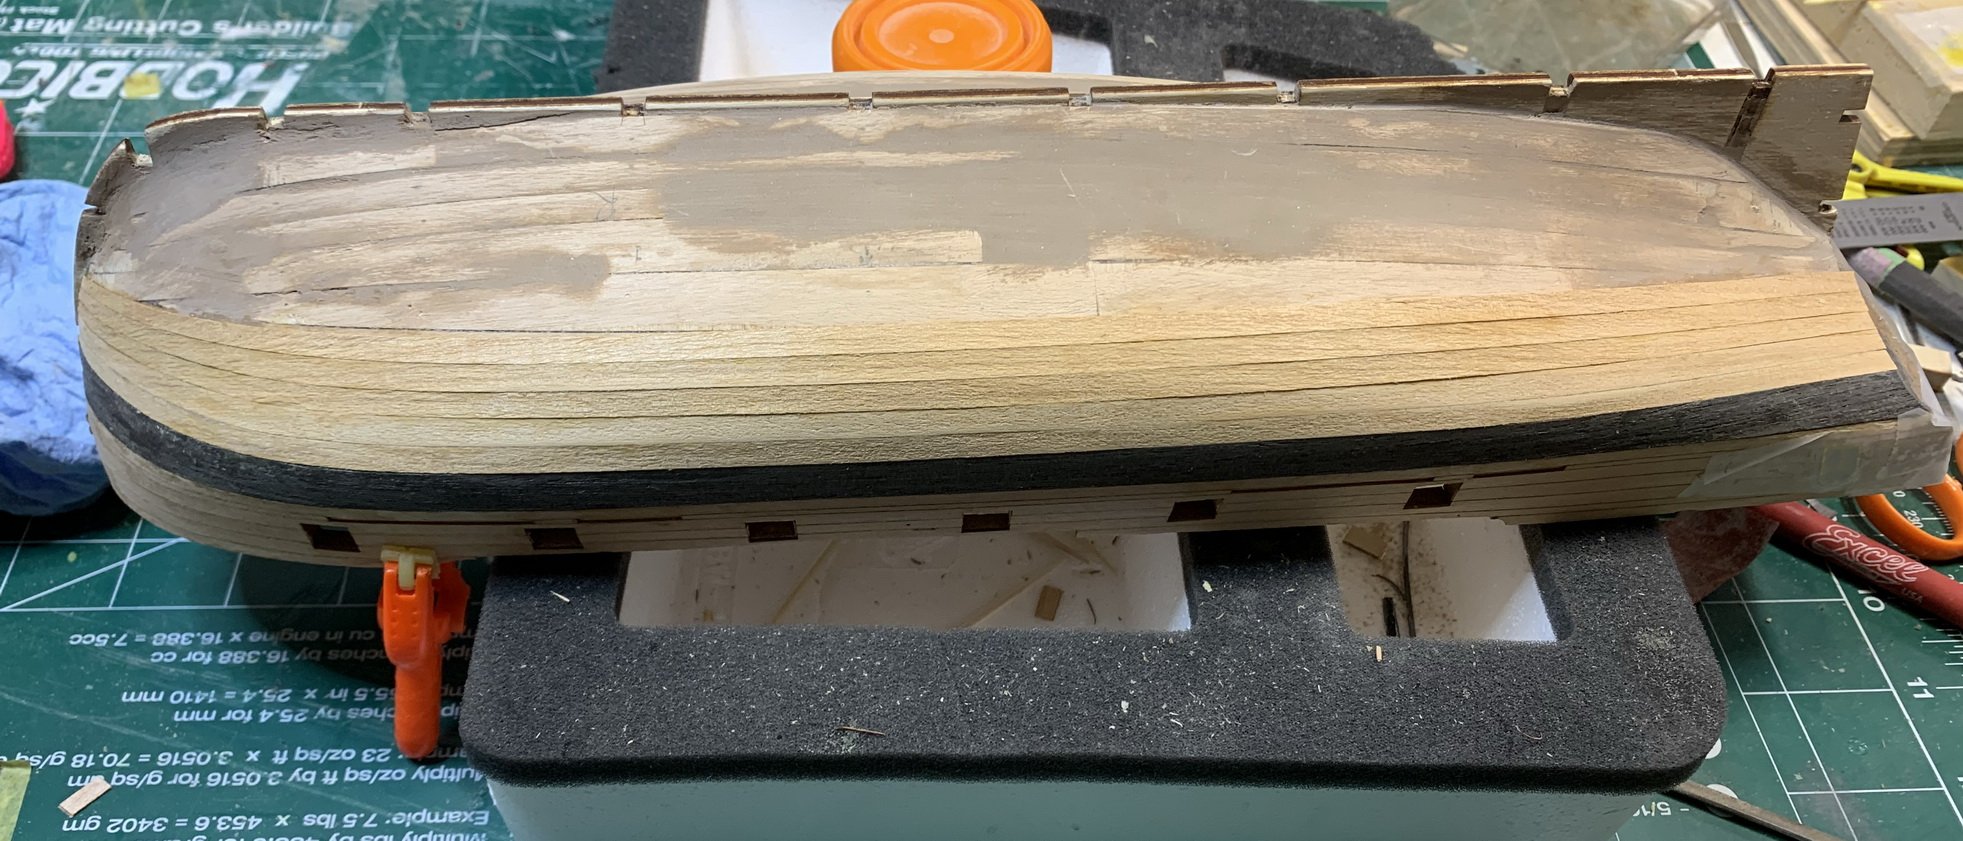
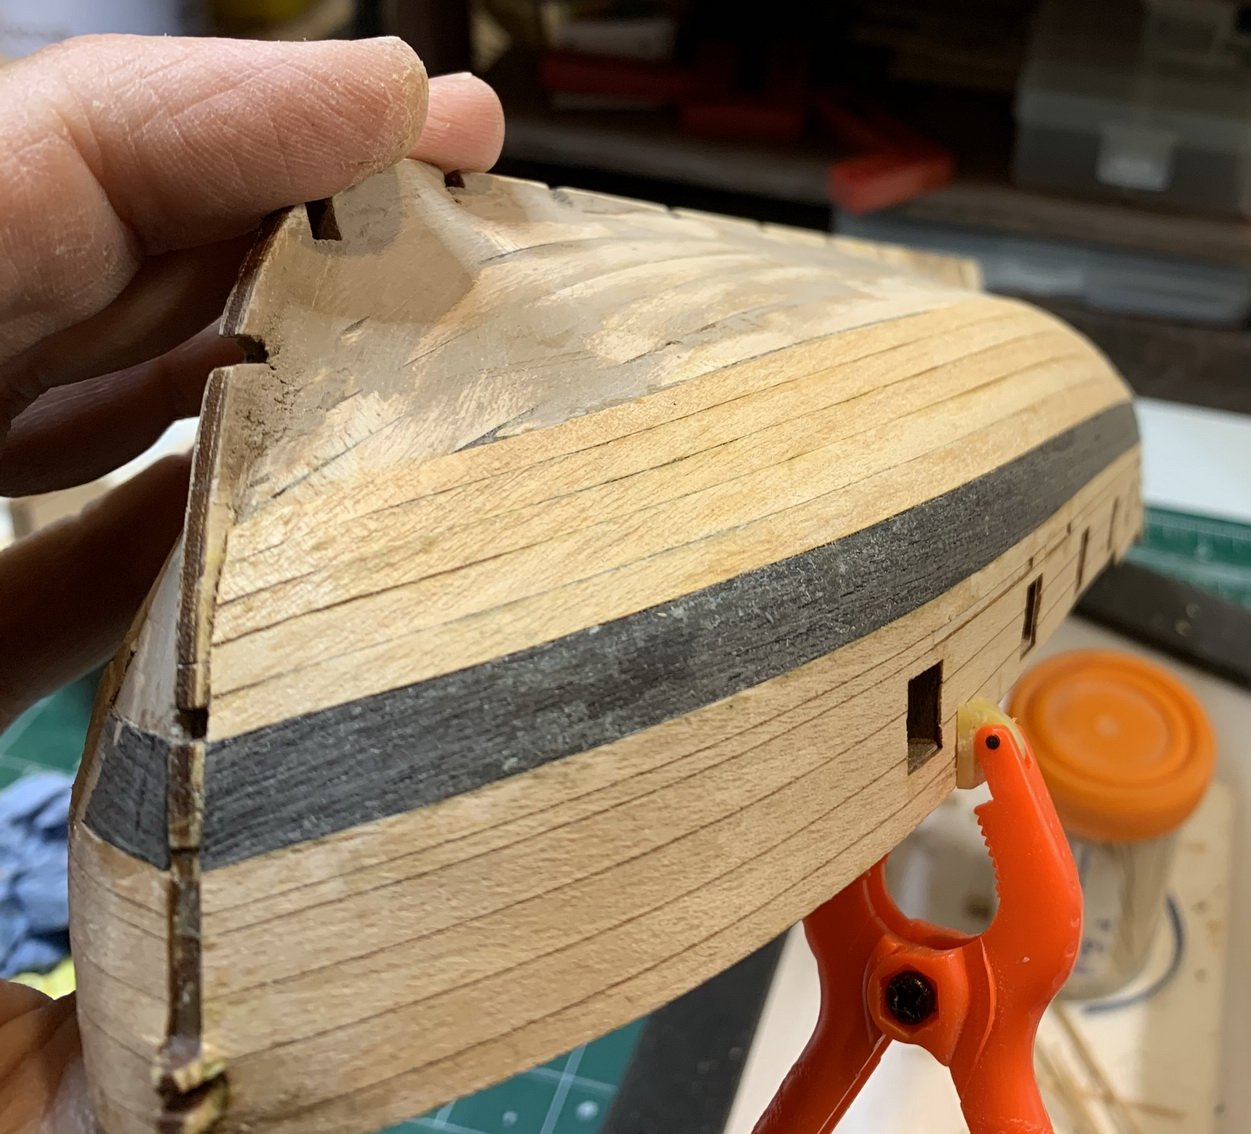
good job on first layer hull planking, waiting to see what your finished hull looks like

 |
The beloved Ships in Scale Magazine is back and charting a new course for 2026! Discover new skills, new techniques, and new inspirations in every issue. NOTE THAT OUR NEXT ISSUE WILL BE July/August 2026 |
|
 |
As a way to introduce our brass coins to the community, we will raffle off a free coin during the month of August. Follow link ABOVE for instructions for entering. |
|
good job on first layer hull planking, waiting to see what your finished hull looks like


Yes, i am also watching it but unfortunately mu russian is very limited, so just pictures. Later in the serial there are some english subtitles available..
So i am using combination of that video tutorial and instructions that are with kit...
Thanks
Btw, all Brigantine Phoenix videos have English subtitles, so you should be able to watch them.

Oh right, this is just a kit review. I didn't bother translating that one. Subtitles begin with second video (where he actually starts building the model)I believe the first one still does not have it..
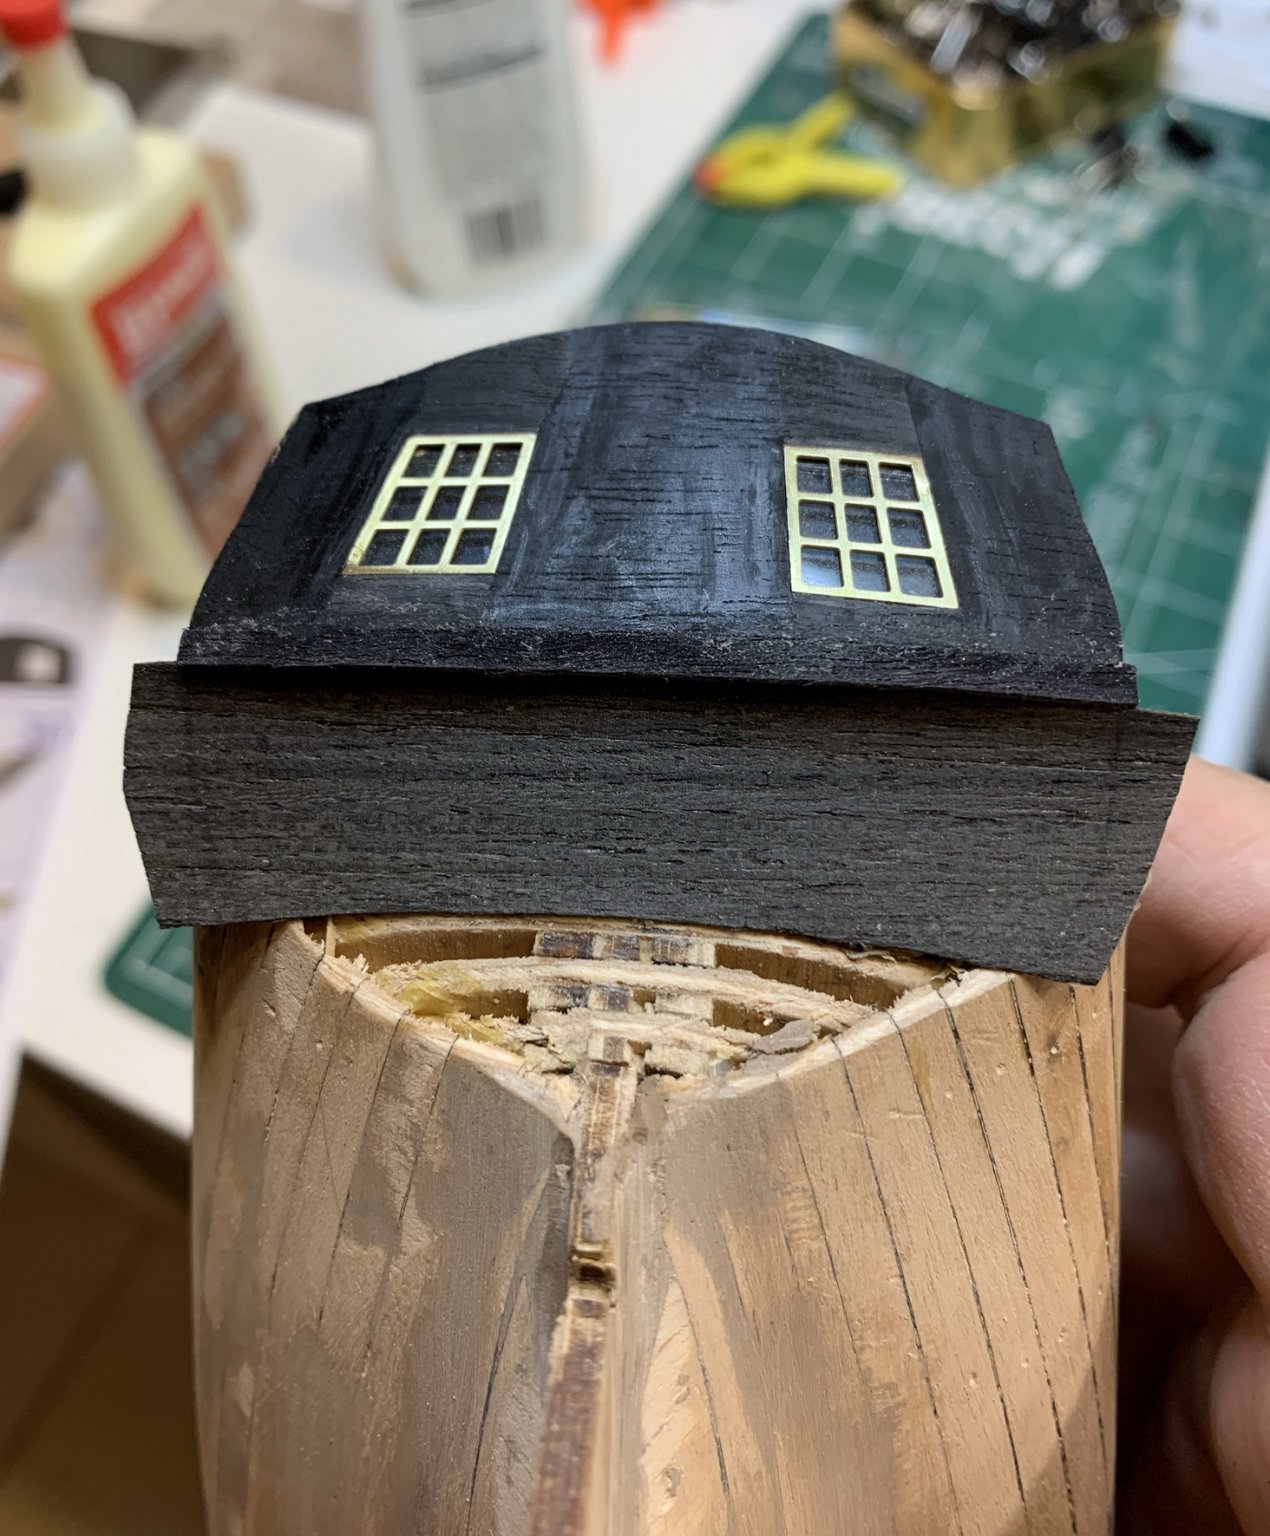
Looks great!
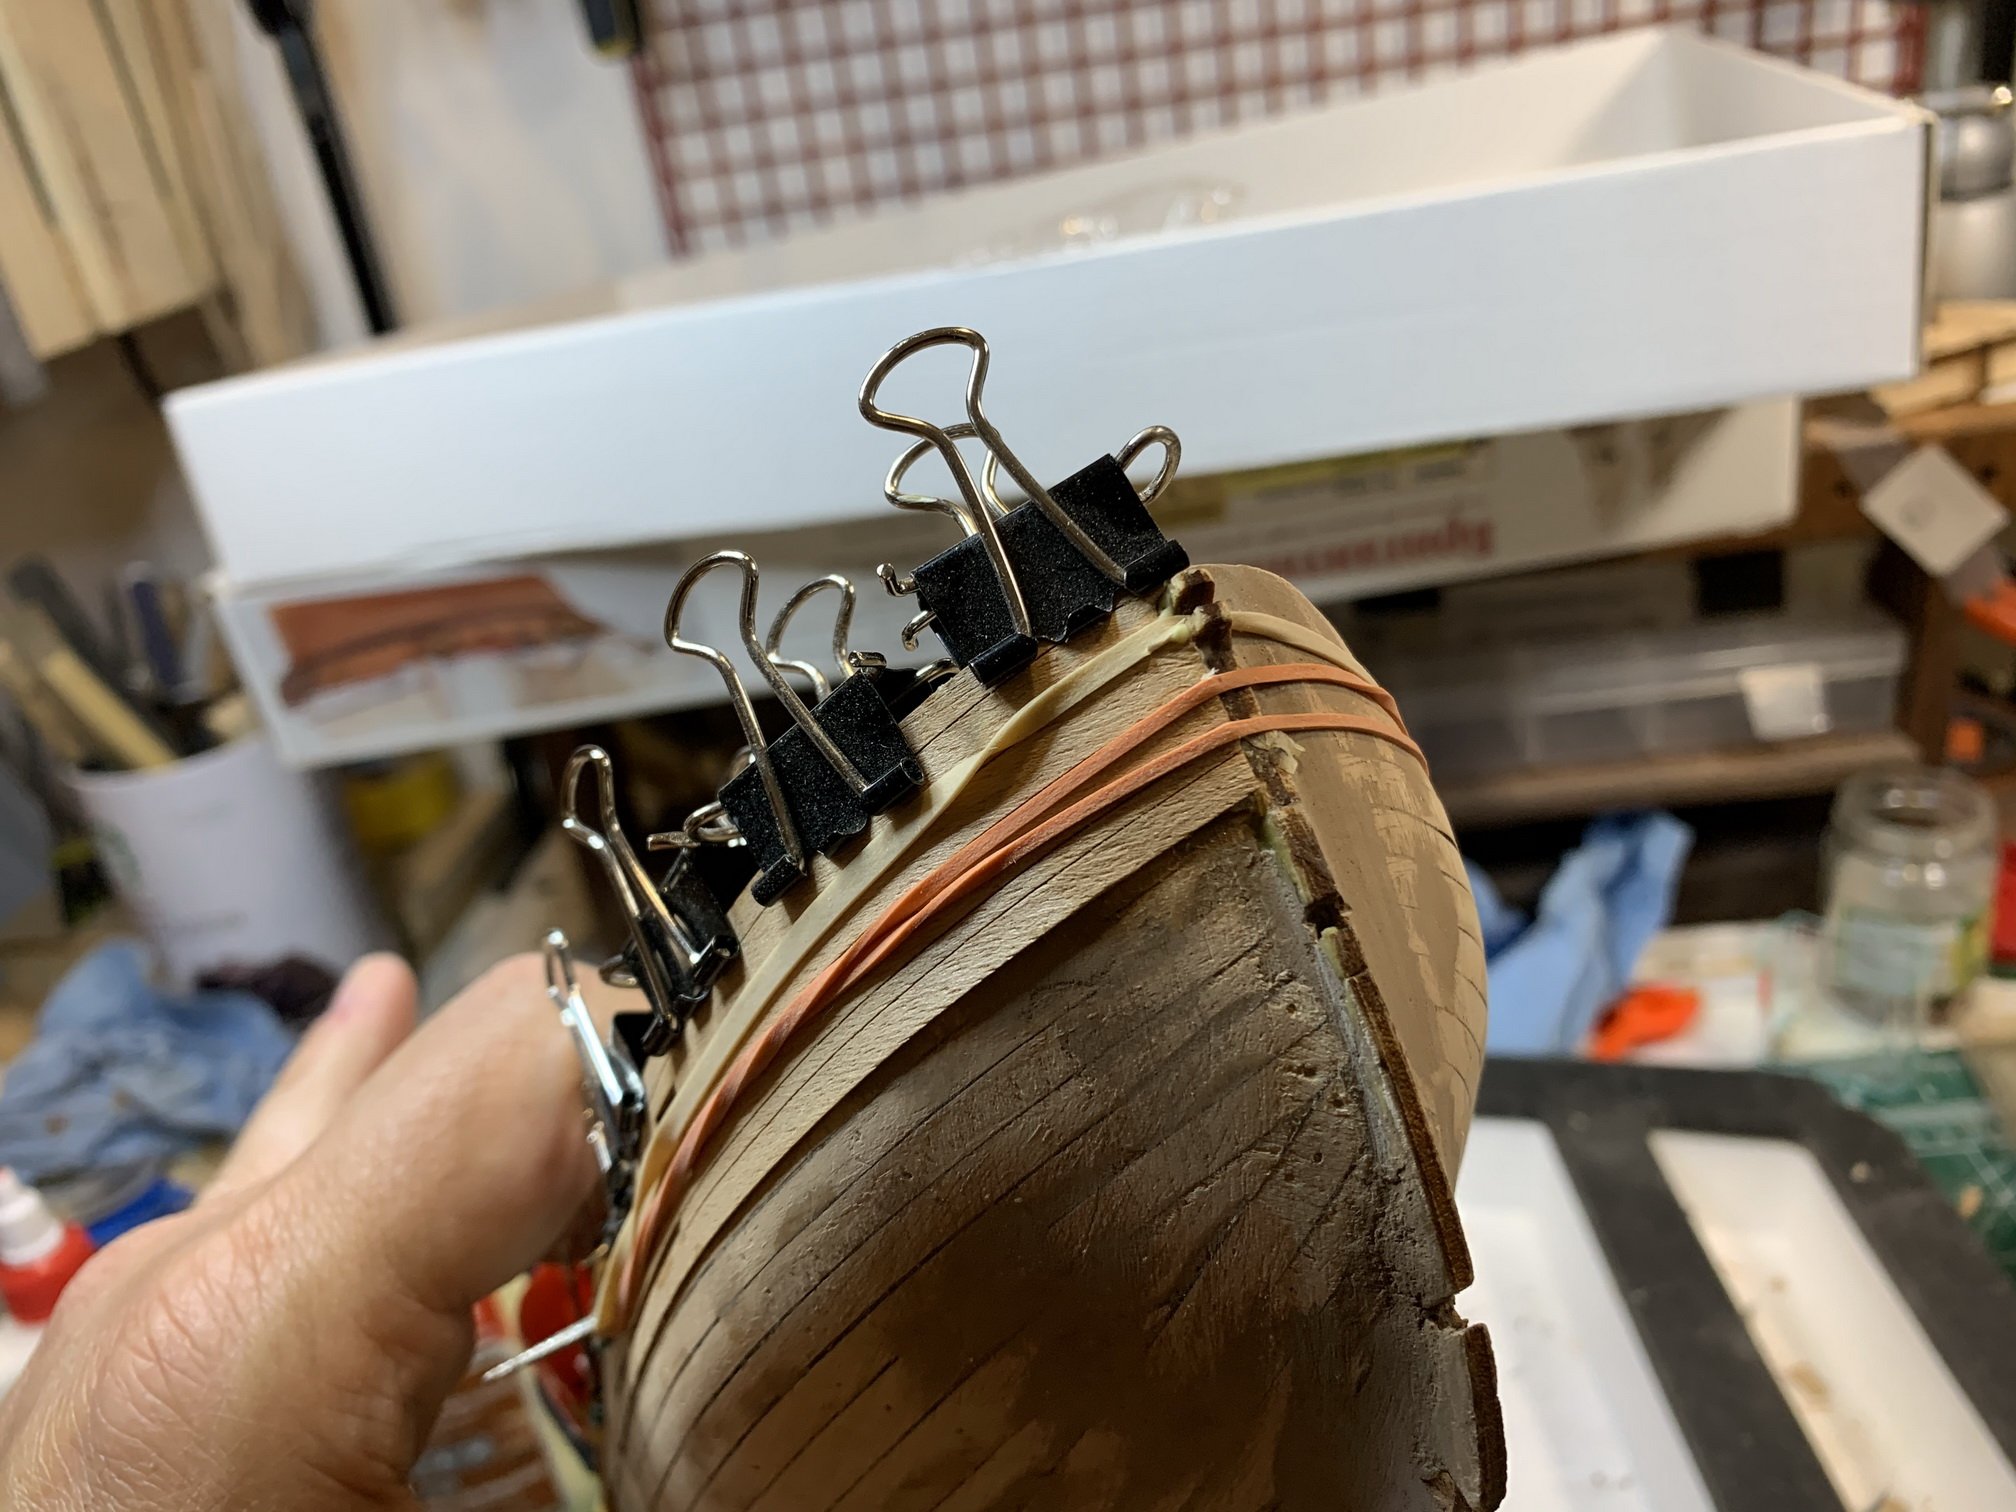
Moreplovac, I highly recommend gluing final layer using hot iron technique. These kits are perfect for this - the veneer is laser cut precisely and has ideal thickness. In this case you wouldn't need to use rubberbands or office clips. Everything will glue cleanly and perfectly.
Here is a short how-to:
https://craftysailor.com/blogs/articles/planking-with-hot-iron
")

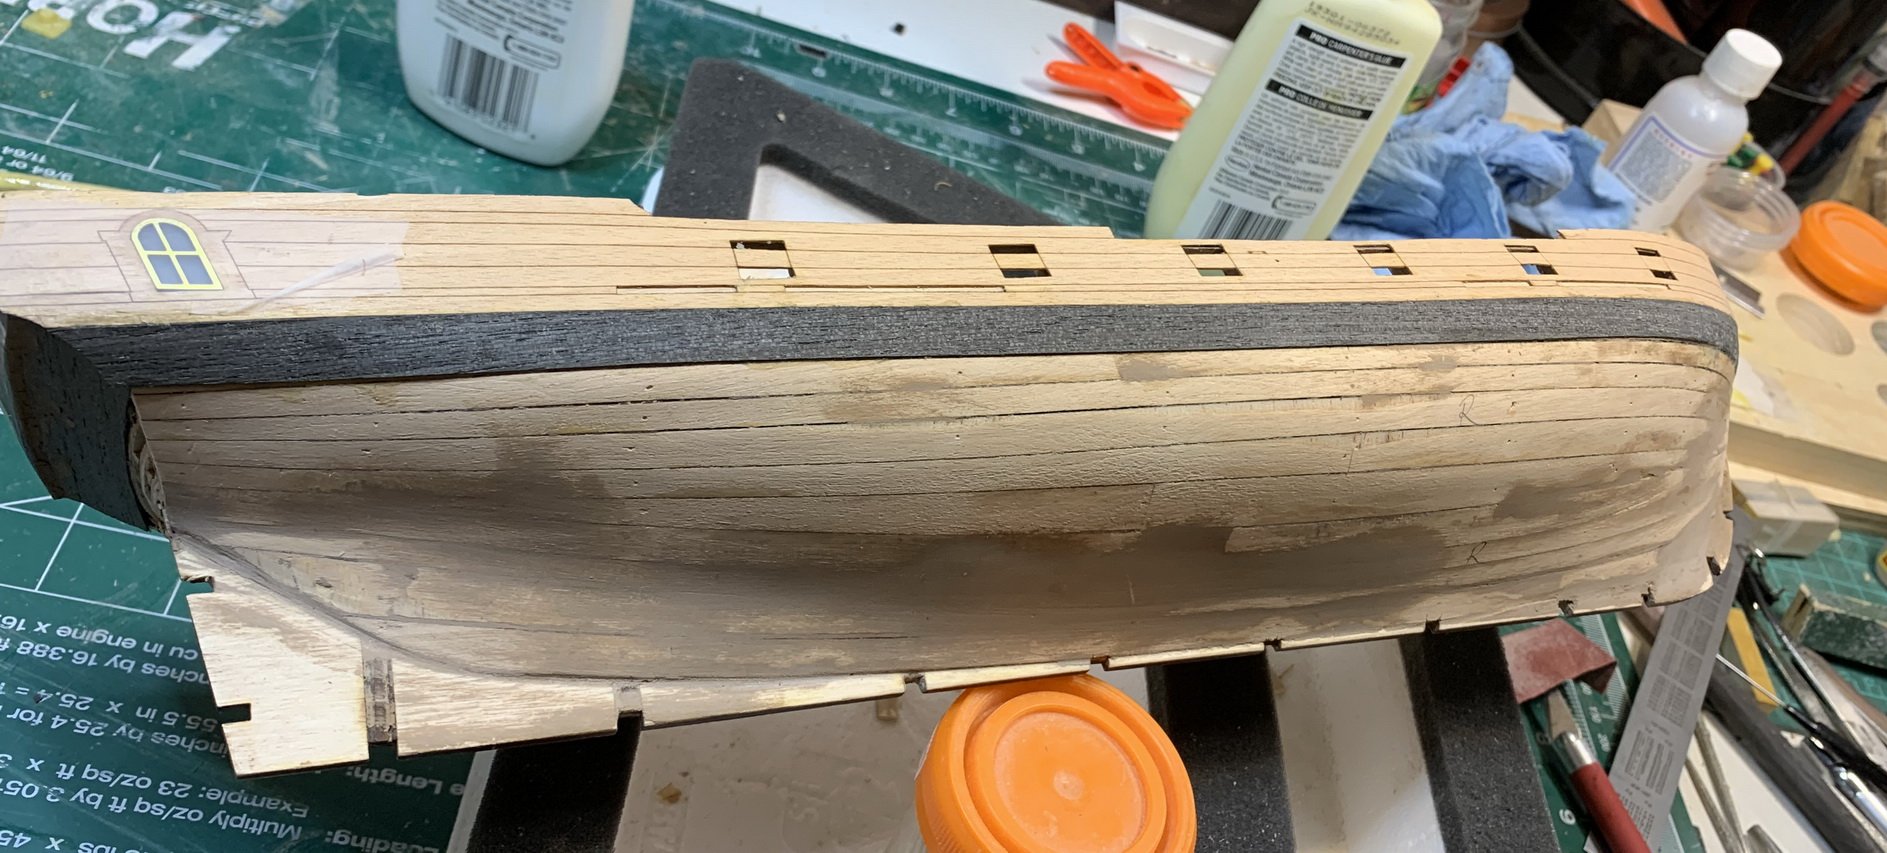
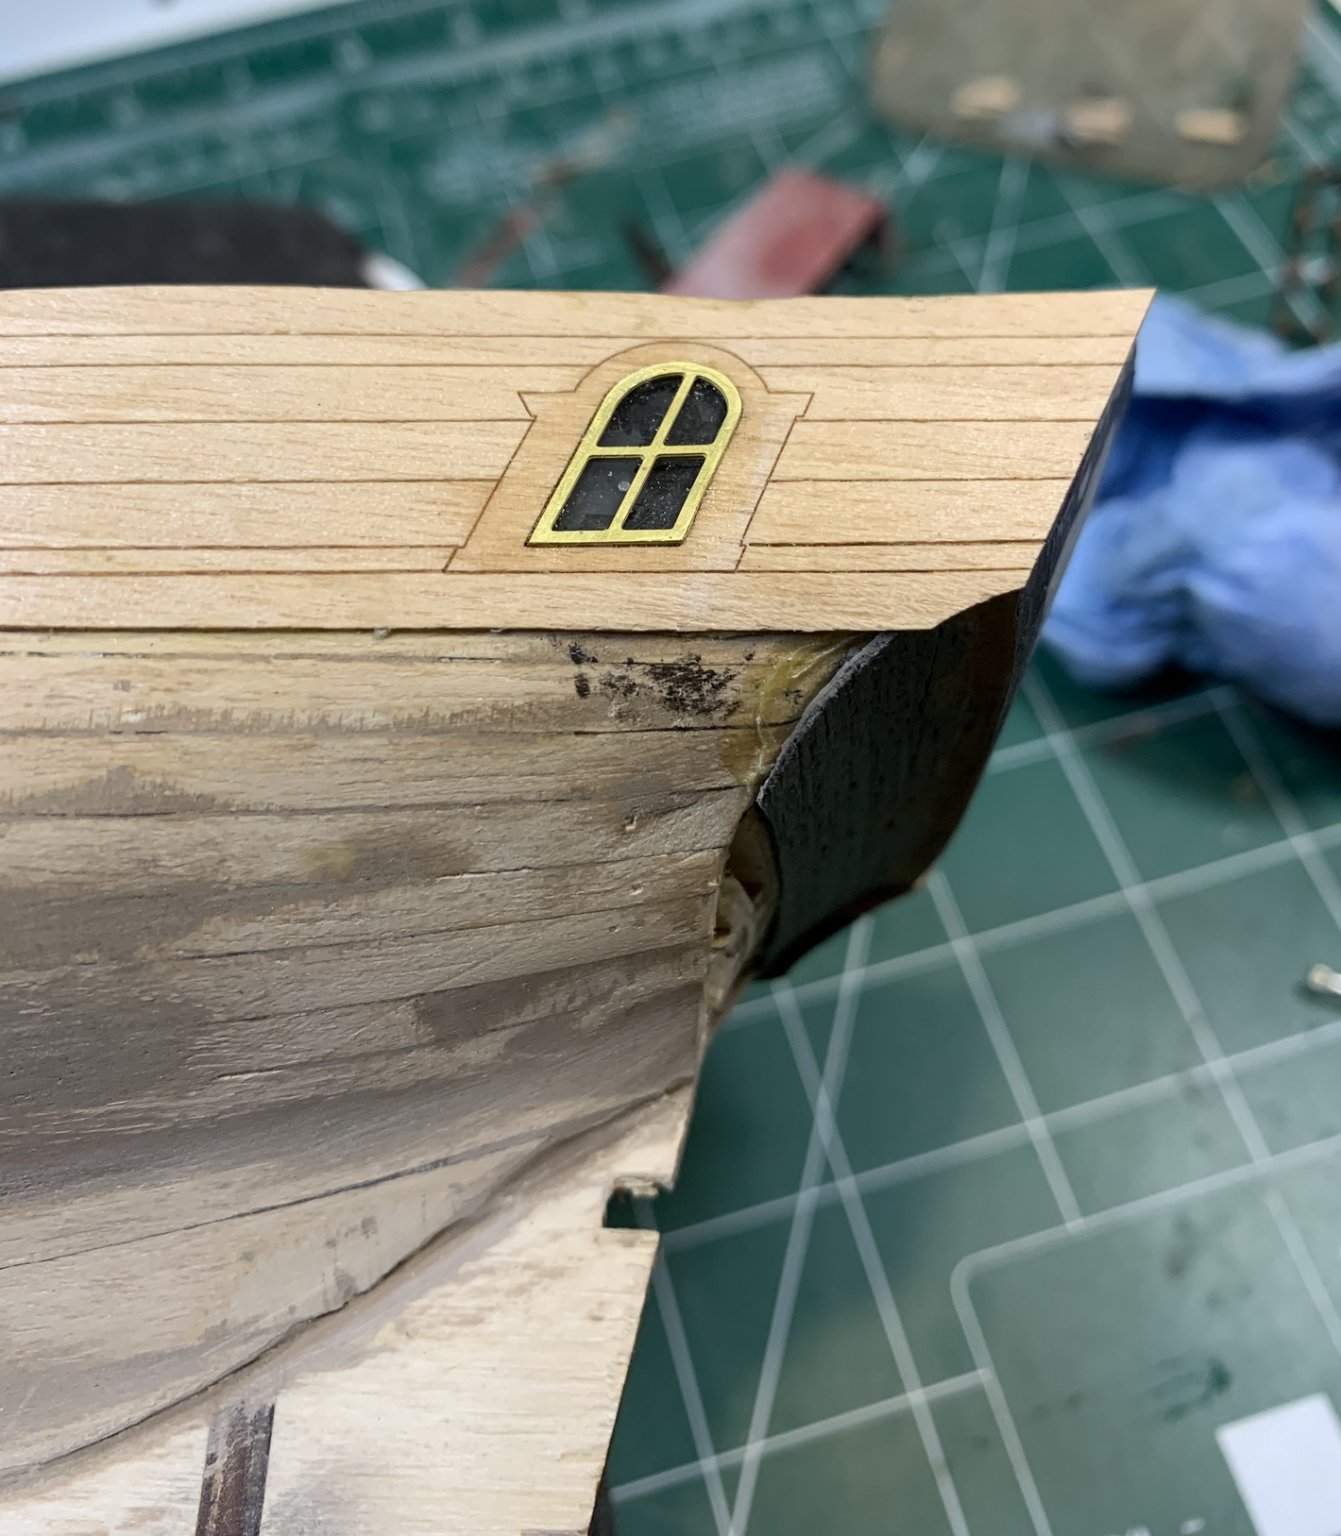

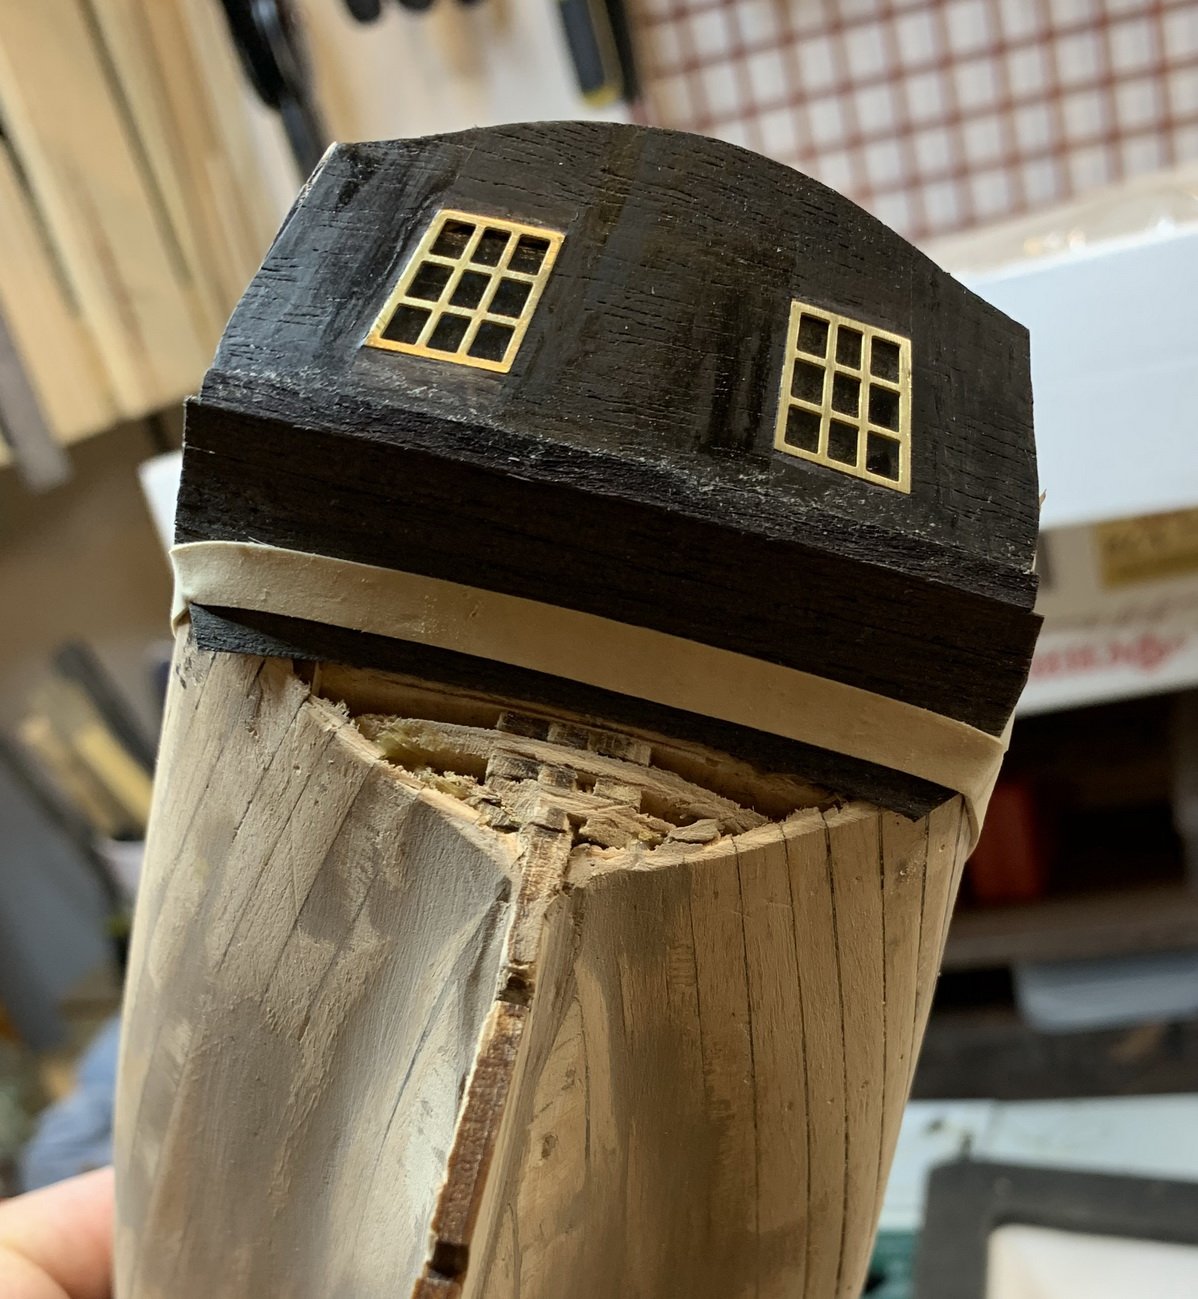
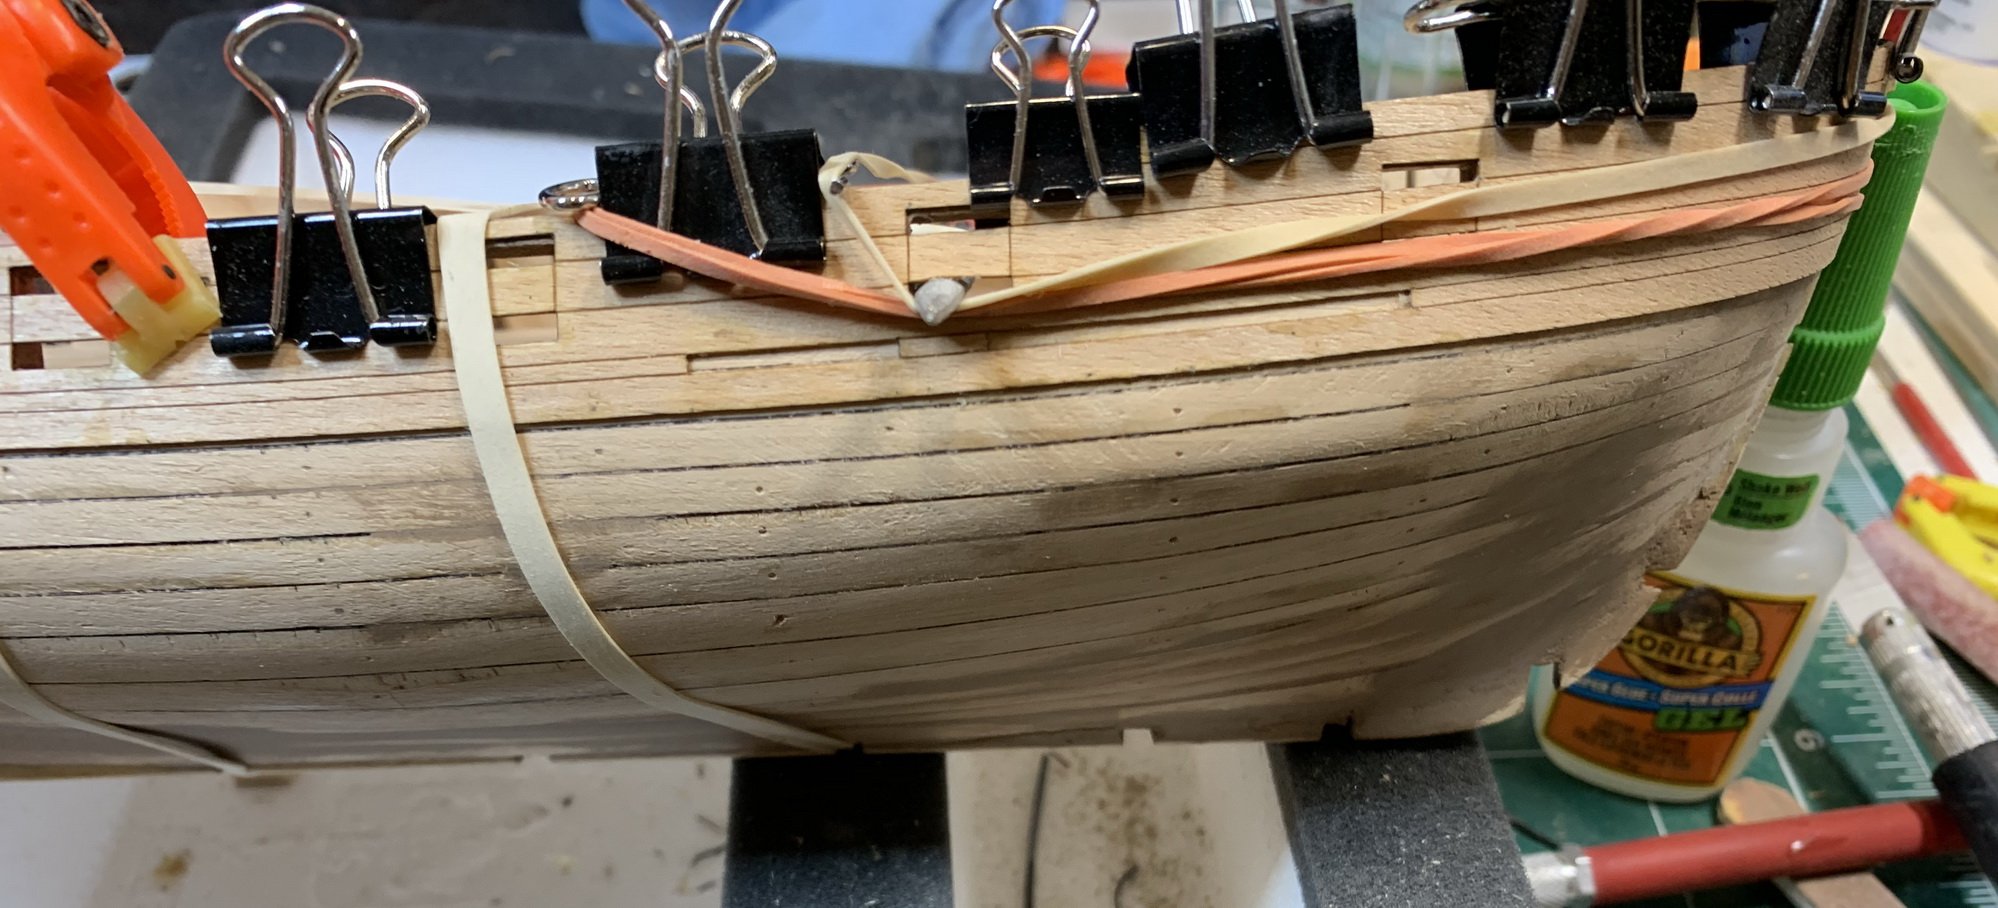
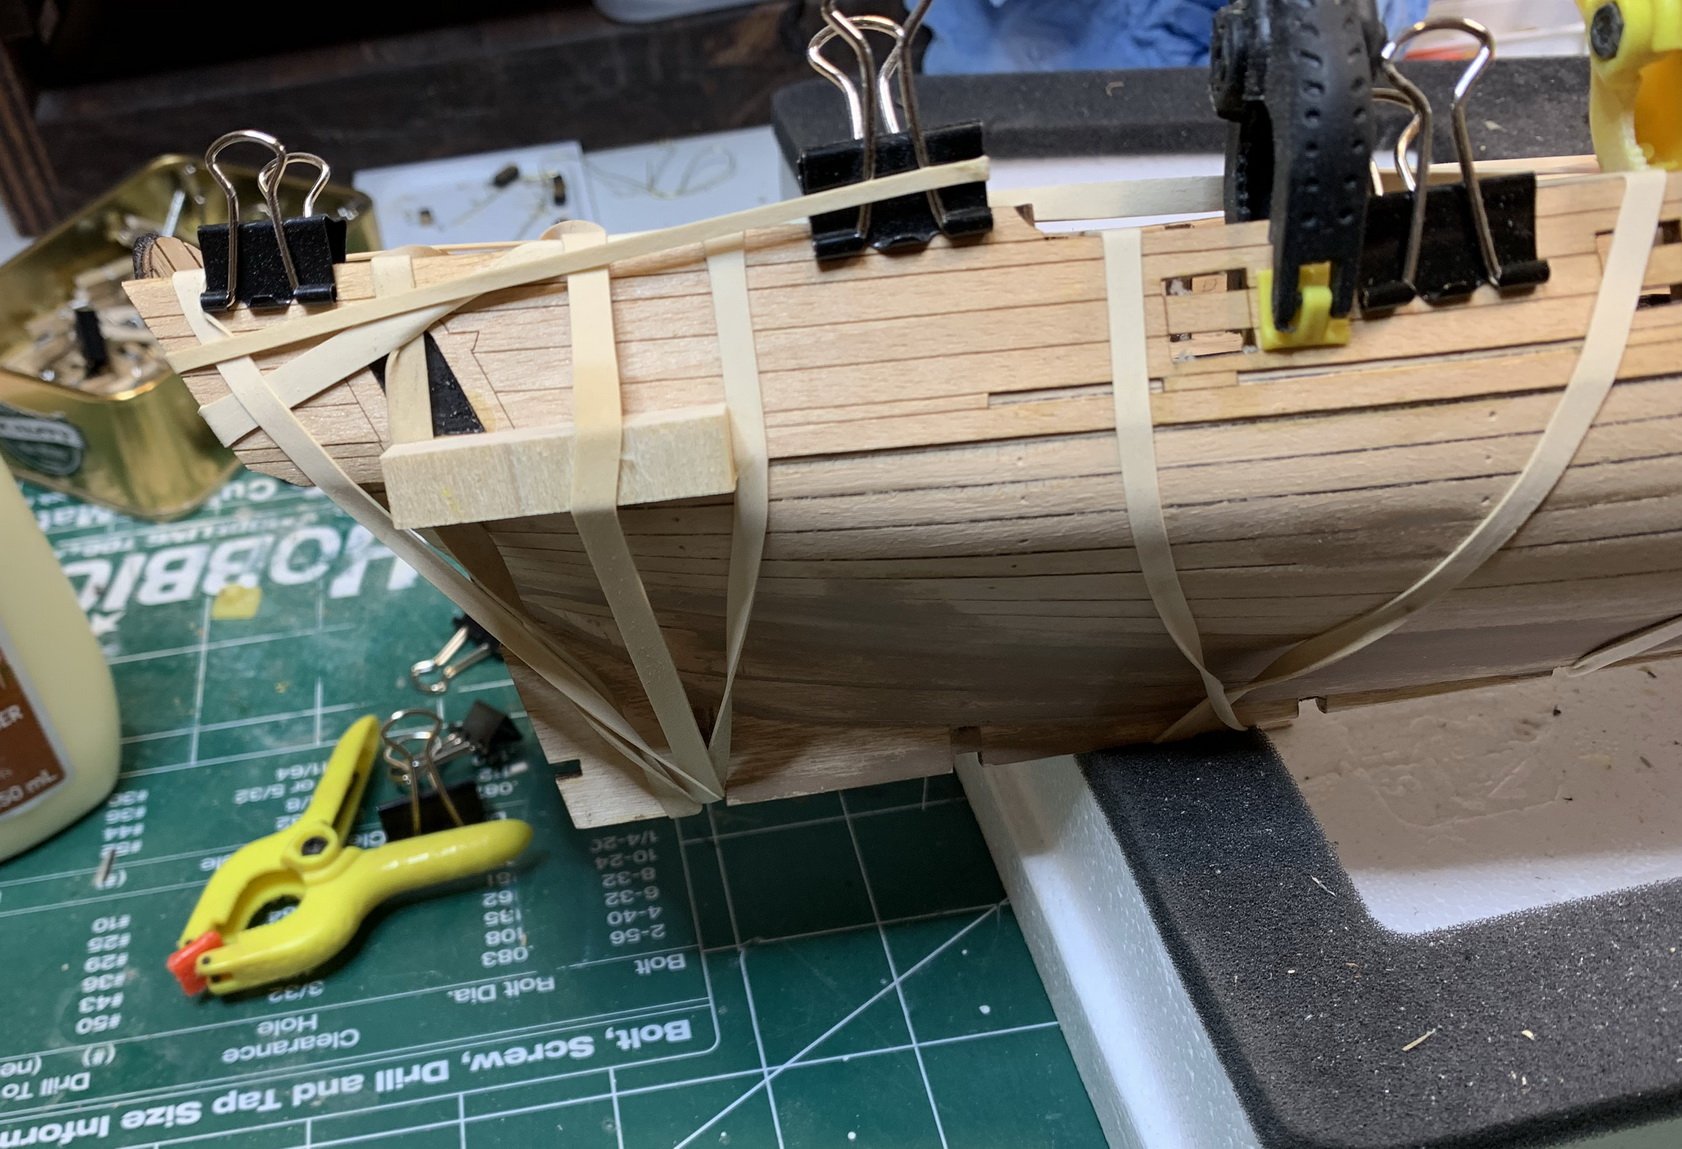
Do you plan to leave planks one single length of ship, or mark them to look like shorter planks as the full sized ships do, and add treenail hole marks for simulating the treenails that held planks on.


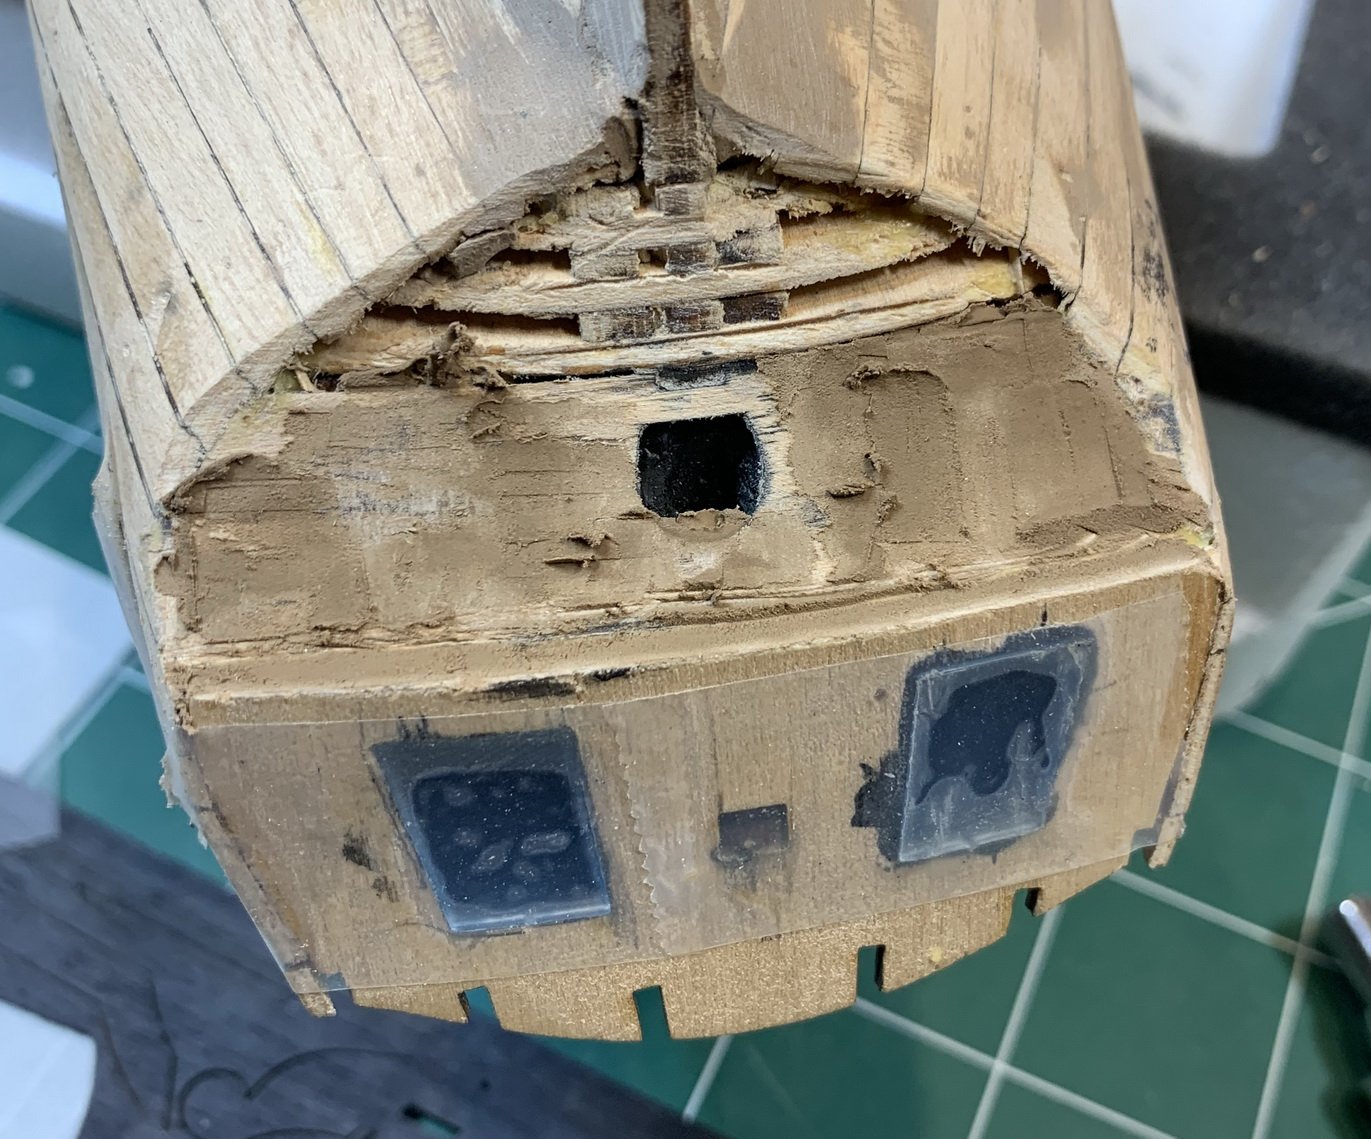
Certainly. Will see how it goes..Looks like that is a good solution, but try to keep a smooth running of the stem without a sharp bend.


