It is time to start a new build log.
This time it was a close race between brigantine Phoenix and USS Syren. Since Phoenix kit has all laser cut parts, including planks, i was curious to see how this approach fits into hard-core, make-my-own planks state of mind... So, let see...
This is a wooden model kit of the 12-gun brigantine "Phoenix" - cruising ship with a sailing arsenal of the brigantine, part of Black Sea Fleet of the Russian Empire.
St. Andrew's flag Russia
Ship class and type Cruising ship
Type of sailing equipment brigantine
Organization Black Sea Fleet
Commissioned since 1787 in Russia
Removed from the fleet Autumn 1803
Length between perpendiculars 24.4 m
Mid- width width 7.3 m
Draft 2.9 m
Mover sail
Crew 52
Total number of guns 12 guns
Service history (obtained from Internet sources).
A Greek built 12-gun brigantine Phoenix became a part of the Russian Black Sea fleet in 1787. With a war with Ottoman Empire pending, large number of Greek Corsair ships were purchased to strengthen the young Russian Black Sea fleet, in many cases the Greek crews were also hired into Russian service. Such ships were officially classified as “cruising ships” in Russian navy lists. The ship’s first war was the Russian-Turkish war of 1787-1791.
In the summer of 1788, the ship under the command of warrant officer Georgy Nikiforovich Benardaki, as part of Rear-Admiral's squadron Count M. I. Voinovich , went to sea in search of the enemy. On July 3, 1788, the brigantine participated in the first naval battle of the Russian-Turkish war of 1787-1791 near Fidonisi between the fleets of Russia and the Ottoman Empire. In 1789, as part of squads and squadrons, she repeatedly went to sea to search for Turkish ships.
In April 1790, the ship delivered supplies and materials from Kherson to Sevastopol. In May 1790, with the squadron of Rear Admiral F. F. Ushakov, along with other cruiser ships, searched for Turkish ships, participated in the blockade of Anapa, in the battle near the Kerch Strait (was in reserve).
In August 1790, in a battle near the island of Tendra, captured 10 Turkish cannon brigantine. In October, the captured Turkish ships escorted to the Dnieper Liman to Ochakov. In November, together with the cruising ship “Clement Pope of Rome” was sent to cruise to the Rumelian coast in the Varna region - m. Kaliakria. They took two Turkish vessels Sakaleva and Tumbaz (captured flooded) from Varna, then returned to Sevastopol and brought the captured vessel Sakaleva there. In April 1791, ships again went to search for Turkish ships to the shores of Tavrida, and then to the Anatolian coast - from Sinop to Constantinople. April 1 sunk two Turkish vessels. In July, the ship in the squadron F. F. Ushakov went to sea. July 31, participated in the battle at Cape Kaliakria.
In 1794, the Phoenix under the command of midshipman S. A. Belisarius with a squadron was on a practical voyage in the Black Sea, and in 1795-1797 in the Black and Azov Seas.
In the war with France of 1798–1800, the ship under the command of Lieutenant L. F. Morskoi was used as a transport ship. In November 1798, the ship arrived from Sevastopol to Corfu with provisions for the squadron of Vice-Admiral F. F. Ushakov. In December 1798, FF Ushakov's demands to Ibrahim Pasha delivered to Avpona to send Turkish troops to storm Corfu, blocking the fortress. At the beginning of 1799 the ship was with a squadron at Corfu, escorting transport ships with captured Frenchmen, entered Messina and arrived in Toulon. In 1801 and 1802 the brigantine sailed between the ports of the Black Sea.
In 1803, the ship was under the command of Lieutenant S. S. Karachinsky with the Nikolaev Nort, dismantled after 1803 in Nikolaev.
Cruise Ship Commanders:
G. N. Benardaki (1788–1791);
S. A. Belisarius (1794-1798);
LF Morskoy (1797-1802) [2] ;
S. S. Karachinskaya (1803) [3] .
Literature:
Chernyshev A. А. Russian sailing fleet. Directory. - M .: Military Publishing, 2002. - T. 2. - 480 p. - (Ships and vessels of the Russian fleet). - 5000 copies - ISBN 5-203-01789-1 .
Veselago F. F. The General Maritime List from the base of the fleet until 1917. - SPb. : Printing house of V. Demakova, 1890. - V. IV / The reign of Catherine II. K - S. - S. 31, 398. - 712 p. - (Military history library).
A. B. Shirokorad. 200 Years of the Sailing Fleet of Russia / Ed. A. B. Vasiliev. - 2nd ed. - M .: “Veche”, 2007. - 448 p. - ISBN 978-5-9533-1517-3 .
Model details:
Scale 1:72.
Assembled dimensions are (LxWxH) 23.25" x 8.5" x 17.25" (590mm x 220mm x 440mm ).
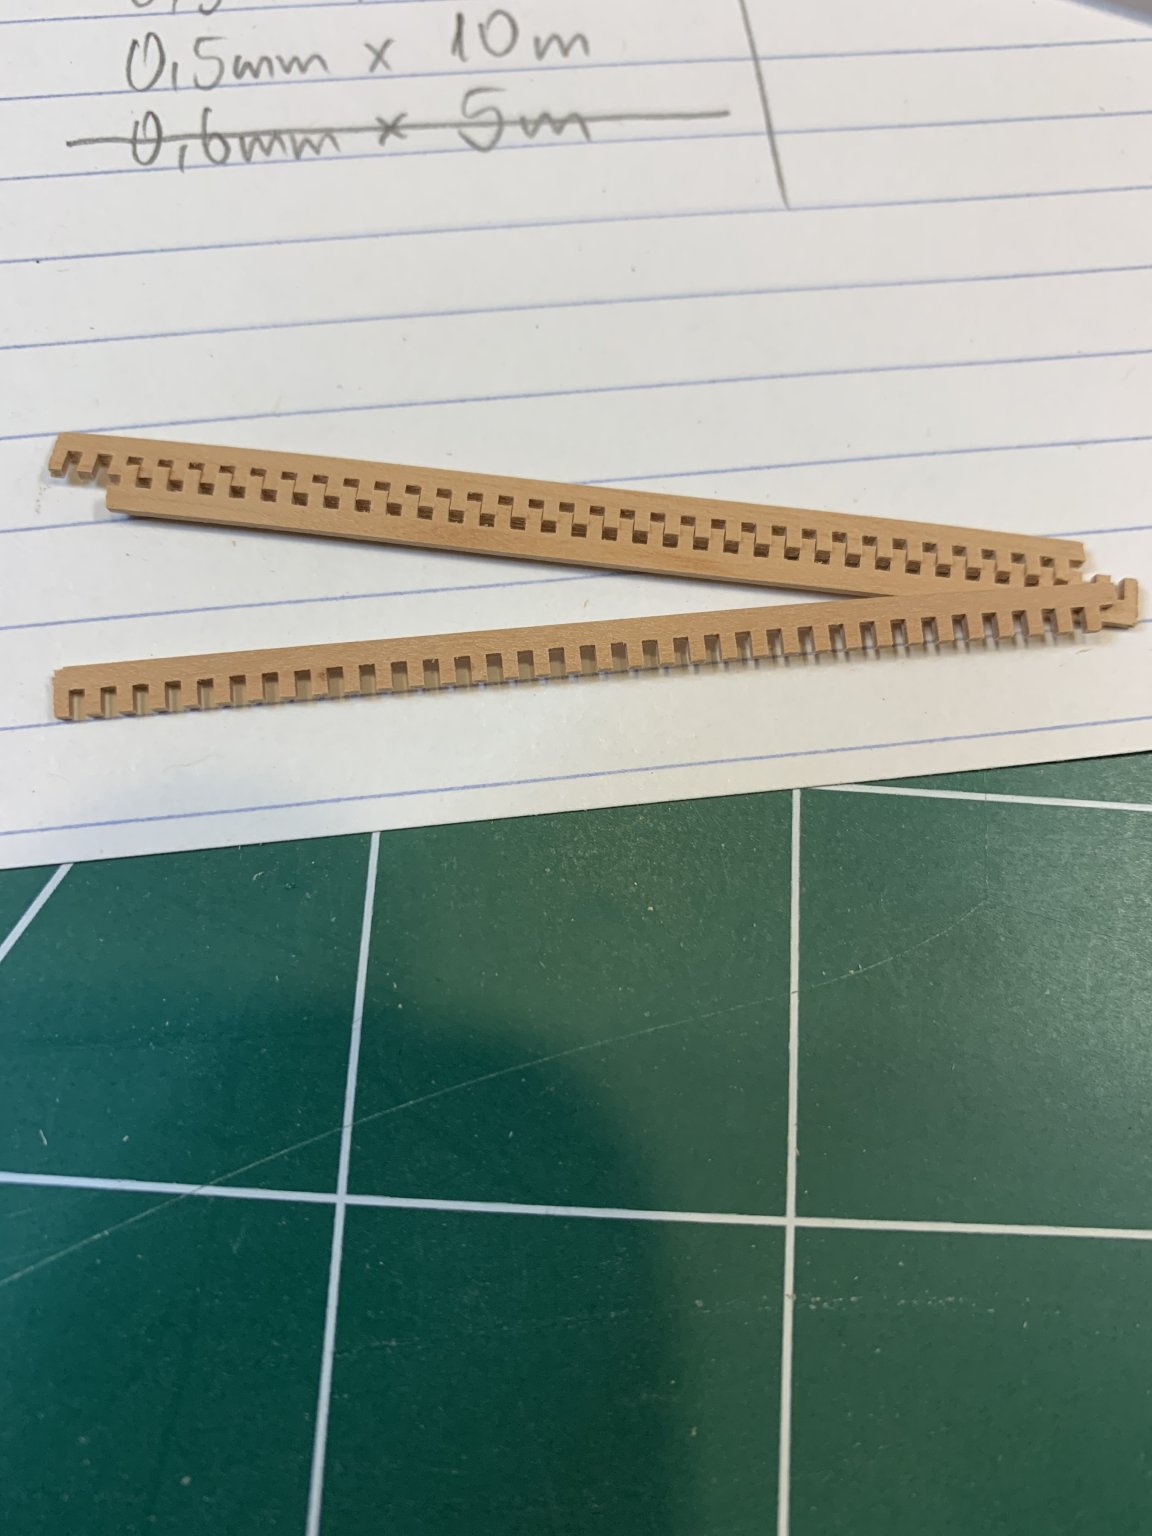
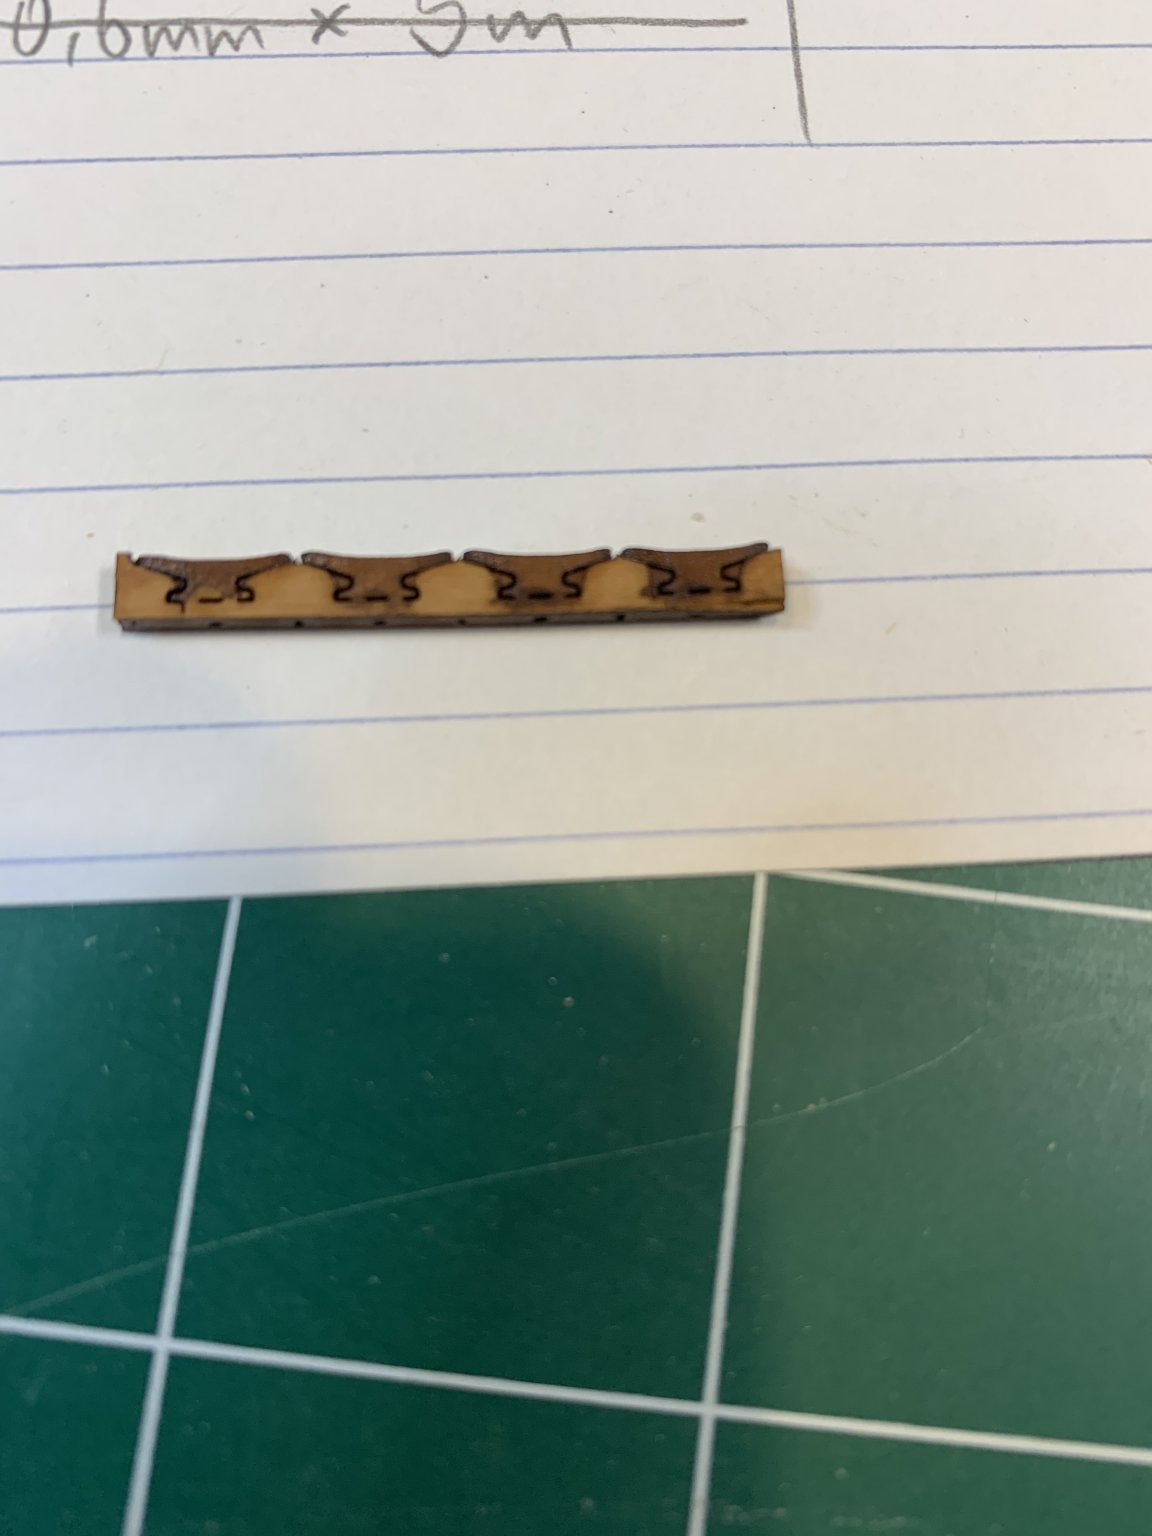
All wooden parts are laser cut to simplify assembly.
Hull design compensates for material deformations.
Double plank-on-bulkhead hull. Final hull planks are made of anigre veneer.
Historically accurate cast cannons with Russian Imperial crests.
Laser etched deck made of maple veneer.
High quality pearwood blocks.
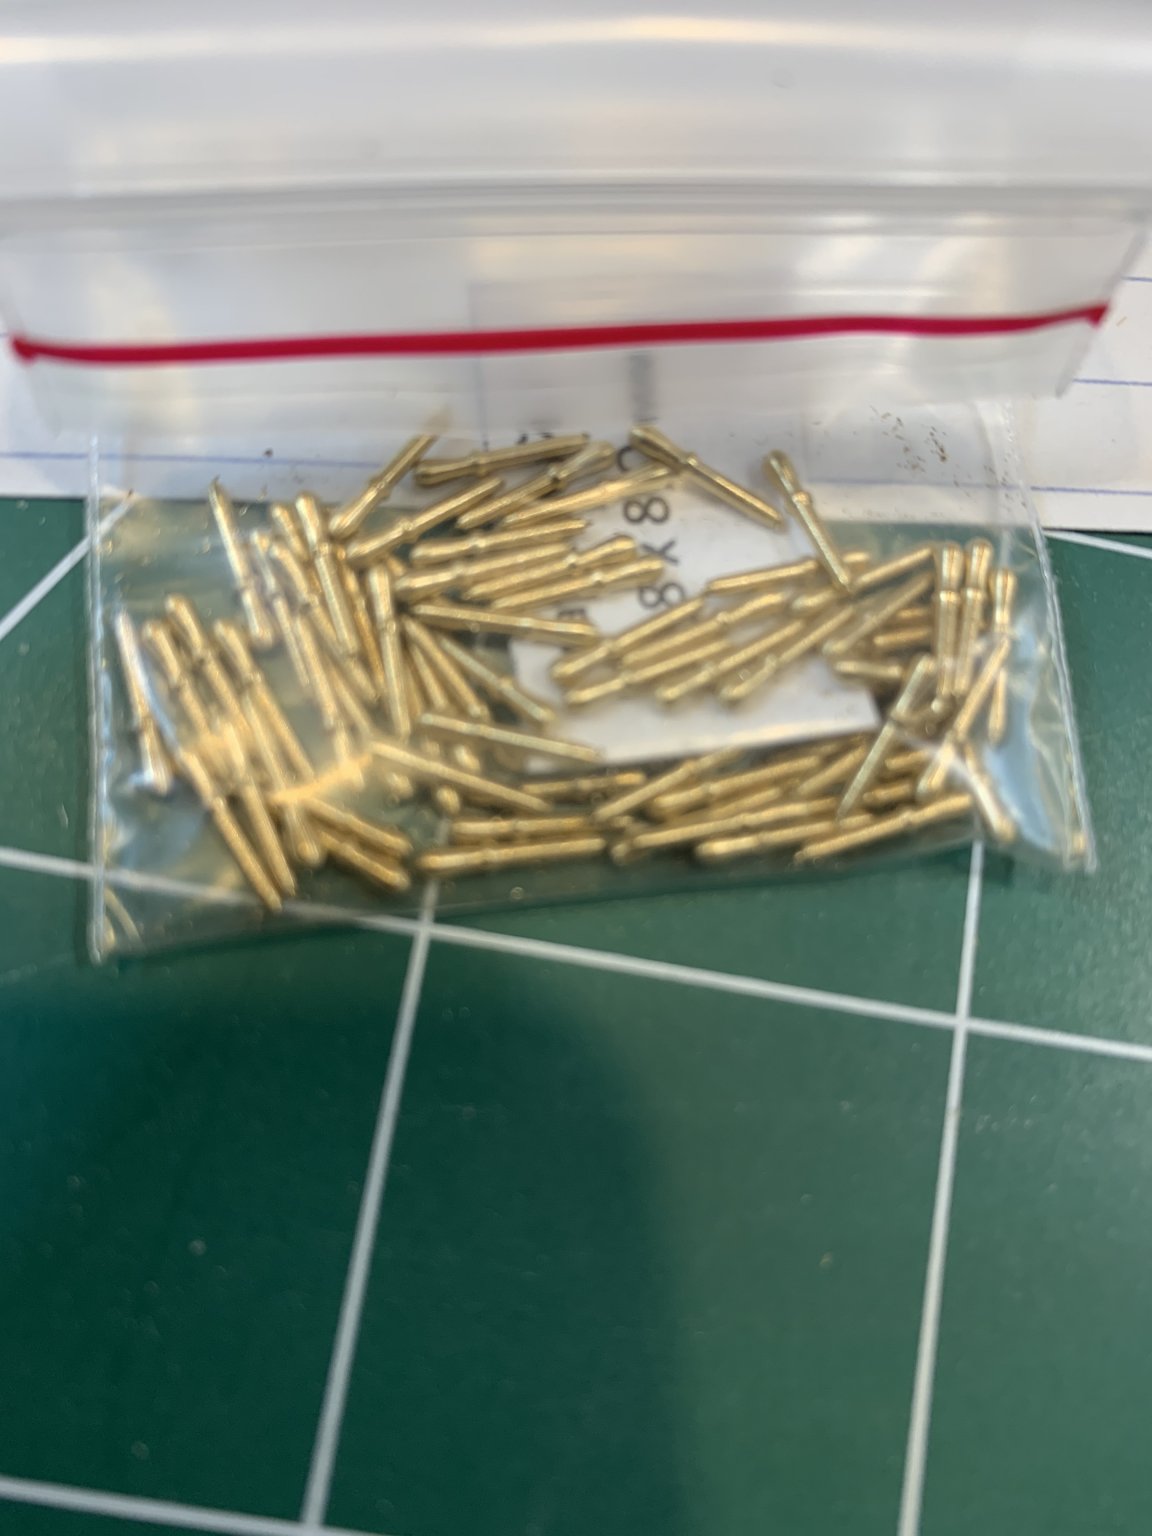
Multitude of highly detailed brass parts.
Sail plans and cloth for sewing the sails.
Silk screen flags.
Different diameters of black and tan threads for standing and running rigging.
Ship stand with two nameplates, one in English and one in Russian
Binnacle.
Ship's boat MK0101 is included.
Ship plans (four large sheets) and translated plans in English.
Assembly instructions in English.
Made in Russia by Master Korabel
This time it was a close race between brigantine Phoenix and USS Syren. Since Phoenix kit has all laser cut parts, including planks, i was curious to see how this approach fits into hard-core, make-my-own planks state of mind... So, let see...
This is a wooden model kit of the 12-gun brigantine "Phoenix" - cruising ship with a sailing arsenal of the brigantine, part of Black Sea Fleet of the Russian Empire.
St. Andrew's flag Russia
Ship class and type Cruising ship
Type of sailing equipment brigantine
Organization Black Sea Fleet
Commissioned since 1787 in Russia
Removed from the fleet Autumn 1803
Length between perpendiculars 24.4 m
Mid- width width 7.3 m
Draft 2.9 m
Mover sail
Crew 52
Total number of guns 12 guns
Service history (obtained from Internet sources).
A Greek built 12-gun brigantine Phoenix became a part of the Russian Black Sea fleet in 1787. With a war with Ottoman Empire pending, large number of Greek Corsair ships were purchased to strengthen the young Russian Black Sea fleet, in many cases the Greek crews were also hired into Russian service. Such ships were officially classified as “cruising ships” in Russian navy lists. The ship’s first war was the Russian-Turkish war of 1787-1791.
In the summer of 1788, the ship under the command of warrant officer Georgy Nikiforovich Benardaki, as part of Rear-Admiral's squadron Count M. I. Voinovich , went to sea in search of the enemy. On July 3, 1788, the brigantine participated in the first naval battle of the Russian-Turkish war of 1787-1791 near Fidonisi between the fleets of Russia and the Ottoman Empire. In 1789, as part of squads and squadrons, she repeatedly went to sea to search for Turkish ships.
In April 1790, the ship delivered supplies and materials from Kherson to Sevastopol. In May 1790, with the squadron of Rear Admiral F. F. Ushakov, along with other cruiser ships, searched for Turkish ships, participated in the blockade of Anapa, in the battle near the Kerch Strait (was in reserve).
In August 1790, in a battle near the island of Tendra, captured 10 Turkish cannon brigantine. In October, the captured Turkish ships escorted to the Dnieper Liman to Ochakov. In November, together with the cruising ship “Clement Pope of Rome” was sent to cruise to the Rumelian coast in the Varna region - m. Kaliakria. They took two Turkish vessels Sakaleva and Tumbaz (captured flooded) from Varna, then returned to Sevastopol and brought the captured vessel Sakaleva there. In April 1791, ships again went to search for Turkish ships to the shores of Tavrida, and then to the Anatolian coast - from Sinop to Constantinople. April 1 sunk two Turkish vessels. In July, the ship in the squadron F. F. Ushakov went to sea. July 31, participated in the battle at Cape Kaliakria.
In 1794, the Phoenix under the command of midshipman S. A. Belisarius with a squadron was on a practical voyage in the Black Sea, and in 1795-1797 in the Black and Azov Seas.
In the war with France of 1798–1800, the ship under the command of Lieutenant L. F. Morskoi was used as a transport ship. In November 1798, the ship arrived from Sevastopol to Corfu with provisions for the squadron of Vice-Admiral F. F. Ushakov. In December 1798, FF Ushakov's demands to Ibrahim Pasha delivered to Avpona to send Turkish troops to storm Corfu, blocking the fortress. At the beginning of 1799 the ship was with a squadron at Corfu, escorting transport ships with captured Frenchmen, entered Messina and arrived in Toulon. In 1801 and 1802 the brigantine sailed between the ports of the Black Sea.
In 1803, the ship was under the command of Lieutenant S. S. Karachinsky with the Nikolaev Nort, dismantled after 1803 in Nikolaev.
Cruise Ship Commanders:
G. N. Benardaki (1788–1791);
S. A. Belisarius (1794-1798);
LF Morskoy (1797-1802) [2] ;
S. S. Karachinskaya (1803) [3] .
Literature:
Chernyshev A. А. Russian sailing fleet. Directory. - M .: Military Publishing, 2002. - T. 2. - 480 p. - (Ships and vessels of the Russian fleet). - 5000 copies - ISBN 5-203-01789-1 .
Veselago F. F. The General Maritime List from the base of the fleet until 1917. - SPb. : Printing house of V. Demakova, 1890. - V. IV / The reign of Catherine II. K - S. - S. 31, 398. - 712 p. - (Military history library).
A. B. Shirokorad. 200 Years of the Sailing Fleet of Russia / Ed. A. B. Vasiliev. - 2nd ed. - M .: “Veche”, 2007. - 448 p. - ISBN 978-5-9533-1517-3 .
Model details:
Scale 1:72.
Assembled dimensions are (LxWxH) 23.25" x 8.5" x 17.25" (590mm x 220mm x 440mm ).
All wooden parts are laser cut to simplify assembly.
Hull design compensates for material deformations.
Double plank-on-bulkhead hull. Final hull planks are made of anigre veneer.
Historically accurate cast cannons with Russian Imperial crests.
Laser etched deck made of maple veneer.
High quality pearwood blocks.
Multitude of highly detailed brass parts.
Sail plans and cloth for sewing the sails.
Silk screen flags.
Different diameters of black and tan threads for standing and running rigging.
Ship stand with two nameplates, one in English and one in Russian
Binnacle.
Ship's boat MK0101 is included.
Ship plans (four large sheets) and translated plans in English.
Assembly instructions in English.
Made in Russia by Master Korabel

")


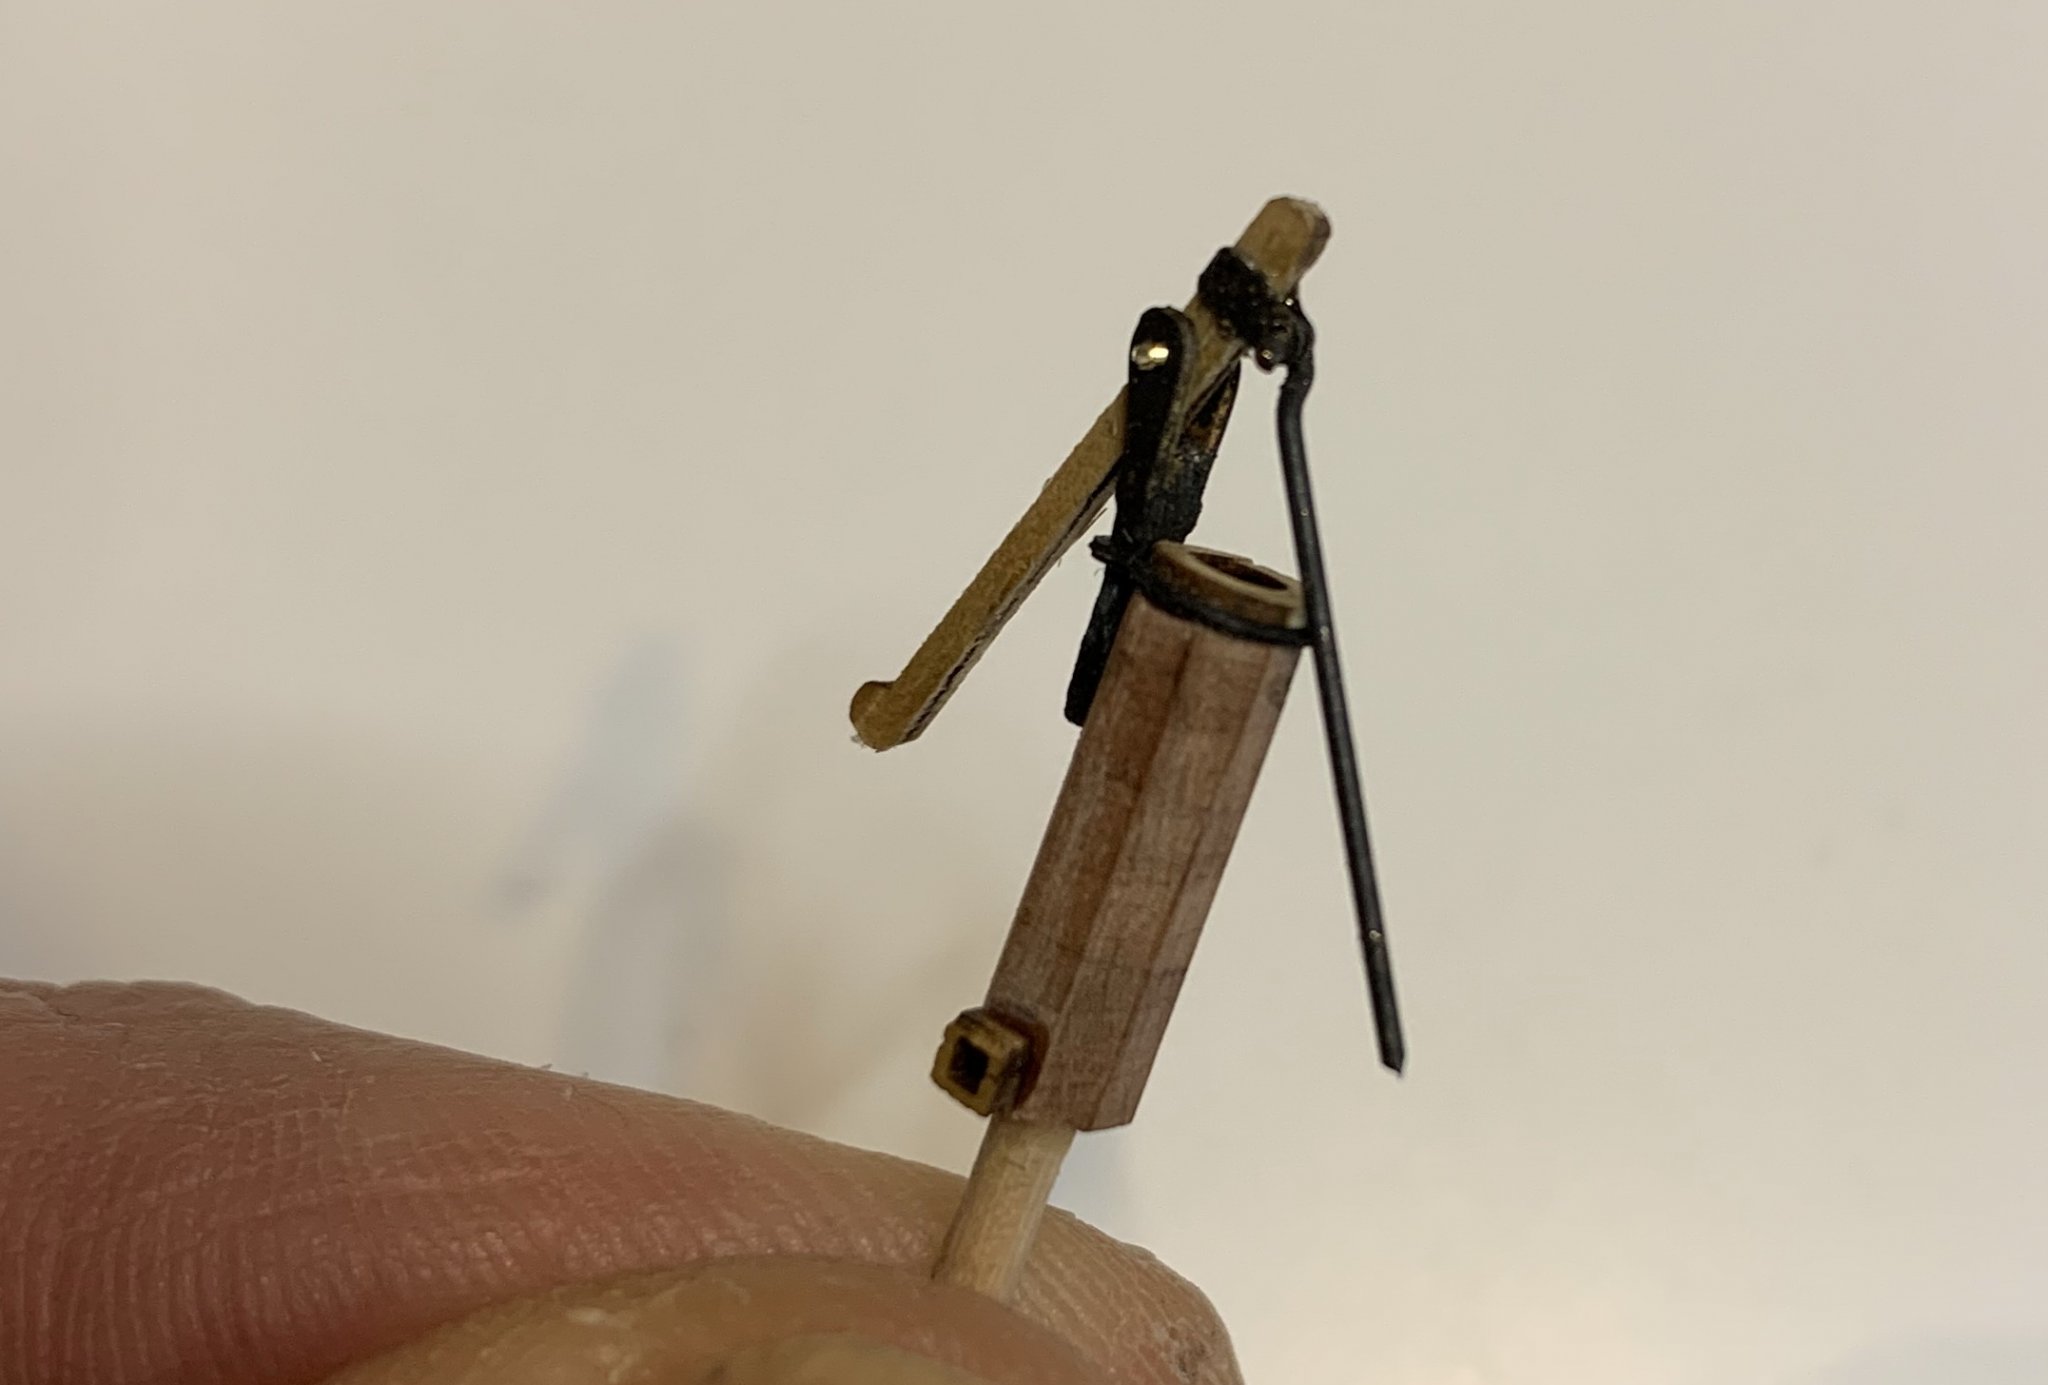
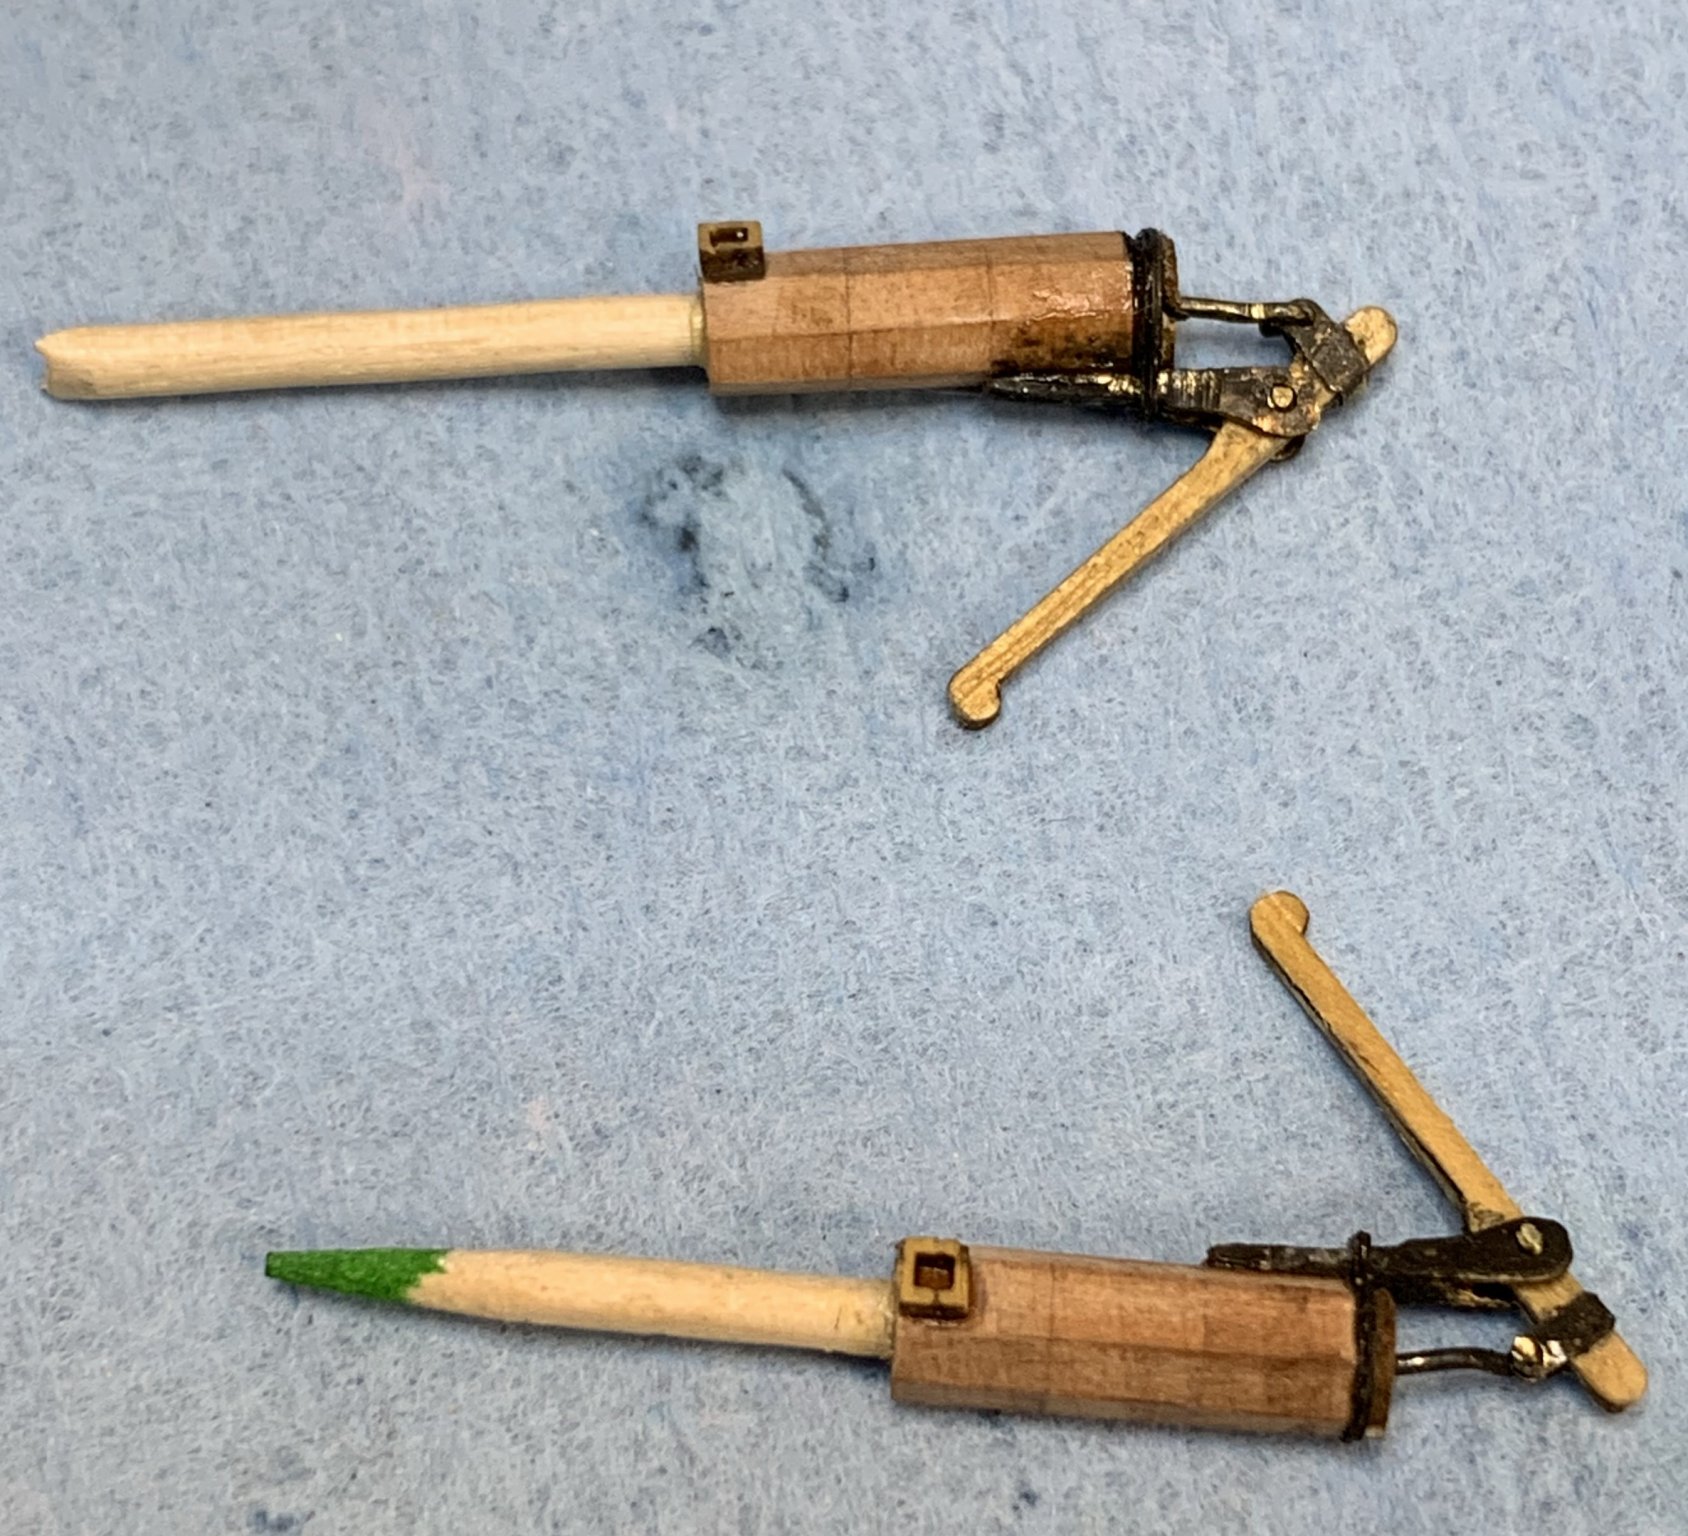
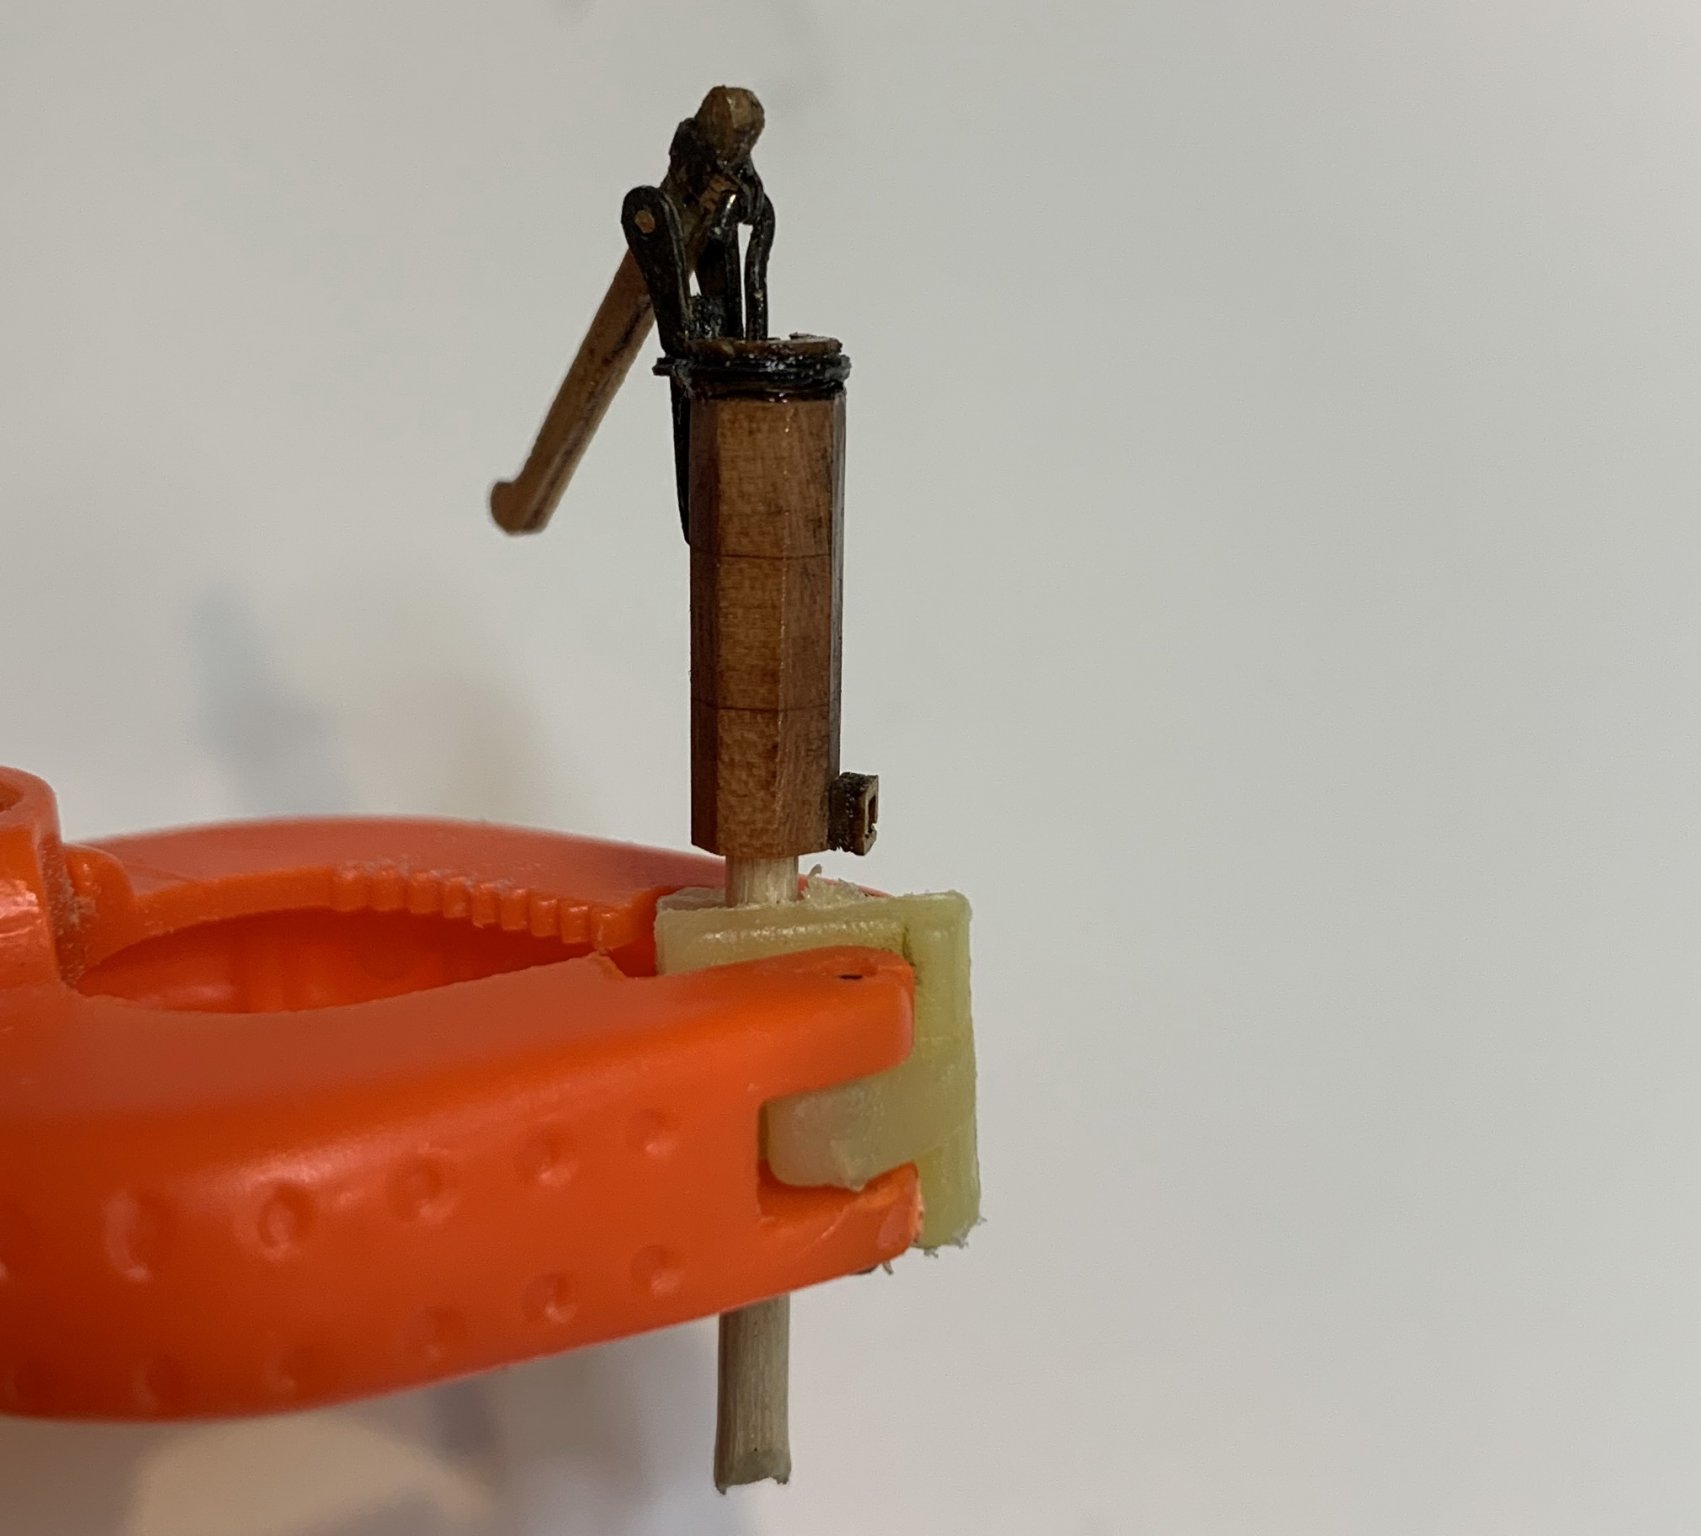
 , gun, lamp...