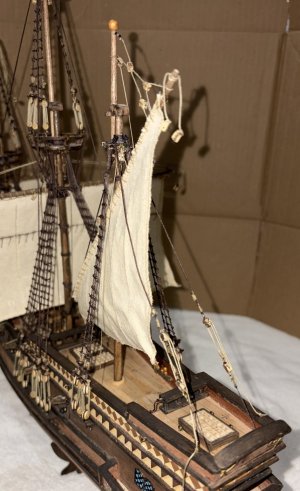
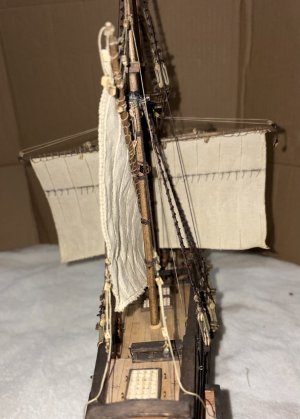
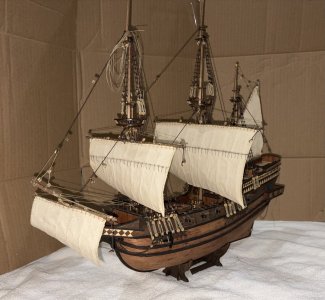
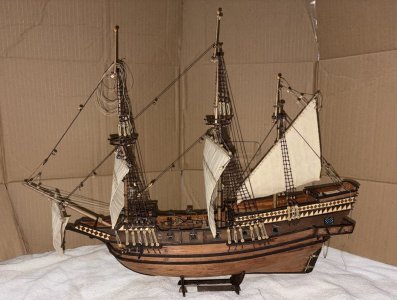
7/10/2026 to 7/18/2026
I will be carrying on with posting a less wordy and condensed build log but will attach the full unredacted build log as a pdf for those who want it.
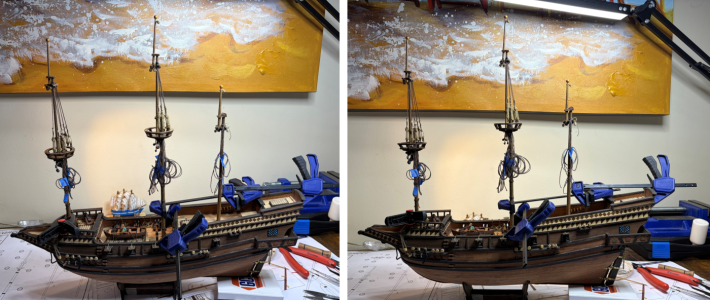
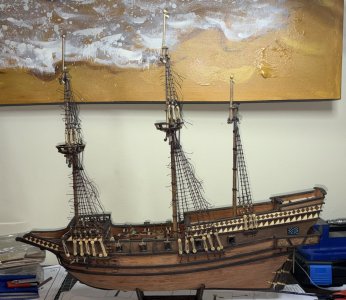
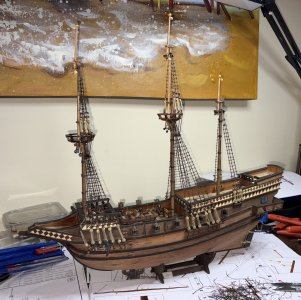
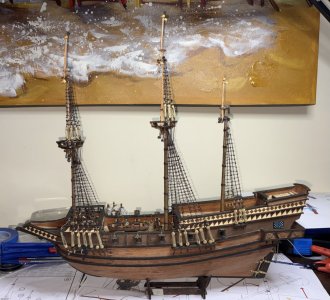
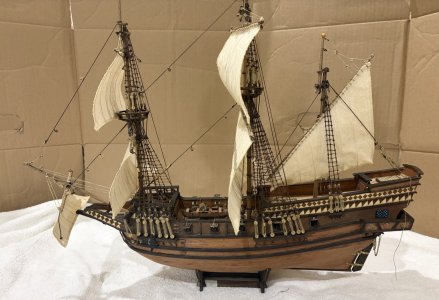
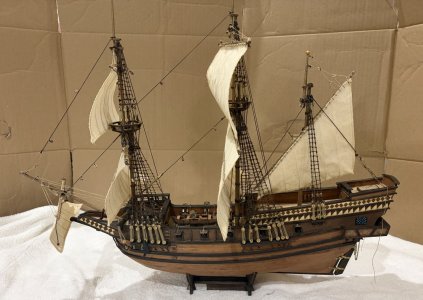
Thirty-three days away from home and in the States. We have been back for almost a week, and I am finally at the point of working on my Molino.
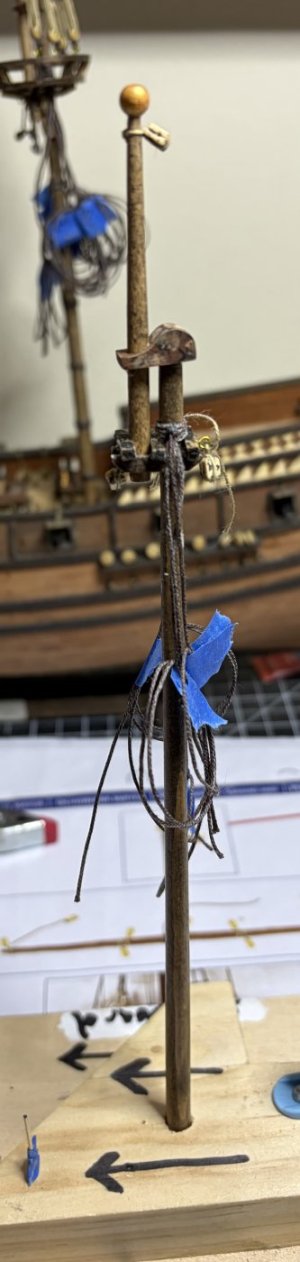
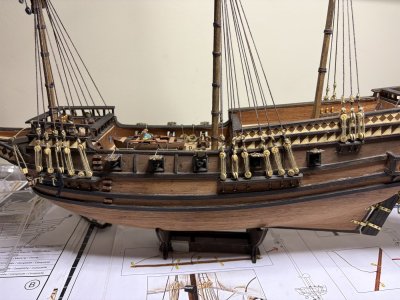
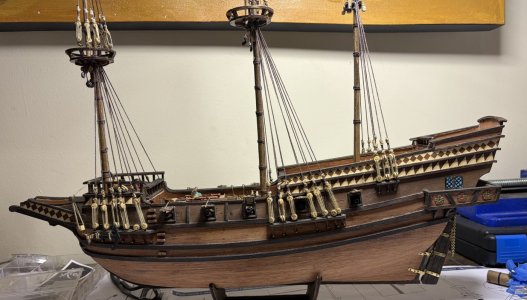
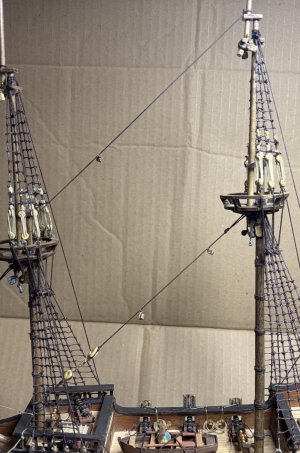
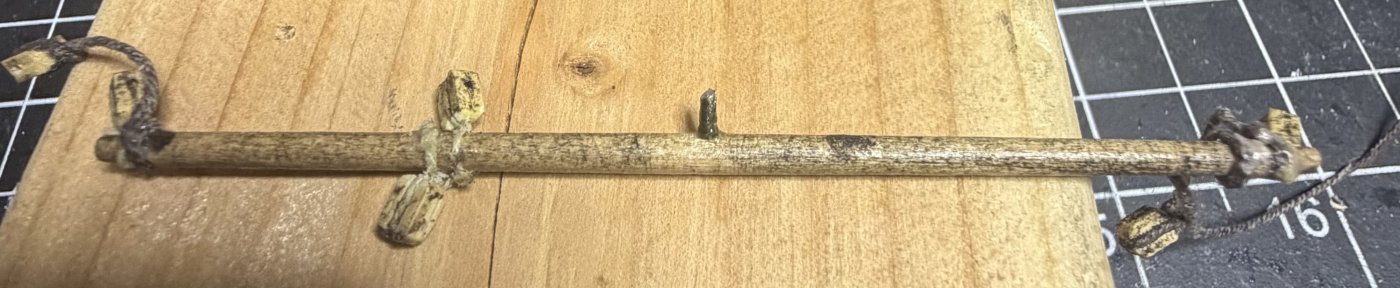
Next up are the futtock staves.
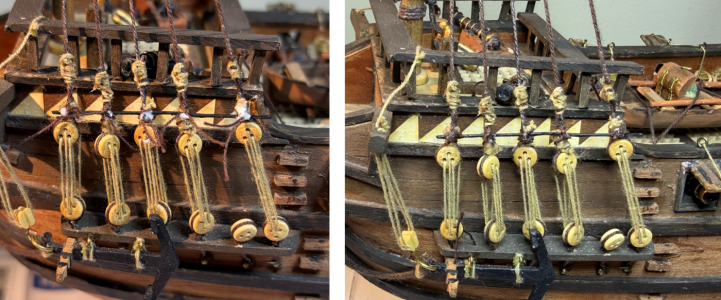
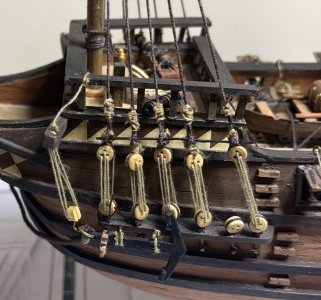
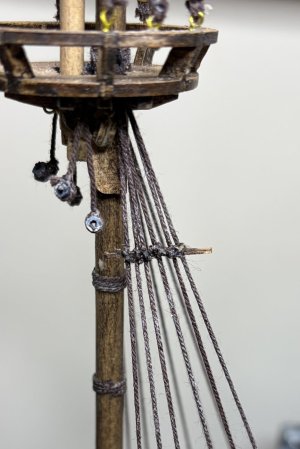
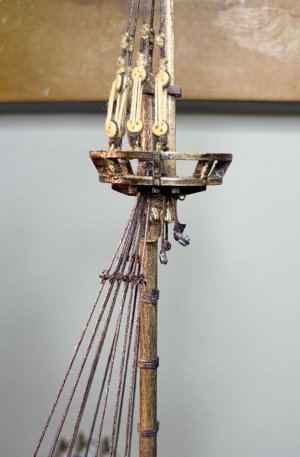
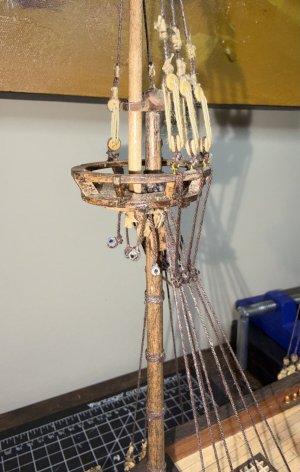
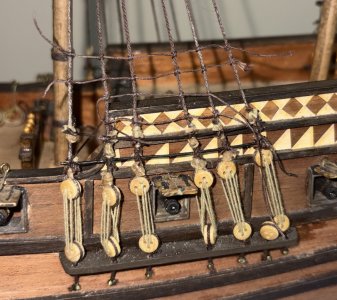
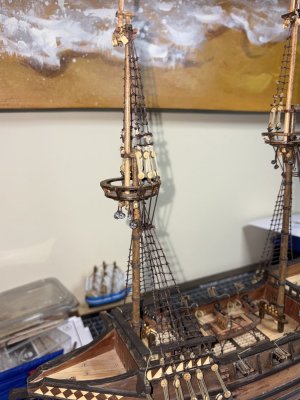
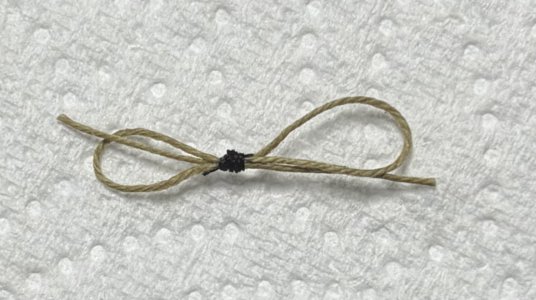
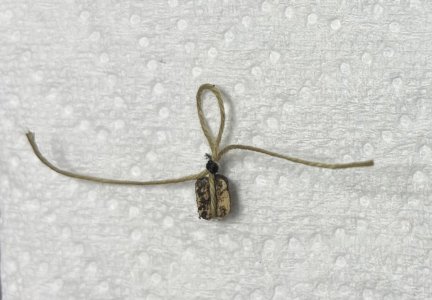
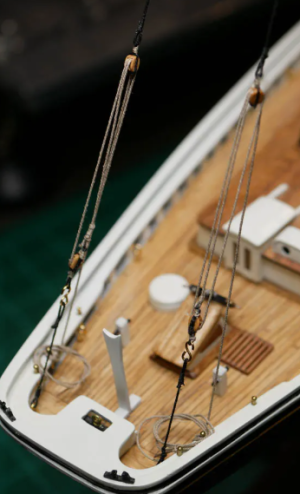
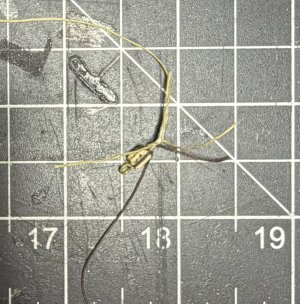
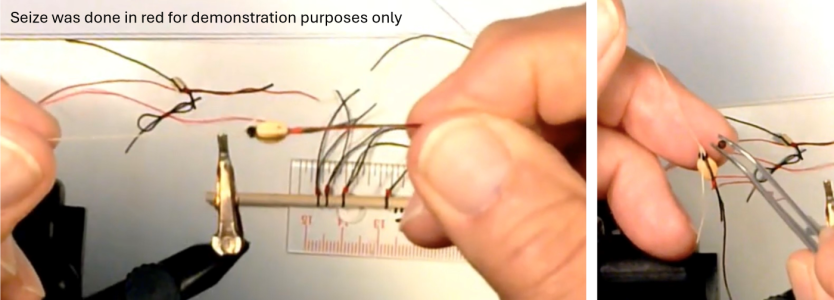
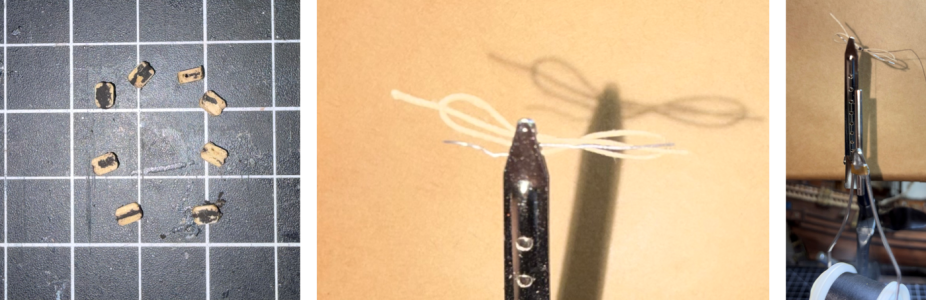
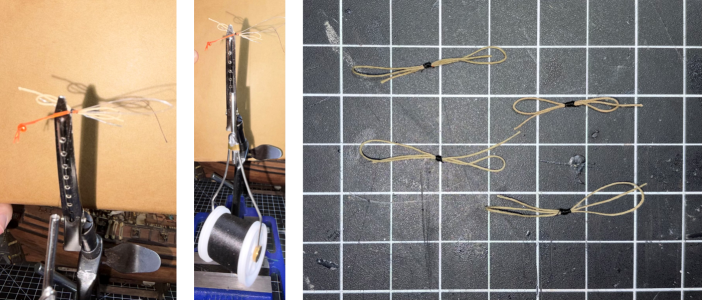
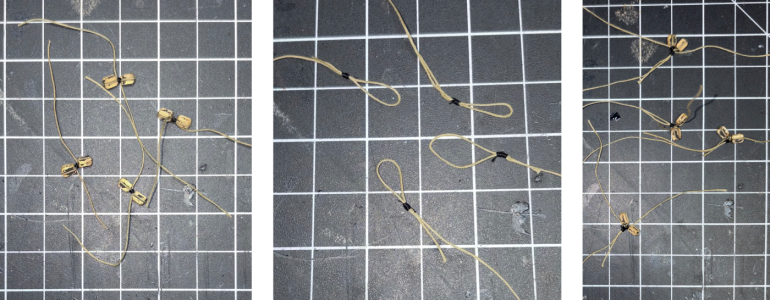
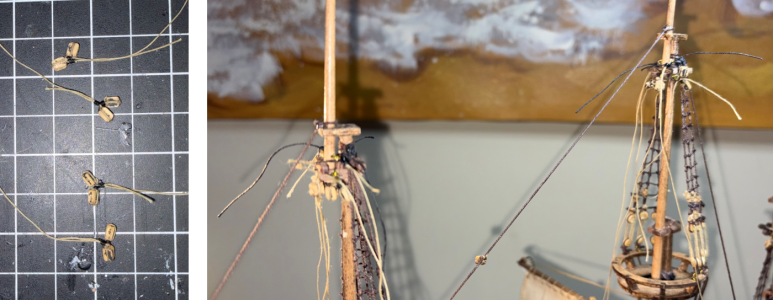
The futtock staves are made with 0.7mm x 0.7mm dark wood and will be tied to each shroud with a double overhand knot.
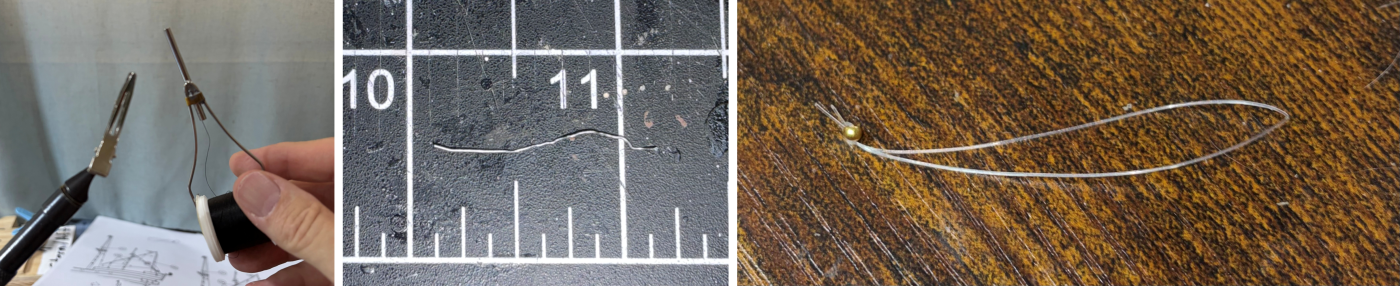
I use a thin brown thread (ran across beeswax) capped off with a drop of glue.
View attachment 620452
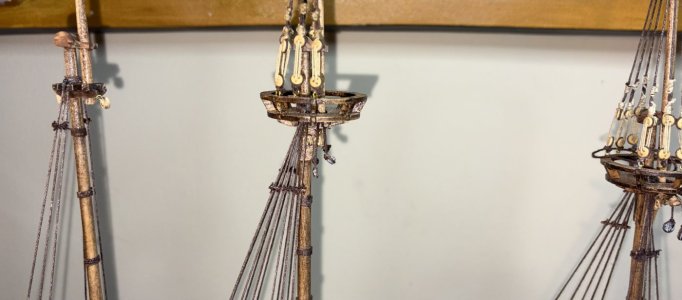
I have realized that because there are no shrouds above the top of the mizzenmast, there should not have been staves, but instead of cutting and removing them, I will leave them in place.
View attachment 620453
View attachment 620454
View attachment 620455
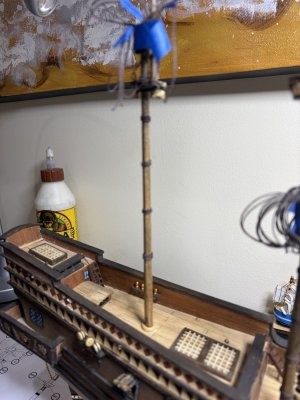
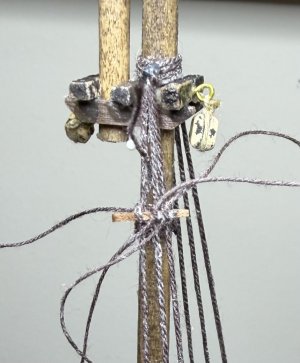
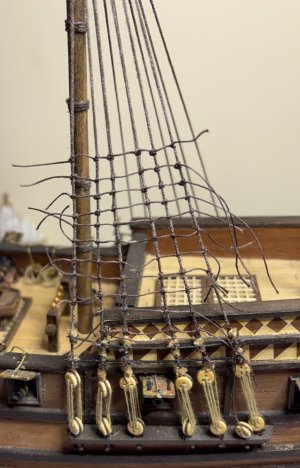
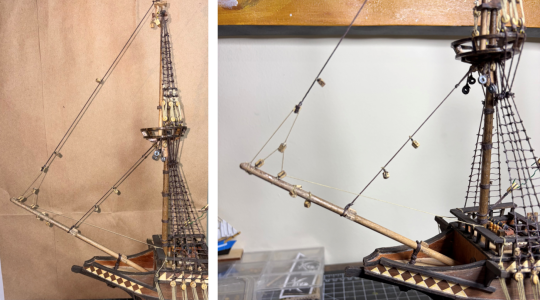
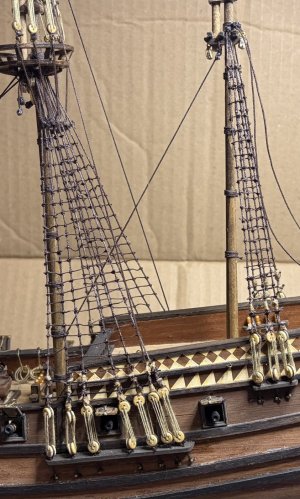
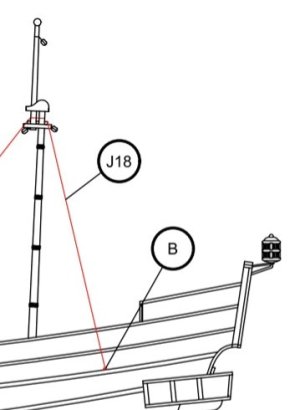
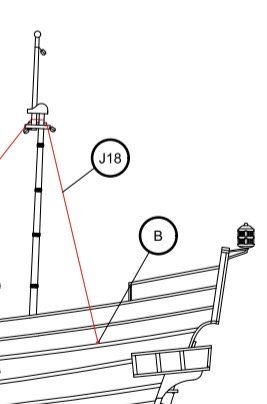
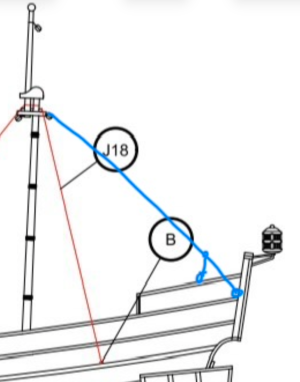
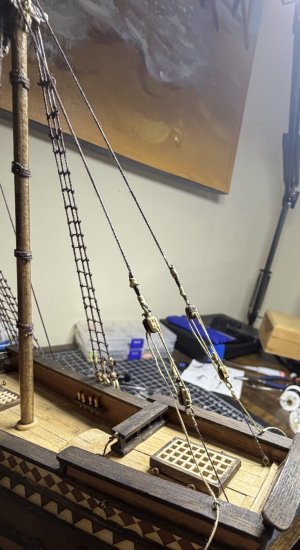
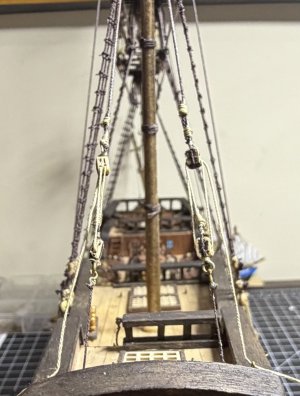
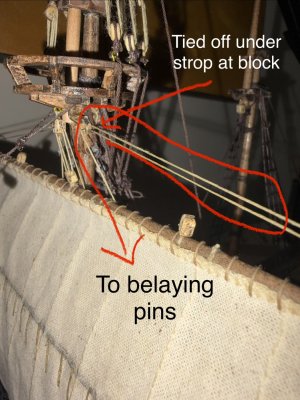
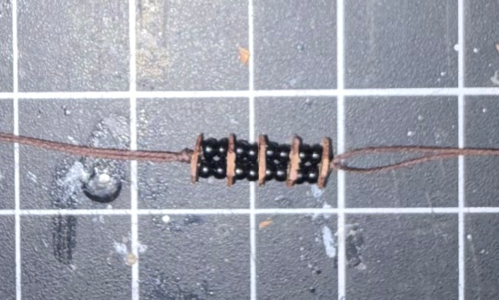
The catharpins brace the upper masts from extreme weather by pulling the lower shrouds inward (hence why there are none on this ship’s mizzenmast).
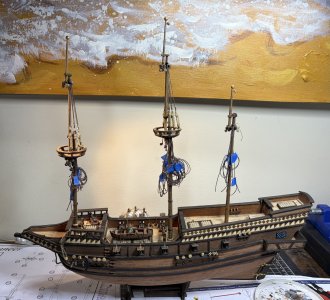
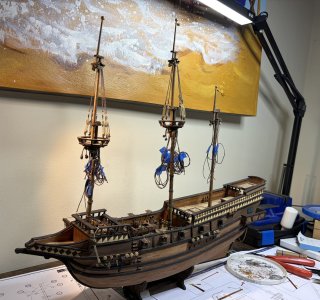
I will make mine using 0.5mm dark brown thread. The number of shrouds determines how many catharpins there should be. The foremast has 5 shrouds per side so it will have 3 catharpins while the mainmast has 6 shrouds meaning it will have 4 catharpins.
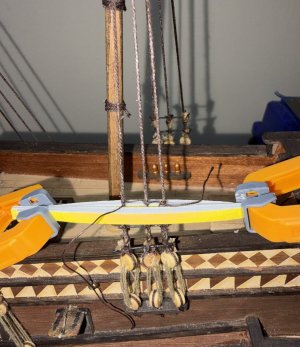
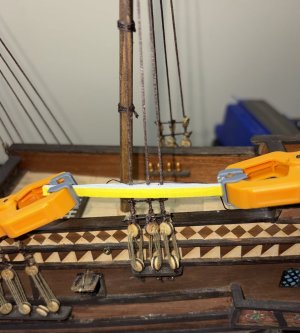
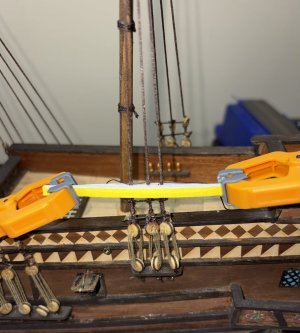
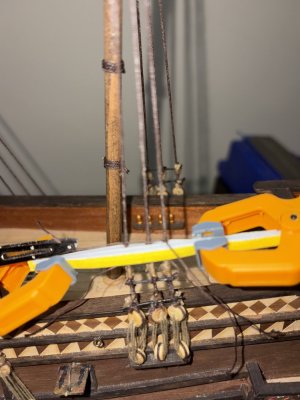
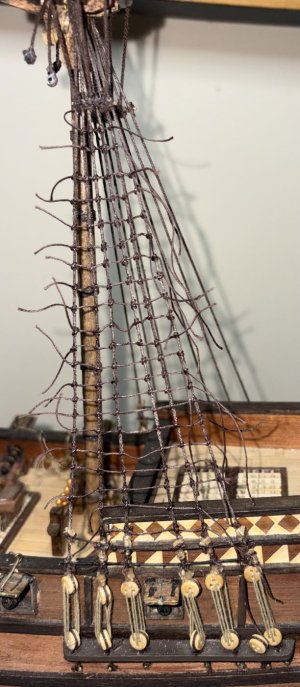
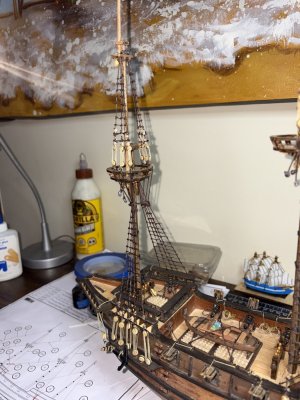
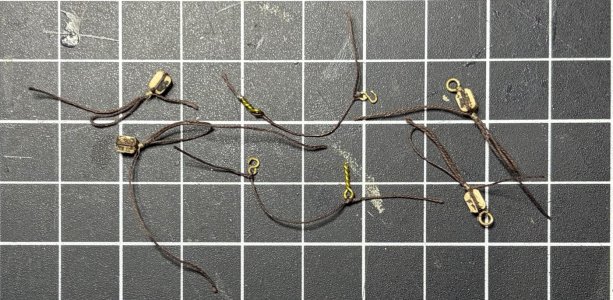
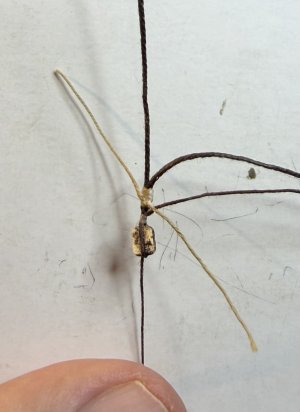
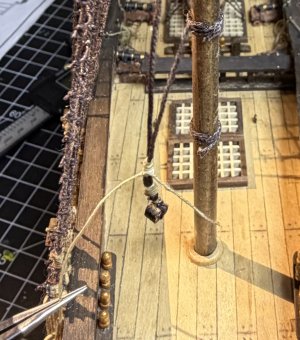
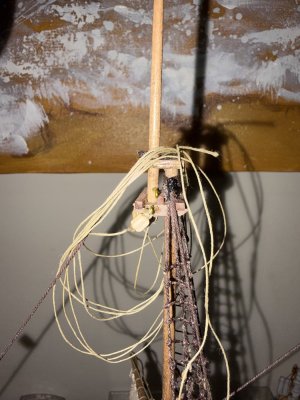
I tied one to the port side and topped it with a drop of glue and then ran the long end of each catharpin up and over the stave of the other side. I put a small clamp on each one to give it a little weight and the put a drop of glue on it. They are not yet tied, but once the glue is dried, the line will be taunt and should be easy to add a knot.
View attachment 620456
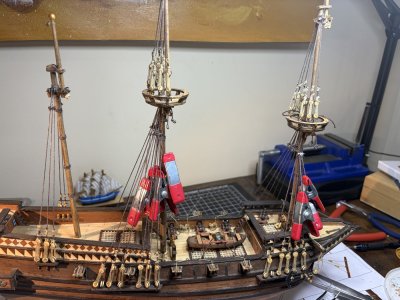
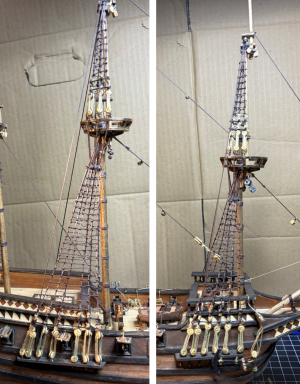
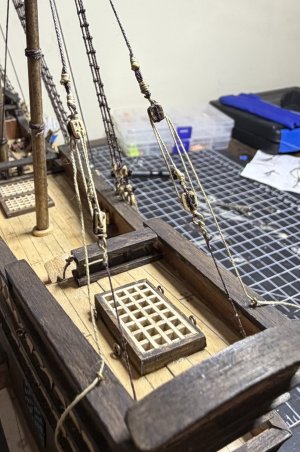
At this point I noticed that the foremast staves were not at the same height. I will not attempt to fix it but will use it as a learning experience for next time.
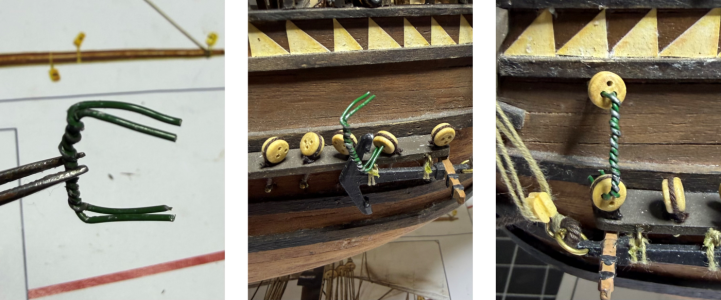
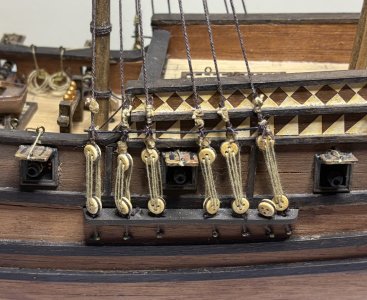
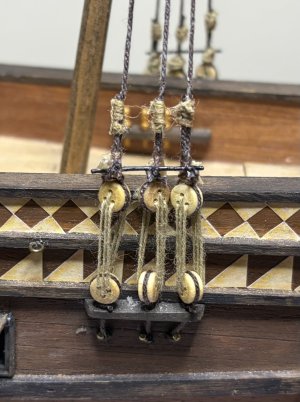
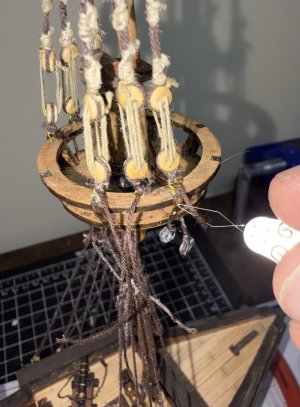
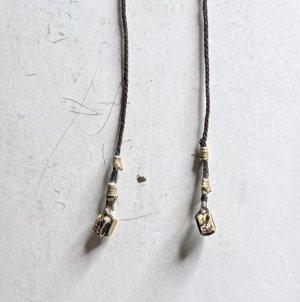
The futtock shrouds are supposed to connect the lower deadeyes to the staves and catharpins but on my kit, the deadeyes have already been connected to eyebolts attached to the top. To simulate the proper connection as best as possible, I tied a knot in a short piece of 0.5mm dark brown thread and feed it through the eyebolts using a needle threader, then routed the thread over the edge of the circular top, and down to the staves where it was tied off. Not perfect, but it looks nice.
View attachment 620457
View attachment 620458
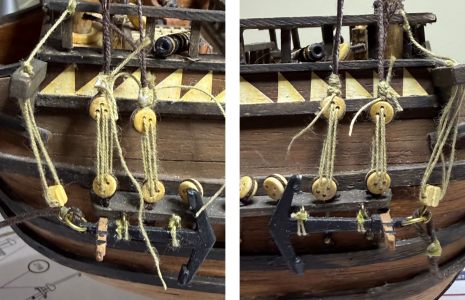
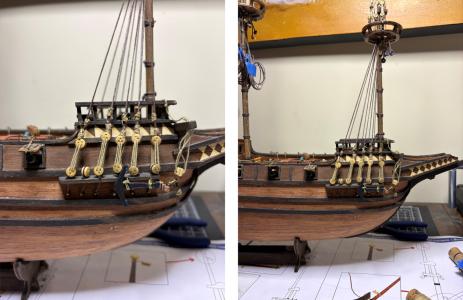
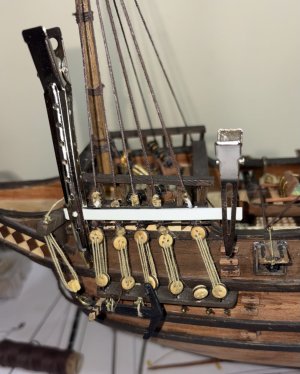
I will have only one rat board (in addition to the sheer pole) at the bottom of each set of shrouds. They will be 3.7mm above the sheer poles. I will use 0.4mm x 0.4mm dark wood and tie them in place using 0.15mm dark brown thread.
View attachment 620459
Rat boards are used instead of rope ratlines because the shrouds spread widest near the deck, leaving too much unsupported space for a safe, comfortable foothold.
View attachment 620460
And now it is really time for the ratlines!
I am starting with the ratlines on the port side mizzenmast. It only has three shrouds per side. It will be a good first attempt.
I will be following a process a Rocky Mountain Shipwrights member detailed on Reddit a few months ago. He referenced a post on MSW, but it was posted by a “guest” several years ago, prior to MSW’s crash. I had unsuccessfully tried to reach out to the guest, so now I guess I will say it is from James Webster, and we've posted it on the club's
YouTube channel.
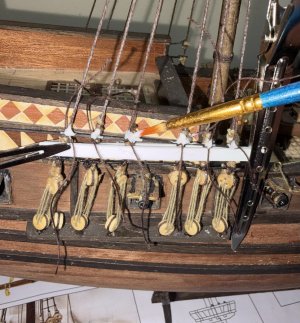
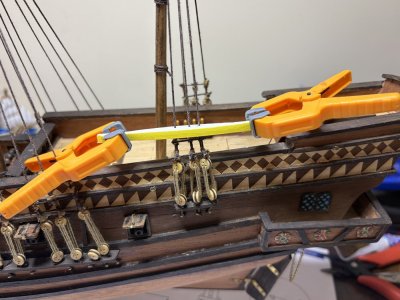
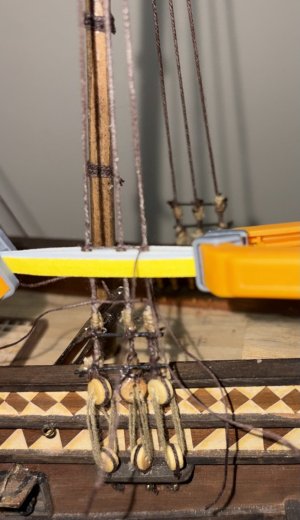
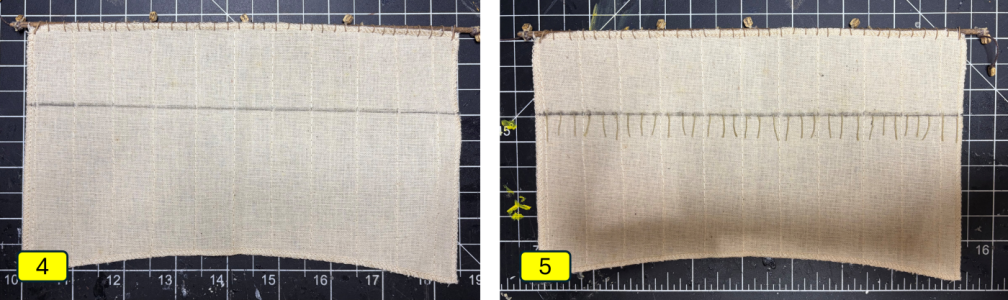
The process starts with two pieces of stock that are longer than the widest set of shrouds, and whose width is that of the desired spacing of the ratlines. Thin strips of sandpaper (around 200 grit) are glued to the pieces of stock. The pieces are placed on either side of the shrouds and held in place with light clips. The idea is that the sandpaper holds the shrouds in place and the width of the stock gives you a straight line to run the ratlines at the desired spacing.
The ratlines spacing on my Molino is between 3.3mm and 3.8mm and with a bit of good luck the sanding sticks I have are 3.6mm… perfect width. I cut a 220-grit stick in half and held them in place directly above the rat board.
View attachment 620461
This is a task that takes me back to 2000 when I bought my first model (Model Shipways Bluenose). In those days, I thought rigging was so amazing, and I thought ratlines WERE the rigging. This step was huge for me.
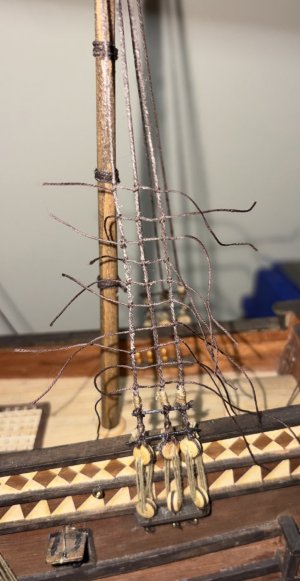
I held the thread and shakily tied my first clove hitch, then my second, and then my third and final one. I had done it… my first ratline. I removed the two pieces of stock and admired my first ratline. Yes, it looked like my first one as neither looked particularly good. I almost immediately decided to remove it and start over.
View attachment 620462
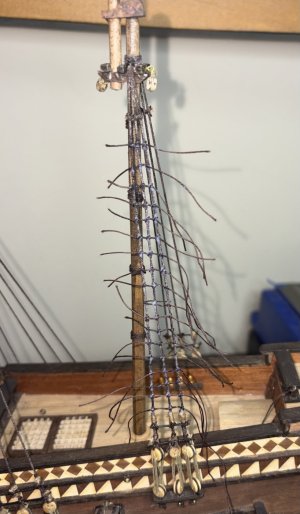
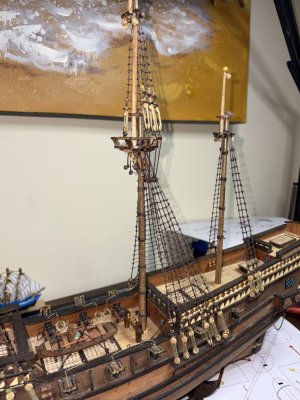
I put the pieces of stock back in place and tried again. My second attempt looked a lot better and I kept it. I then moved the pieces of stock up to sit on top of the first row and tied my second one. My speed and quality improved until about two hours later, the tying of the port side mizzenmast ratlines were done.
View attachment 620463
View attachment 620464
View attachment 620465
View attachment 620466
View attachment 620468
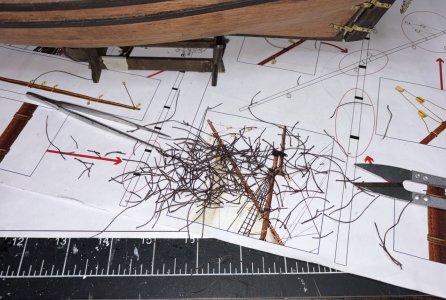
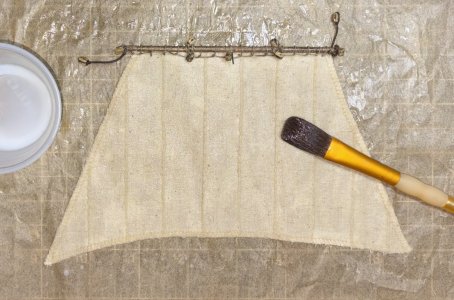
I diluted some white glue with water and used a paint brush to apply it to each of the 54 knots.
View attachment 620469
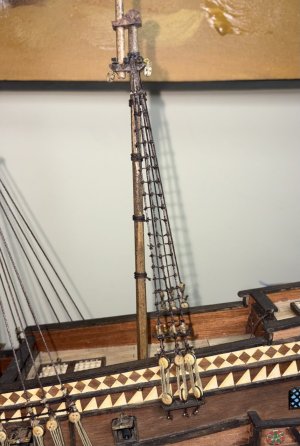
Once the glue was dried, I trimmed the tails. My first ratlines were complete.
View attachment 620470
One area I can improve on is that of holding the thread in place while tying the first knot of the ratline. I struggled with it and ended us using a light clip to hold the thread in place to the pieces of stock. It worked well and I removed it as soon as the first knot was tied, but I should be able to do it without the clip.
Time for this portion: 13 hours
Total time to date: 322 hours