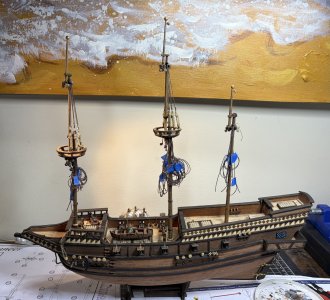
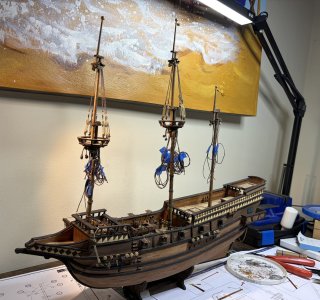
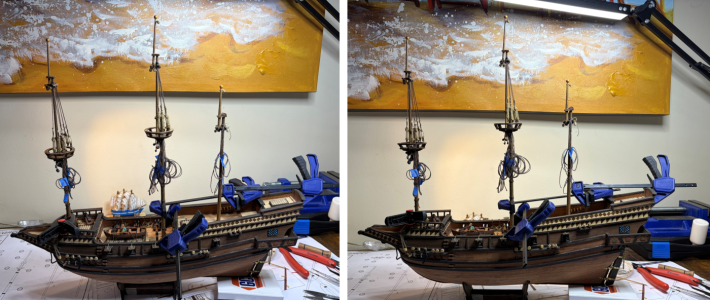
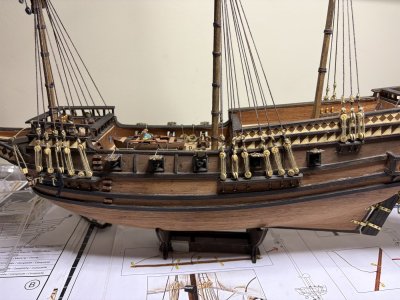
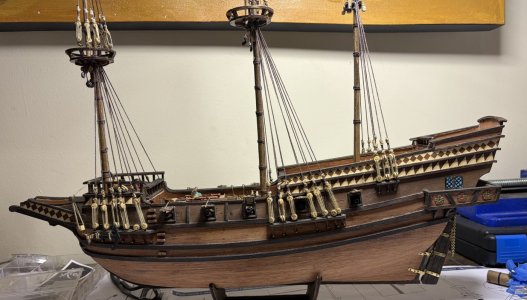
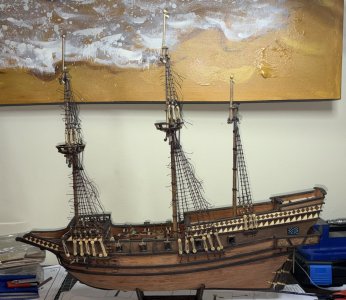
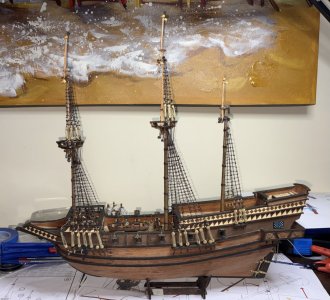
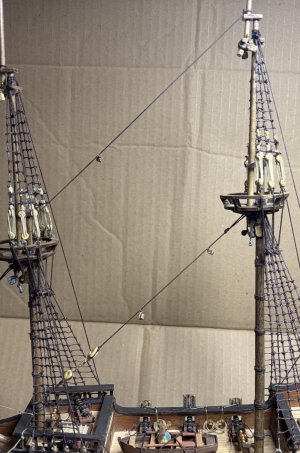
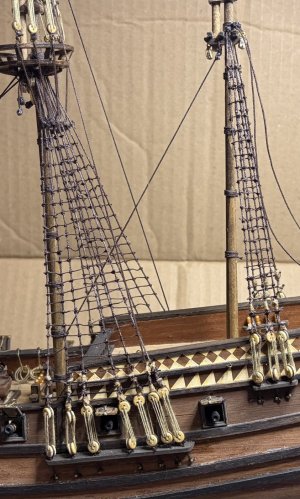
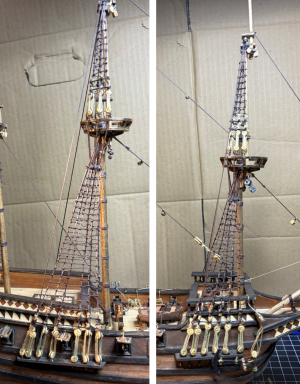
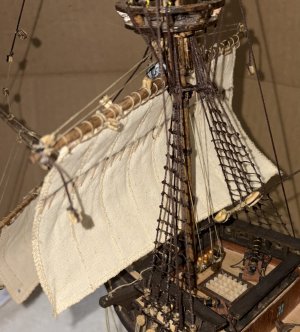
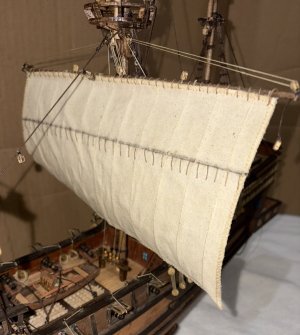
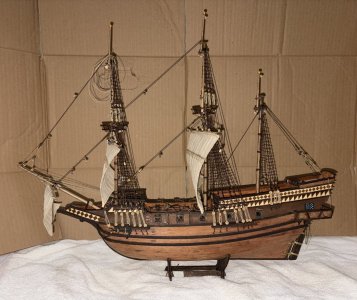
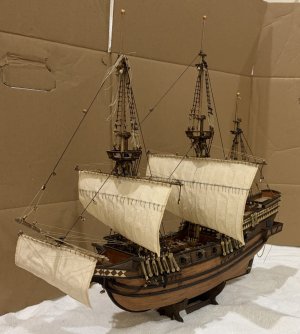
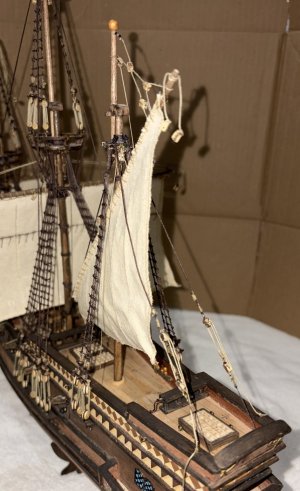
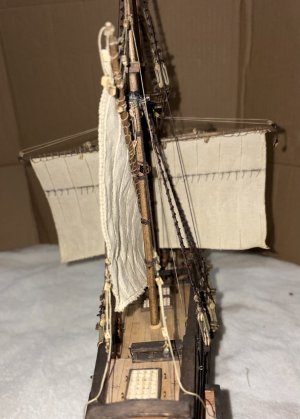
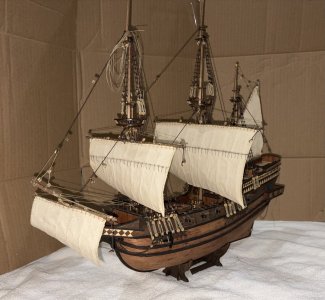
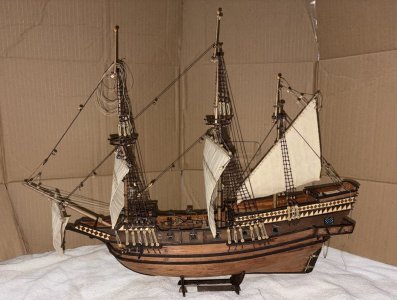
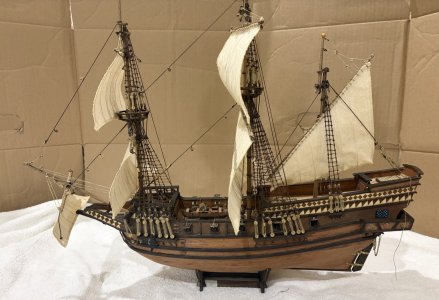
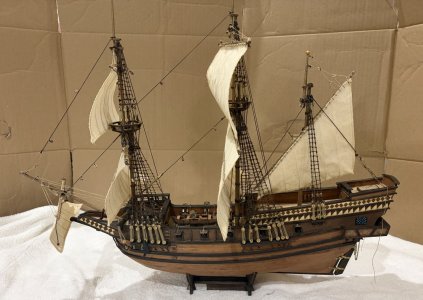
Mainmast brace rigging and miscellaneous mizzenmast work
Session Start: September 21, 2026
Session End: September 27, 2026
Session Time: 12.5 Hours
Total Build Time: 397 Hours
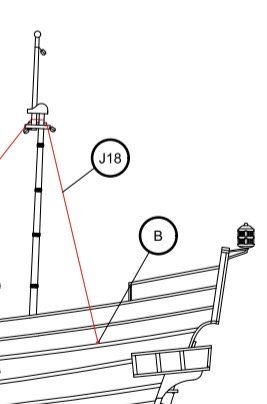
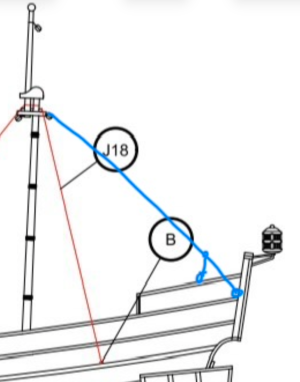
Here is my build log with assistance from AI (Gemini and Claude). I want to preface this post by saying that I really enjoy this kit and would recommend it to others BUT the rigging diagrams are not the greatest. And unfortunately, even though OcCre replied to my message acknowledging that there is some confusion, their "corrected" diagrams were the same ones I am currently using.
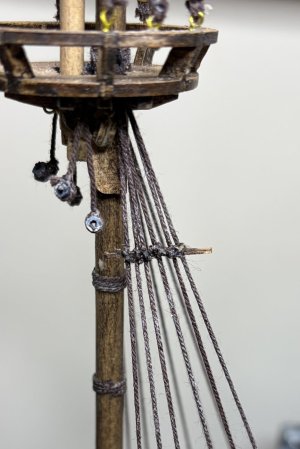
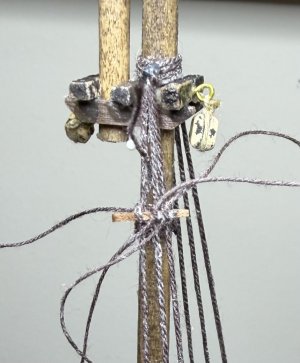
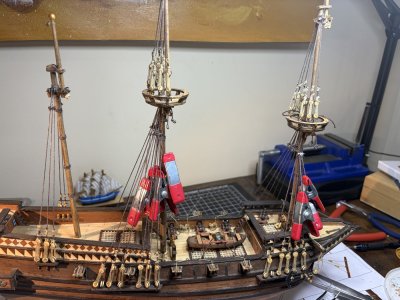
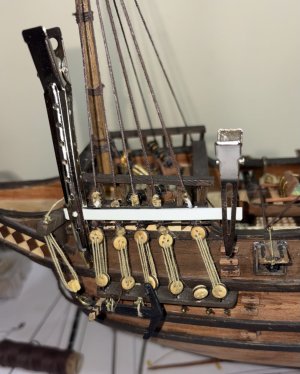
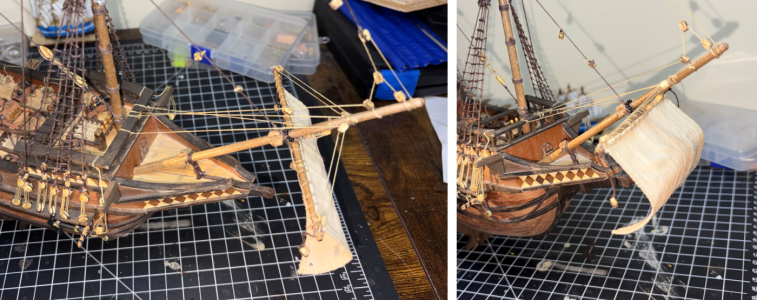
At the end of the last session, I expected to only do the braces of the foremast, but I will be doing all the braces for the entire ship. The brace rigging for the foremast consists of 4 lines tied off to the forestay of the mainmast; two (port and starboard) connect to the foremast lower yard and two (port and starboard) connect to the foremast top yard.
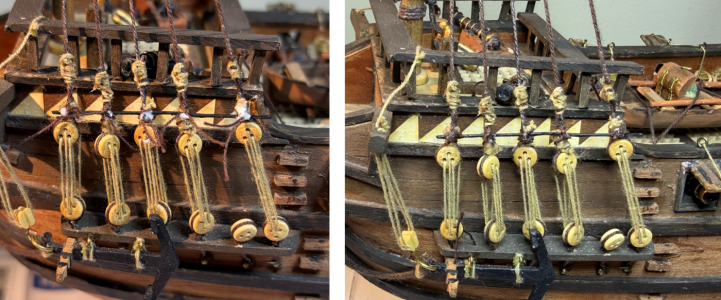
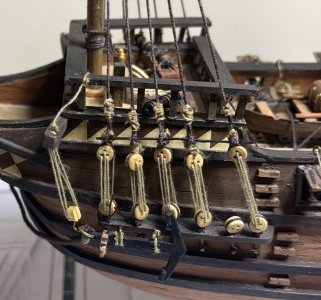
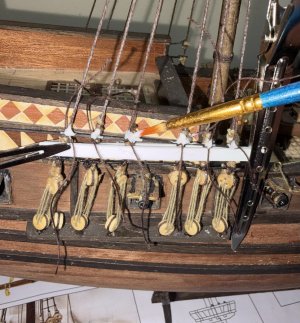
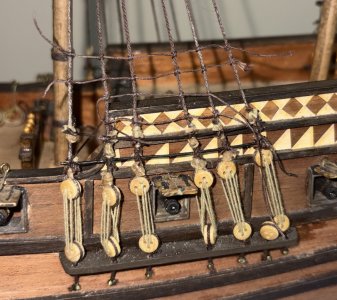
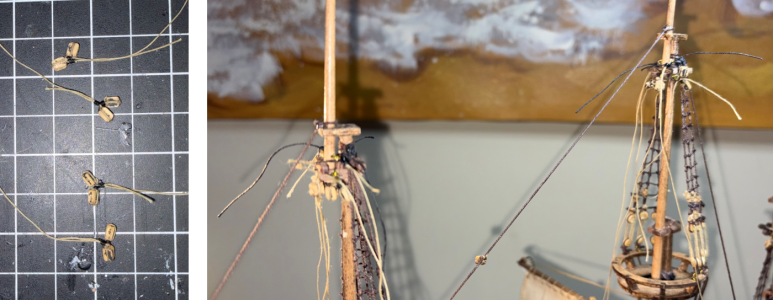
The instructions show these being tied to the stay with a half hitch, but a more realistic attachment is seizing each line, so that is what I go with.
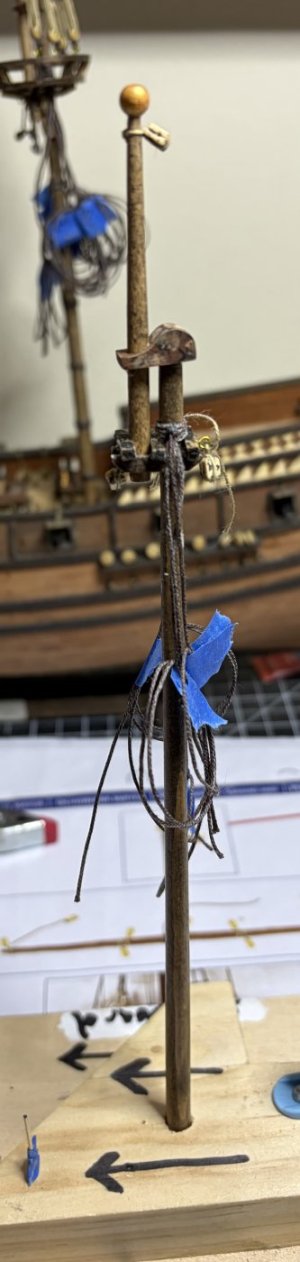
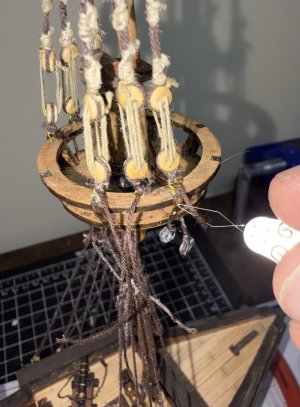
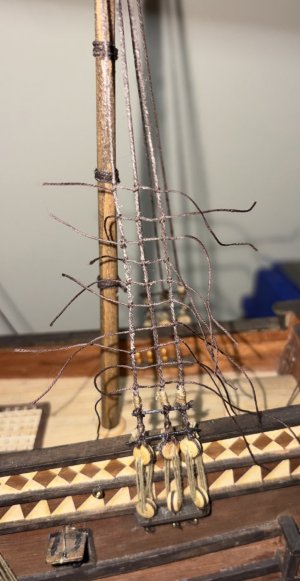
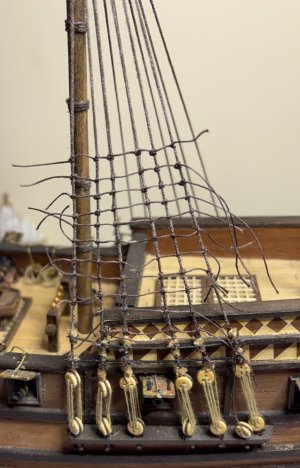
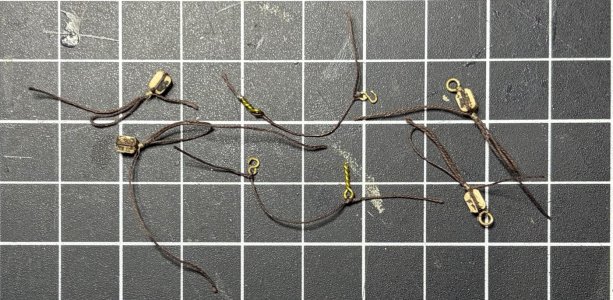
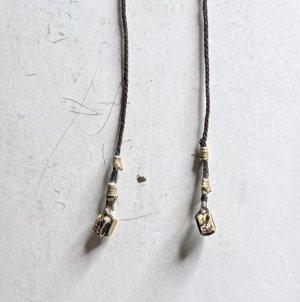
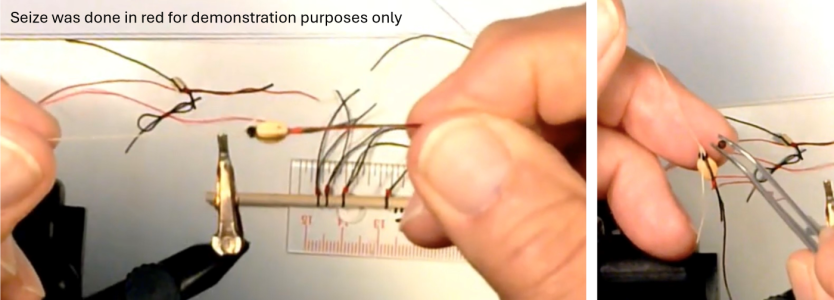
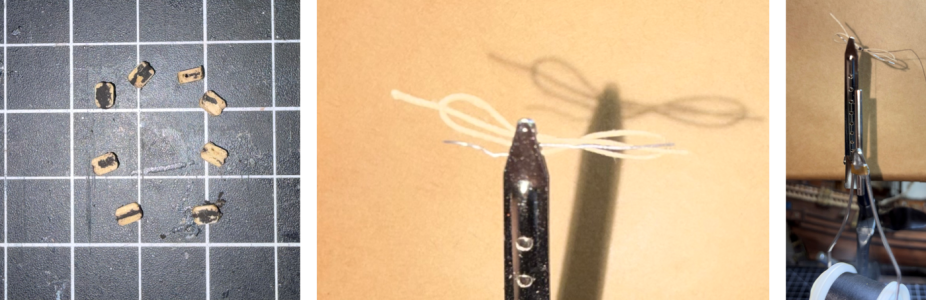
The brace lines are tan as they are running rigging and as I have done in the past, I seize them with black thread. Yes, tan would be more accurate, but I have been going with black, so they are more noticeable. Additionally, I make each seize a double seize.
I will continue making the seizes as I have done previously.
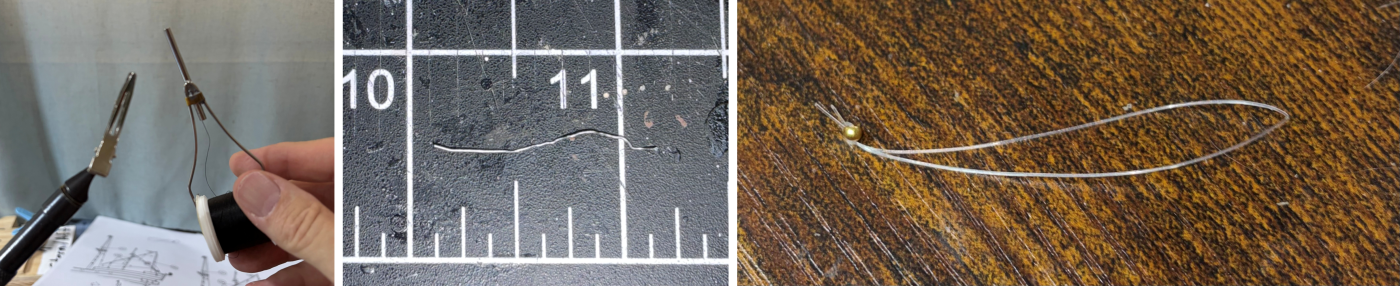
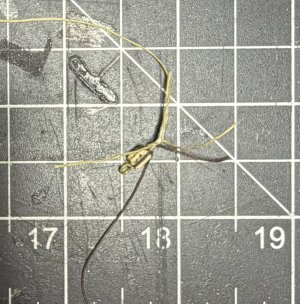
- Loop the tan line around the stay.
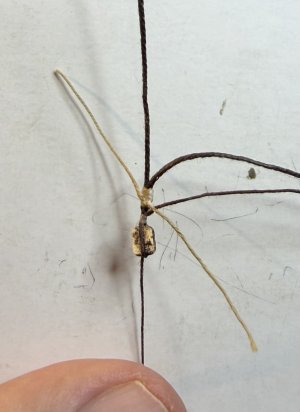
- Wrap a thin black line around the bight and tie a half-hitch.
- Hold the black tail along with the tan tail (pointing away from the stay.)
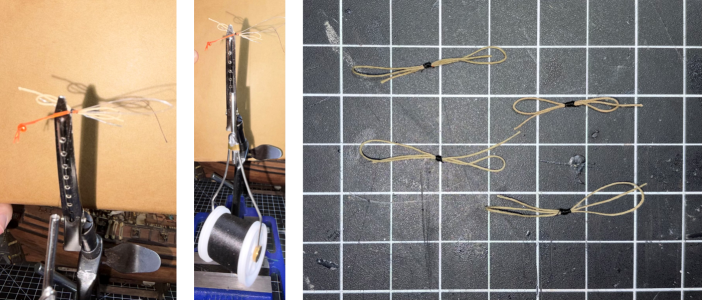
- Lay the fishing line tippet along the brace line.
- Wrap the black line around the brace line and the tippet at least 4 times.
- Fold the black tail across the loops (so it is now pointing towards the stay.)
- Wrap the black line around the brace line, the black tail, and the tippet at least 4 times.
- Feed the end of the black line through the loop of the tippet.
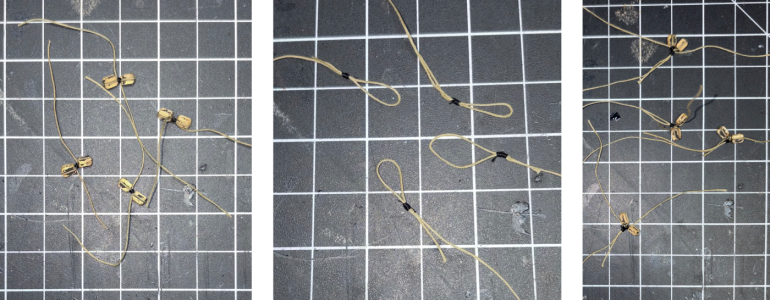
- Pull the tippet away from the stay, pulling the black line under and through the seize wraps.
- Gently pull both black tails in opposite directions, while straightening the tan line and tightening the seize.
- Slide and tighten the seize into position.
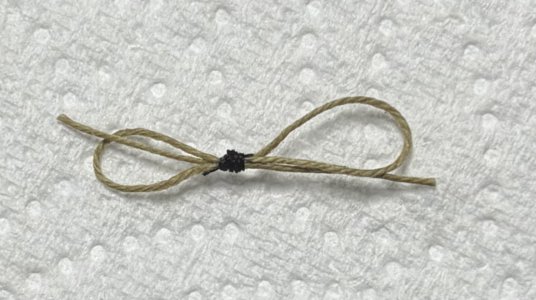
- The first seize should be tight up against the stay.
- The second seize should be about 1/4" away from the first.
- Trim the black tails to about 1/2".
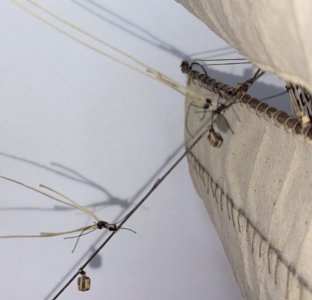
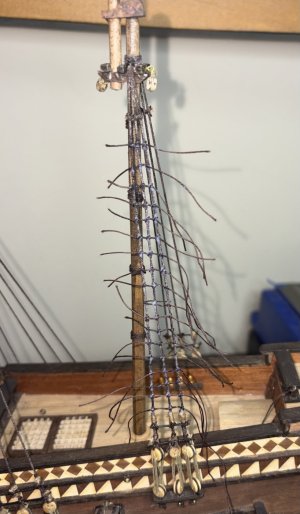
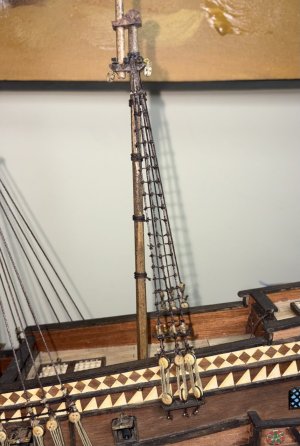
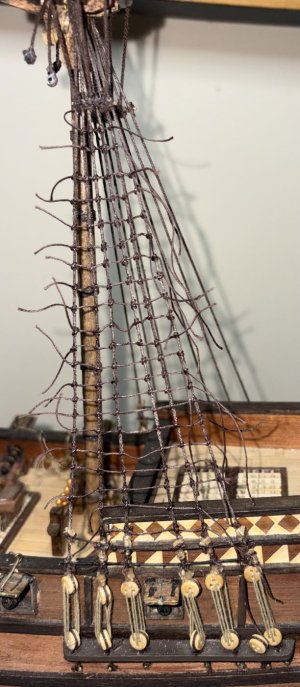
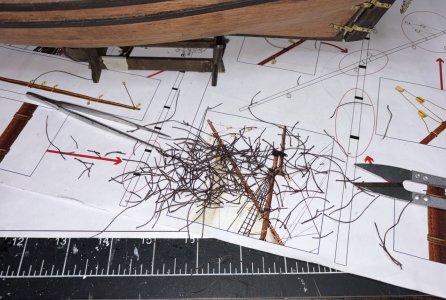
All the tails will be trimmed and the seizes will be glued once they are all complete, but for now, they are all left in place.
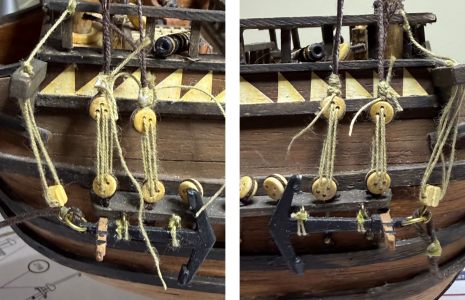
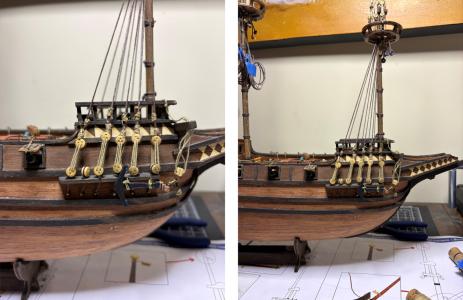
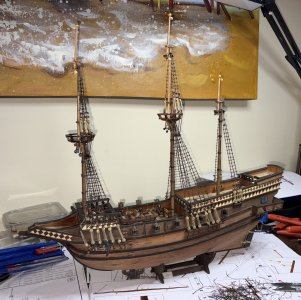
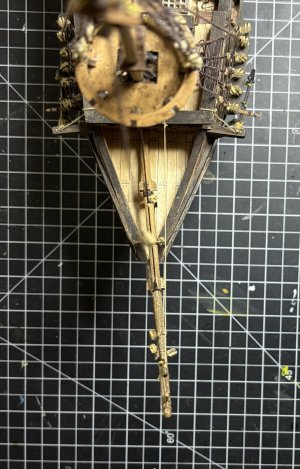
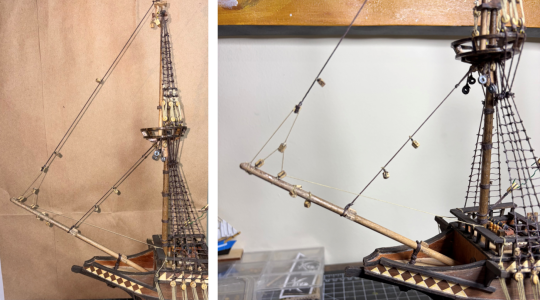
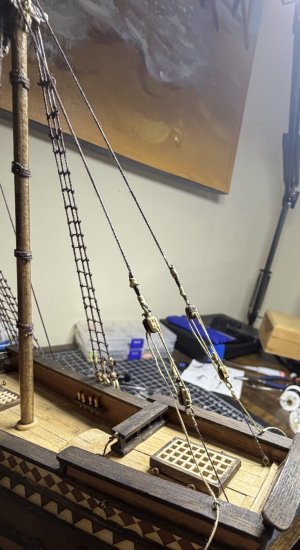
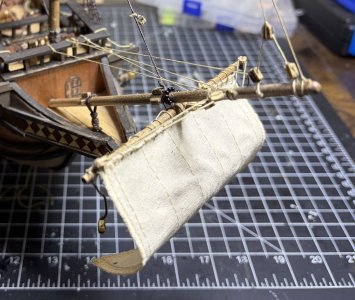
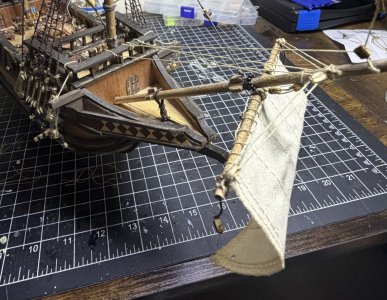
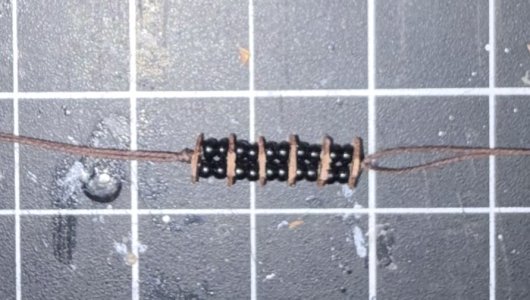
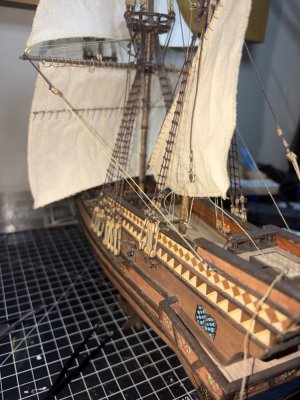
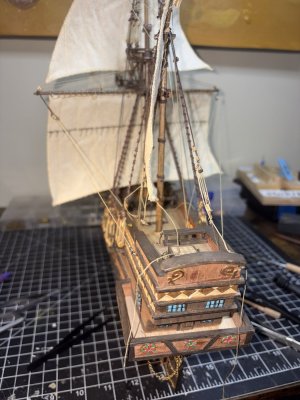
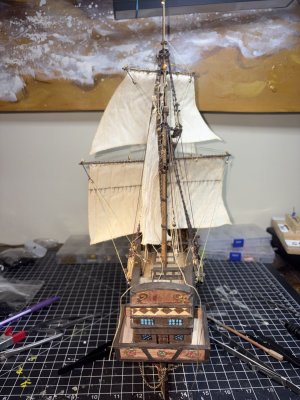
After the four foremast braces are complete, I follow the same seizing process for the two (port and starboard) braces for the bowsprit/spritsail, again all attached to the stays. Two (port and starboard) of the mainmast braces are tied off at the top of the mizzenmast while the other two (port and starboard) are tied off to the side of the ship.
Shipwright's Note: Tying ten double seizes at this point of the build took roughly 6.5 hours. Working around existing shrouds, stays, and standing rigging turned simple knot-work into a delicate, painstaking exercise. Note for future builds: Always seize lines or attach blocks to stays before installing the stays on the model.
Reeving the Mainmast Braces & The OcCre Diagram Puzzle
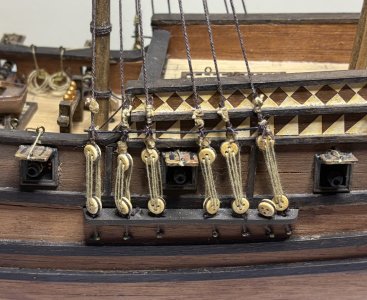
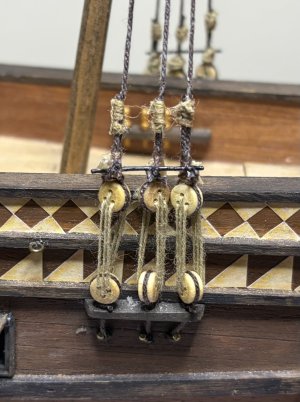
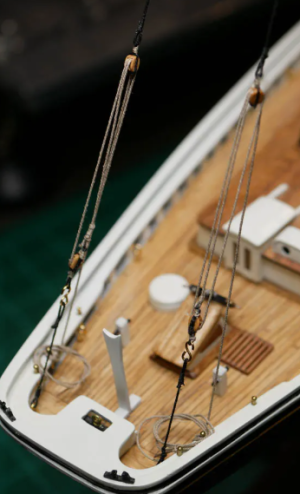
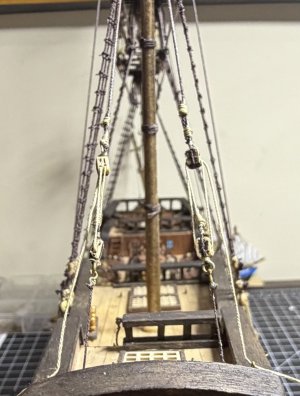
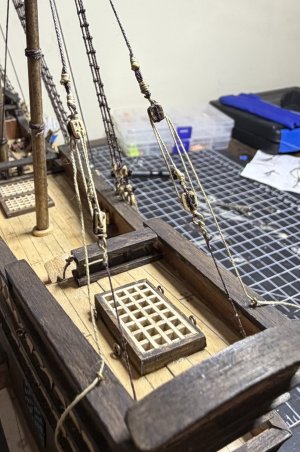
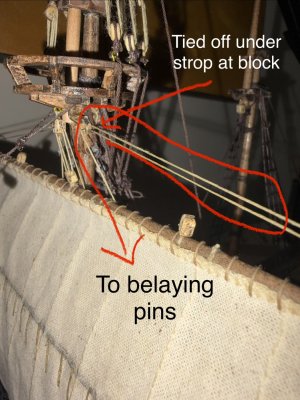
My reeving strategy followed an aft-to-forward, bottom-to-top sequence. Lines were reeved through their respective blocks and left slack toward their belaying points so the double-seized loops could be oriented to point directly toward their blocks prior to final gluing and tail trimming.
I began on the mainmast lower yard braces and immediately hit a wall with OcCre's documentation.
- Comparing OcCre's "Line Diagram" (diagram H) against their "Pin/Eyebolt Attachment Diagram" (diagram N) revealed a direct conflict:
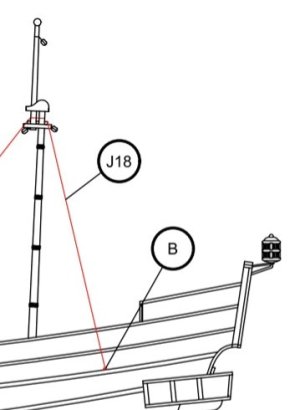
- Line Diagram H: Showed line J34 (main lower yard brace) starting at an eyebolt on the hull near the poop deck, running forward/up to the lower yard blocks, and returning all the way back to the poop deck.
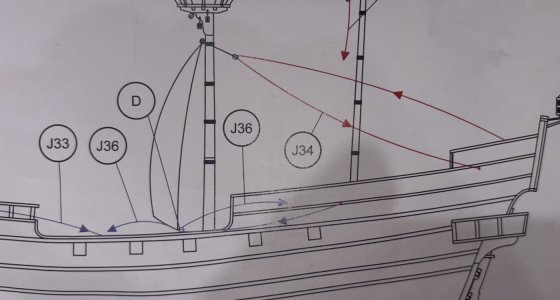
Pin/Eyebolt Diagram (diagram N): Placed J34's belaying point on the fife rail near the base of the mizzenmast.
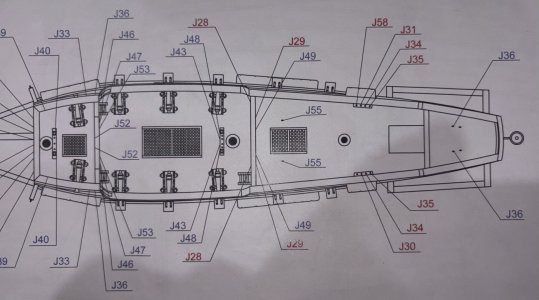
- Cross-reference (J36 Main Sheet): The diagrams swapped logic again. J36 showed starting near the mizzen fife rail, running to the sail corner block, and belaying at the fife rail… yet I cross-checked with my AI copilots and queried OcCre directly. Before receiving a response from OcCre, I re-watched their official assembly video (MAST 52 - How to make the halyards and topping lifts BUCCANEER). While the video skips these lines, the finished rig is visible in the final 10 seconds of the clip:
- The Verdict: The Pin/Eyebolt diagram (N) is correct; the Line diagram (H) is misleading.
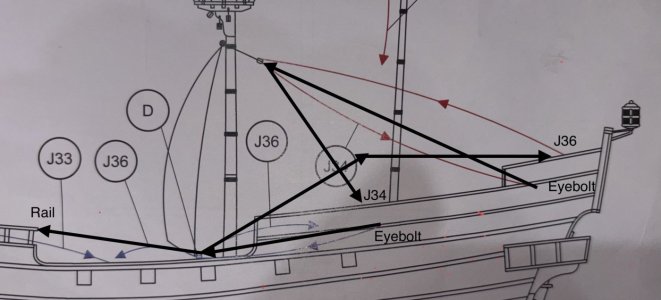
It will be interesting to see how OcCre responds.
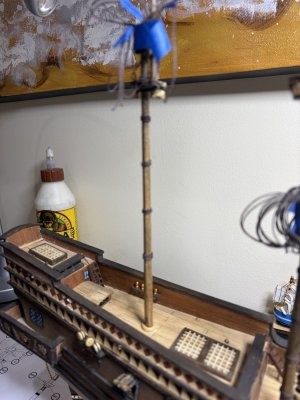
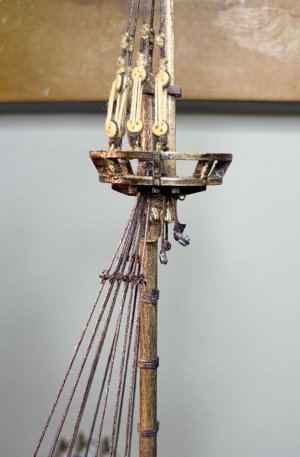
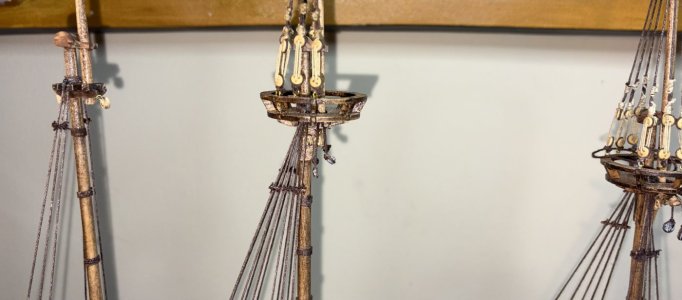
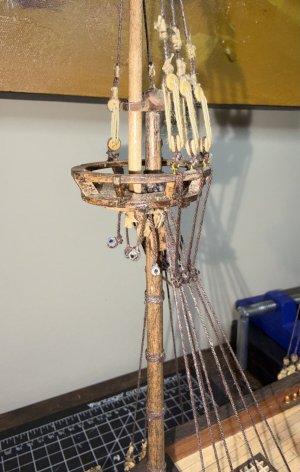
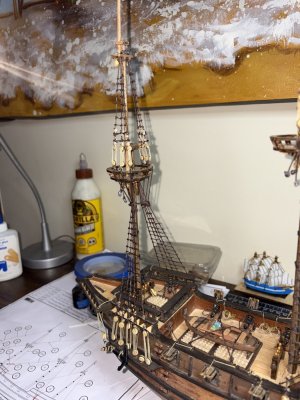
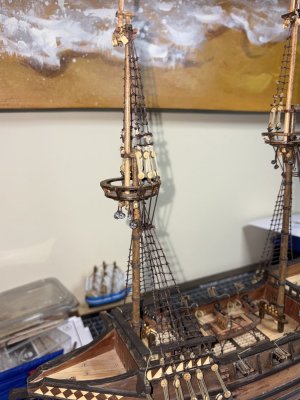
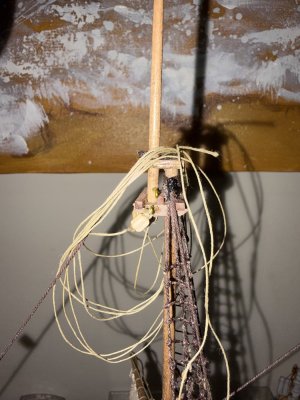
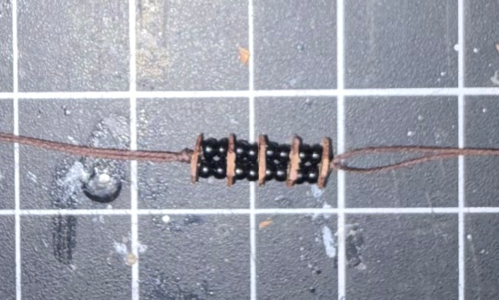
With that confusion behind me, I moved to the main topsail braces. I realized I had somehow missed replacing the double block at the crosstree when upgrading the rest of the mast blocks earlier in the build. I removed the double block, retrofitted a pair of single-blocks to simulate a double-single arrangement, reeved the lines through the topsail yard blocks, and led them down toward the mizzen fife rail.
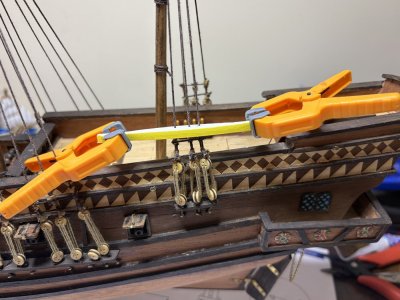
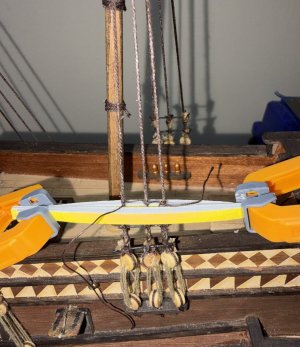
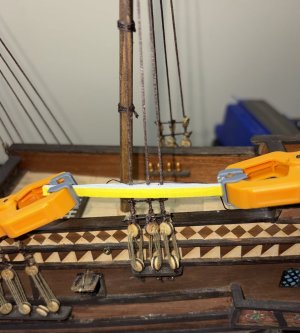
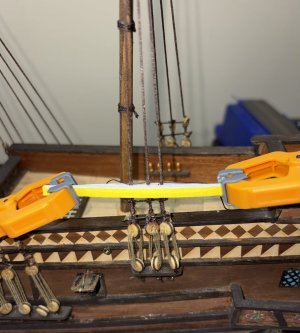
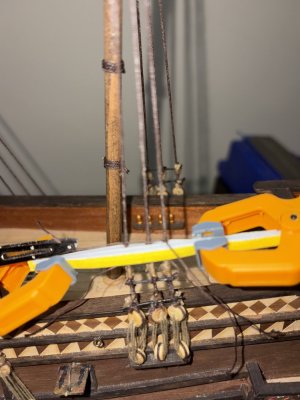
To set equal tension on the yards without pulling the mast off-center, I used the Clamp and Cast-Off Method. This method mimics a 17th-century crew hauling on the ropes simultaneously.
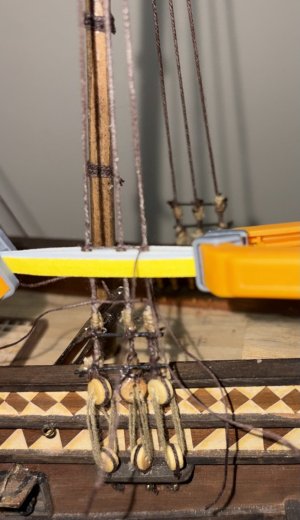
- Port Side (Weight/Hold): Pulled the port brace until the yard matched the starboard-braced layout angle, then attached a small spring clamp to the line beneath the fife rail. Releasing the line allowed gravity and the clamp to hold tension.
- Starboard Side (Lock): Manually tensioned the starboard line against the port load until balanced. Secured the line to its fife rail pin using a figure-eight hitch (assisted by tweezers and a dental pick) and locked it with a drop of thin CA.
- Port Side (Final Lock): Removed the spring clamp from the port line (now held in place by the locked starboard side) and executed the final belaying hitch and CA drop on the port pin.
The clamp acts as my "crew member" to hold one side of the rope, while I adjust the tension and then tie off the line.
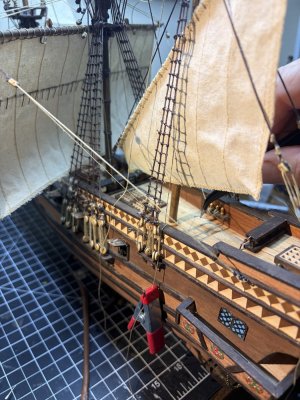
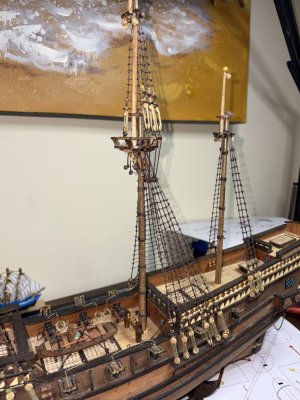
This was repeated for the main top braces, completing all mainmast brace work.
Mizzenmast Modifications & Lateen Settee Tackle
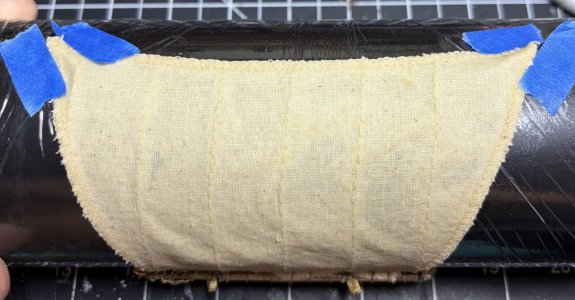
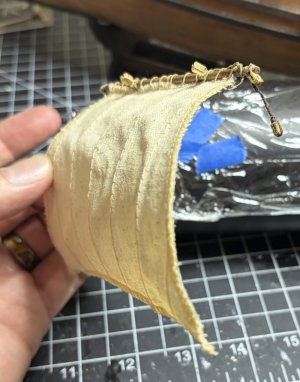
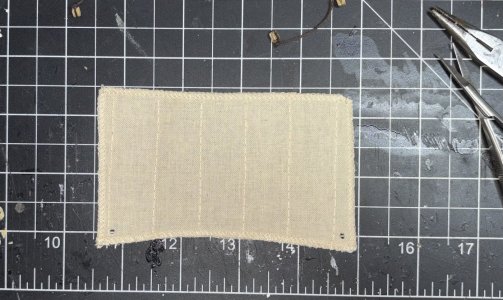
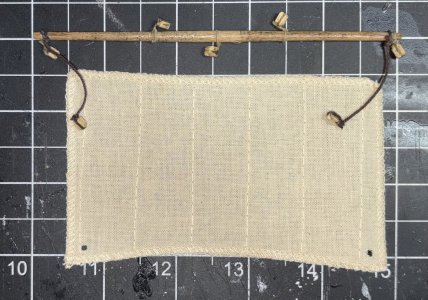
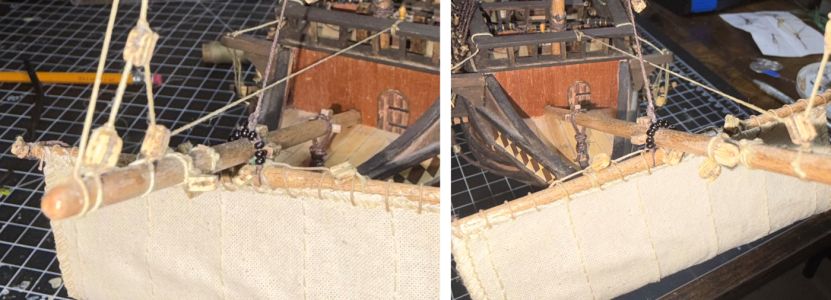
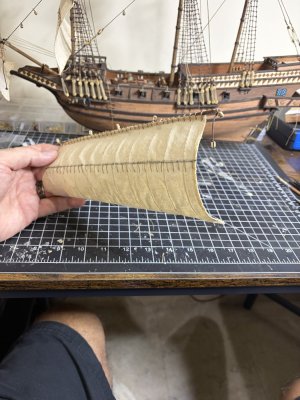
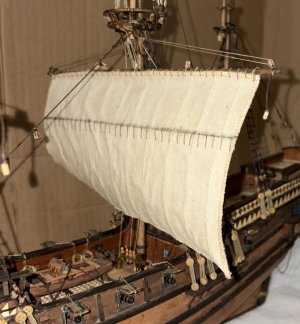
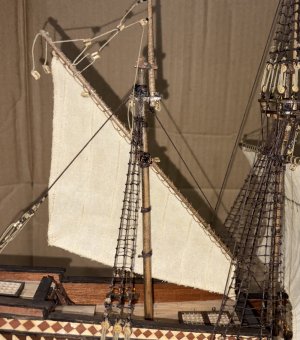
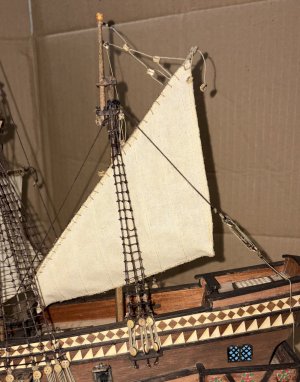
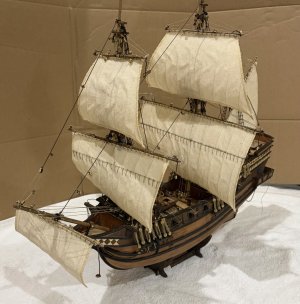
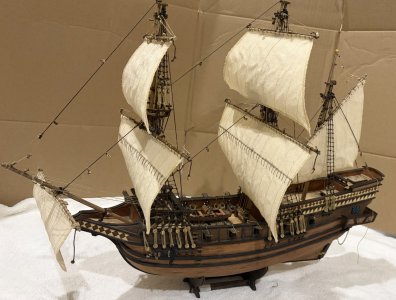
Turning my attention to the mizzenmast, research into historical lateen setups for this hull revealed that El Molino carries a lateen settee sail (quadrilateral with a short front luff) rather than a pure triangular lateen.
Unlike a standard lateen spar anchored directly to the deck, a settee sail anchors the tack of the sail itself via a three-point bridle tackle between two deck eyebolts and a single block stropped to the forward foot of the sail.
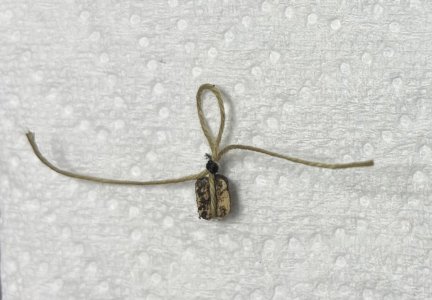
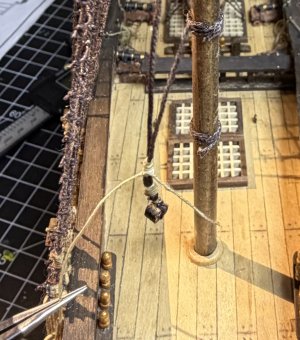
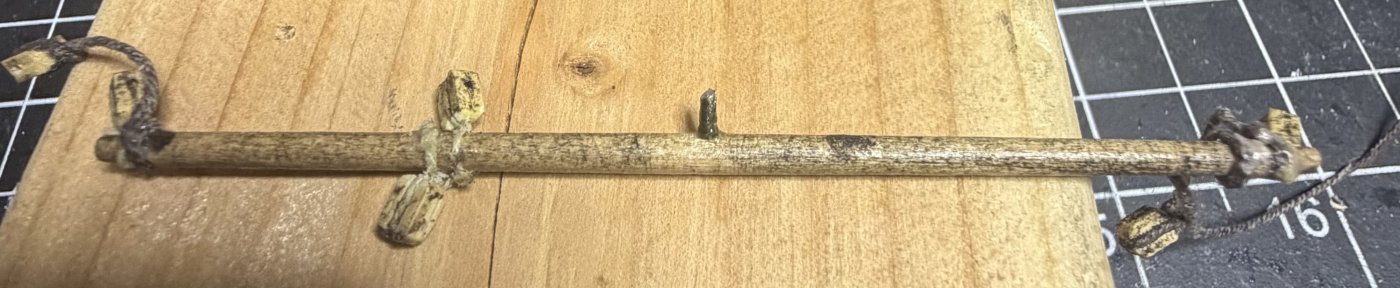
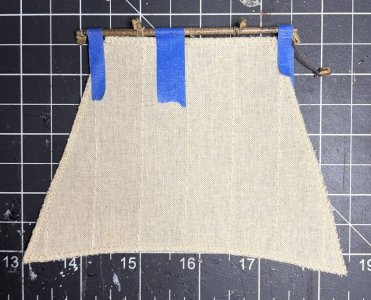
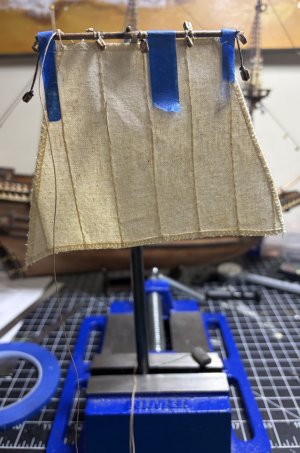
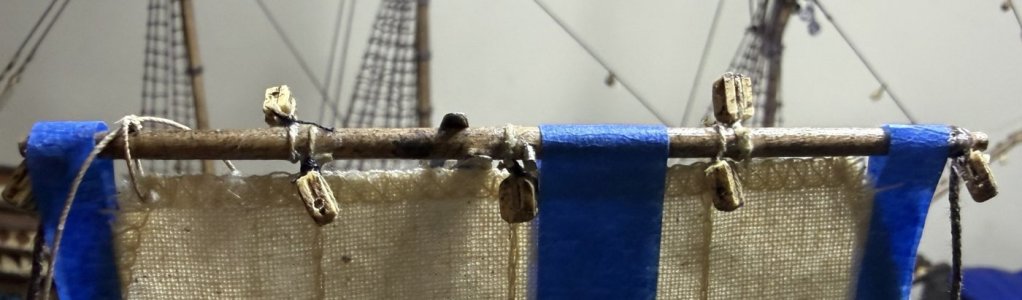
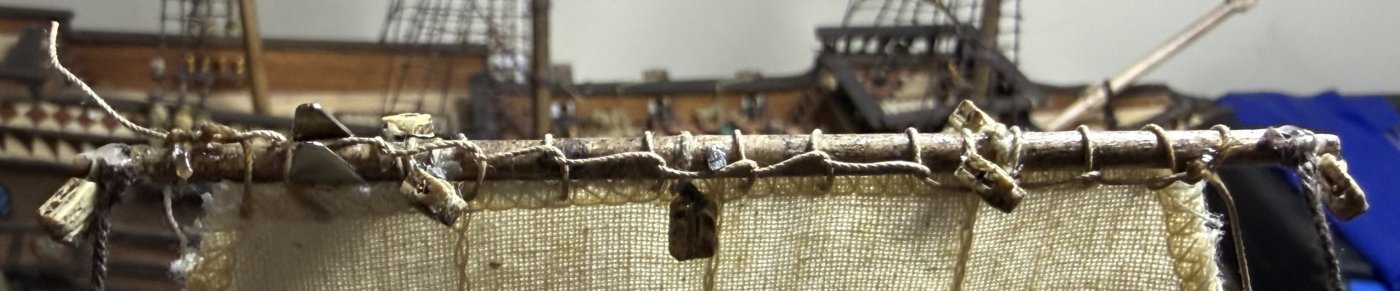
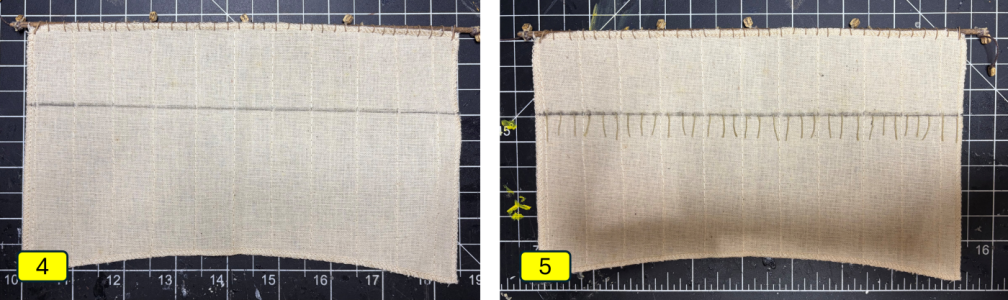
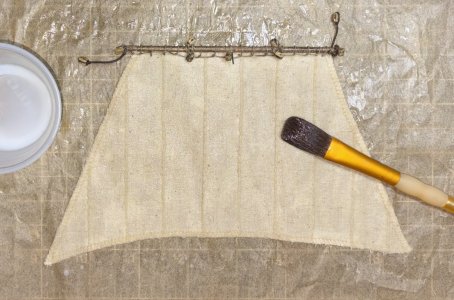
I start by stropping a block with tan thread with extra-long tails (about 3" or 4") and then poke a hole in the front lower corner of the sail with a sewing needle. I thread one tail into a needle and thread it through the hole, and then do the same to the other tail, but from the other side. I tighten up the tails until the block is right below the sail. With the block in this location, I pull the tails straight down and then loop a thin black thread around the tails and the previous seize. I then tie two half hitches and lock the knot with a drop of CA glue.
Shipwright's Note: Tying sail-corner blocks after the canvas is already mounted to the yard is extremely awkward due to spatial constraints. Always attach sail blocks on the flat bench prior to mounting canvas to the yard.
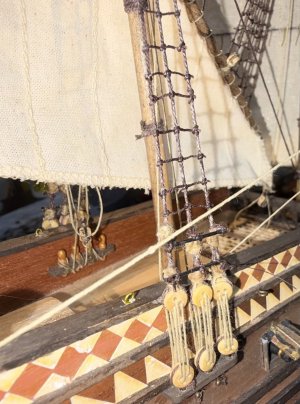
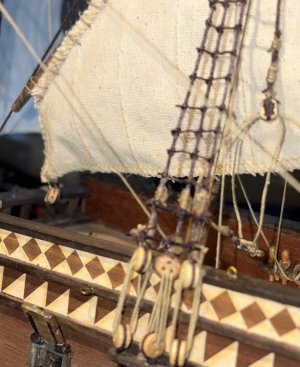
I pull the two existing eyebolts out of the deck and feed a length of tan thread through one of them and seize it with thin black thread. I only seize it once as I know I will need to seize the other side, and a double will be exceedingly difficult given its location and everything around it.
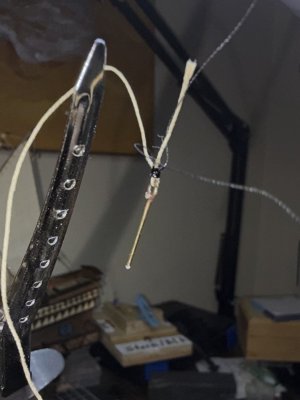
The bridle tackle is reeved through the block on the lower front corner of the lateen-settee sail as both eyebolts are put back in place but not glued.
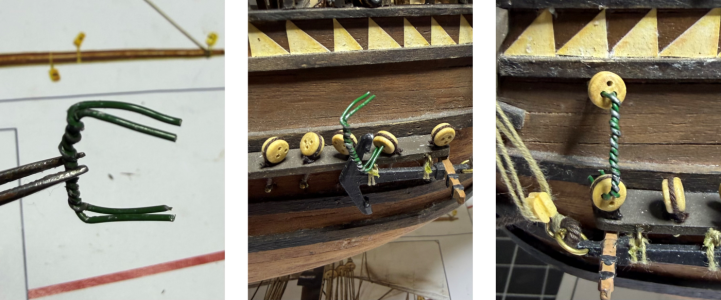
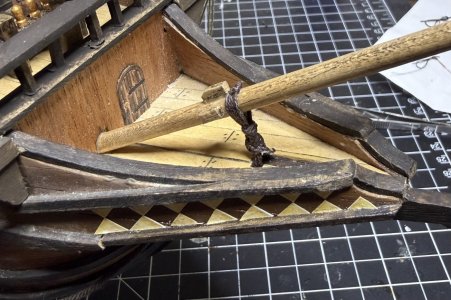
To wrap up this session, I drill a hole in the outer rail of the ship right behind each mizzenmast shrouds/ratlines and add DIY eyebolts. The starboard side eyebolt is for show while the port side eyebolt will be used to hold the flying backstay since the ship will be starboard braced.
The flying backstays and the bridle tackle will be left loose until the mizzenmast is angled and locked down.
At this point, I am stopping this session. Which were the exact ones I already had – no corrections.
I did get a reply from OcCre and they said I was correct there was an error and they sent me the “corrected” diagrams.
Next up: The foremast braces (lower and topsail) and the spritsail brace.