Build Log: 18th Century Longboat for HMS Medea project. 1:48 scale. Model Shipways kit.

Joined
Nov 6, 2019
Messages
554
Points
353

Location
Sunshine Coast Queensland Australia
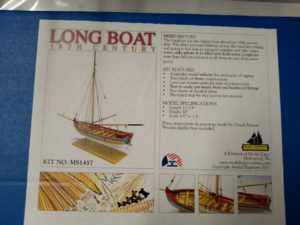
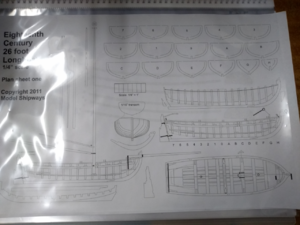
As promised on my HMS Medea scratch build log, here are the plans I will be working to for the longboat.
IMG_20200408_175000168.png
IMG_20200408_175205474.png

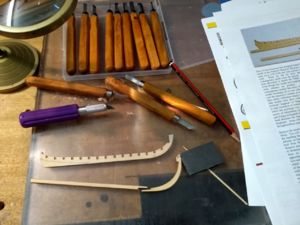
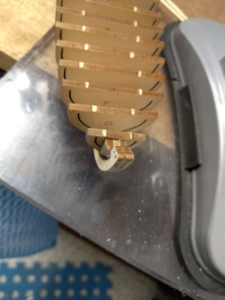
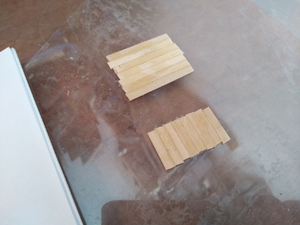
End of day one I've sorted out the pieces, cut out the keel, false keel and stem and shaved the edge of the false keel to simulate the rabbet. Tomorrow I will begin gluing.

What this has taught me already is that I need to go slowly and carefully. The basswood in the kit is so much more fragile than the Silver Ash I am using in my Medea build.

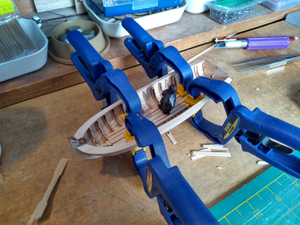
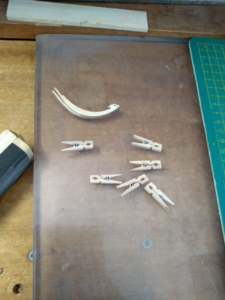
The tiny clothes pegs I bought a long time ago for clamping small pieces needed modification to sit flat so I have trimmed off their leading edge with my razor saw.
IMG_20200409_160836383.png

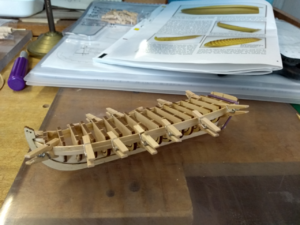
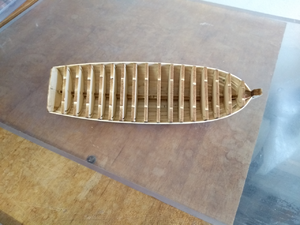
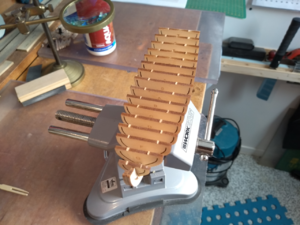
Day one done and not yet dusted.
IMG_20200409_172341151.png
 
I keep thinking about you in Brooklyn. It must be horrific at the moment. Stay safe.

Thanks, Ian. We are OK, but people still outside... and this is just bad. Starting last week anyone without a specific reason (food store, doctor's appointment, etc) will be fined $1000.00 .....ouch! The biggest problem, they cannot identify how many people may be contagious, even if they are not sick. No room in the hospitals and people buried in public graves. Ther are no rooms in morgues, they ordered mobil food refrigerators for this. it just awful. Speechless

On another side, stores have food and most important... yes...you are right...toilet paper! We have food delivered using Amazon, right to our door. We are OK.
Thanks Jim
It's a tragedy which could have been minimized, but now the containment is going to be painful.

We've been in self isolation for 2-3 weeks now, only venturing out for essentials. Also I take our community bus to the store once a week and help two other volunteers collect and distribute supermarket orders. We have 200 villas here and many residents are frail or have health concerns worse than mine so it is best if we can continue to do this for as long as we can safely do it.

Thankfully as a writer there is always something to do if I get tired of model building and my wife is a book restorer who can still work from home. She's also becoming an accomplished artist with all this time to fill.

All the very best.
 
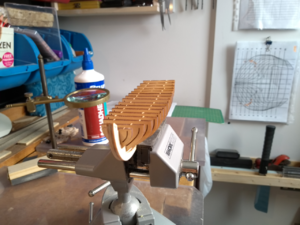
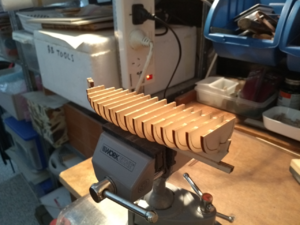
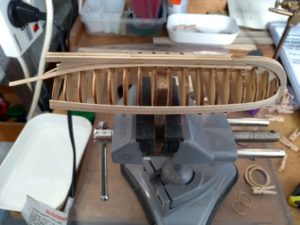
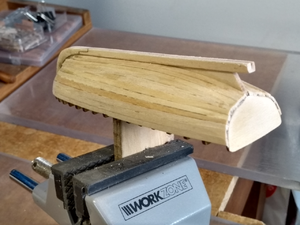
A little more progress. Have started the planking and will hopefully complete that tomorrow or so. My first attempt at planking and I find it challenging at this scale, but a great learning exercise to prepare me for the larger model Medea build.

IMG_20200413_122802821.png

IMG_20200413_122831872.png

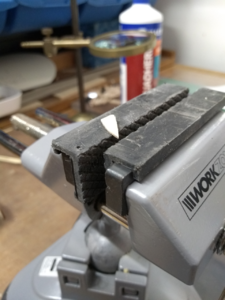
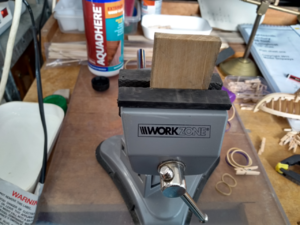
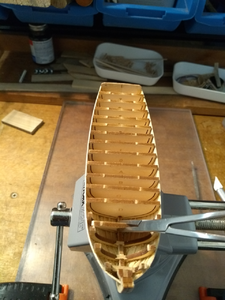
I found a block of wood in the vise ideal to hold the inverted model while measuring an fitting planks.

IMG_20200413_145645435_HDR.png
IMG_20200413_145820837.png
 
Planking (such as it is) complete.
IMG_20200520_113353166_HDR.png
The learning curve was good for me and I won't taper so many planks next time. The main thing I learned was that I should have beveled the edges of the planks. Of course the plans explained that but I somehow missed it and it caused gaps which had to be filled with thin strips.

Now to cut out the bulkheads.
IMG_20200520_113413567.png
 
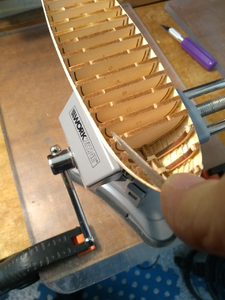
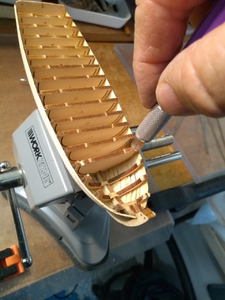
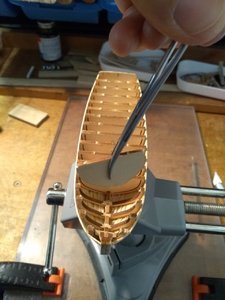
As there has been some discussion lately about how to remove the laser cut bulkheads, here's how I went about it.

First I used a fine file to cut down as far as comfortable.
IMG_20200521_154118868.png

Then I finished the cut with a sharp blade.
IMG_20200521_154420047.png

Using surgical pliers the waste was prised out.
IMG_20200521_154620595.png
IMG_20200521_154640188.png
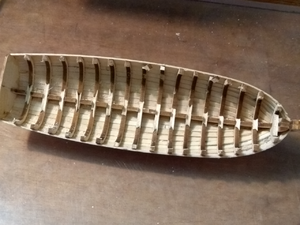
Due more to clumsiness than the method, I managed to damage the tops of a couple of frames but nothing that can't be fixed.
Now there will be a lot of sanding to prepare for the next step.IMG_20200521_162056400.png
 
Quite a bit to update since my last post.

IMG_20200817_152406147_HDR.png
Gluing in the floor. Caprail already fitted. The little man is 5' 8'' tall on the scale 1:48.

IMG_20200817_152456691.png

1/32" thick planks glued on edge to form platforms. The sheet of acetate was brilliant for this.

IMG_20200820_163518617.png

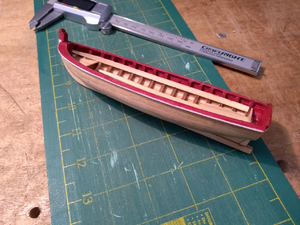
Platforms fitted, front of locker fitted, caprail painted, staunchions fitted and all timber surfaces painted with 50/50 linseed oil and turpentine.

I decided not to fit the paper decorations supplied with the kit, or to paint below the waterline with white stuff. For my diorama this boat is supposed to represent a longboat repaired many times after damage by cannon fire and wear and tear during 3 years at war. I think it will look more like a working boat if it is painted with oil as it probably was in reality.

I used acrylic paint for the red and white but won't do that again. It is too hard to get it smooth and I will sand some of it back to re-do.
 
Looking good!!
I used acrylic paint also, found the same thing as you did difficult to get smooth. Ended up sanding and painting again, then coated with Minwax water based Polycrylic clear finish
 
As promised on my HMS Medea scratch build log, here are the plans I will be working to for the longboat.

View attachment 142753
View attachment 142754

End of day one I've sorted out the pieces, cut out the keel, false keel and stem and shaved the edge of the false keel to simulate the rabbet. Tomorrow I will begin gluing.

What this has taught me already is that I need to go slowly and carefully. The basswood in the kit is so much more fragile than the Silver Ash I am using in my Medea build.

The tiny clothes pegs I bought a long time ago for clamping small pieces needed modification to sit flat so I have trimmed off their leading edge with my razor saw.
View attachment 142755

Day one done and not yet dusted.
View attachment 142756
Hallo Ian alias @Masters Mate
we wish you all the BEST and a HAPPY BIRTHDAY
Birthday-Cake
 
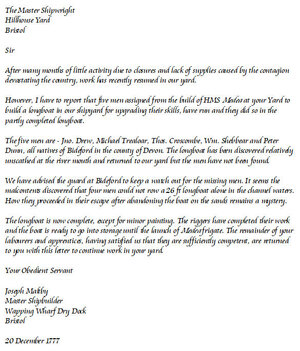
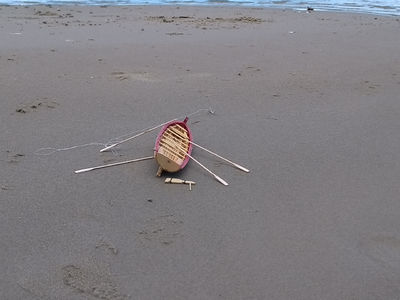
That's awesome!!! This pic says it all. The letter is a great touch. Are you going to take some sand and simulate water in a diorama? Nice work Ian, enjoyed this short build log. :)
 
That's awesome!!! This pic says it all. The letter is a great touch. Are you going to take some sand and simulate water in a diorama? Nice work Ian, enjoyed this short build log. :)
Thanks Chris. I have a diorama in mind but keeping it under wraps for the moment. It will involve simulated water but not sand. The image above was taken on a sandbar just inside the mouth of the Noosa River, Queensland. I accessed it in my fishing kayak while on holiday recently.
 
Back
Top