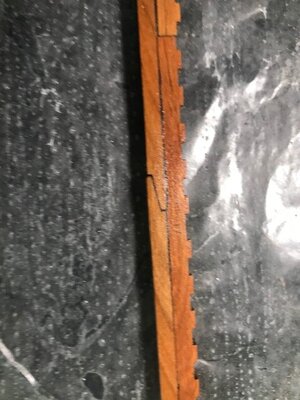
Well... you learn something new every day. 
-

Win a Free Custom Engraved Brass Coin!!!
As a way to introduce our brass coins to the community, we will raffle off a free coin during the month of August. Follow link ABOVE for instructions for entering.
-

PRE-ORDER SHIPS IN SCALE TODAY!
The beloved Ships in Scale Magazine is back and charting a new course for 2026!
Discover new skills, new techniques, and new inspirations in every issue.
NOTE THAT OUR FIRST ISSUE WILL BE JAN/FEB 2026
You are using an out of date browser. It may not display this or other websites correctly.
You should upgrade or use an alternative browser.
You should upgrade or use an alternative browser.
Build Log "CAF" HMS Enterprise
- Thread starter Paul132
- Start date
- Watchers 40
-
- Tags
- caf model enterprise pof
...you are just at the right place (forum), it is SOS!Well... you learn something new every day.
- Joined
- Jan 31, 2021
- Messages
- 566
- Points
- 353

Last edited by a moderator:
Hi Paul,
I am interested in your opinion using graphite and PVA glue as the caulking compared to the black paper. Both techniques work well.
I am interested in your opinion using graphite and PVA glue as the caulking compared to the black paper. Both techniques work well.
Very interesting - many thanks for sharing your work with us.
BTW: It is not necessary, that you reduce the file size of your photos before you are uploading them - our software is doing this automatically - with this we can see your photos in bigger size
BTW: It is not necessary, that you reduce the file size of your photos before you are uploading them - our software is doing this automatically - with this we can see your photos in bigger size
- Joined
- Jan 31, 2021
- Messages
- 566
- Points
- 353

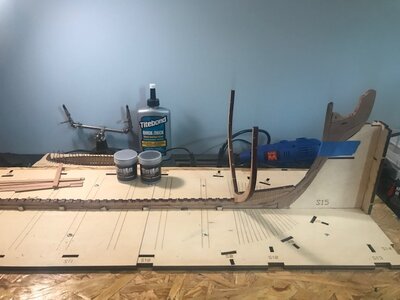
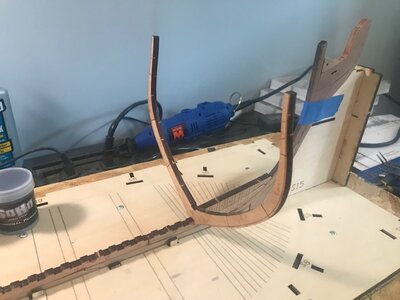
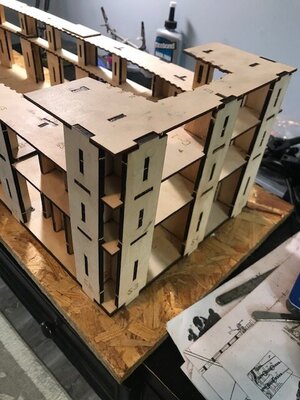
Continued to build the Jig, added Level B to it.....Some helpful hints since there are no English directions. Tom shows a NO GLUE sign on frame 21 of the directions. Please take high note NO GLUE is needed, First I found myself taking it apart and reconstructing several times for ease of construction. As Brian said in his Build Log of this, all of the slots are about .5 MM too small, so in all of the stanchion slots in 13C1 through 15C2, sand the slots wider before attempting installation. When Putting Stanchions in that go through the "B" Board all the way up to the "C" board, I found it easier to put the stanchions through B First, and then mounted it to the Base Board. If you follow the directions, it shows installing all the stanchions in the base first, then sliding the "B" boards down over the stanchions, which I did at first, then deconstructed, and put the stanchions thru B first. It was VERY difficult to lower the B Board down on to the stanchions. I did this for S5-S6-S8. Next when installing S9 and S10, leave the exterior part of the Stanchion off(note Picture) as Board B goes thru those stanchions. Finally, remove the Exterior Parts of S4 and S15, making it much easier to install Board B. This LEARNING process was about 4 hours of work. Will be laying Board C later today
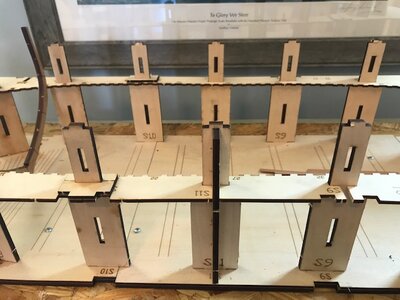
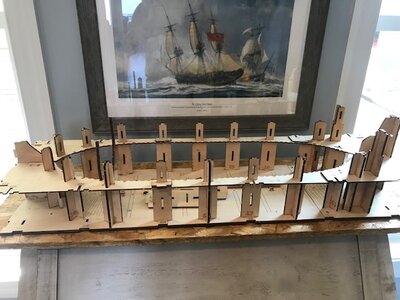


Last edited by a moderator:
- Joined
- Jan 31, 2021
- Messages
- 566
- Points
- 353

Brian, after trying both methods, I am much more a fan of the Graphite Glue, much easier to make, work with, and sand.Hi Paul,
I am interested in your opinion using graphite and PVA glue as the caulking compared to the black paper. Both techniques work well.
- Joined
- Jan 31, 2021
- Messages
- 566
- Points
- 353

Moving along nicely!
- Joined
- Jan 31, 2021
- Messages
- 566
- Points
- 353

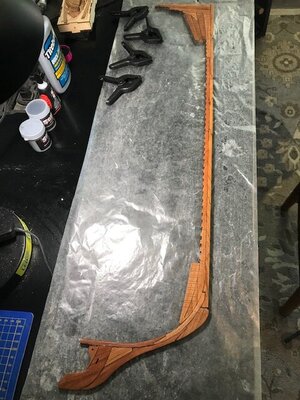
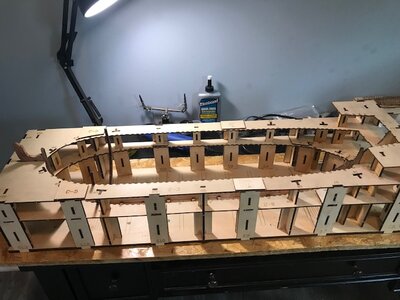
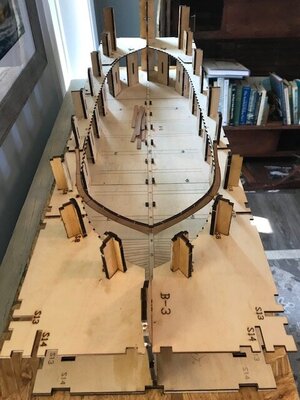
Yes, Im retired and its blistering hot out....so stay on A/C and model!Finished the Cradle/Jig....It is a VERY sturdy Cradle. When Installing Level 3, do not install Stanchions S1 Pair, and S2 Pair,(note picture) until after the Board 3 is in and seated. Keel,Stem,Stern and Frame 8 seat nicely in the cradle.
View attachment 250359View attachment 250360
Excellent work Paul. I am retired myself and spend about 5 hours a day on my models.
Lucky you, Mon Amie...Hoping to spend as least as much time building models when my retirement time comes (another 12 years with help of G.....d)Excellent work Paul. I am retired myself and spend about 5 hours a day on my models.
- Joined
- Jan 31, 2021
- Messages
- 566
- Points
- 353

Thankyou, Your Build Log has been a tremendous help so far, especially the pictures of the Jig
Excellent work Paul. I am retired myself and spend about 5 hours a day on my models
I am following along with you too Paul. my Granado kit is similar in appearance with regards to the framing.
- Joined
- Jan 31, 2021
- Messages
- 566
- Points
- 353

Stargazer, I am assembling them over the plan, I put waxpaper between the plan and the precut pieces. Matcht them up on the plan and start gluing, there is an A and B side to each frame, I just start at the floor piece and work my way up, flipping the frame over from side a to b, and vice versa, and match to plan as I add a piece.Nice start Paul, can you show your frame building technique? Are you using a jig or just assembling over the plan? Any tricks or tips to keep them accurate?
- Joined
- Jan 31, 2021
- Messages
- 566
- Points
- 353

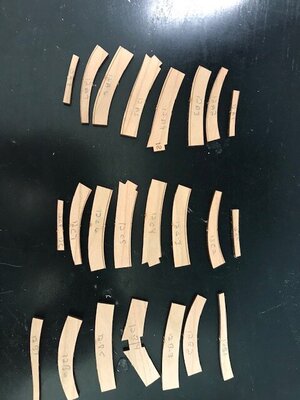
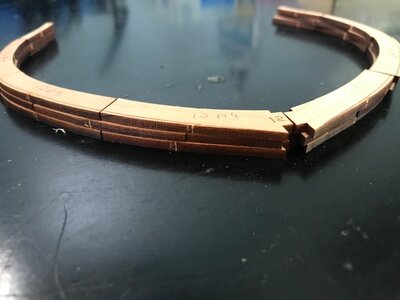
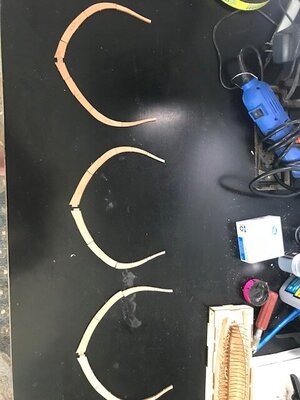
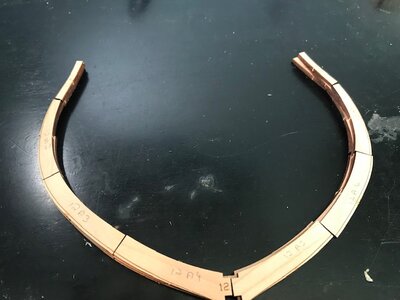
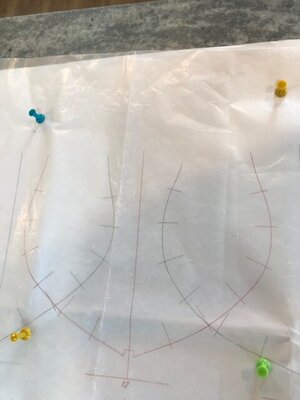
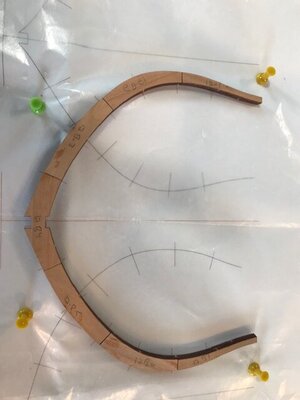
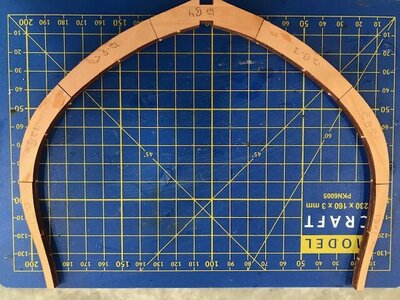
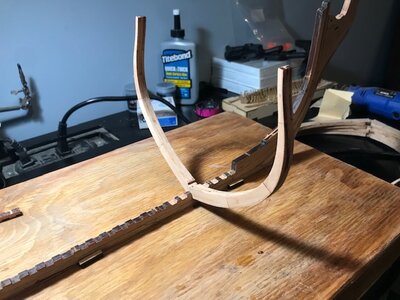
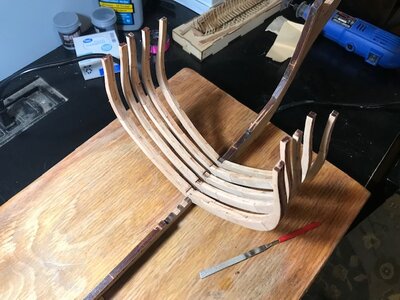
OK...Back at it...I was asked my frame building technique, so as a beginner on frame building myself, here is my method so far. I have detailed out Frame 12 of the kit, which is a 3 ply frame. 1. # the parts with pencil from the Parts list. 2. Cut out the parts and group together by Letter. 3. Lay the frames out individually by # 4. Place all 3 plys together to ensure fit(no gluing) 5. Place wax paper over Frame to be Built(old balsa plane building technique) 6. Start Gluing frame together, on Frame 12, I glued the A pieces to the B Pieces, and the added the C Layer. Test the design to the plan as you go. I used quick dry super glue on the frames, so test fit each piece prior to gluing 7. I am taking the Char off of the internal and external part at this point, I think it will be easier now than when it is complete on the keel. Also gave a light sanding with 220 grit on both sides to remove #'s. Note, I am not beveling the frames at this point, I will do that when all are attached to the keel 8. Once the frame is complete, I am then Test fitting it to the keel, sanding the notch at the bottom of the frame as necessary to ensure a good fit, also I am test fitting the top notch to a part of the Keelson(9-AO3). I figured by doing this all with each frame, when its time to actually glue the frames to the keel, all will fit with no issues.
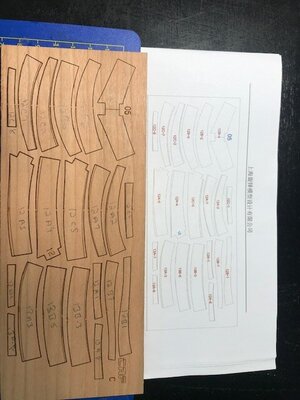


Moving along rapidly with those frames, Paul.


