Build Log "CAF" HMS Enterprise

Thanks for the detail Paul, I am thinking about getting the Granado kit and just comparing different build techniques…. Do you place the completed rib in the jig to check alignment with the jig? I have found that when building ribs against the plan it does not always fit in the jig slots correctly- I don’t know if the jig or the plans are off…. Do you plan to use rubber bands etc, to keep ribs in alignment until the deck clamps/wales are installed to hold everything or do you have a better way? I hope you do and can teach me…..
 
Last edited:
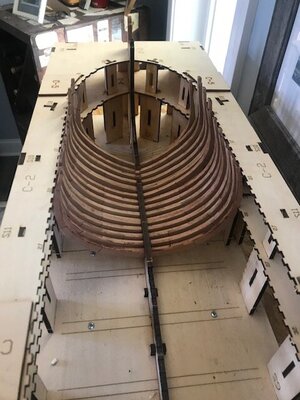
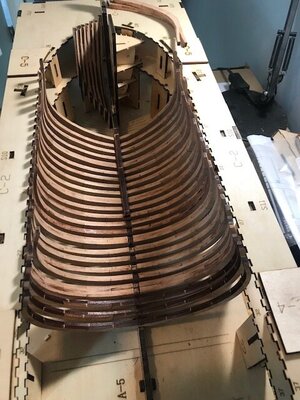
Lou? yes my first 9 frames so far dont exactly fit the jig, as I said, I did sand both the top and bottom notch in each frame and test fitted to the keel, and added a section of keelson on top as well, I did this out of the jig, when I fit everything into the jig, I have the same issue as you. I have NOT glued anything in place and plan to complete all the frames first. My frames do match up exactly to the plans when I lay them on top. I will use the screws and rubberbands on the frames when I get to that part. I am following Briyan's Build log of the same Ship/Kit, and has been a big help.....Bryian may know why the frames don't line up in the jig. I will send him a note, thanks Paul
 
Paul,
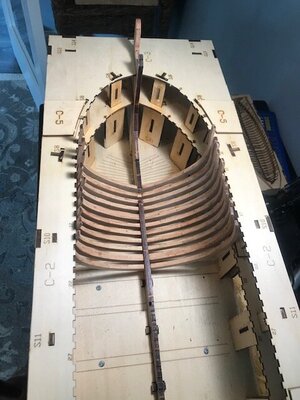
thats great progress. There should be some room between the frames and the framing jig, say 1mm space so all is good. .
It allows for you wiggle room for removing the model from the framing jig.
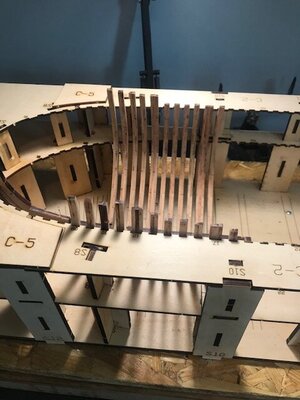
When you take a closer look, there is on several areas maybe too much room between the frames and the jig - and the last one (midship) is ending at the height of the jig. @Bryian - you know this kit very well: was it with your frames the same?
 
Paul,
thats great progress. There should be some room between the frames and the framing jig, say 1mm space so all is good. .
It allows for you wiggle room for removing the model from the framing jig.
Maybe the jig is kinda like the pirate code? More like “guidelines”. :)
 
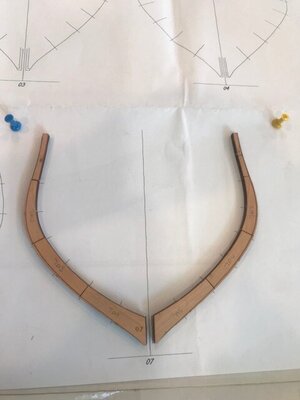
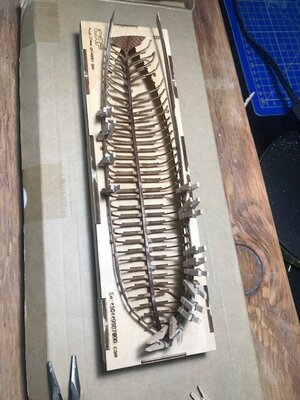
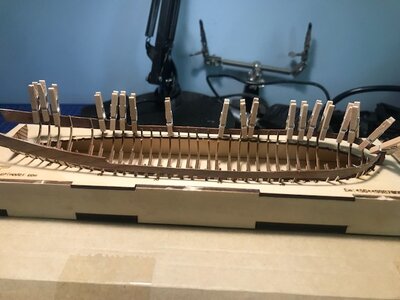
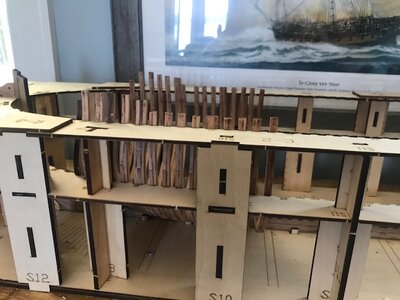
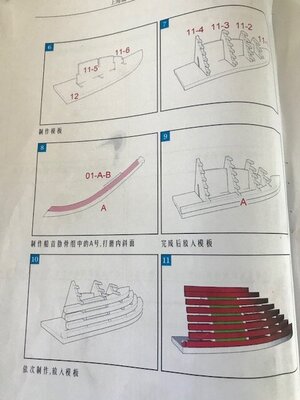
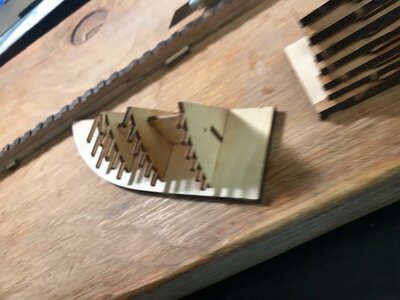
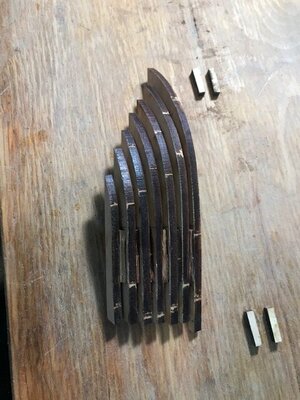
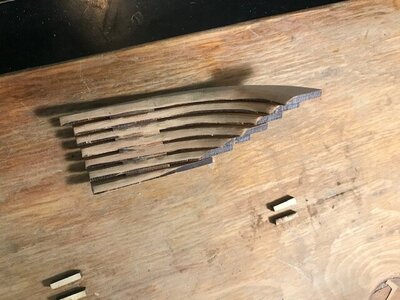
Ok, took a crack at the head timbers, here is where English directions could have saved some head scratching, I'll tell u what I did....hope its correct. First picture you can see the Jig/Cradle, Pretty straight forward to build, second picture shows the plans for the head timbers, if you look at frame 8 of the directions, there is a interior bevel line, so that it fits into the diagonal notches on the jig. Once you have beveled and fit the timbers into the jig, the in between pieces are a-b, c-d,d-e,e-f,f-g . I am showing pictures of the Jig, the timbers in the jig, and then the completed Port side head timbers out of the jig IMG_1021.jpg

IMG_1019.jpgIMG_1022.jpgIMG_1023.jpg
 
Good progress on the frames. Keep at them and it will be on to the next phase in no time.

Work looks great from photos you have posted.
 
Paul, when do you set the bevel at the bottom of the head timber’s where they meet the cant frame? Should you have those cant frames in place before beveling that area? Cleaning that char off now is a good idea I think….
 
Lou, havent glued anything in place, still need to complete Frames 1-6, once Frame 1 is in place, then I can Bevel the bottom of the head timbers correctly, to fit them against frame 1, if that is what you're referring too. I only beveled the inside of each head timber to fit the notch in the jig correctly. I will bevel outside/exterior of the head timbers once all is together and have taken it out of the building jig. If Im missing something, please let me know! Thanks, Paul
 
Back
Top