Build log: HMS Fly [COMPLETED BUILD]

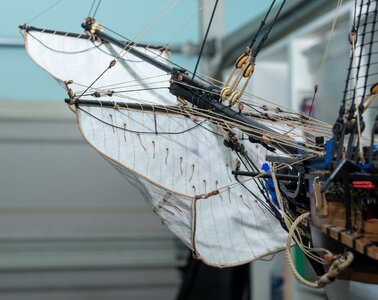
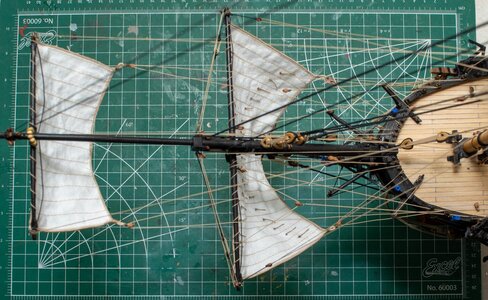
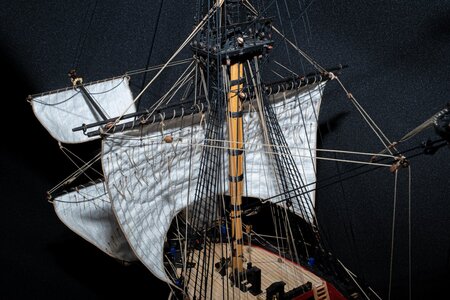
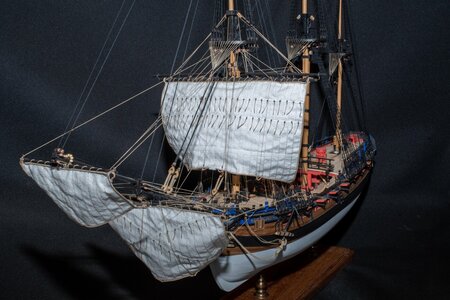
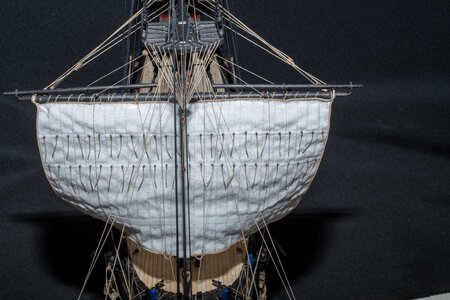
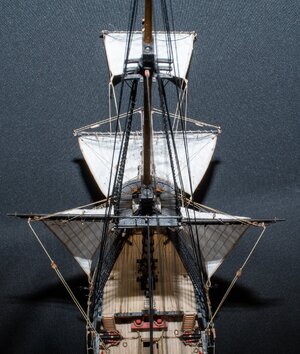
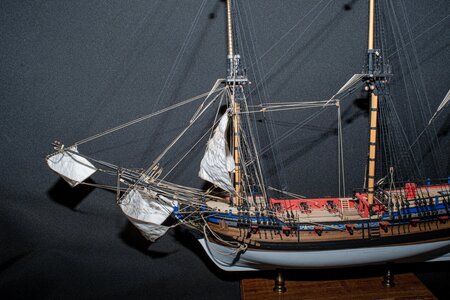
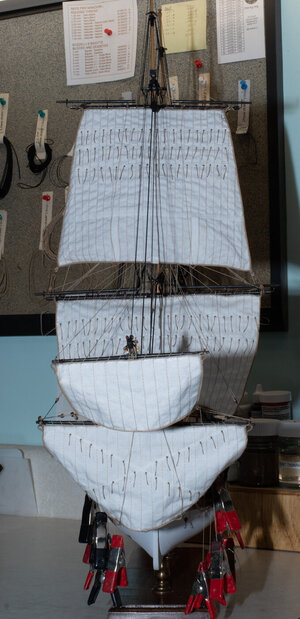
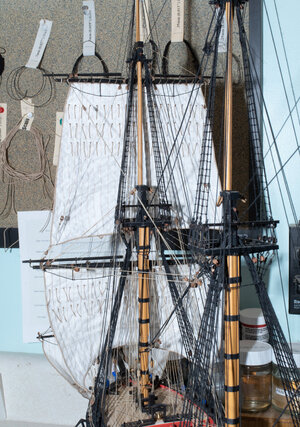
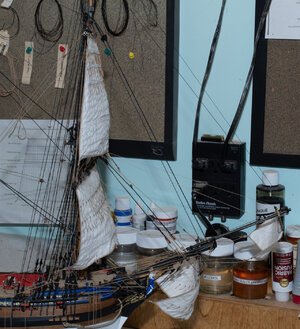
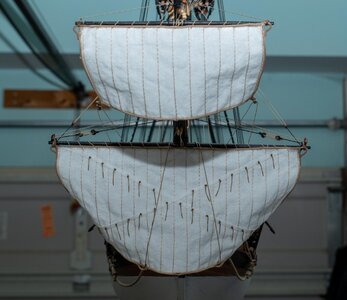
Finally got my first set of sails installed. Had to take a lot of liberties on things I couldn't find in my library or online but so far i'm pretty pleased how things are turning out. Next will be the foremast. I think I'll work from the bottom up unless one of you pros give me some insight on a different method.

HMS Fly 56.jpgHMS Fly 57.jpgHMS Fly 58.jpgHMS Fly 59.jpg
 
Thought I'd go into a little more detail on how I make my sails. I watched a lot of videos and read several articles on model sail making and came up with a compilation of ideas that produced the look I was going for.

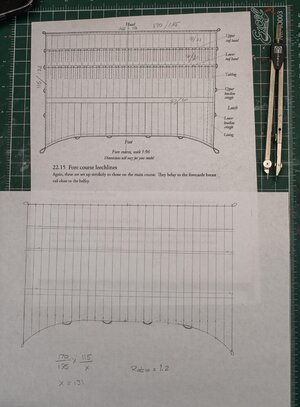
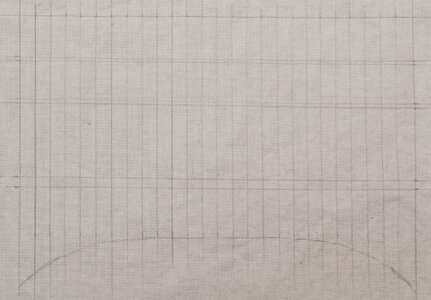
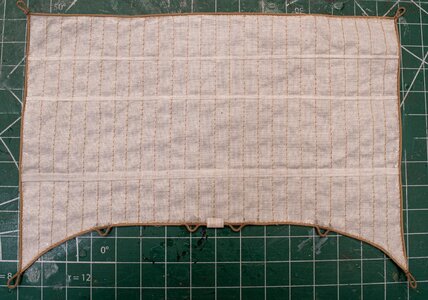
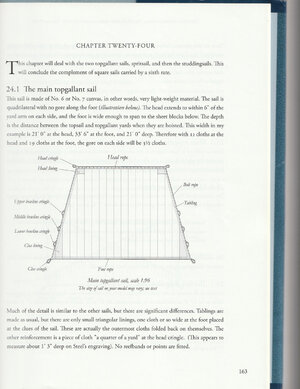
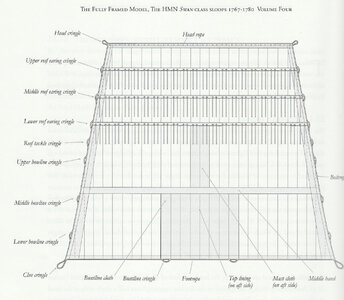
First I run the sail cloth through a washing machine cycle and let air dry. I want the wrinkles in the fabric so it looks more realistic. Then make a copy of the sail pattern from David Antscherl's book "The Fully Framed Model, Volume IV". Then I made a scale copy on paper after I calculating the ratio from the book to my build. I omitted the leach line cringles because I'm only adding the bunt lines. Things are getting a little to busy for me to handle.

HMS Fly 60.jpg

Next, transfer the pattern from paper to the sail cloth and sew along all the lines except for the reef bands. These lines will be covered when the reef bands are add later.
HMS Fly 61.jpg

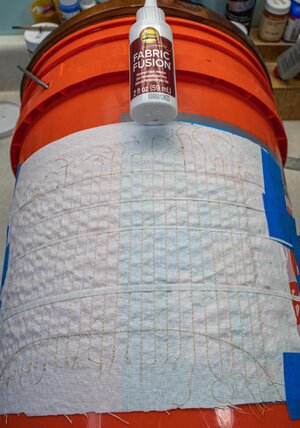
After sewing all the lines, I coat the sail edges with fabric glue to keep things from unravelling. It holds well and is very flexible. I glued on the reef bands over a bucket in hopes of getting a slight belly in the sail but it didn't work so I'll omit the bucket on the next sail.
HMS Fly 62.jpg

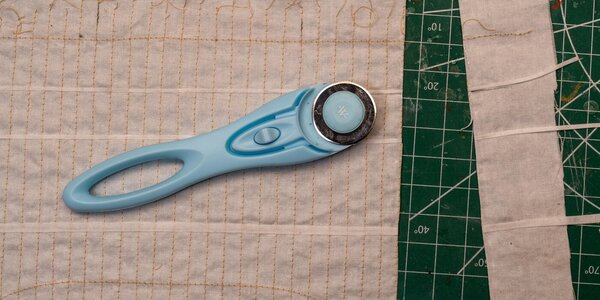
I found a rotary fabric cutter works great for trimming the sail except for the arc at the foot which I trimmed with scissors.

HMS Fly 63.jpg
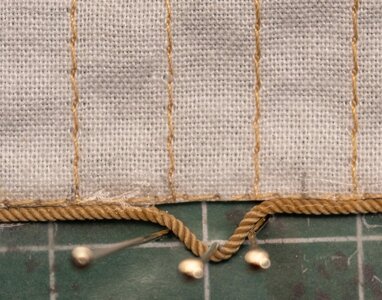
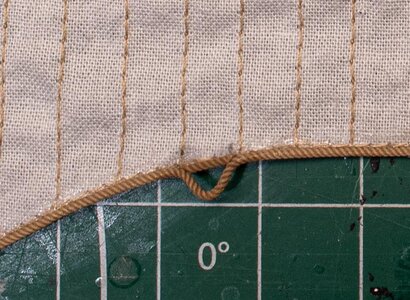
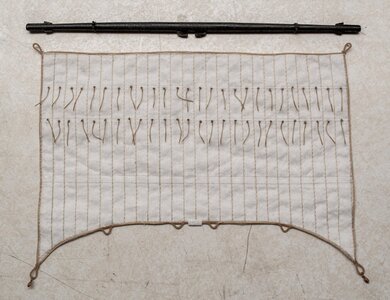
Using the fabric glue, I attached the bolt rope along the edge of the sail and added the buntline cringles.

HMS Fly 64.jpg

HMS Fly 65.jpg

Now ready to add the reef lines.

HMS Fly 66.jpg
 
Thought I'd go into a little more detail on how I make my sails. I watched a lot of videos and read several articles on model sail making and came up with a compilation of ideas that produced the look I was going for.

First I run the sail cloth through a washing machine cycle and let air dry. I want the wrinkles in the fabric so it looks more realistic. Then make a copy of the sail pattern from David Antscherl's book "The Fully Framed Model, Volume IV". Then I made a scale copy on paper after I calculating the ratio from the book to my build. I omitted the leach line cringles because I'm only adding the bunt lines. Things are getting a little to busy for me to handle.

View attachment 370408

Next, transfer the pattern from paper to the sail cloth and sew along all the lines except for the reef bands. These lines will be covered when the reef bands are add later.
View attachment 370409

After sewing all the lines, I coat the sail edges with fabric glue to keep things from unravelling. It holds well and is very flexible. I glued on the reef bands over a bucket in hopes of getting a slight belly in the sail but it didn't work so I'll omit the bucket on the next sail.
View attachment 370410

I found a rotary fabric cutter works great for trimming the sail except for the arc at the foot which I trimmed with scissors.

View attachment 370411
Using the fabric glue, I attached the bolt rope along the edge of the sail and added the buntline cringles.

View attachment 370412

View attachment 370414

Now ready to add the reef lines.

View attachment 370415
That looks great ! Thanks for sharing that process !
 
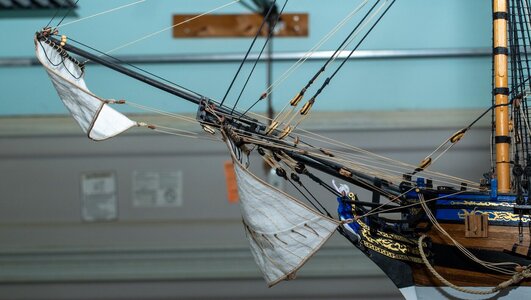
Fore course has been installed. Happy with the look. Added the buntlines but not the leach lines. It was getting to complicated for me. Not sure all the lines are correct even using all the books in my library. Still it was a great learning experience. Next up the fore topsail.
HMS Fly 68.jpgHMS Fly 69.jpgHMS Fly 70.jpgHMS Fly 71.jpgHMS Fly 72.jpgHMS Fly 73.jpg
 
Fore course has been installed. Happy with the look. Added the buntlines but not the leach lines. It was getting to complicated for me. Not sure all the lines are correct even using all the books in my library. Still it was a great learning experience. Next up the fore topsail.
View attachment 372647View attachment 372648View attachment 372649View attachment 372650View attachment 372651View attachment 372652
Good morning Charlie. Man you owned this. She is beautiful. Cheers Grant
 
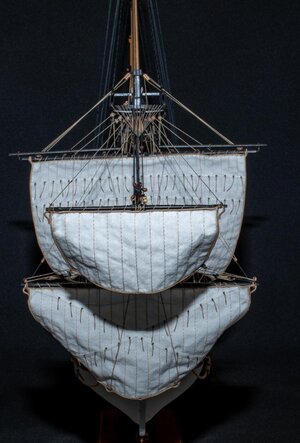
Finally installed the fore topsail. The buntlines were a chore. Had to add several more blocks in the middle of all that rigging. Hope things will go smoother with the top gallant. Ive seen comments that with sails it may block the view of all the rigging. I don't think so mainly because of all the added rigging needed for the sails it makes it even more fascinating. Will do some final adjustments when all the sails are installed.

HMS Fly 73.jpgHMS Fly 74.jpgHMS Fly 75.jpg
 
Finally installed the fore topsail. The buntlines were a chore. Had to add several more blocks in the middle of all that rigging. Hope things will go smoother with the top gallant. Ive seen comments that with sails it may block the view of all the rigging. I don't think so mainly because of all the added rigging needed for the sails it makes it even more fascinating. Will do some final adjustments when all the sails are installed.

View attachment 375715View attachment 375716View attachment 375717
She is looking marvelous !
Jeff
 
Finally installed the fore topsail. The buntlines were a chore. Had to add several more blocks in the middle of all that rigging. Hope things will go smoother with the top gallant. Ive seen comments that with sails it may block the view of all the rigging. I don't think so mainly because of all the added rigging needed for the sails it makes it even more fascinating. Will do some final adjustments when all the sails are installed.

View attachment 375715View attachment 375716View attachment 375717
Impressive Charlie.
 
Thought I'd go into a little more detail on how I make my sails. I watched a lot of videos and read several articles on model sail making and came up with a compilation of ideas that produced the look I was going for.

First I run the sail cloth through a washing machine cycle and let air dry. I want the wrinkles in the fabric so it looks more realistic. Then make a copy of the sail pattern from David Antscherl's book "The Fully Framed Model, Volume IV". Then I made a scale copy on paper after I calculating the ratio from the book to my build. I omitted the leach line cringles because I'm only adding the bunt lines. Things are getting a little to busy for me to handle.

View attachment 370408

Next, transfer the pattern from paper to the sail cloth and sew along all the lines except for the reef bands. These lines will be covered when the reef bands are add later.
View attachment 370409

After sewing all the lines, I coat the sail edges with fabric glue to keep things from unravelling. It holds well and is very flexible. I glued on the reef bands over a bucket in hopes of getting a slight belly in the sail but it didn't work so I'll omit the bucket on the next sail.
View attachment 370410

I found a rotary fabric cutter works great for trimming the sail except for the arc at the foot which I trimmed with scissors.

View attachment 370411
Using the fabric glue, I attached the bolt rope along the edge of the sail and added the buntline cringles.

View attachment 370412

View attachment 370414

Now ready to add the reef lines.

View attachment 370415
Thank you for sharing - awesome work.
 
What king of sail cloth did you start with? We here can I get sail plans
I bought the cloth from my local fabric store. I got the thinnest cotton they had, then ran it through the washing machine but didn't put it on a dry cycle. I wanted the wrinkles in it. The sail plans are from the book The fully framed model vol 4. The full book title is at the top of the second photo. The plans are to scale so all you have to do is scale it to your needs. I made a pattern on poster board then transferred it to the cloth. After the sewing was complete I covered the outside edge with fabric glue then trimmed around the outside. The bolt rope was also glued on with fabric glue. You will have to add a lot of extra blocks for the sail rigging, i.e. bolt ropes, buntlines, etc. Also I had to move the location of some block attachment points to accommodate the sails.

Fore topgallent.jpgMain and Fore topsail.jpg
 
Back
Top