- Joined
- Jun 17, 2021
- Messages
- 3,200
- Points
- 588

It was the nature of the kit, the possibilities you saw in it despite its' humble nature and your devotion to it that captured and held my interest and attention. 

 |
As a way to introduce our brass coins to the community, we will raffle off a free coin during the month of August. Follow link ABOVE for instructions for entering. |
 |
 |
The beloved Ships in Scale Magazine is back and charting a new course for 2026! Discover new skills, new techniques, and new inspirations in every issue. NOTE THAT OUR FIRST ISSUE WILL BE JAN/FEB 2026 |
 |


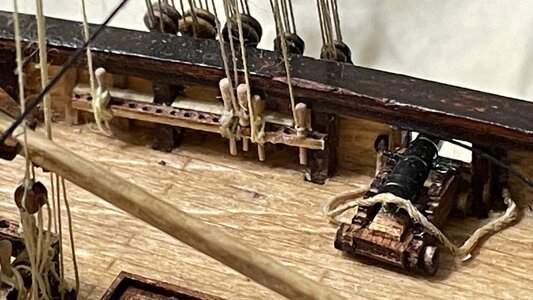
The smallest appear to be best. The holes in the belaying pin rails measured at ~0.63mm (using pin drills as the gauge). And the smallest offering was 0.6mm dia. I ordered two packs of 25. But each side of the boat has 29 (or more?) belaying pin holes!?! Will I need more?Those look awesome! I'll be measuring the Harvey to figure out which of the smallest two will be best.
Thanks!
Belaying pins were wood, right? And so I should just paint the brass miniature belaying pins? Or is there a better way?
M.


You going to get it for your next remote challenge?
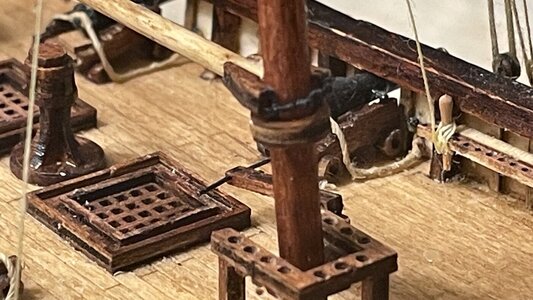
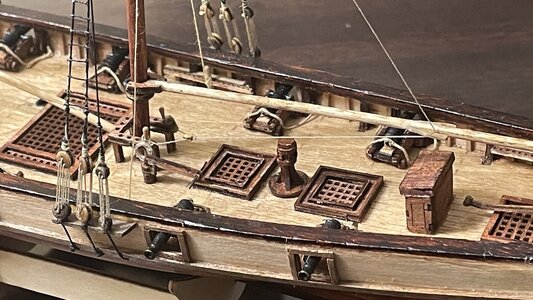
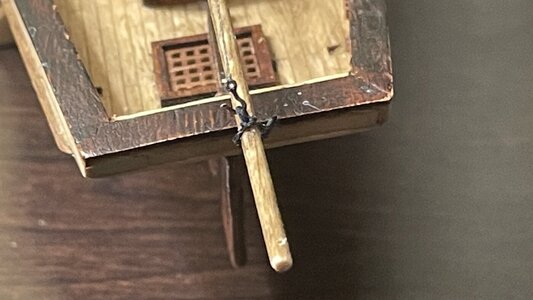
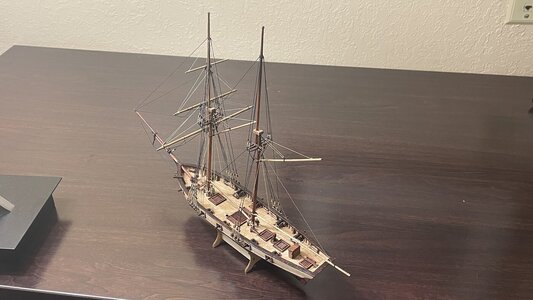
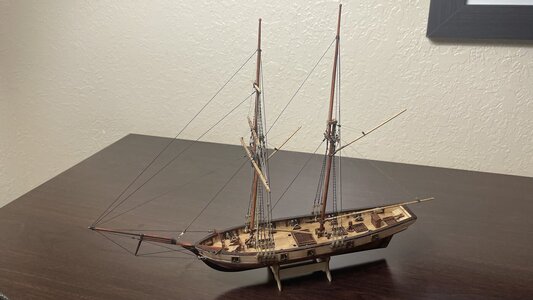
Beautiful and inspiring as always. Please keep posting pictures from the book on riggingDay 40
There’s no special order to which lines I’m rigging, except for considering installation of lines at the centerline first, then moving outboard so future access to belaying points isn’t blocked by rigging.
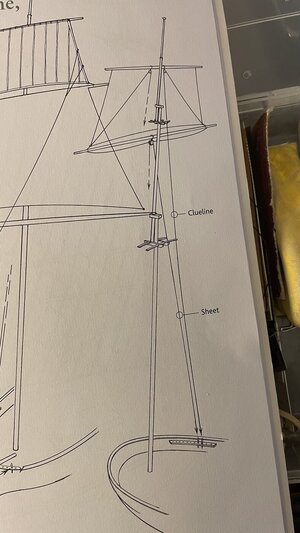
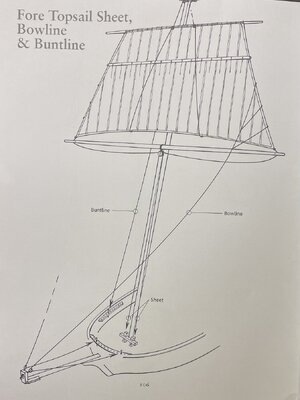
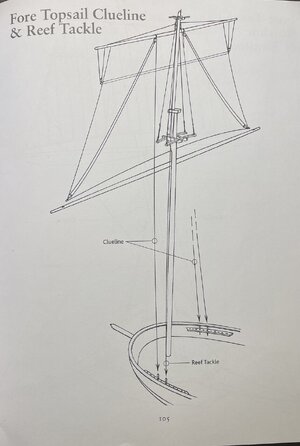
The fore topsail sheets and clue lines were rigged.
View attachment 430286
View attachment 430287
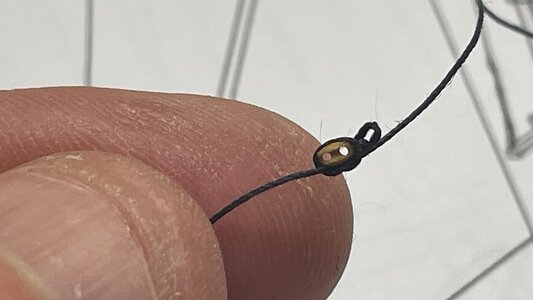
First, the blocks at the sail clues needed to be made.
View attachment 430290
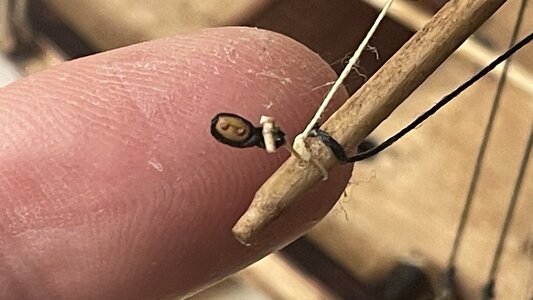
The sheets were belayed at the bulwarks, run up to the double block at the center of the fore coarse yard, then outboard through the yard sheaves, the attached to the clue blocks using tiny toggles.
View attachment 430289
The clue lines are run from belaying points on the bulwarks, up to blocks near the center of the topsail yard, down to the blocks at the ends of the sheets, the back to the topsail yard where they are tied off.
View attachment 430297
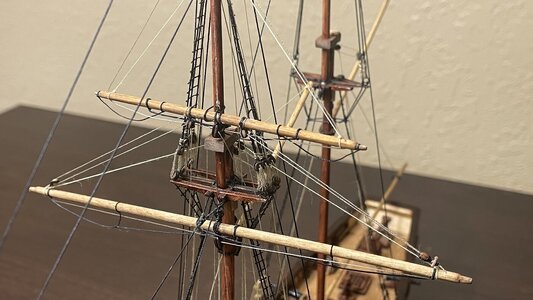
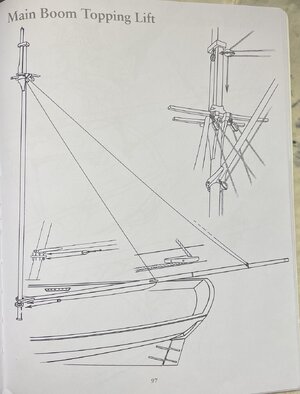
Next, the main boom topping lift was rigged.
View attachment 430291
First, rings where the topping lift line need to be made for the main boom.
View attachment 430292
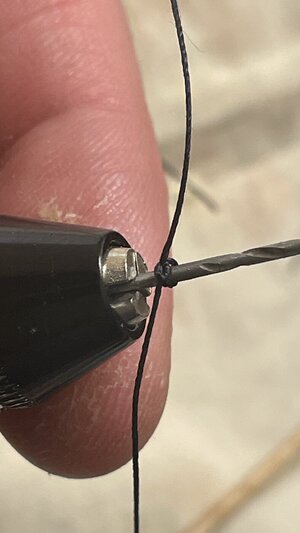
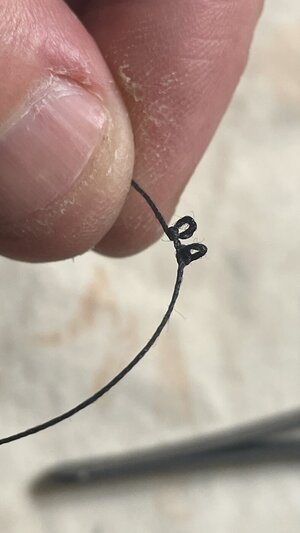
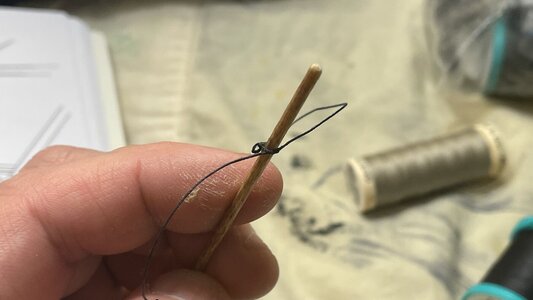
Making the rings was done using black coat thread as follows. Loops of thread make up the rings, tied around a drill bit, using two overhand knots, secured with CA glue.
View attachment 430293
View attachment 430294
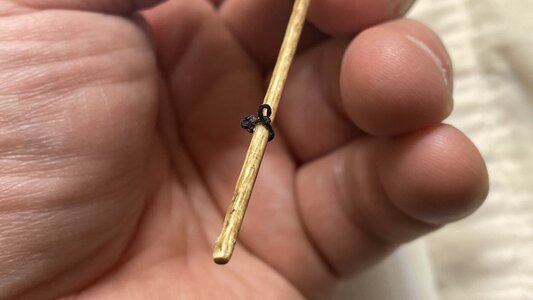
The double loop is tied to the boom and secured with glue.
View attachment 430295
View attachment 430296
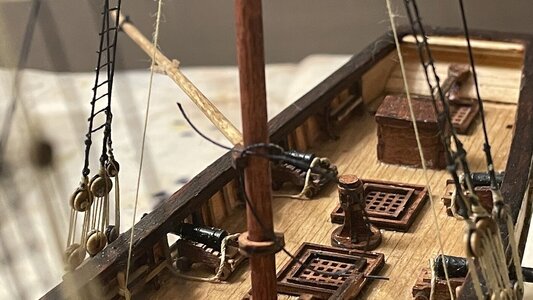
The boom is now connected to the main mast by tying off the parrel and trimming off the excess line after securing the knot with glue.
View attachment 430304
View attachment 430298
The main book lift line’s fall is rigged to two belaying pins. The first of many rope hanks to come were hung on the belaying pins.
View attachment 430300
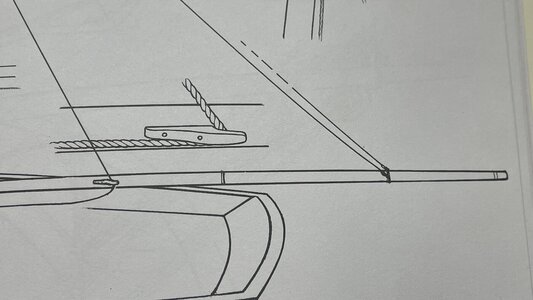
The other end of the lift line is run to a chock on the boom, the up to a block below the crosstrees, then down to the aft end of the boom where it is hooked to the port side ring made earlier.
View attachment 430299
Here is the boat so far. Still lots of rigging left to do, even though the rigging omits several minor lines for simplicity.
View attachment 430301
View attachment 430302
Not bad! Will you be installing tiller rigging?Day 40
There’s no special order to which lines I’m rigging, except for considering installation of lines at the centerline first, then moving outboard so future access to belaying points isn’t blocked by rigging.
The fore topsail sheets and clue lines were rigged.
View attachment 430286
View attachment 430287
First, the blocks at the sail clues needed to be made.
View attachment 430290
The sheets were belayed at the bulwarks, run up to the double block at the center of the fore coarse yard, then outboard through the yard sheaves, the attached to the clue blocks using tiny toggles.
View attachment 430289
The clue lines are run from belaying points on the bulwarks, up to blocks near the center of the topsail yard, down to the blocks at the ends of the sheets, the back to the topsail yard where they are tied off.
View attachment 430297
Next, the main boom topping lift was rigged.
View attachment 430291
First, rings where the topping lift line need to be made for the main boom.
View attachment 430292
Making the rings was done using black coat thread as follows. Loops of thread make up the rings, tied around a drill bit, using two overhand knots, secured with CA glue.
View attachment 430293
View attachment 430294
The double loop is tied to the boom and secured with glue.
View attachment 430295
View attachment 430296
The boom is now connected to the main mast by tying off the parrel and trimming off the excess line after securing the knot with glue.
View attachment 430304
View attachment 430298
The main book lift line’s fall is rigged to two belaying pins. The first of many rope hanks to come were hung on the belaying pins.
View attachment 430300
The other end of the lift line is run to a chock on the boom, the up to a block below the crosstrees, then down to the aft end of the boom where it is hooked to the port side ring made earlier.
View attachment 430299
Here is the boat so far. Still lots of rigging left to do, even though the rigging omits several minor lines for simplicity.
View attachment 430301
View attachment 430302
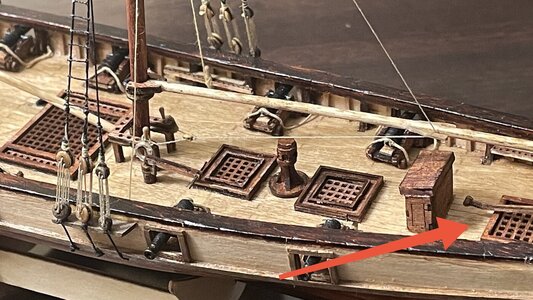
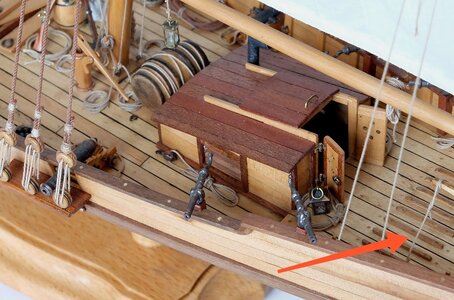
Yes, a simplified rig for the tiller is pending. The rig in Lennarth Petersson's book is suitable for a large vessel than the Halcon. Can you post pictures of your tiller rig>
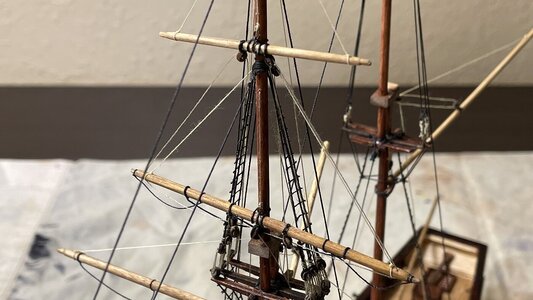
No problem. The pictures are from Lennarth Petersson's book on ship rigging for fore-and aft rigged vessels. I belayed more than the usually amounts of wraps just to cover the pin a bit with thread. How many wraps used on this model has certainly not been consistent or authentic. As you know, one full bend followed by two figure eight wraps with a twist on the final turn to lock down the bitter end is sufficient to belay the line securely. On considering doing that again, it seems unnecessary especially since hanks of ropes will probably be hung on all the pins. Belaying should be easy to let go as well as fast to secure the line to the pin.Beautiful and inspiring as always. Please keep posting pictures from the book on rigging
And a question concerning cleating... When I crewed, I normally only wrapped the cleat on the downward side and then the upper and then cleated (unless that second way was upward and so would loop again to be cleating down). Is there a reason why they cleated with more wraps historically? I am only personally familiar with nylon ropes and stainless cleats!
M.
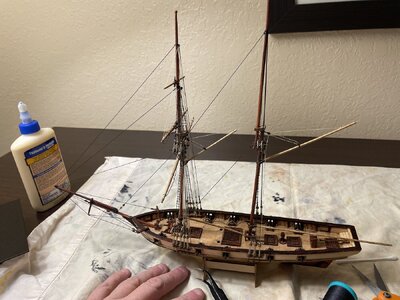
Sorry, but this is not my model, I just gave it as an example. I have a folder with photographs of different models that I study whenever a question arises. Here are two more photos with the gear you are interested in.Yes, a simplified rig for the tiller is pending. The rig in Lennarth Petersson's book is suitable for a large vessel than the Halcon. Can you post pictures of your tiller rig>
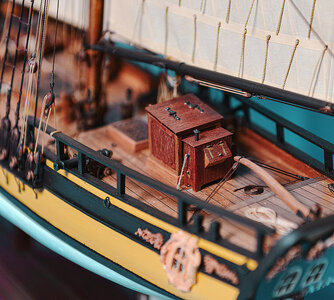
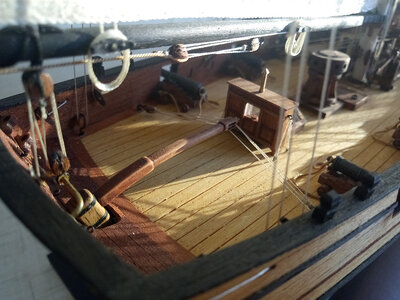
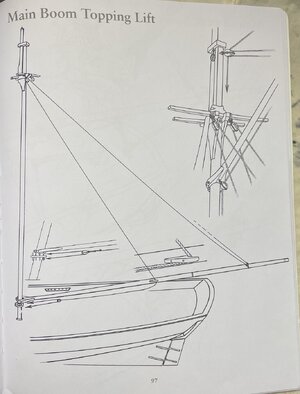
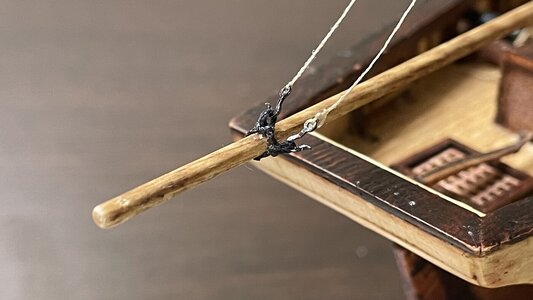
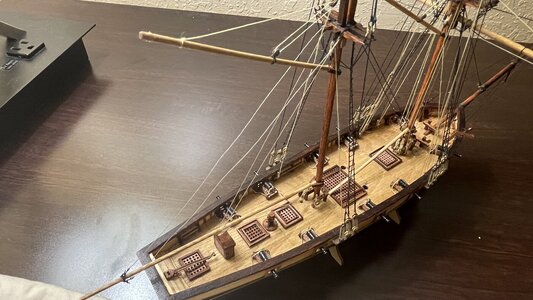
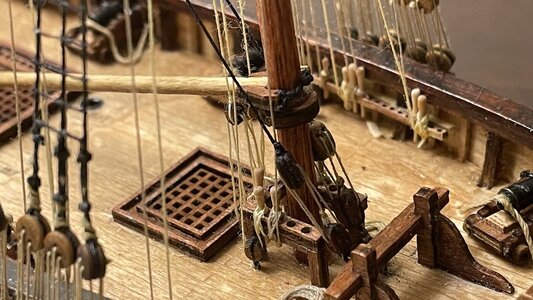
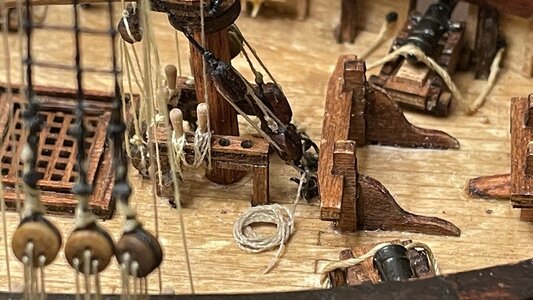
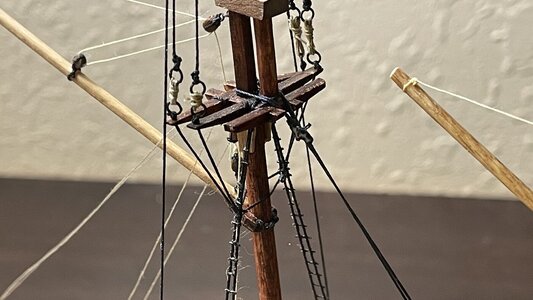
That's going to be really hard to rig at 1:100 scale.Sorry, but this is not my model, I just gave it as an example. I have a folder with photographs of different models that I study whenever a question arises. Here are two more photos with the gear you are interested in.
View attachment 430533
View attachment 430534
Aww, come on man! You've got this!That's going to be really hard to rig at 1:100 scale.
