-

Win a Free Custom Engraved Brass Coin!!!
As a way to introduce our brass coins to the community, we will raffle off a free coin during the month of August. Follow link ABOVE for instructions for entering.
-

PRE-ORDER SHIPS IN SCALE TODAY!
The beloved Ships in Scale Magazine is back and charting a new course for 2026!
Discover new skills, new techniques, and new inspirations in every issue.
NOTE THAT OUR FIRST ISSUE WILL BE JAN/FEB 2026
You are using an out of date browser. It may not display this or other websites correctly.
You should upgrade or use an alternative browser.
You should upgrade or use an alternative browser.
Cheap Chinese Halcon speed build [COMPLETED BUILD]
- Thread starter DARIVS ARCHITECTVS
- Start date
- Watchers 51
-
- Tags
- completed build halcon
Bah... we have faith in you.That's going to be really hard to rig at 1:100 scale.
- Joined
- Jun 17, 2021
- Messages
- 3,196
- Points
- 588

Despite being closeups of a very miniature scale and the unavoidable magnification of the stray hairs (much like the inexplicable ones that began growing out of my ears when my odometer clocked over the halfway mark) your work is so fine and believable as to appear virtually real! I am continually amazed and impressed with the quality of your detail! 

- Joined
- Jun 17, 2021
- Messages
- 3,196
- Points
- 588

I too have faith that you can rig the tiller. Somehow I can't see you being content to pass it up. (No pressure. )
)
You're learning, mondrasek..... So, I was just kidding at first. But since the rest of the community is also piling on, I say do it or you are NOT WORTHY!
M.
Day 42
The fore boom lift was rigged.
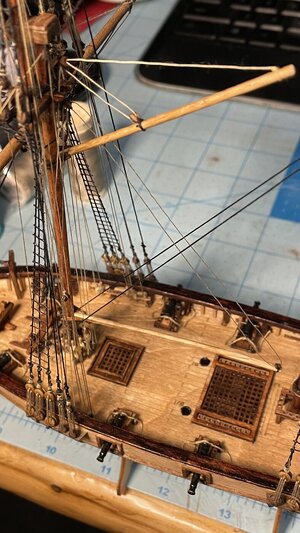
Well, you asked for it. The tiller was rigged with 5mm cleats, a couple 1mm eyebolts, 1.5mm single blocks, and 2.5 mm blocks. At least I had my magnifying headset today.
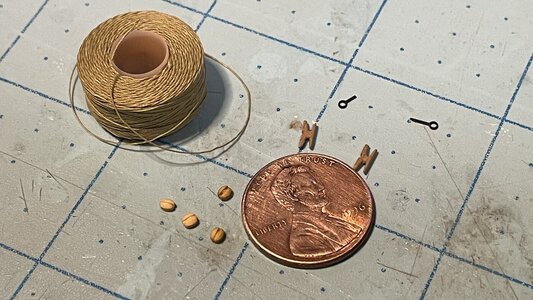
The tackles are assembled first. The single block (outboard) for the tackles is eyebolted to the deck on the starboard side first after drilling a hole in the deck with an Archimedes drill. The penny has not changed size.
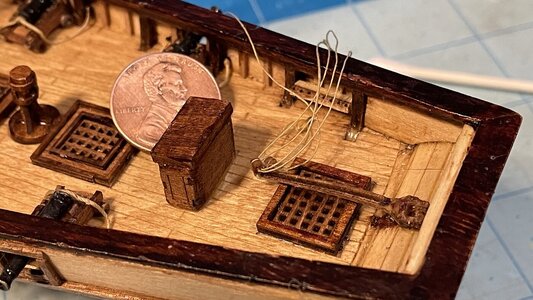
The rope between the double blocks was wrapped around the tiller and glued down. Then the single block on the port side is eyebolted to the deck.
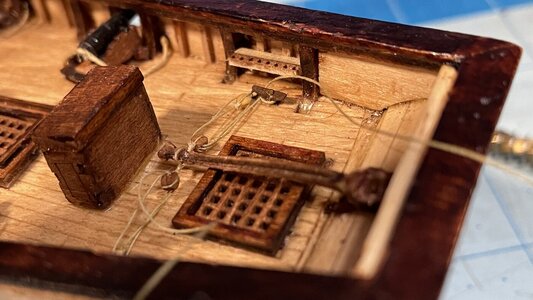
See that GIANT penny, Paul?
Tying the falls for the tiller tackles around the cleats.
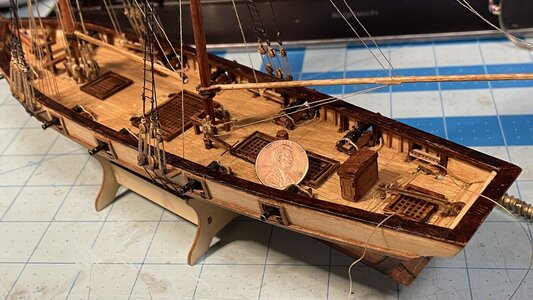
There you have it. The remaining line for the tackles was wrapped around the handle of a needle file to form coils, stiffened with PVA, then glued to the deck.
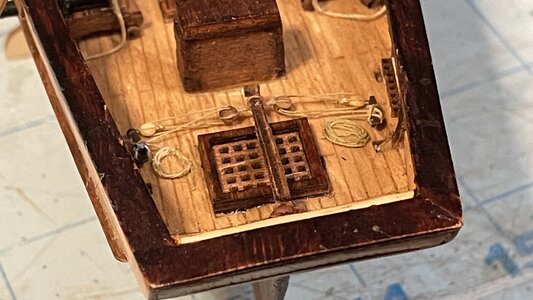
With that out of the way, I needed to relax and work on a few easier details.
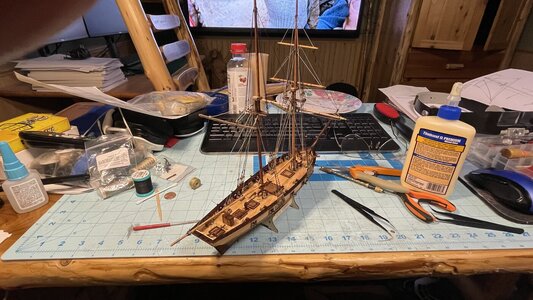
I decided to make some rope hanks. But first, I had to make the "30 second rope hank jig". I grabbed the plank bending form and hammered three pins in it and cut off their heads. A bunch of rope hanks were wrapped, stiffened with PVA, then lifted off the jig and glued in place around the foremast pinrail.
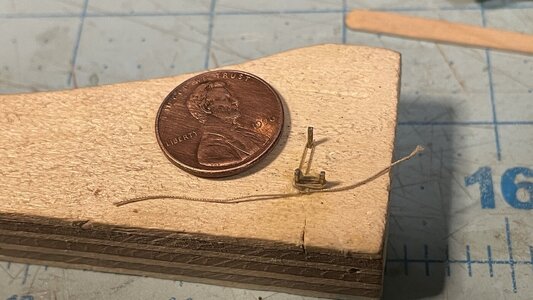
That looks better.
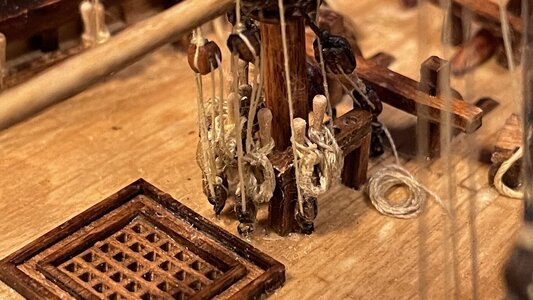
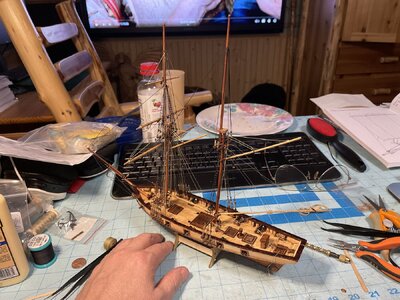
Enough for one day. Later the vang lines and braces will be rigged, and the rest of the rope hanks hung.
The fore boom lift was rigged.

Well, you asked for it. The tiller was rigged with 5mm cleats, a couple 1mm eyebolts, 1.5mm single blocks, and 2.5 mm blocks. At least I had my magnifying headset today.

The tackles are assembled first. The single block (outboard) for the tackles is eyebolted to the deck on the starboard side first after drilling a hole in the deck with an Archimedes drill. The penny has not changed size.

The rope between the double blocks was wrapped around the tiller and glued down. Then the single block on the port side is eyebolted to the deck.

See that GIANT penny, Paul?

Tying the falls for the tiller tackles around the cleats.

There you have it. The remaining line for the tackles was wrapped around the handle of a needle file to form coils, stiffened with PVA, then glued to the deck.

With that out of the way, I needed to relax and work on a few easier details.

I decided to make some rope hanks. But first, I had to make the "30 second rope hank jig". I grabbed the plank bending form and hammered three pins in it and cut off their heads. A bunch of rope hanks were wrapped, stiffened with PVA, then lifted off the jig and glued in place around the foremast pinrail.

That looks better.

Enough for one day. Later the vang lines and braces will be rigged, and the rest of the rope hanks hung.

Kurt, looks great!There you have it. The remaining line for the tackles was wrapped around the handle of a needle file to form coils, stiffened with PVA, then glued to the deck.

1,5 mm blocks?? i already had problems getting 3mm blocks in my canon rigging 
Great work Kurt
Great work Kurt
I knew you would rise to the challenge! 
Great job !
Great job !
Very nice work but I'm confused about the tiller tackles. How did they steer the ship? Undo both the cleated parts and readjust and then tie them back down?
Occasioanally you guys push me to new heights. Thanks!I knew you would rise to the challenge!
Great job !
Yes. When the boat is on a steady course, weather permitting, you can lash the tackle which is taut to the cleat and ride in comfort. If you need to make slight adjustments, you can throw a half bend around the cleat on the taut side and ease or draw the fall.Very nice work but I'm confused about the tiller tackles. How did they steer the ship? Undo both the cleated parts and readjust and then tie them back down?
Nice tiny detailed parts on the rigging, Kurt. By every step she is looking better and better.Day 42
The fore boom lift was rigged.
View attachment 431294
Well, you asked for it. The tiller was rigged with 5mm cleats, a couple 1mm eyebolts, 1.5mm single blocks, and 2.5 mm blocks. At least I had my magnifying headset today.
View attachment 431297
The tackles are assembled first. The single block (outboard) for the tackles is eyebolted to the deck on the starboard side first after drilling a hole in the deck with an Archimedes drill. The penny has not changed size.
View attachment 431282
The rope between the double blocks was wrapped around the tiller and glued down. Then the single block on the port side is eyebolted to the deck.
View attachment 431283
See that GIANT penny, Paul?
View attachment 431284
Tying the falls for the tiller tackles around the cleats.
View attachment 431285
There you have it. The remaining line for the tackles was wrapped around the handle of a needle file to form coils, stiffened with PVA, then glued to the deck.
View attachment 431286
With that out of the way, I needed to relax and work on a few easier details.
View attachment 431288
I decided to make some rope hanks. But first, I had to make the "30 second rope hank jig". I grabbed the plank bending form and hammered three pins in it and cut off their heads. A bunch of rope hanks were wrapped, stiffened with PVA, then lifted off the jig and glued in place around the foremast pinrail.
View attachment 431293
That looks better.
View attachment 431290
Enough for one day. Later the vang lines and braces will be rigged, and the rest of the rope hanks hung.
View attachment 431291
Regards, Peter
This project is looking better every update.
Bravo Zulu Kurt
Bruce
Bravo Zulu Kurt
Bruce
- Joined
- Jan 9, 2020
- Messages
- 10,565
- Points
- 938

Now I want to see video-proof that the tiller is working! Seriously, Kurt, you are doing a mighty fine job on this little ship. You said earlier that using good-quality rope on her is like casting your pearls before the swines, but all I can say is that she is becoming a very pretty piggy-wiggy!
I got some new brass belaying pins from Dry-Dock Models and Parts the other day. Let’s compare them to the others in my parts box.
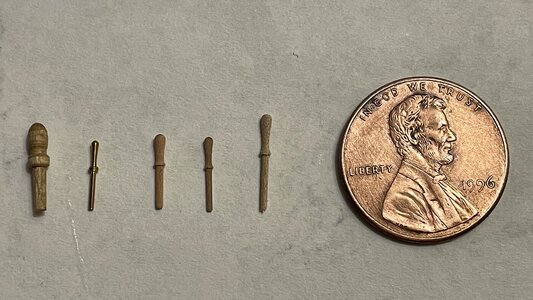
From left to right:
1) pin from La Couronne kit from Corel, totally unusable if you want the proportions to be correct.
2) brass 6mm pin from Dry-Dock Models
3-5) Falkonet wooden pins, 8mm, 9mm, & 11mm. Note that the 9mm pins are noticeably thinner than the 8mm pins.
The 6mm pins are the smallest and also have correct shape. Plus, they are stronger. Since all belaying pins on models are usually too large for scale, using the smallest pins you can find and work comfortably with is desirable.
Last edited:
Day 43
The main sail outhaul was rigged on the main boom.
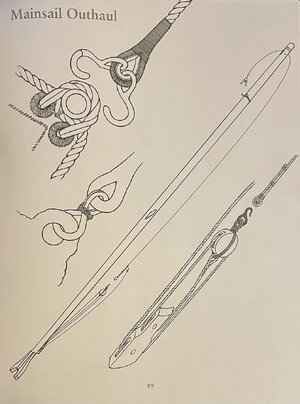
A double sheave was attached to the bottom of the boom, simulated by a small piece of wood with two slots cut in it using a microsaw.
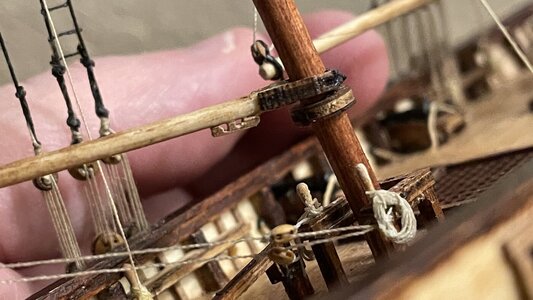
The sail end of the outhaul has a double hook. When not hooked to the clue of the sail, the hooks are hung on the rings of the boom along with the hooks from the topping lift.
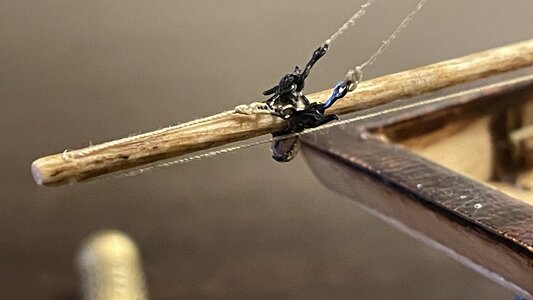
The other end of the outhaul is hooked to a tackle whose fall is belayed to the outhaul line.
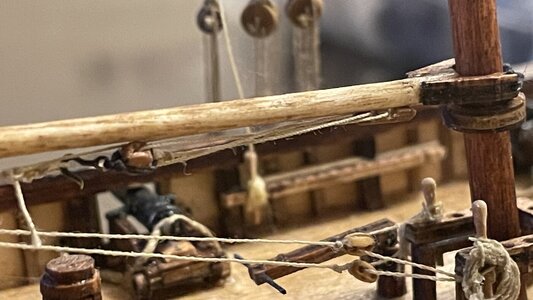
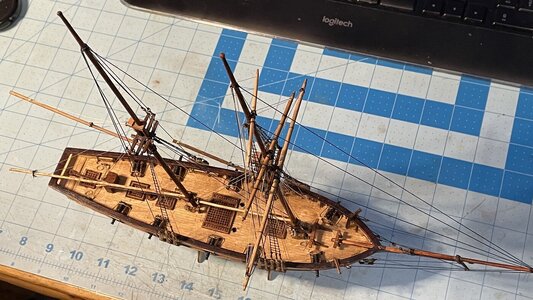
Overall view.
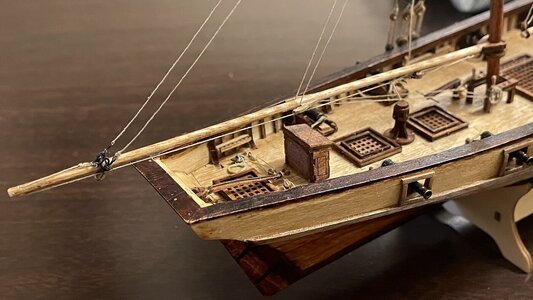
Progress so far.
The main sail outhaul was rigged on the main boom.

A double sheave was attached to the bottom of the boom, simulated by a small piece of wood with two slots cut in it using a microsaw.

The sail end of the outhaul has a double hook. When not hooked to the clue of the sail, the hooks are hung on the rings of the boom along with the hooks from the topping lift.

The other end of the outhaul is hooked to a tackle whose fall is belayed to the outhaul line.

Overall view.

Progress so far.

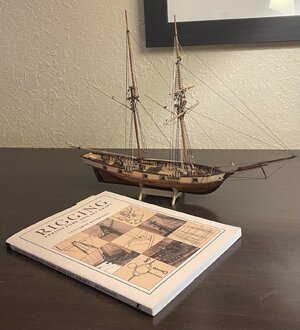
Best build of a $10 kit in history...
I agree with Doc ! Beautiful !
By the way Kurt, you need to update your forums signature to add this build (and with the results you have, you absolutely need to) !
Jeff
By the way Kurt, you need to update your forums signature to add this build (and with the results you have, you absolutely need to) !
Jeff


