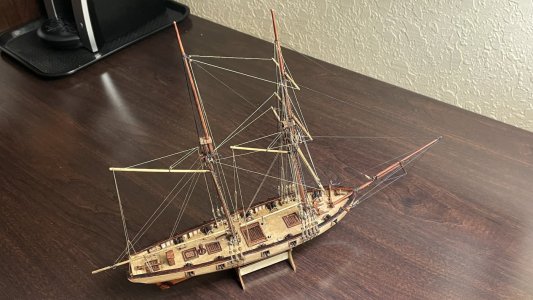
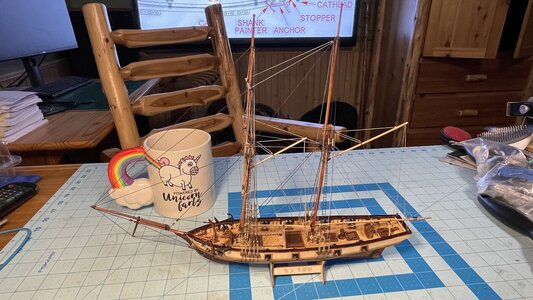
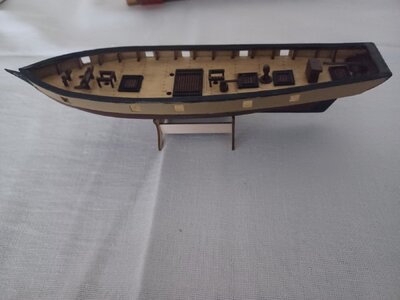
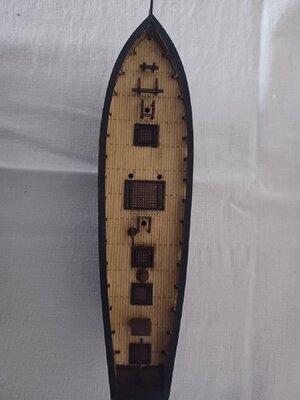
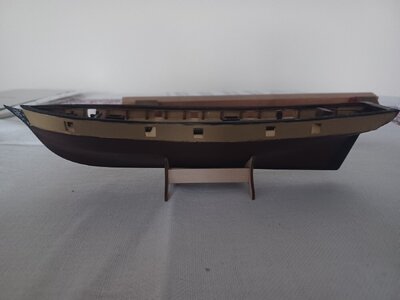
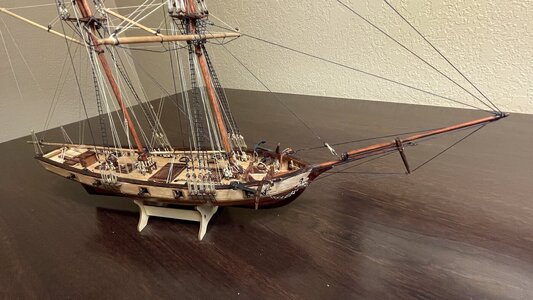
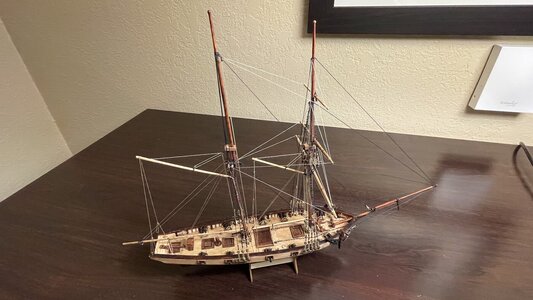
Cheap Chinese Halcon speed build [COMPLETED BUILD]

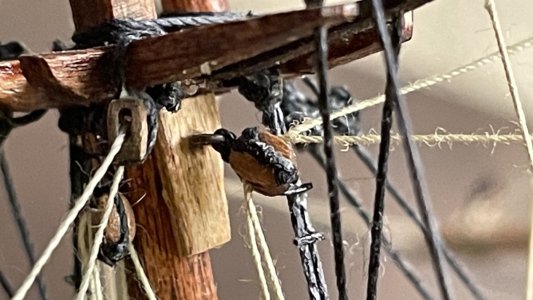
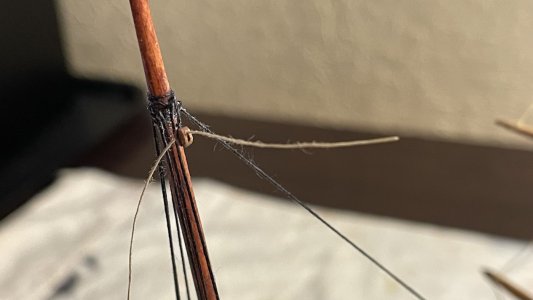
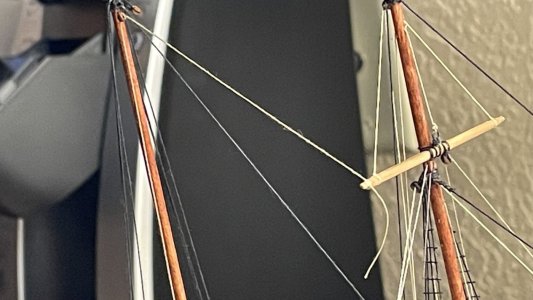
Tying the stays and keeping them with even intention, such that none of them are slack is always tricky. On this model, simple overhead knots, secure the lower end of the fore stays to the jib. The tension of each line is adjusted before the knots are cinched tight and secured with glue. It’s all about keeping the lines carefully balanced in tension and requires adjustments and patience.

Once the lower dead eyes are secure on the channels, I tie each day with a loop around the mast head. Taking a stay in one hand, I tied and overhead not loosely around the upper dead eye. Holding the upper dead eye above lower dead eye, I gauge the distance and adjust the overhand, not until the dead is roughly at the height you want to be 1/16 to an eighth of an inch shorter to count for stretching of the shroud on a large model. Once it’s slashed to the lower dead eye. There were no measurements, because I was using experience gain from previous models to make them consistent by judging the amount of stretch in each shroud. On a model of the small, making the dead eyes very close to their desired position is necessary, because the short shrouds don’t stretch as far as with a larger model. The tension in this model is not perfectly even, as you would expect, but each has appropriately placed the same.

When the upper dead eye is in position, the overhead not is tightened, and the height checked one final time before glue, is applied to the thread surrounding the dead eye, locking it in place. The bitter end of the shroud is then lead upwards and seized to the standing part as you normally would. Shrouds are always rigged in pairs, starting with one side, then the other, and alternating back-and-forth to maintain even tension on the mast head from port to starboard. The tension on each shroud is not great at all, being just enough to keep the thread taut, and enough, such that, if the thread stretches a bit over time, it will not go slack.

The dead eye spacing tool you mentioned could not be used on dead eyes a small as 3 mm. So, I rigged the shrouds without the tool, and tightened the lanyards between the dead eyes only as much as required to make the upper dead eyes, even with the lower ones, the flexibility in the shrouds provides enough leeway to allow you to adjust the height of the upper dead eye, and still maintain some tension if you tied the upper dead eye approximately at the correct position.

I can go into more detail if you provide some specific questions. Or, you can look at my build log for La Couronne and see how they were done on that previous model.
Thanks for elaborating. I think I understand your method now! Unfortunately, it relies on a LOT of experience (apprenticeships should be MANDITORY in any field of work/play, imho). I'm still noodling about the way I will start to attack the stays. Atm the idea is a combo of your method and a bit of using the deadeye jig. But since I still have the music box to finish (it is taking WAY TOO LONG) I have time to ruminate.

M.
The ruminating phase of rigging is ALWAYS done before each line. After all the standing rigging is completed, then you typically start working on the running rigging. First you, have to determine an order of which lines to rig, rigging those which will not crowd out your access to the belaying points and to the center of the ship first, and work in the outboard directions port and starboard. Some people have trouble reaching some of the belaying racks on the bulwarks because of the shrouds and ratlines. As for which line to rig first in a vertical direction, I usually rig the topgallants first and move downward toward the course sail rigging. You have to ask yourself, which end of the line is the hardest one to access where it is tied, and which is hardest to adjust in order to set the line length and tension? That's the end you want to tie off first. Then you run the line through blocks on it's way to its final destination, adjust the length of the line or line tension, and finish tying it off.

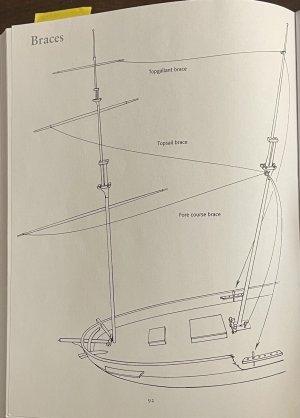
Each modeler has a different style of approaching the order of rigging. What I described above are the general rules for my approach. There are exceptions for some lines, as determined by other factors besides access, such as personal preference. Because the schooner Halcon has no directions for rigging, Petersson's book on fore-aft rigged vessels was used as a guide. Pages with illustrations in the book easy to arrange into an order for use as rigging instructions, using the rigging order described above.

The description of how to approach rigging should be is some book on modeling somewhere, but for some reason, none of the books I have read seem to have such detailed, general instructions. I guess that's one of the reasons we have this forum...

I am currently tasked at work to make videos of how to set up one of our most complex robot controller features. In a staff meeting yesterday I expounded on the fact that I am basically making a video manual because the actual paper manual does not explain everything in the video I am producing. And I think that echos your point:

The description of how to approach rigging should be is some book on modeling somewhere, but for some reason, none of the books I have read seem to have such detailed, general instructions. I guess that's one of the reasons we have this forum...

I believe you are writing the book, my friend.

M.
 
I am currently tasked at work to make videos of how to set up one of our most complex robot controller features. In a staff meeting yesterday I expounded on the fact that I am basically making a video manual because the actual paper manual does not explain everything in the video I am producing. And I think that echos your point:

The description of how to approach rigging should be is some book on modeling somewhere, but for some reason, none of the books I have read seem to have such detailed, general instructions. I guess that's one of the reasons we have this forum...

I believe you are writing the book, my friend.

M.
Lauck Street Shipyard has a "class" you can order on rigging. :)
Highly recommended !
 
Day 47

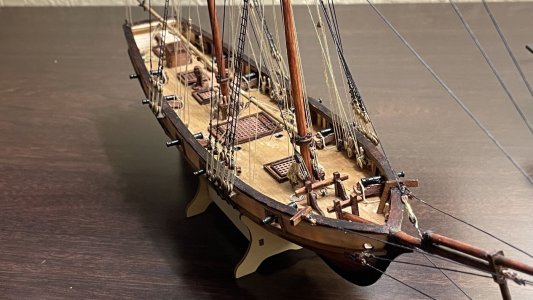
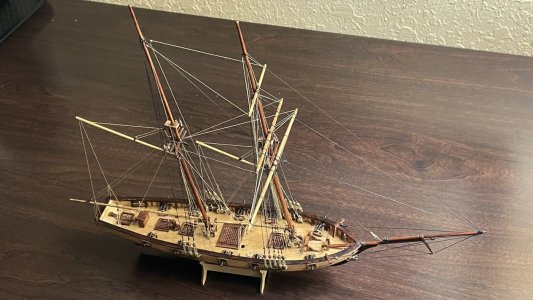
Almost done! The final rigging was completed and the anchors and anchor chain are next, plus a few more small details.

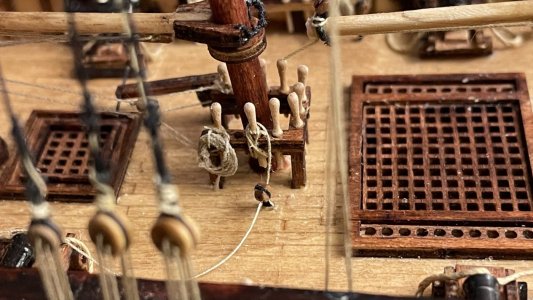
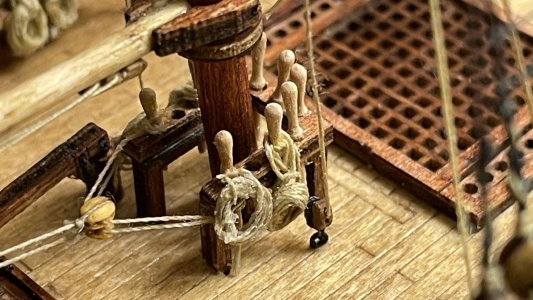
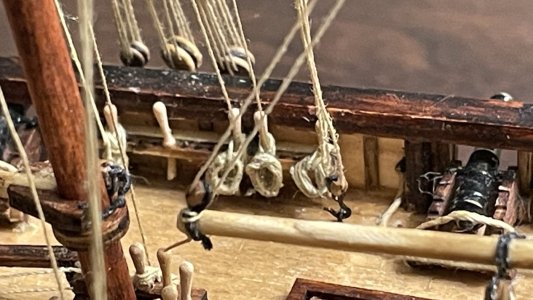
A few more rope hanks were prepared for the next lines belayed on the pin racks.
IMG_3941.jpeg

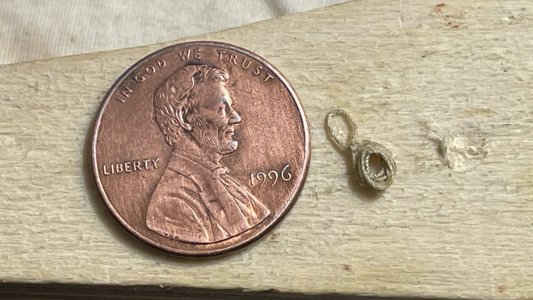
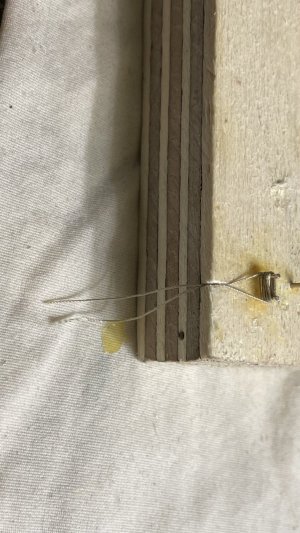
These were made by wrapping some line around two pins 5mm apart and tying the ends in a knot. The coil is soaked in PCA glue, and one loop of the bundle is lifted from the pins and will become the loop which goes around the belaying pin. The remaining loops of the coil are allowed to get tacky with the glue, and then the entire bundle is lifted off the pins and shaped with fingers and tools. The bundle is flattened, and the hanging loop this past through the hole in the center of the bundle, when the glue is almost dry, it is ready for hanging on to belaying pin.
IMG_3940.jpeg

The braces are the last lines to be rigged because they are the most outboard lines, and would interfere with other rigging if installed too early.
IMG_3945.jpeg

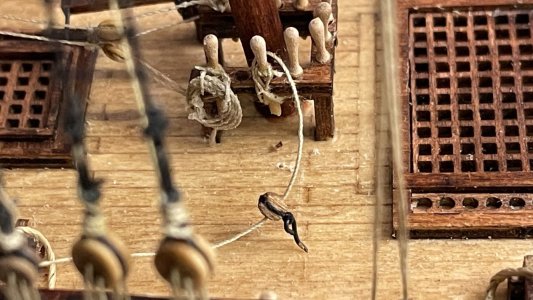
The foresail yard brace lines were started at the belaying pin, and the first block the line passes through was then secured to the deck with an eyebolt. It is much easier to do it this way than try to thread the end of line through a block, which is already secured to the deck.
IMG_3934.jpeg

IMG_3936.jpeg

The fore course and topsail yard brace lines are passed through a double block, and then that block is attached to the main mast cheeks using an eyebolt afterwards. Next the free ends of these lines were secured to the ends of the yard arms.
IMG_3949.jpeg

The topgallant brace lines start at the belaying pins on the bulwarks, run upward to single blocks that are tied to the main mast, and then to the ends of the topgallant yard.
IMG_3937.jpeg

IMG_3939.jpeg

More belaying pens were inserted into the pin, racks and coils hung on the ones which had lines tied to them.
IMG_3948.jpeg

IMG_3946.jpeg

Rigging is complete.
IMG_3950.jpeg

IMG_3943.jpeg

IMG_3944.jpeg
 
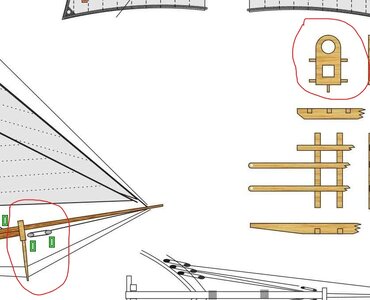
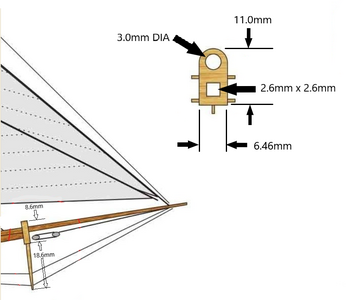
Hello, could you please send me the parts marked in the attachment? Alternatively, advise where I could get them?They were not included in the basic kit.

View attachment 434463
Yes, they are not in the kit I bought either. I had to make them from scrap wood. Are you sure your can't make them yourself? Just shipping you these parts, if I made them for you, would cost more than the model kit.
 
Last edited:
Day 48

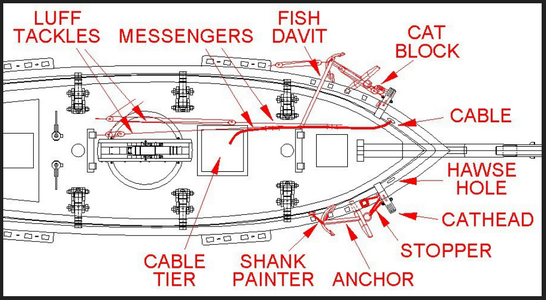
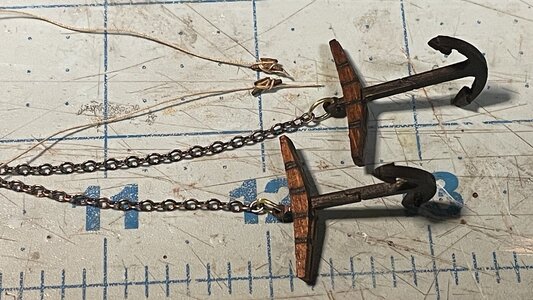
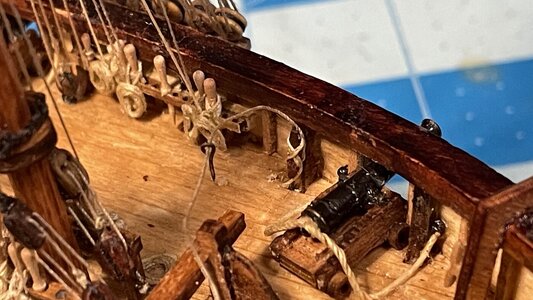
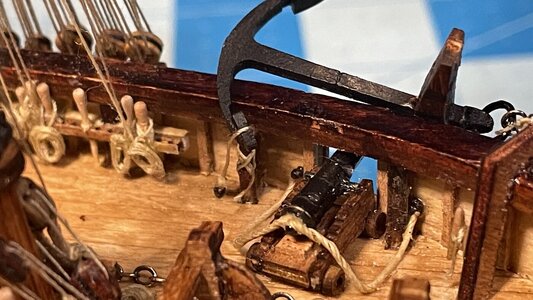
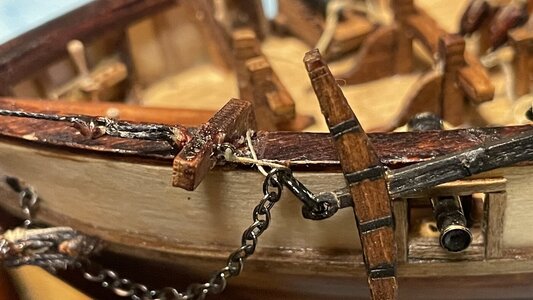
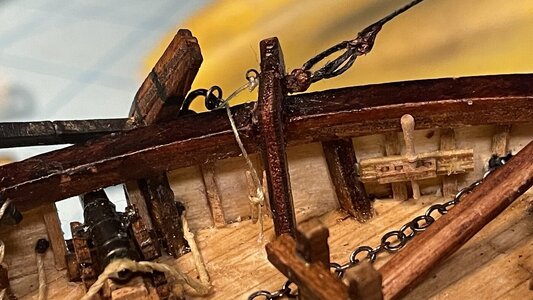
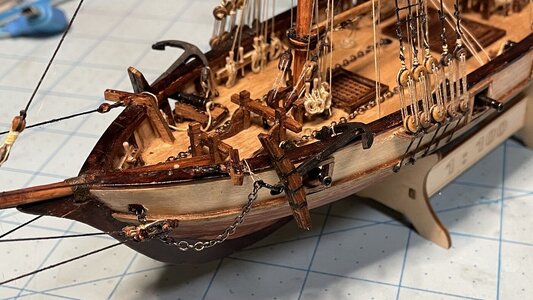
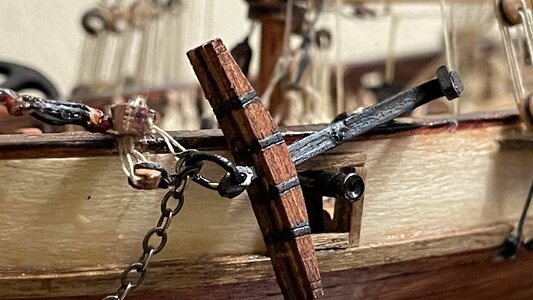
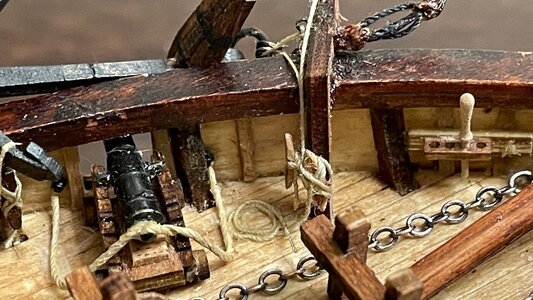
The anchors were installed today, along with the anchor chains, anchor stoppers, and shank painters.

1710236851897.png

The cleats for the shank painters were prepared. The anchor rings were made from 22 gage brass wire, and the chain was purchased from a local hobby store.
IMG_4031.jpg

The cleats for the chain painters were glued to the frame. These anchors are overly large for a boat this size, but I didn't want to add any more parts into this build.
IMG_4032.jpg

The opposite end of the painter was simply tied to a deck eyebolt. I don't have any information on how the painters were secured on a schooner, so I went with that.
IMG_4033.jpg

One end of the anchor stopper is secured to an eyebolt on the cathead. The anchor rings were painted black.
IMG_4034.jpg

The other end of the anchor stopper was simply secure to a cleat below the cathead.
IMG_4035.jpg

IMG_4036.jpg

The model is almost complete. There are always details you can add, and I'm sure that some will be made before the boat is considered finished. The cathead tackles perhaps, and maybe a proper mounting board with pedestals and a nameplate.
IMG_4037.jpg
 
Deň 15.

Len zdrsnil vyrobený luk. Vypočítala sa aj dĺžka a priemer stožiarov a dvorov.
View attachment 408342

Dobrý deň, mohli by ste mi prosím poslať diely označené v prílohe? Prípadne poradiť kde by som ich zohnal? Neboli súčasťou základnej výbavy.

View attachment 434463

Áno, nie sú ani v súprave, ktorú som si kúpil. Musel som ich vyrobiť z odpadového dreva. Si si istý, že si ich nedokážeš vyrobiť sám? Len zaslanie týchto dielov, ak by som ich pre vás vyrobil, by stálo viac ako súprava modelu.
Ahojte, stačilo by mi poslať rozmerový náčrt dvoch označených vecí.
Ďakujem

Pripájam moje prvé začiatky, kde som doteraz skončil.

20240312_153937.jpg

20240312_153927.jpg

20240312_153948.jpg
 
also from my side congratulations for finishing her.
with this model you were showing the community, that also a cheap kit can result in an interesting model
Well done my friend

and now? What comes next?
 
also from my side congratulations for finishing her.
with this model you were showing the community, that also a cheap kit can result in an interesting model
Well done my friend

and now? What comes next?
Well, I could start HMS Revenge by OcCre, but that would delay returning to Sovereign of the Seas which really need attention. Building the Revenge would be easy in comparison to the next steps in building the Sovereign. It's a huge challenge trying to learn modeling in Blender because that program is hugely complex, with all the animation functions in it. Work is taking too much time these days to be able to dive into Blender and spend the hundreds of hours it takes to really learn the modeling functions and start creating decent objects. I'm no stranger to 3-D modeling, but the software I used, Lightwave 3-D by NewTek, is woefully antiquated and not as suited to organic shapes and sculpturing. The fastest way to learn it is to just starting doing it. Tutorials videos save some time, but not all that much.
 
Back
Top