• LUCZORAMA SHIPWRECK SCAVENGER HUNT GIVEAWAY. 4 Weeks of Fun • 1 Legendary Prize ((OcCre’s Fram Ship)) • Global Crew Welcome!
    **VIEW THREAD HERE**

Corsair H.M.S. Enterprize Build Log

Wow ! That is really coming along ! You have been hard at work ! It sounds like you got your spacing issue worked out which I'm glad to hear ! I didn't totally understand your description of what was occurring, but I did catch that you have a solution and I'm very glad for that. :)
Hello , have you tried using indoor scrapers.6 piece scraper set, SCRAPER
Brand: ASNOMY
4.4 4.4 out of 5 stars (458)Frank
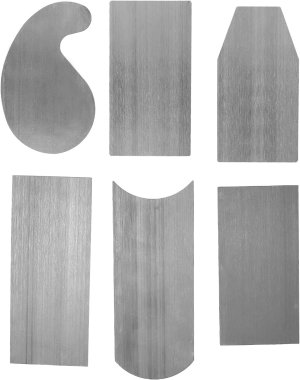
71MeNrAdolS._AC_SL1500_.jpg
 
no progress today. Our air conditioner for the house failed yesterday and it was quite warm in the house last night. So, I only got about 4 hours of sleep and I didn't think running power tools and working on something that requires one to think would be a prudent course of action. :) AC is fixed now, but have some meetings tomorrow and Wednesday. I'll try to sneak in a little time on her. :)
Was it clogged with ship building dust…LOL
 
Well, the ancient drill that I have in my ancient drill press gave up yesterday as I was trying to sand the inside of one of the frames... I have another drill I can mount in there (assuming it fits), however, it will require me to also make a new zero tolerance plate. So a slight delay. I have the outside edges of frames 1 through 14 beveled and test fit into the building frame. :) I might have to go back to building frames if I don't have scrap wood to use for the zero tolerance plate. Not that that's a problem. :D
I have also been mounting an additional wall cabinet onto the shop wall for additional storage which has caused an additional slight delay.
 
Wow ! That is really coming along ! You have been hard at work ! It sounds like you got your spacing issue worked out which I'm glad to hear ! I didn't totally understand your description of what was occurring, but I did catch that you have a solution and I'm very glad for that. :)
 
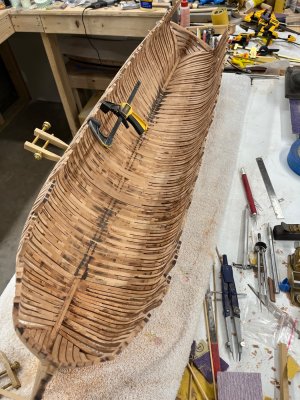
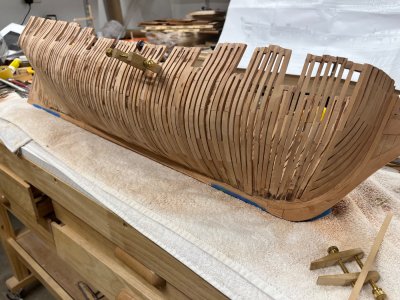
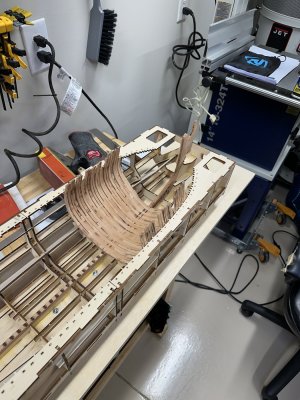
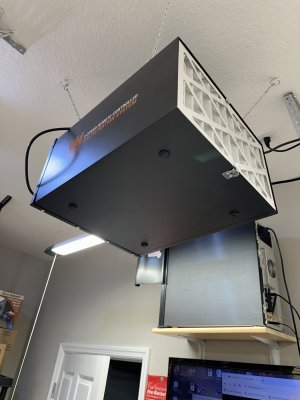
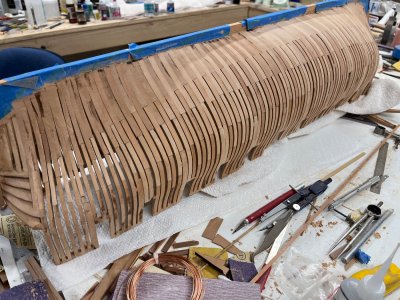
So, I had some challenges and setbacks, including some other household tasks that needed to get done, but I'm still at it. Here is a pic of the frames I have built and tapered. They are just placed in the construction jig. Not glued yet. These are frames 1 through 12. :) About 1/3 of the way through the full frames (non cant frames) And I got my new shop air filtration system installed (one of the tasks I needed to do)!

IMG_1617.jpeg IMG_1619.jpeg
 
Nice and tidy Jeff.
Now that it’s finally stopped raining and warming up around here I can get outside for inevitable dusty sanding which I can only take in a couple hours installments.
That said the hull is fairing up and is starting to look like an actual ship.

Tim

IMG_0704.jpeg
 
Nice and tidy Jeff.
Now that it’s finally stopped raining and warming up around here I can get outside for inevitable dusty sanding which I can only take in a couple hours installments.
That said the hull is fairing up and is starting to look like an actual ship.

Tim

View attachment 524213
Uh Tim... I think your ship capsized..... I didn't know you were building a diorama ! ROTF
Of course I'm kidding ! She is looking wonderful !
 
Back on to building frames. :) I started 15, 16 and 17 today. :)
These should go a little quicker because they don't have any bevel to them.
Although I still need to sand them.
I've found out that I can do the outside with the big spindle sander without having them explode on me. Then I do the inside on the drum on my drill press.
 
So, as we have discussed before, as you are building the various frames the futtocks shift one way or the other and some of them are in the middle. Well I wasn't happy with the ones that I used various objects to support them off the plans as the glue dried and I didn't have any 1 mm thick wood (or any other objects) on hand, so I ordered some wood strips that are 1mm x 1mm that I can use. and if I need 2 mm, I can just glue together with some CA. :)
My order should be delivered today. Which is good because two frames where I'm working currently (I think they are 15 and 16) have futtocks shifted to the middle. :)
Yep, they can be a PIA. Fortunately I have a Byrnes thickness sander to make custom spacers. I still did all with titebond while putting weight on all futtocks to insure everything straight....the glue joints were fine without any failures.
Now installing gun ports and have only 3-4 left.
Without knowing exactly how the top sills for the mid ports would space out I went with Victor's approach so I could insure precise vertical port dimension. Though not exactly to plan it insures proper port across both dimension and is planked over on both sides so I figured nothing worse than mis matched gun ports....they look nice.
The big challenge now is whether the initial line of planks which locate off of ports will line up properly, given they are not all linear beneath bottom sills.....fingers crossed.
The bottom sills between frames have spaced out very well vs plan given precise fitment of jig although all the port work has bee done with hull no longer in jig, try to throw up an image or two when complete.

Tim
 
Last edited:
The big challenge now is whether the initial line of planks which locate off of ports will line up properly, given they are not all linear beneath bottom sills.....fingers crossed.
Hi Tim,
Are you speaking about the hull planking sheer line compared to the sheer line of the gun ports?
Thanks
Allan
 
Hi Tim,
Are you speaking about the hull planking sheer line compared to the sheer line of the gun ports?
Thanks
Allan
Well, both, since unlike many admiralty ships where the hull is lined out to establish planking, here, assuming Victor an his crew went with a "simpler" methodology whereby the initial couple of planks are all located on the gun ports.
Took some measurements from the plan for initial checks but still, when all finish sanding is done we'll see where those initial planks fall.
 
Sanding, sanding, and more finish sanding.
I'm guessing when all the shaping is done, probably end up with 400-600 grit finish before any wipe on poly goes down.

IMG_0707.jpeg
 
Back
Top