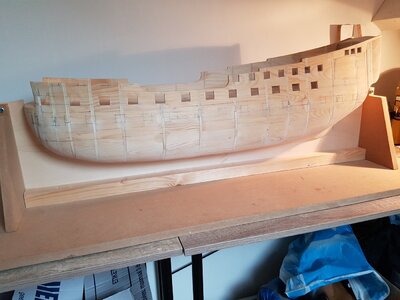
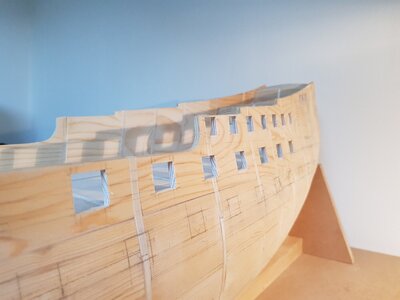
DE 7 PROVINCIËN (1665) 1:50

Hi Herman,

As I remind Drazen had issues with his hull that overtime the planking cracked due to the solid hull shrinking and expanding differently then the planking. Did you investigate this with your solid hull construction to avoid you get similar problems?
I seem to remember he had some issues with moisture in his building site.

During the beginning of my build I was working in my unheated garage where temperature and humidity are at an other level than indoors. As the base for the hull was completed and the most mess was behind me I took her inside to continue. At that time I came in the ideal situation to have a spare room, as two of my children had moved out.

I had initially not given it enough thought :confused: but I was then in the (foreseeable) situation that wood does what wood does. The blocks shrank off course more than the plywood bulkheads what I noticed as the bulkheads protruded just a bit from the rest of the hull. The build (and myself) were frustrated by this and the only sensible thing to do was leave it for some time to get acclimatized.

I left it for rather a long time, after which I brought the hull back in shape again and continued.

Further building process will only take place indoors with a more or less constant temperature/humidity. I hope this will in itself be enough to prevent large issues.
On top of that the inside of the hull (photo's later in the build log) will be totally covered by a coating of paint and the outside will off course be covered by glue/planking. I hope this will be sufficient.
 
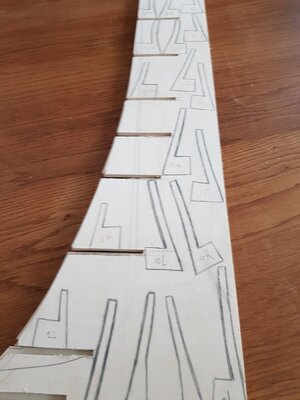
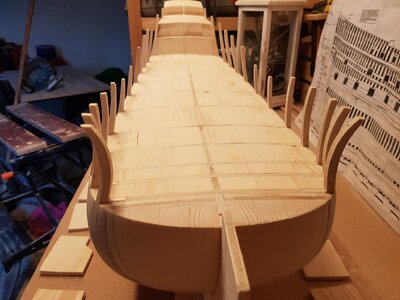
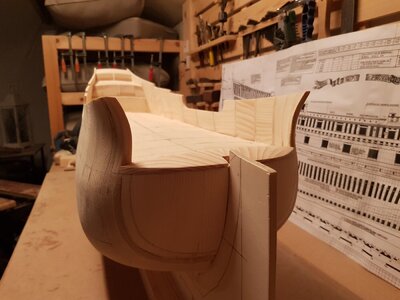
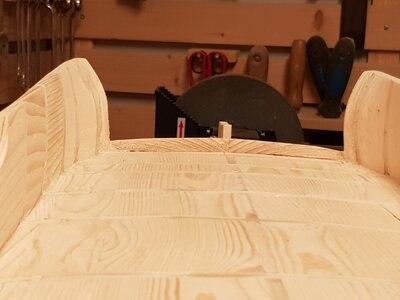
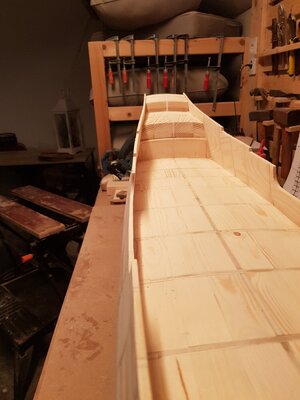
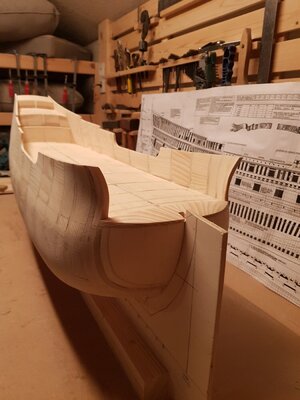
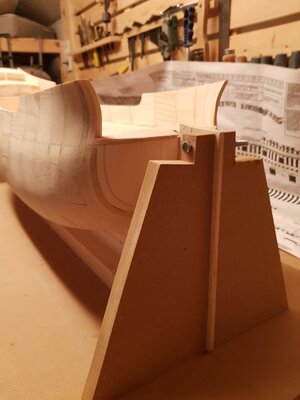
Next came the constructions of the extension of the bulkheads, which were made of the extra plywood plates that were used to hold the bulkheads in line during construction of the hull and had lost their function.
Note that the upper blocks of the hull (where the sides of the hull meet the deck) were not glued to the bulkheads, making it easy to chisel out the upper part of the bulkhead, in which place the extensions of the bulkheads were glued into position.


1647801144658.jpeg1647801203592.jpeg
 
WOW
very good work - and interesting construction methods
The shaped upper bulkheads are looking very good.
Filling blocks between the bulkheads have a big advantage to get a complete surface for the planking ( I guess you will make only one final planking level) but has also the disadvantage of a big weight of the model, so not easy later on to handle.
What is approximately the actual weight of the hull? - do you see this also as a disadvantage ?
 
Herman - your hull is beautifully faired, and I look forward to watching your progress. Given the scale of the model, like Maarten, I am also curious to know what precautions you may be taking for humidity fluctuations and wood movement.
 
I seem to remember he had some issues with moisture in his building site.

During the beginning of my build I was working in my unheated garage where temperature and humidity are at an other level than indoors. As the base for the hull was completed and the most mess was behind me I took her inside to continue. At that time I came in the ideal situation to have a spare room, as two of my children had moved out.

I had initially not given it enough thought :confused: but I was then in the (foreseeable) situation that wood does what wood does. The blocks shrank off course more than the plywood bulkheads what I noticed as the bulkheads protruded just a bit from the rest of the hull. The build (and myself) were frustrated by this and the only sensible thing to do was leave it for some time to get acclimatized.

I left it for rather a long time, after which I brought the hull back in shape again and continued.

Further building process will only take place indoors with a more or less constant temperature/humidity. I hope this will in itself be enough to prevent large issues.
On top of that the inside of the hull (photo's later in the build log) will be totally covered by a coating of paint and the outside will off course be covered by glue/planking. I hope this will be sufficient.
Oh, okay, I see this response now.
 
WOW
very good work - and interesting construction methods
The shaped upper bulkheads are looking very good.
Filling blocks between the bulkheads have a big advantage to get a complete surface for the planking ( I guess you will make only one final planking level) but has also the disadvantage of a big weight of the model, so not easy later on to handle.
What is approximately the actual weight of the hull? - do you see this also as a disadvantage ?
Hello Uwek

Yes, with this more or less solid hull one final planking level must be sufficient.
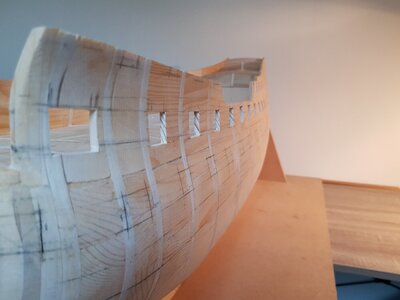
The weight of the hull is 6,5 kilos (actually first time I checked the weight). I don't see it as a disadvantage at this moment. She could take a proverbial and physical beating and during planking it will give a solid base. Later however, when finer parts are added, extra care will have to be taken handling the model.
 
Last edited:
Hello Herman, Your construction system is similar to the one that many Eastern model makers adapt, why do you use this system? Thank you
Hi Frank.
I had been looking around in several forums and was honestly surprised by the amount of building methods that are applied. If asked (as a beginner), I would have been advised to start with gradually more demanding kits. But I had chosen to build the 7 Provinciën for a special reason (see the opening message).
If there had been a kit for this ship on the scale I am building that might have been my choice, but as there is no such kit I was looking around for a build log/method that was in my eyes more or less executable. And I found a build log that covered and the ship of my choice and a building method that looked to me as feasible (the start anyway).
Atop of that this method does not require special tools initially. I bought some plywood and a large metal ruler and started. Bulkheads were sawn out by a jigsaw. In a later stage I can gradually purchase necessary tools. So, in the course of this build, I will get better equipped and more experienced. Mistakes will be made, all a learning experience, fall and rise.
Hello (Naples) Herman, Thank you for answering me, I really appreciate your way of interpreting your experiences, from mistakes you have a wealth of positive experiences, Good wind
 
I downloaded the Otte Blom plans, but the pdfs are locked against printing... How did you obtain printable copies?
Hi Jwallk, I downloaded all the plans, I converted them to PDF, now they are printable, be careful not to publish them which are protected
 
Last edited:
Hi Jwallk, I downloaded all the plans, I converted them to PDF, now they are printable, be careful not to publish them which are protected
Hmmmm, the ones that I downloaded were already in pdf... Maybe they were in a different format before
 
Hmmmm, the ones that I downloaded were already in pdf... Maybe they were in a different format before
There are online tools where you can delet the security. Just upload the pdf to their site and download the free pdf.
For example this Dutch site.
You can also search in Google " unlock security pdf "

Or https://www.google.com/search?q=unl...ABeACAAQCIAQCSAQCYAQDIAQrAAQE&sclient=gws-wiz
 
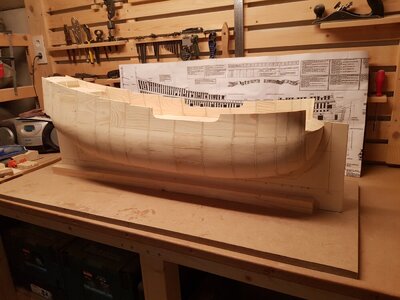
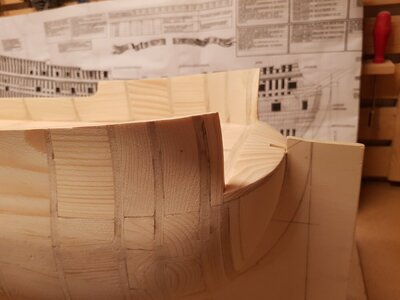
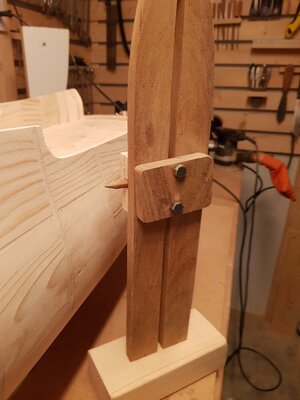
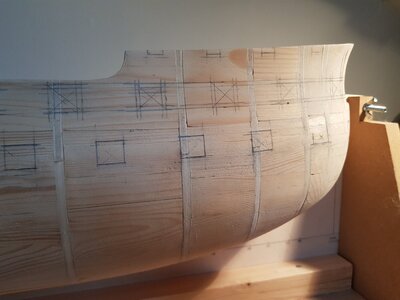
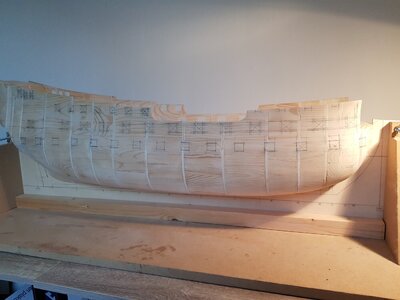
After stabilizing the model I made simple auxiliary tools to draw horizontal and vertical lines on the model making it easier to determine the location of the gunports. Lines were drawn, location of gunports determined and transferred on the model.
BTW I drilled a couple of miniature holes in the lower corners of transferred location of the gunports to check the correct height of the future gunports above the deck. Initial transferred locations were not photographed at the time.

At this point the model was a couple of weeks indoors and as I described before (message #21) temperature/humidity took its toll as I felt that the bulkheads protruded a bit I had to let the model acclimatize for rather a long time, just to be sure.

After that period I brought the hull in shape again. As the hull was sanded again the whole process of transferring the location of the gunports was redone.


1647975655811.jpeg

1647975734584.jpeg
 
Back
Top