Endeavour by Occre 1:54 [COMPLETED BUILD]

Joined
Jun 13, 2022
Messages
234
Points
143

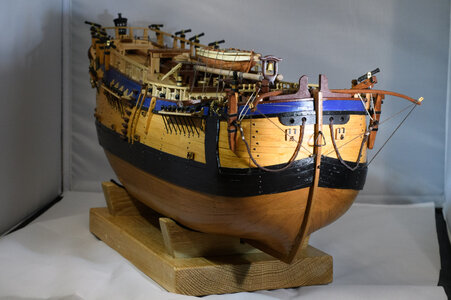
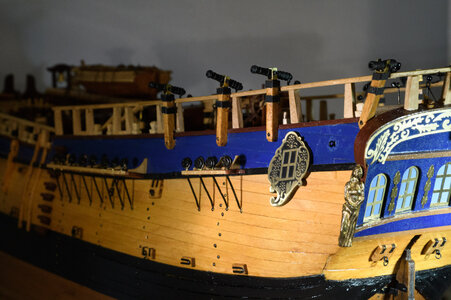
Hi all, as a newbie to this group, following my introduction comments a few folk requested that I post a build log for the Endeavour by Occre. The Endeavour is a 1:54 scale model of Captain Cook's ship, model length 815mm, height 680mm and width 300mm. I bought the kit from Cornwall Model Boats in the UK. I was looking for a more demanding and detailed model compared to my first efforts on HMS President and Endeavour looked to be an attractive option. The model parts are well packaged and I must admit at first glance looked to be a daunting yet challenging build. I started this build in January 2021 and I have just completed the hull with all fittings etc. and will post further stages of the build over the next few weeks. I am now starting the masts and rigging.

Unboxing
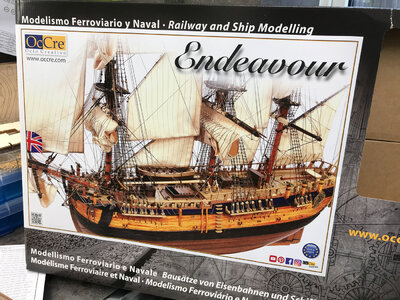
klyall_endeavour_2.jpg
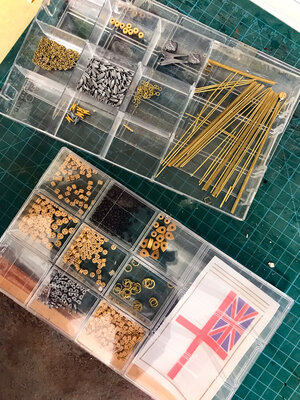
The model is laser cut and appears to my novice level at least to be good quality. Predominantly wood, it is accompanied by brass and metal fittings. The fittings are nicely packaged in plastic storage containers with lids rather than in bags or premoulded plastic/card containers, and the wood strips etc. are grouped by elastic bands. The model also comes with sails although I am not sure at this stage whether I will add those to the model or not. A paint set can also be bought for the kit although additional stains & lacquers need to be purchased.

Apologies that I don't have the full unboxing images as I had already started the build before joining SOS.
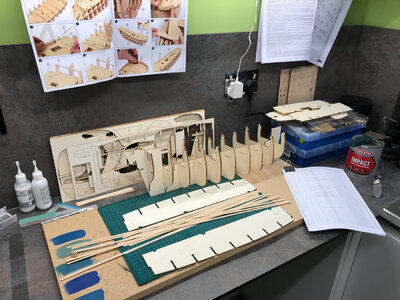
klyall_endeavour_1.jpgklyall_endeavour_8.jpg

Documentation
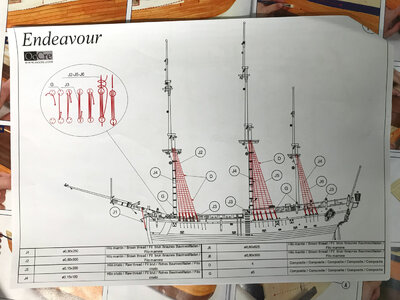
There is a number of documents provided to support the build. There is a well laid out picture by picture booklet detailing each part of the build. For the main hull, the detail is excellent and on the whole very easy to follow. For the rigging there are a few outline pictures but the 1:1 scale plans are required to more fully understand the mast, spars and rigging detail.
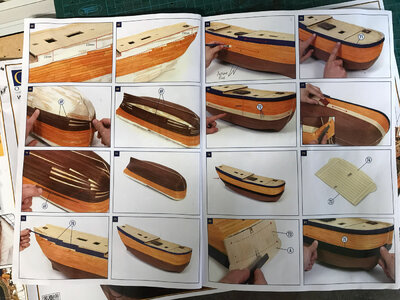
klyall_endeavour_3.jpg
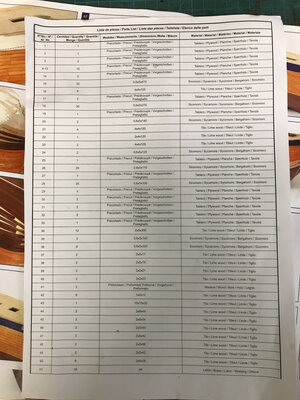
There are associated Assembly Instructions in a number of languages but I found those to be of limited use particularly as the Picture Booklet is self explanatory. The Parts List is used in association with the Picture Booklet to identify specific parts, sizes of wood etc.
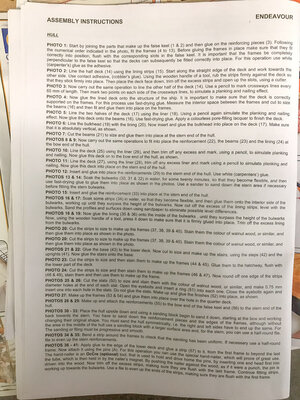
Assembly Instructions klyall_endeavour_4.jpg
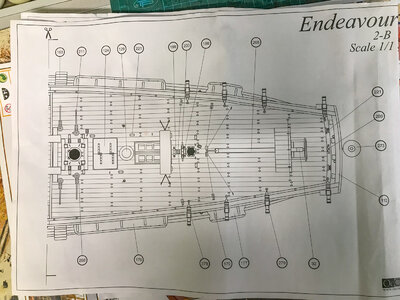
There is a 1:1 scale plan providing different elevation views which is useful specific for detail and positioning of the various deck fittings. Finally there is a set of rigging diagrams.
klyall_endeavour_6.jpgklyall_endeavour_7.jpg

Omission - Display Stand
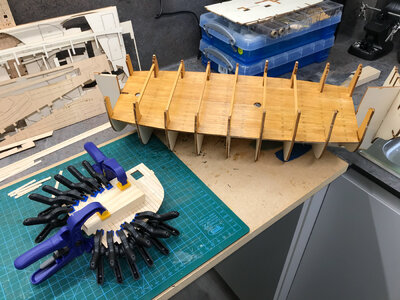
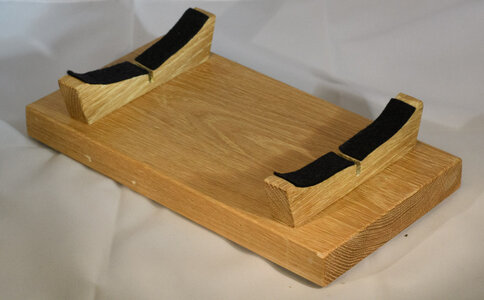
The one omission that I did find was the lack of a display stand. On the President there was a very basic stand and even if Occre did include a stand I suspect it would have been similarly basic and not in keeping with the larger model. As such I used American Oak to create a stand. I used the rejected wood that held the skeleton of the ship to provide a template for the supports adding a few mm to take into account the thickness added by the twin layers of hull wood. I treated the stand with furniture wax and applied some black felt to protect the hull. This stand has been useful during the build phase to support the model.
klyall_endeavour_10.jpg
 
Hull Frame
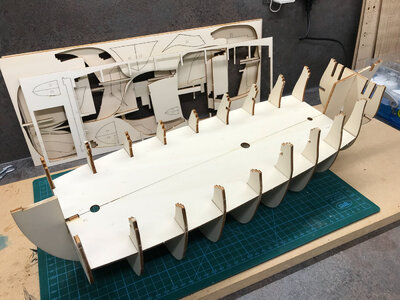
The keel section comes in 2 parts that need to be joined and then the bulkheads slotted into place. Fitting is satisfying accurate and tight. I dry laid the lower deck panels to ensure that the bulkheads were correctly located and aligned.
klyall_endeavour_10.jpg

Decks
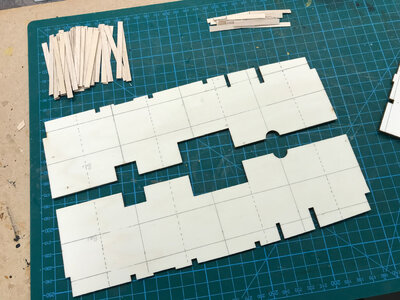
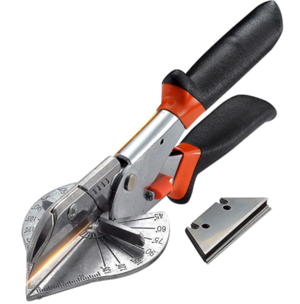
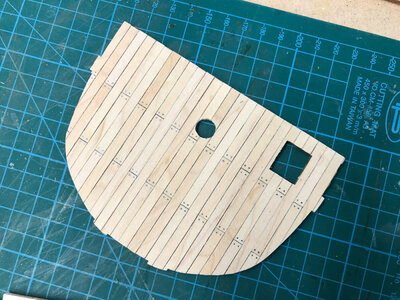
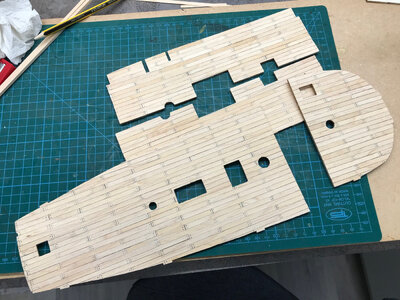
To provide a planking effect I cut lime strips to a scale length using a cutter (purchased from Amazon) and made a jig to speed up the cutting process. I marked the deck templates with lines to help with plank alignment. Using a lead pencil I ran it along the edge of each plank (I grouped a few together each time to speed up the process) which looks like caulking.
klyall_endeavour_12.jpgScreenshot 2022-08-08 at 12.10.31.png
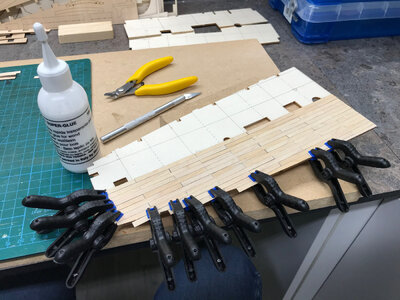
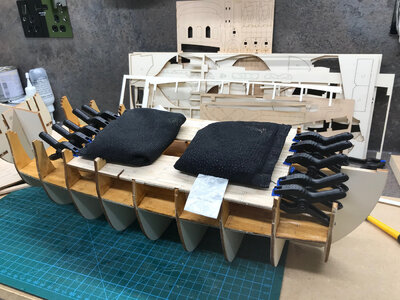
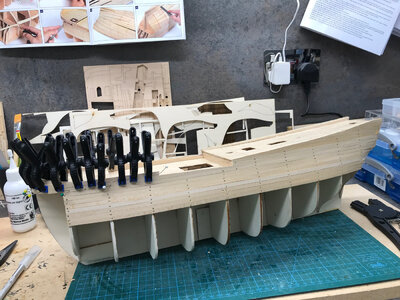
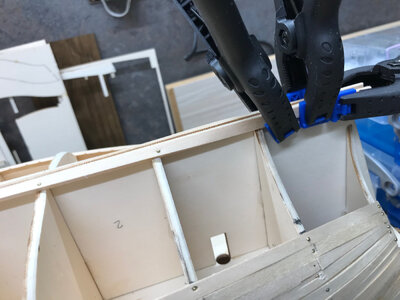
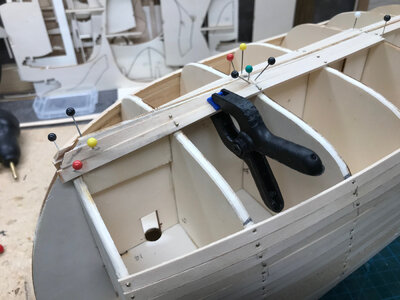
Instructions suggested the use of contact adhesive but I preferred wood glue as that gave me the ability to make adjustments in position. A small set of clamps held the panels in place as the glue dried. Where clamps had limited reach I used a small block of wood to hold down the panels as in the 2nd image below. I used a lead pencil to add dots to simulate nails. I fully planked over all deck openings and then cut those away at the end.

I was unsure about the colour of the deck and on the lower deck stained a pine colour as seen below. However in my opinion this looked awful and I then resorted to several coats of clear lacquer on the other decks. I would be interested to know what other do with regard to staining/painting hulls and decks. Fortunately the lower deck is hidden although the plans do suggest planking for some bizarre reason, but was good practice.

klyall_endeavour_15.jpgklyall_endeavour_11.jpgklyall_endeavour_13.jpgklyall_endeavour_16.jpg

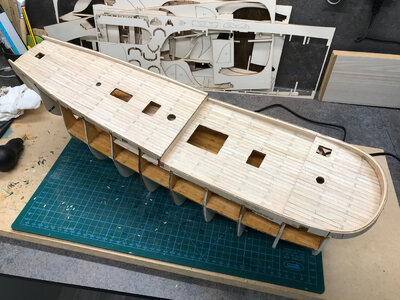
The completed deck panels were then glued to the bulkheads, certainly an unusual use for my scuba diving lead shot bags.
klyall_endeavour_17.jpg
Main decks completed
klyall_endeavour_18.jpg
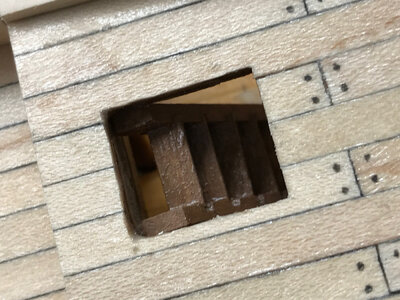
Closeup of forward hatch showing the caulking and nail effect.
klyall_endeavour_19.jpg
 
Last edited:
Hull Construction (First Layer)
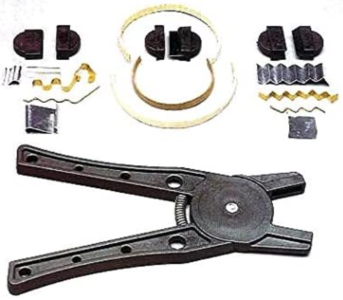
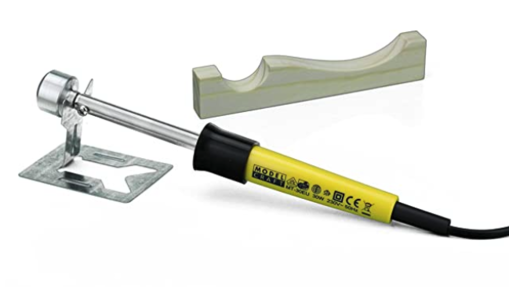
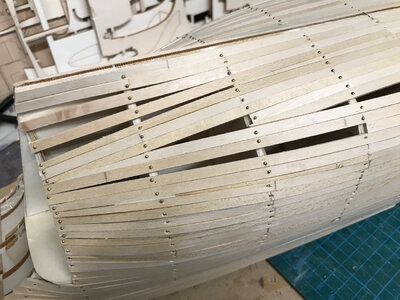
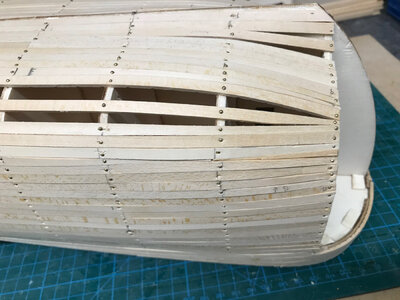
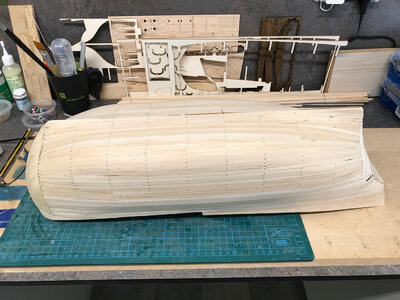
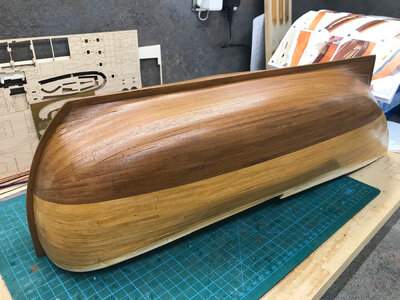
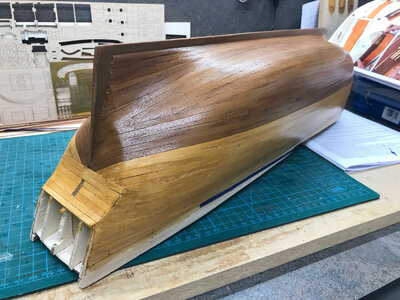
The Endeavour is a double skinned model with a 2mm lime base layer followed by a second plank layer to provide the finish. I used a combination of a heated plank bender (after soaking the wood for 20 minutes) for more complex curves, and a manual plank bender for simple curves.
Screenshot 2022-08-08 at 13.58.51.pngScreenshot 2022-08-08 at 13.57.41.png
The lime strips were attached to the bulkheads using pins and wood glue.
klyall_endeavour_10.jpgklyall_endeavour_12.jpgklyall_endeavour_13.jpgklyall_endeavour_14.jpgklyall_endeavour_11.jpgklyall_endeavour_15.jpg

Bluff Bow
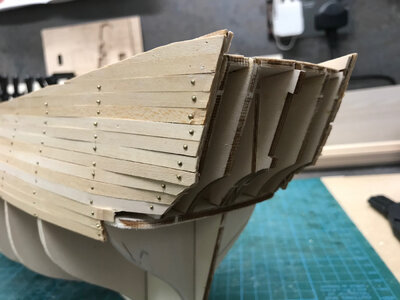
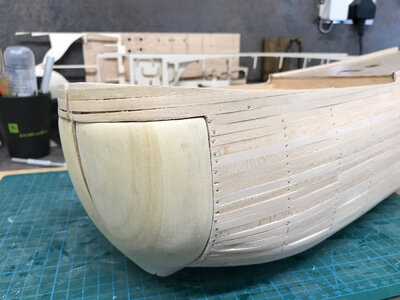
The Endeavour has a bluff bow. The model provided 2 block of wood which required to be shaped. I screwed a block of wood into the back of each bow block so I could clamp the block as I chiselled and shaped the bow blocks. This required a lot of shaping, dry fitting, further shaping and sanding etc. until the desired shape was achieved. I used a small hammer and punch to countersink the pins followed by sanding the hull. I was not overly particular with regard to the first layer of planking and used filler where I had not achieved a good joint. More time would be spent on the 2nd layer although those planks were much thinner and easier to work with.

klyall_endeavour_16.jpg

klyall_endeavour_18.jpg

Deck Fittings
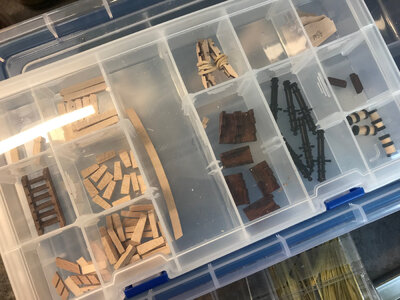
Progressing the hull after a while did get a bit tedious so I started to work on some of the deck fixtures and fittings to break the monotony. I kept a separate box of completed parts which would be attached at a later phase of the build.
klyall_endeavour_19.jpg
 
Hull Construction (2nd Layer)
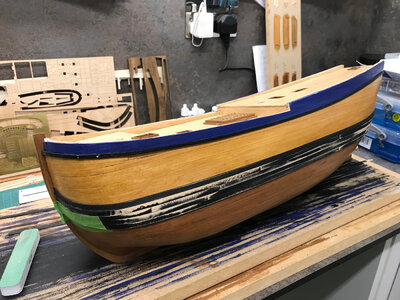
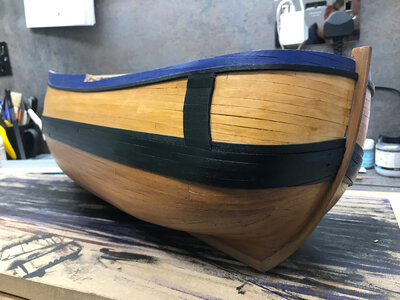
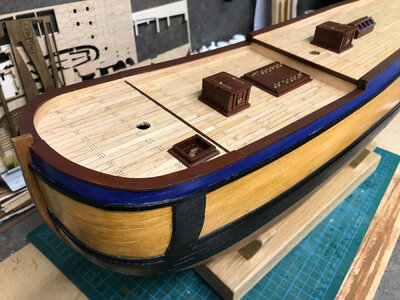
The 2nd layer of the hull was applied as 0.6mm thick lime wood and 0.6mm sapelli. To avoid pin holes in the finish, I used frog tape (masking tape) to hold planks in place until the glue dried. This resulted in a longer build as I was limited in the number of planks I could apply at any time but there was no rush. I took more care on this layer to ensure closer joints and a better finish. Once sanded I treated the hull with a couple of coats of pine coloured varnish. Still not fully got to grips with planking on the bow and on the first image there is a bit of a bodge on the dark brown layer near the bow, but still pleased with the overall result.
klyall_endeavour_18.jpgklyall_endeavour_19.jpg
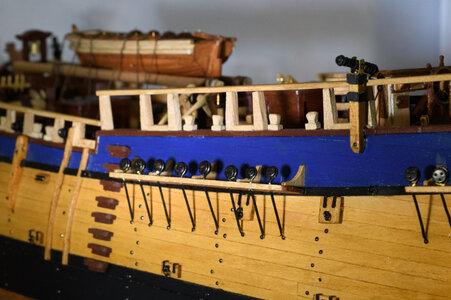
Additional planking was applied to the top of the hull (blue) and thicker lime planking was applied to the waterline (black). You can see the use of green frog tape This was sanded back and painted black.
klyall_endeavour_20.jpgklyall_endeavour_21.jpg
Hatches were attached to complete the basic hull.
klyall_endeavour_22.jpgklyall_endeavour_23.jpg
 
Stern
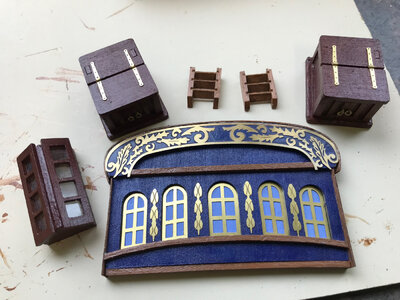
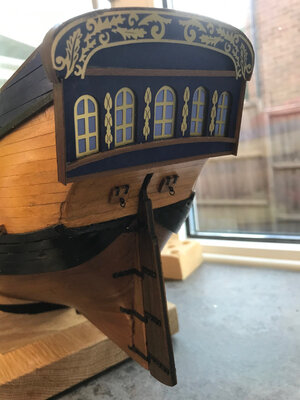
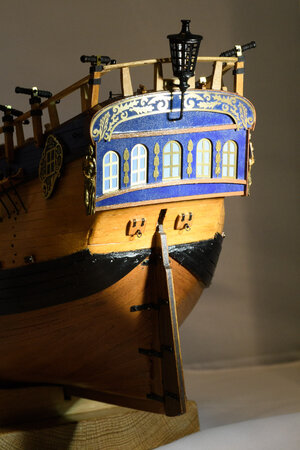
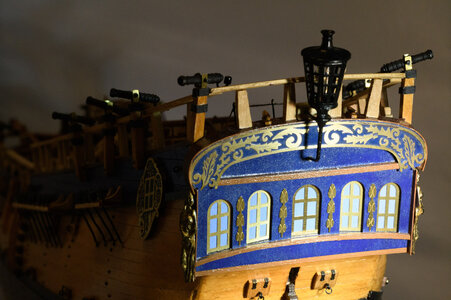
The stern cabin windows are a mixture of pre cut timber shapes and brass.
klyall_endeavour_18.jpgklyall_endeavour_23.jpg
klyall_endeavour_30.jpg
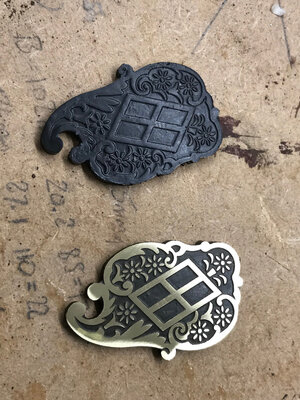
To achieve the colouring on there brass I painted the brass pre-formed item completely with black acrylic paint as in the top of the right image above. I then used a 600 grit sand paper pad to gently rub across the entire plate rubbing away the paint on the highest surfaces. Similar approach was applied to the decoration at the top of the cabin windows.

Deck Fittings
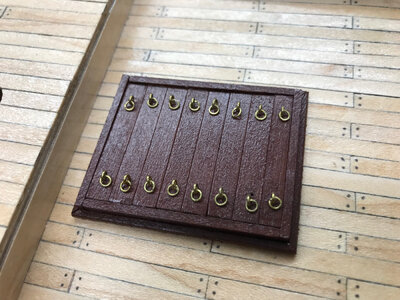
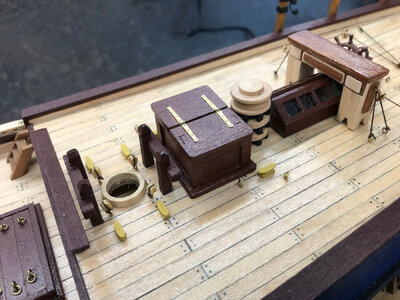
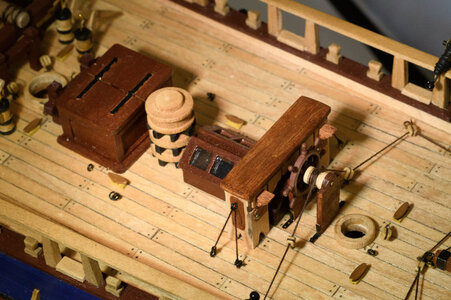
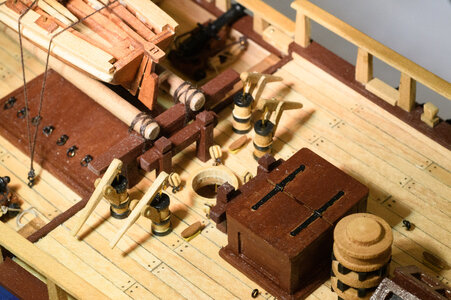
Deck fittings were applied. Not totally happy with the brown colour but too late was the cry. In future I would tend towards some sort of lighter stain rather than using the acrylic paints. These were painted before joining this forum and I suspect there are articles relating to painting and staining.
klyall_endeavour_19.jpgklyall_endeavour_20.jpgklyall_endeavour_21.jpgklyall_endeavour_22.jpg
klyall_endeavour_3.jpg
I tend not to always fully follow instructions. There are railings that run along the length of the ship but I decided to leave these until later in the build as they looked like they could be easily bumped. That did prove to be the case so this change of order was justified.

Launch and Cannons
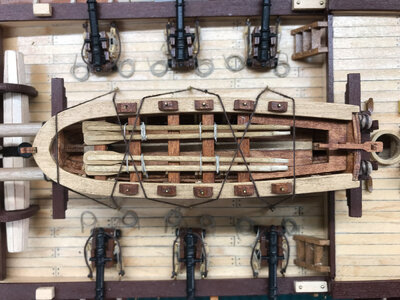
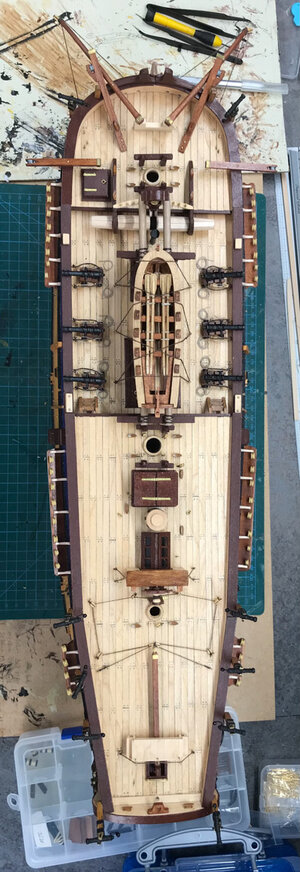
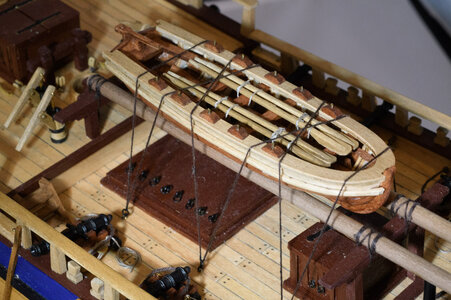
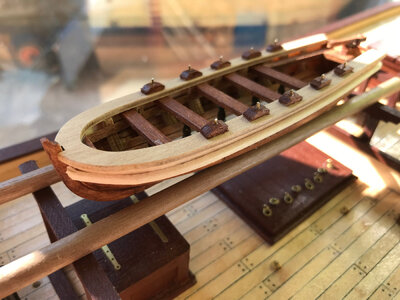
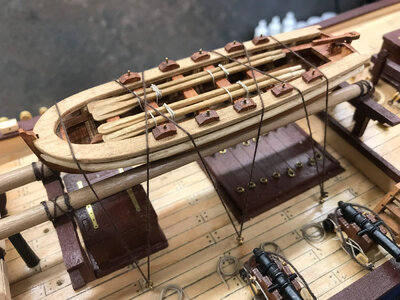
The launch was an interesting little sub project. It is a hull build albeit in miniature. I built the basic launch as per the instructions and around this time discovered SOS.
klyall_endeavour_7.jpg
I came across the work of Luigisoft on SOS who was asking a question about rigging and he posted an image that inspired me in a number of ways:
1) Review colours
2) Add more detail e.g. add oars
This resulted in a much improved result.
klyall_endeavour_6.jpgklyall_endeavour_4.jpg
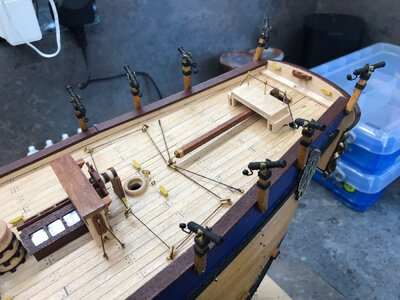
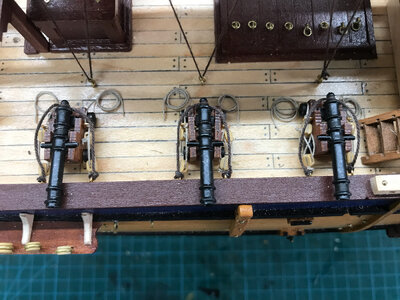
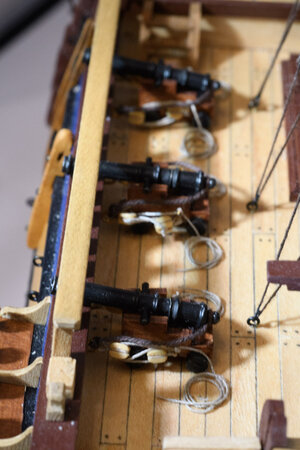
I added blocks and "rope" to the cannon which were not in the plan.
klyall_endeavour_5.jpg

Bow
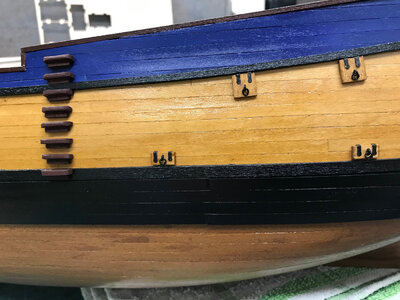
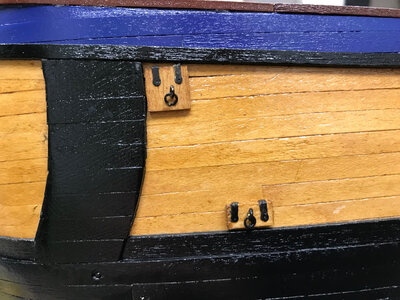
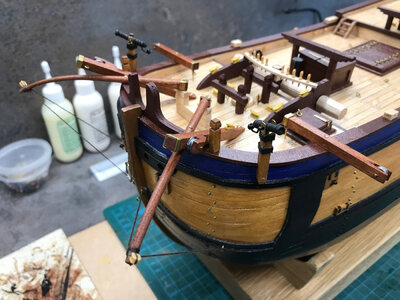
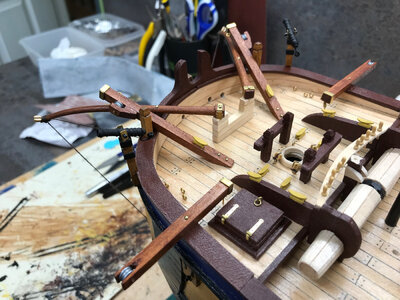
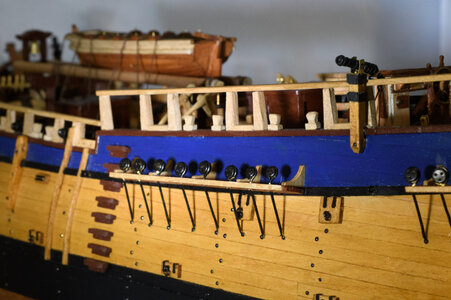
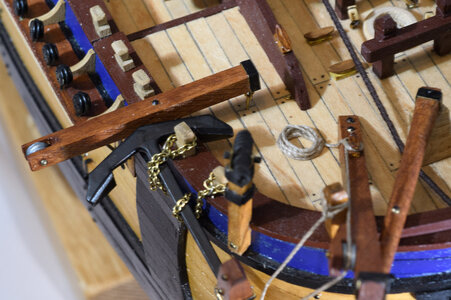
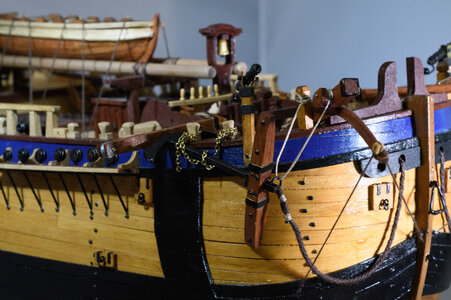
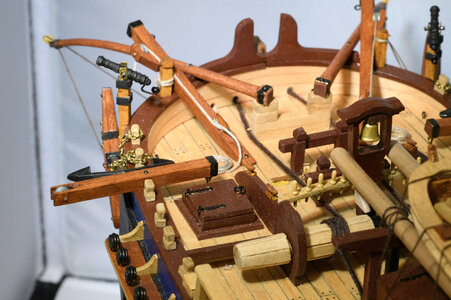
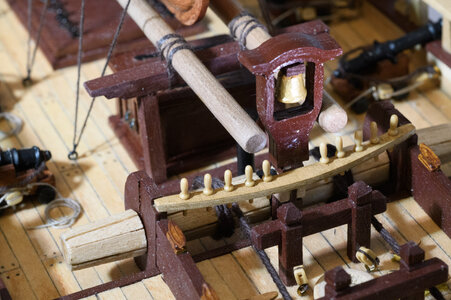
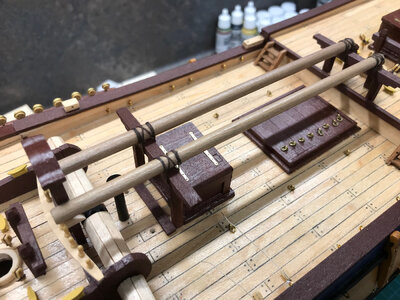
Additional fittings were constructed and added. Although the brass finished looked attractive I also painted all brass fittings (hinges, handles etc.) to be black as that would seem to be more in keeping with an ocean going vessel. This black painting is not shown in these images. Also the yellow rope stays were repainted brown as the yellow did not look correct.
klyall_endeavour_2.jpgklyall_endeavour_1.jpg
 
Stern
The stern cabin windows are a mixture of pre cut timber shapes and brass.
View attachment 322468View attachment 322473
View attachment 322489
To achieve the colouring on there brass I painted the brass pre-formed item completely with black acrylic paint as in the top of the right image above. I then used a 600 grit sand paper pad to gently rub across the entire plate rubbing away the paint on the highest surfaces. Similar approach was applied to the decoration at the top of the cabin windows.

Deck Fittings
Deck fittings were applied. Not totally happy with the brown colour but too late was the cry. In future I would tend towards some sort of lighter stain rather than using the acrylic paints. These were painted before joining this forum and I suspect there are articles relating to painting and staining.
View attachment 322469View attachment 322470View attachment 322471View attachment 322472
View attachment 322478
I tend not to always fully follow instructions. There are railings that run along the length of the ship but I decided to leave these until later in the build as they looked like they could be easily bumped. That did prove to be the case so this change of order was justified.

Launch and Cannons
The launch was an interesting little sub project. It is a hull build albeit in miniature. I built the basic launch as per the instructions and around this time discovered SOS.
View attachment 322484
I came across the work of Luigisoft on SOS who was asking a question about rigging and he posted an image that inspired me in a number of ways:
1) Review colours
2) Add more detail e.g. add oars
This resulted in a much improved result.
View attachment 322476View attachment 322479
I added blocks and "rope" to the cannon which were not in the plan.
View attachment 322481

Bow
Additional fittings were constructed and added. Although the brass finished looked attractive I also painted all brass fittings (hinges, handles etc.) to be black as that would seem to be more in keeping with an ocean going vessel. This black painting is not shown in these images. Also the yellow rope stays were repainted brown as the yellow did not look correct.
View attachment 322477View attachment 322475
Good evening Keith. Well done on a well presented build log. A good all round rendition of the Endeavour, nice. Cheers Grant
 
Deadeyes
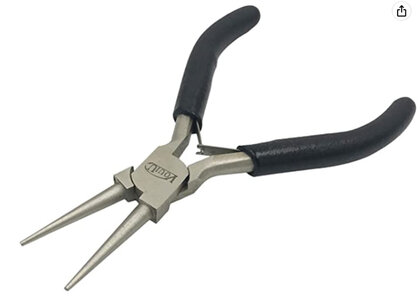
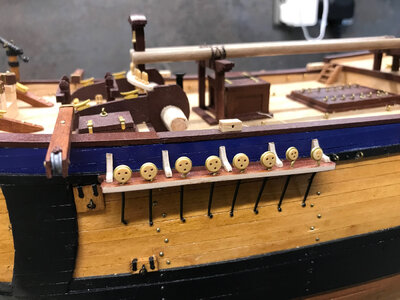
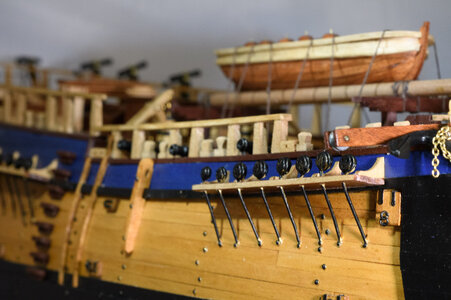
The deadeyes are attached using brass wire. The model comes with lengths of wire so it is necessary to shape the wire. I initially tried wrapping round a dowel but that was fiddly. A pair of cheap round nosed pliers proved to be ideal, definitely having the right tool for the job paid off.

klyall_endeavour_2.jpgklyall_endeavour_1.jpg

Railings
The final job on the hull was to create and attach the railings.
klyall_endeavour_3.jpgklyall_endeavour_4.jpg
 
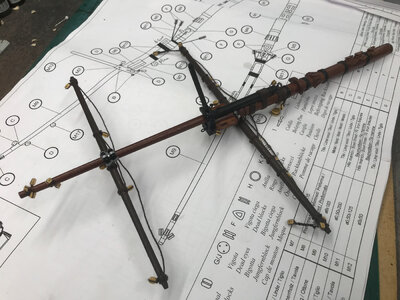
Bowsprit
The bowsprit detail is mainly from the 1:1 plans although the Build Booklet does contain a few pages. The list/number of parts such as pulleys is incorrect in the table on the plan hence you need to count yourself.

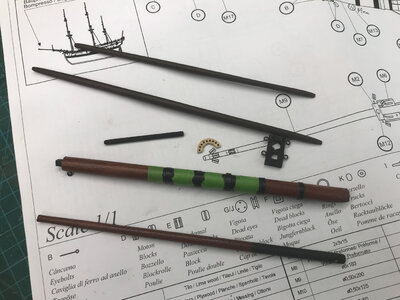
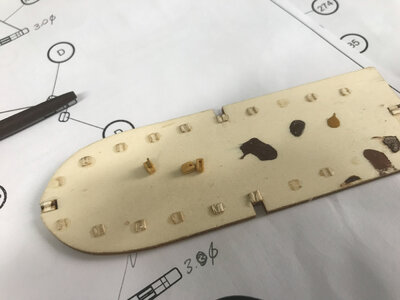
There are brass rings (painted black in the image below). These proved to be tricky to bend. The round nose pliers used for the deadeyes were too small and I resulted to bending around some dowel to get a basic curve and then used the round nose pliers and make smaller as the brass was more like a spring and did not hold its tighter shape.

klyall_endeavourbowsprit_20.jpg

For threading the pulleys, I punched a pin through a piece of scrap wood and I could then place the eye of the pulley on the pin. This made typing the thread around the pull block significantly easier as per the close up in the 2nd diagram.
klyall_endeavourbowsprit_21.jpgklyall_endeavourbowsprit_24.jpg

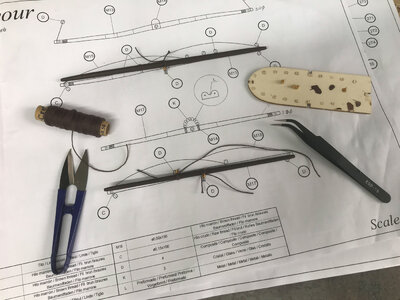
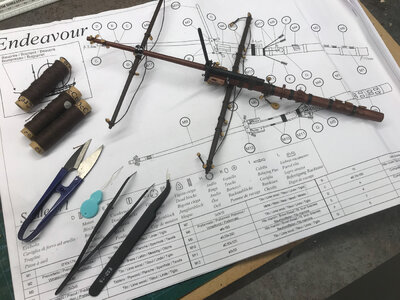
I have found the following tools to be of particular use when working with the thread:
1. Pair of tweezers with 45 degree points which are great for tying knots
2. Needle threader (light blue tool) for pulling thread through eyelets and other small holes
3. Bonzai tree snippers which give a very clean and precise cut

klyall_endeavourbowsprit_22.jpg
klyall_endeavourbowsprit_23.jpg
 
I built the Airfix version of Endeavour a couple of yrs. ago. It's very similar to this, but, like most plastic models, not as realistic. What a wonderful job you have done! This is MAGNIFICENT!! Rick 1011
 
Thank you all for the positive feedback … I’ll continue my posts as i progress the masts and rigging.
Thrilled with your effort, and quality, will be watching out for your rigging and sails videos. Question, threading the shrouds through the cats eyes after they were in position, and glued? Any clues about getting the needle through the tiny holes? dnettleton@outlook.com
 
Back
Top