-

Win a Free Custom Engraved Brass Coin!!!
As a way to introduce our brass coins to the community, we will raffle off a free coin during the month of August. Follow link ABOVE for instructions for entering.
-

PRE-ORDER SHIPS IN SCALE TODAY!
The beloved Ships in Scale Magazine is back and charting a new course for 2026!
Discover new skills, new techniques, and new inspirations in every issue.
NOTE THAT OUR FIRST ISSUE WILL BE JAN/FEB 2026
You are using an out of date browser. It may not display this or other websites correctly.
You should upgrade or use an alternative browser.
You should upgrade or use an alternative browser.
Some progress over the last few days and reached the end of instruction sheet F. That is fixed and painted the bulwark sand the upper deck side panels.
Thanks to JeffT and his build log (post #66) I was able to anticipate the need for 2 shorter bulwark posts to accommodate extended fore pin rails. These will take the jib sheets rather than attaching them to the shrouds which, as Jeff says, is not good.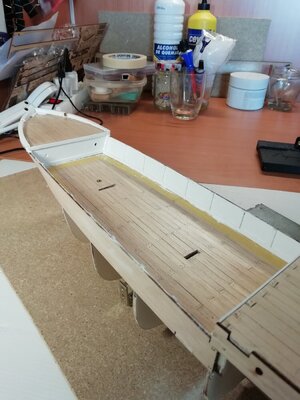
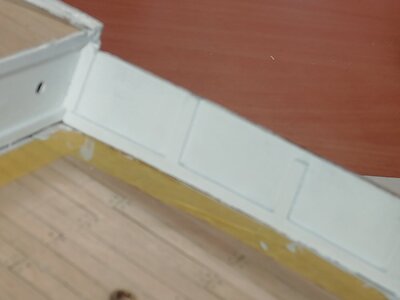
Thanks to JeffT and his build log (post #66) I was able to anticipate the need for 2 shorter bulwark posts to accommodate extended fore pin rails. These will take the jib sheets rather than attaching them to the shrouds which, as Jeff says, is not good.


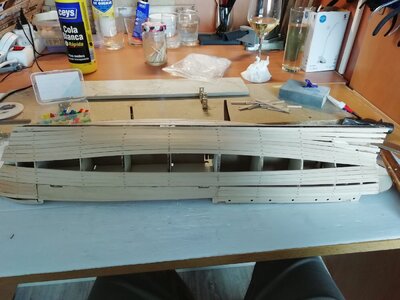
Good luck! Planking is largely a self taught process, and it gets easier as you build more models.Now to start the hull planking!
Never done this properly before. This time...
Soaking the first few planks as I write. Wish me luck
I warmed up by doing the 4 boats first. Not quite the planking job of the ship, but got me back into it.Now to start the hull planking!
Never done this properly before. This time...
Soaking the first few planks as I write. Wish me luck
Now done planking! At the end of instruction sheet H. 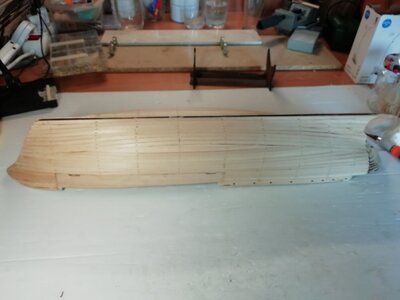
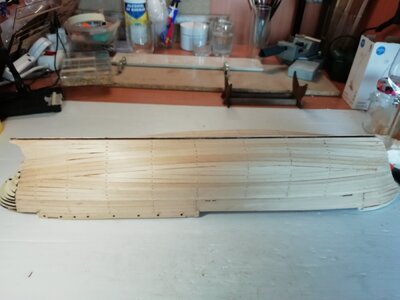
I nailed the planks, clamping and map pins didn't work too well for me. I tried setting a few early nails with a punch which set them nicely below the surface. Hopefully that will work with them all, so that is the next job before starting the shaping and sanding. That will be an outside job on orders from my lady, so I'll wait until the sun is off the terrace as currently we have 34° with a real-feel of 40.


I nailed the planks, clamping and map pins didn't work too well for me. I tried setting a few early nails with a punch which set them nicely below the surface. Hopefully that will work with them all, so that is the next job before starting the shaping and sanding. That will be an outside job on orders from my lady, so I'll wait until the sun is off the terrace as currently we have 34° with a real-feel of 40.
I've progressed a bit more over the last week or so. 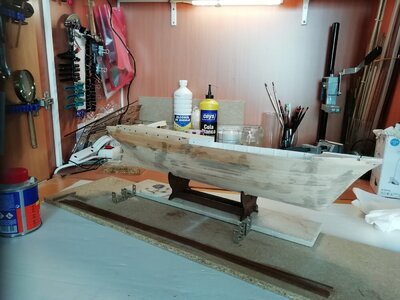
Planked, sanded, filler here and there and second layer planking completed.
Yesterday I did the false keel and other trim and am ready to do the final sanding of the hull and prepare for painting.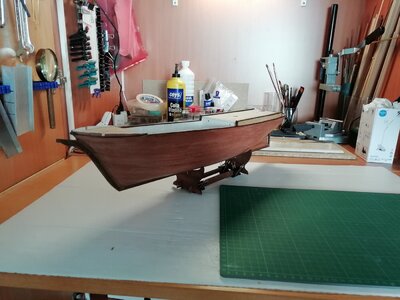
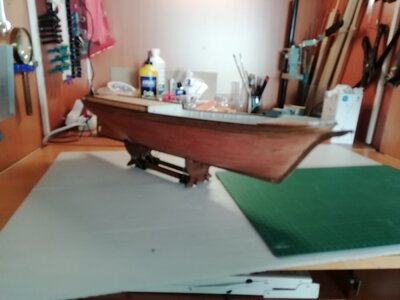
I'll be using the air brush extensively for the first time. Maybe I'll have to revert to brushing if I can't master the technique but we will see...

Planked, sanded, filler here and there and second layer planking completed.
Yesterday I did the false keel and other trim and am ready to do the final sanding of the hull and prepare for painting.


I'll be using the air brush extensively for the first time. Maybe I'll have to revert to brushing if I can't master the technique but we will see...
Fastest hull planking in history...
It is August, my town is full of tourists so my favourite bars and restaurants are all full. It's too hot to go out much so many hours each day to spend in my "Man cave"Fastest hull planking in history...
It is August, my town is full of tourists so my favourite bars and restaurants are all full. It's too hot to go out much so many hours each day to spend in my "Man caveFastest hull planking in history...
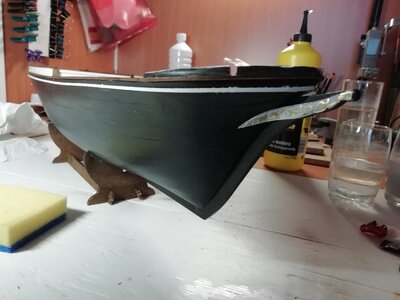
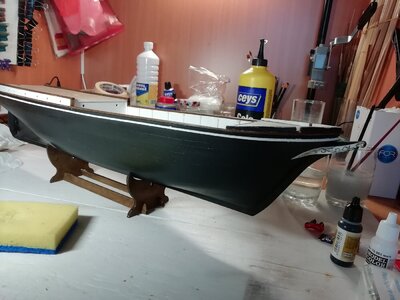
The airbrushing went OK, it took a while to get the technique right.
I put on four coats of dark brown as I have quite a stock of that colour on the shelf and even thought to listen to my lady who suggested it maybe a better colour finish than the planned black. We both agreed that black was in fact better so I gave it more of coats of matt black. I like matt finish but this was too flat so I finished it off with a coat of clear matt varnish which gave it a slight sheen which I like, as did my wife.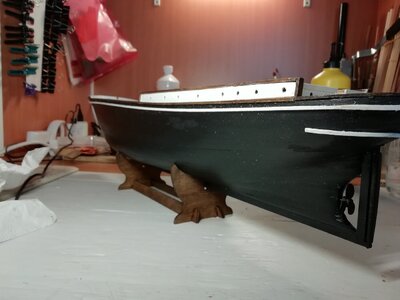
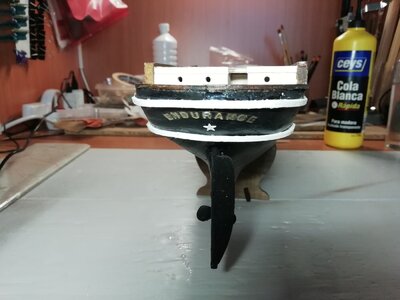
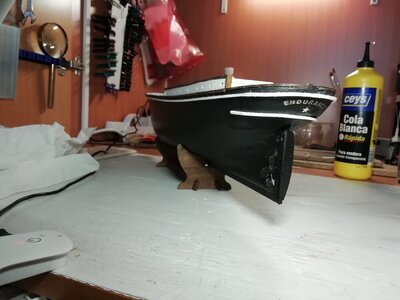
I spent hours fixing, removing and re-fixing the white stern rub rail. Every time I put pressure to set the glue it would ride up the slope of the stern. I finally solved it with couple of map pins to hold it in place.
 I had trouble finding brass black here in Spain (bruñidor de metal líquido) but found some on line. It was delivered Wednesday and I have been experimenting with dilution and duration so as not to end up with completely black parts as happened on my first try at full strength in about 5 seconds. Once I get that right I can fix the portholes and hawser ports and move on to instruction sheet M.
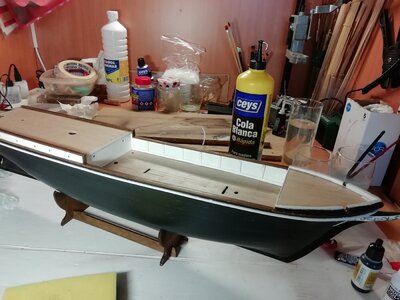
I put on four coats of dark brown as I have quite a stock of that colour on the shelf and even thought to listen to my lady who suggested it maybe a better colour finish than the planned black. We both agreed that black was in fact better so I gave it more of coats of matt black. I like matt finish but this was too flat so I finished it off with a coat of clear matt varnish which gave it a slight sheen which I like, as did my wife.

I spent hours fixing, removing and re-fixing the white stern rub rail. Every time I put pressure to set the glue it would ride up the slope of the stern. I finally solved it with couple of map pins to hold it in place.


 I had trouble finding brass black here in Spain (bruñidor de metal líquido) but found some on line. It was delivered Wednesday and I have been experimenting with dilution and duration so as not to end up with completely black parts as happened on my first try at full strength in about 5 seconds. Once I get that right I can fix the portholes and hawser ports and move on to instruction sheet M.

Nice looking paint.The airbrushing went OK, it took a while to get the technique right.
I put on four coats of dark brown as I have quite a stock of that colour on the shelf and even thought to listen to my lady who suggested it maybe a better colour finish than the planned black. We both agreed that black was in fact better so I gave it more of coats of matt black. I like matt finish but this was too flat so I finished it off with a coat of clear matt varnish which gave it a slight sheen which I like, as did my wife. View attachment 323445
I spent hours fixing, removing and re-fixing the white stern rub rail. Every time I put pressure to set the glue it would ride up the slope of the stern. I finally solved it with couple of map pins to hold it in place.
View attachment 323446View attachment 323447View attachment 323450I had trouble finding brass black here in Spain (bruñidor de metal líquido) but found some on line. It was delivered Wednesday and I have been experimenting with dilution and duration so as not to end up with completely black parts as happened on my first try at full strength in about 5 seconds. Once I get that right I can fix the portholes and hawser ports and move on to instruction sheet M.
View attachment 323448
View attachment 323449
Those stern pieces are perhaps the most difficult part of this build in my opinion.
I was half way through rigging the Candelaria before I hit on the idea of waxing the thread to make it easier to handle. Of course I found out later that it is standard practice, so standard in fact that no one mentions it much. At the back of a cupboard I found a laminate floor repair kit, containing different colour wax blocks and even a battery heat tool to set the wax if needed.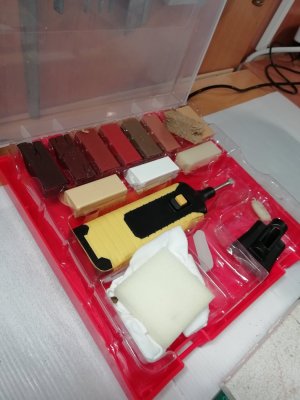
Now attaching deadeyes and blocks to the bulwarks of the Endurance I am using a great idea provided by my wife, who also provided the hair clips to hold the desde whilst tieing the thread around it.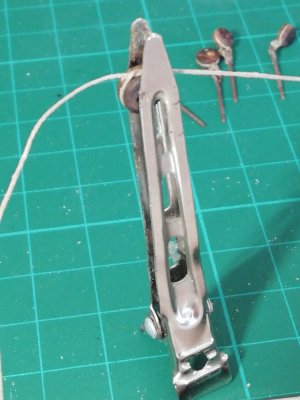
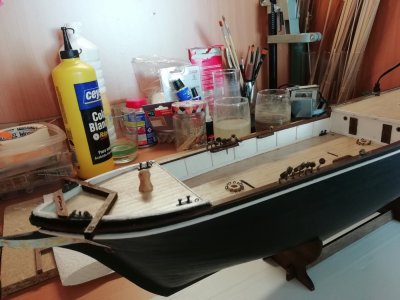
Moving on to instruction sheet "N"...

Now attaching deadeyes and blocks to the bulwarks of the Endurance I am using a great idea provided by my wife, who also provided the hair clips to hold the desde whilst tieing the thread around it.


Moving on to instruction sheet "N"...
I decided to take a leaf out of Bill Hine's book and plank the sides of the deck cabin. I used 0.6mm x 5 walnut to give a better grain effect and was quite pleased with the results. 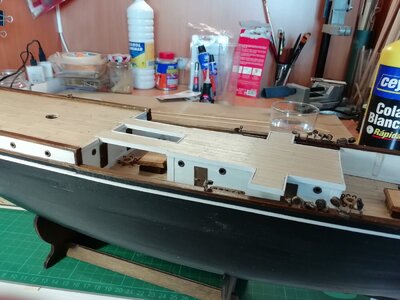
Other small changes I made were to mitre the extremal corners of the edging strips to overlap the deck planking on to the upper main deck.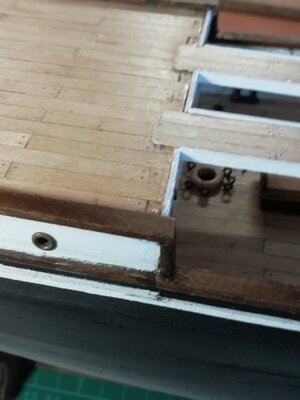
This covered some of the very short planks on the upper deck which were the result of my lack of planning when I cut the decking back at the start of the build. The walkways on the actual boat looked more like gangways anyway.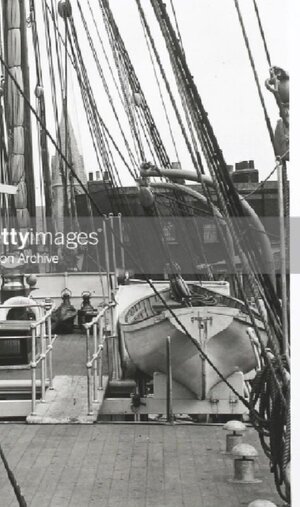

Other small changes I made were to mitre the extremal corners of the edging strips to overlap the deck planking on to the upper main deck.

This covered some of the very short planks on the upper deck which were the result of my lack of planning when I cut the decking back at the start of the build. The walkways on the actual boat looked more like gangways anyway.

Continuing with the deck fittings/furniture. Thanks to the member who showed us a way to help make up the ladders, sorry I can't remember where I saw it other that it was in a build log on this forum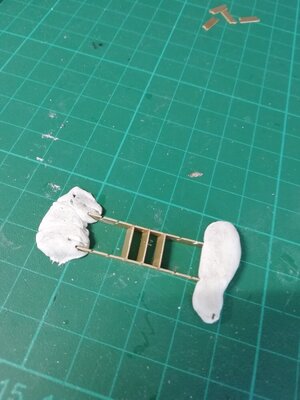
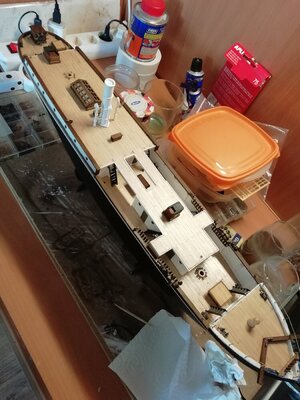
So now on to the vexed question of the deck rails...
Like many before me, i am not happy with the supplied stanchions and the idea of usung cotton thread for the "rails". It works OK for the bow rail which, according to old photos, was in fact quite small diameter rope, but for the rest they were clearly metal railing of at least 1.5" día.
So, what to do? I have zero soldering skills to be able to make my own stanchions so I have been searching the Internet. Anything I could find at a reasonable price (in Spain over 1€ each and I need 71!) was in the UK or USA and would involve huge delivery costs and import taxes (Brexit). Fortunately my wife is dutch and has a tenacious nature and found a company in Holland selling Billing Boats accessories. Their web site is only in Dutch and doesn't accept VISA but that presenta no barrier to my lady so I now have them on order for around 50 cents including delivery, to arrive here 21st.
In the meantime I have plenty to do...
Glad someone else tried out the blob of clay method of ladder construction!Continuing with the deck fittings/furniture. Thanks to the member who showed us a way to help make up the ladders, sorry I can't remember where I saw it other that it was in a build log on this forumView attachment 327558
View attachment 327559
So now on to the vexed question of the deck rails...
Like many before me, i am not happy with the supplied stanchions and the idea of usung cotton thread for the "rails". It works OK for the bow rail which, according to old photos, was in fact quite small diameter rope, but for the rest they were clearly metal railing of at least 1.5" día.
So, what to do? I have zero soldering skills to be able to make my own stanchions so I have been searching the Internet. Anything I could find at a reasonable price (in Spain over 1€ each and I need 71!) was in the UK or USA and would involve huge delivery costs and import taxes (Brexit). Fortunately my wife is dutch and has a tenacious nature and found a company in Holland selling Billing Boats accessories. Their web site is only in Dutch and doesn't accept VISA but that presenta no barrier to my lady so I now have them on order for around 50 cents including delivery, to arrive here 21st.
In the meantime I have plenty to do...
You ran into the same problem I did with the cost of stanchions. Glad you found a more reasonably priced source and I look forward to what they look like. I am still not very happy with the way mine turned out. I did make a solid brass rail at the back of the forecastle which I liked a lot better than using thread.




 !
!
