Endurance from Occre by Mallacoota

Top planking considerations.
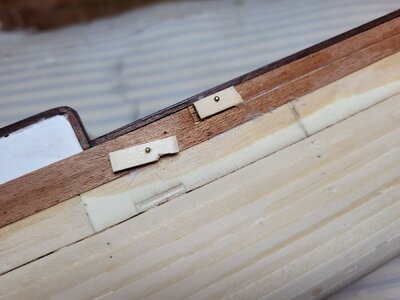
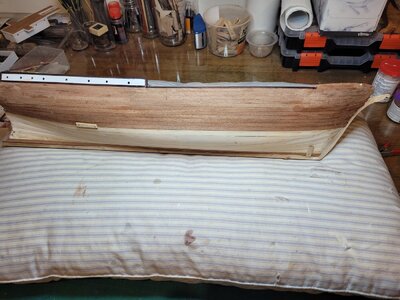
The instructions say use instant contact adhesive. In my humble opinion this is bad advice, it gives absolutely no opportunity for correction with instant permanent grab. If you reckon you can handle that...go for it, but not me. The top planks are so thin that they are very fragile, and they are very porous so CA wont grab them most of the time...I do sometimes use CA for this job adding it across and under the plank as I hold it in place but this wood soaks it up too quickly to grab.
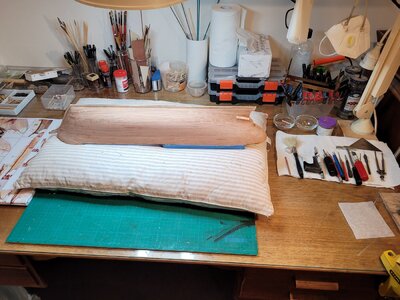
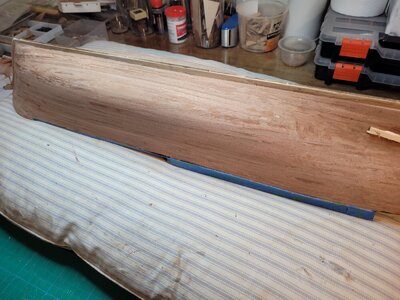
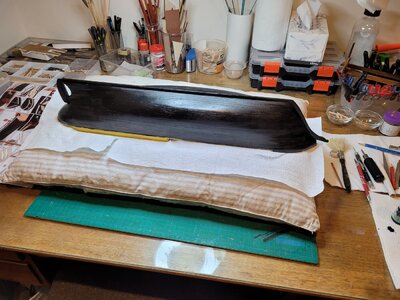
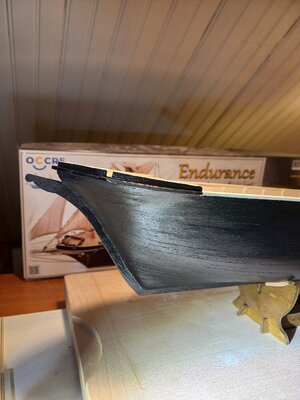
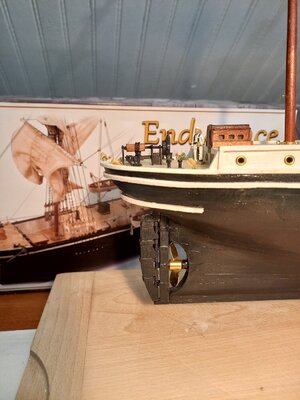
SO... I used PVA (again) this time pinning the planks with my pin pusher through a little offcut to hold it for 30 minutes while it grabs well enough to continue. It is working really well after taking a few planks to get the technique right but happy now. The pin holes are not a concern as the hull is painted black, I have dark filler but may not even be necessary.
I probably should have continued improving the finish of the first planking and painted it as I did with Fifie and others. That way you get a full ships worth of spare mahogany planking.
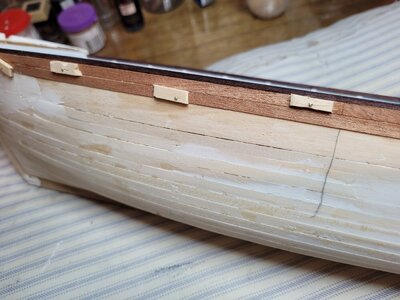
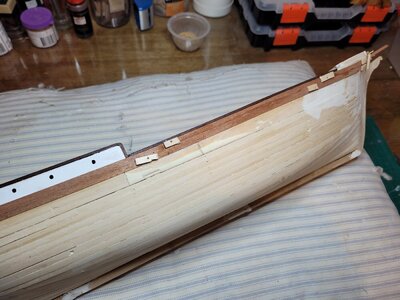
20230424_110621.jpg20230424_110558.jpg
 
Top planking considerations.
The instructions say use instant contact adhesive. In my humble opinion this is bad advice, it gives absolutely no opportunity for correction with instant permanent grab. If you reckon you can handle that...go for it, but not me. The top planks are so thin that they are very fragile, and they are very porous so CA wont grab them most of the time...I do sometimes use CA for this job adding it across and under the plank as I hold it in place but this wood soaks it up too quickly to grab.
SO... I used PVA (again) this time pinning the planks with my pin pusher through a little offcut to hold it for 30 minutes while it grabs well enough to continue. It is working really well after taking a few planks to get the technique right but happy now. The pin holes are not a concern as the hull is painted black, I have dark filler but may not even be necessary.
I probably should have continued improving the finish of the first planking and painted it as I did with Fifie and others. That way you get a full ships worth of spare mahogany planking.

View attachment 370851View attachment 370853
Good afternoon. The Occre veneer 2nd layer is very unforgiving. I have just finished my Cazador and while it goes on easily, it follows any bumps or even the slightest deviation of the first layer. There is very little room to correct after as the veneer is so thin. Double check your first layer is perfectly smooth. Sand and use wood filler if there are variations even the slightest .It could be the photos but I see one or two areas where you may have concern. The other area I had some challenges with is to make sure the PVA glue covers the whole plank especially the edges as once dry and you lightly sand it may lift. Just some thoughts from my first experience with Veneer planking. Good luck and enjoy. Cheers Grant
 
I'll be watching your progress closely. I've completed the first planking on my Endurance but won't get to the second for a couple of months as I finish another project. My first build by OcCre had this thin second veneer also and I too didn't like using CA. It often bled through. And sure, the black paint will cover a lot of the mistakes up, but future ships won't be painted. Might as well get it right now. Thanks for posting.
 
Planking going OK but I hate the whole veneer strategy. The 1st layer was excellent stock of 5 x 2 mm which could be worked easily .I should have finished it to painting standard and saved the mahogany top planking veneer for the future. Both the veneer and the deck planking are very thin at 0.5, and very fragile, and not milled smooth so very porous. Neither is good to work with. Good kits have deck planking and top planking at least 1mm thick in my limited experience.. However that said the pl;anking is progressing OK and black paint will cover a multitude of sins.

20230424_110603.jpg

20230426_180803.jpg
 
I often painted the first planking black so you don't see the white through cracks between veneer strips. It's hard to paint in the cracks after the veneer is applied. Even if you don't paint the wood, the black looks like caulking.
 
Planking is finished and went pretty well all considered. I probably would take back my criticism of the veneer top planking strategy..it worked pretty well in the end and when you get a proud section on a slightly ambitious curve it is easy to push some PVA under it and clamp it flat.


20230428_171110.jpg

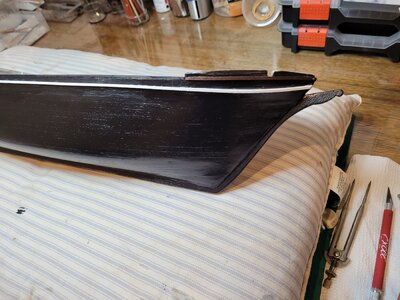
Still to be sanded final and then a first coat of black to show up all the usual horrible bits


20230428_171117.jpg
 
Can you see what I mean about painting the first layer of planks Black before laying on the second layer? That way white boards won’t show through the cracks between the veneer strips.
 
Can you see what I mean about painting the first layer of planks Black before laying on the second layer? That way white boards won’t show through the cracks between the veneer strips.
I love that idea. I'm going to try it on my Endurance when I get to that stage.
 
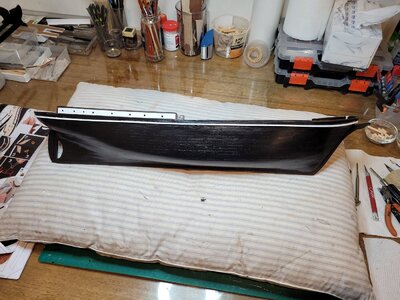
I am loving this black hull... painted with Admiralty Dull Black. So forgiving...CA drips..? no problem to paint over. Anything is easy after the epoxy wars of the Riva.
I am thinking about using brass nails on the just visible planks to get painted over but be visible... not sure. Still thinking about it. The planks are just nicely visible because I deliberately didnt use much filler with that in mind.

20230501_145403.jpg20230501_145356.jpg
 
I am loving this black hull... painted with Admiralty Dull Black. So forgiving...CA drips..? no problem to paint over. Anything is easy after the epoxy wars of the Riva.
I am thinking about using brass nails on the just visible planks to get painted over but be visible... not sure. Still thinking about it. The planks are just nicely visible because I deliberately didnt use much filler with that in mind.

View attachment 372213View attachment 372214
Bonjour Mallacoota,
At this scale (1/70) it not realistic to use brass nail and in fact not visible (see the picture). I think that you can spend your time to something else, may be the steering gear !

Very nice hull !

Endurance in white 5.jpg

02 avril 2023 (23).jpg

03 mars 2023 (8).jpg
 
Hey there is no provision for scuppers in this build...and that is silly , it would have had scuppers in the mid - deck area where the bulwarks are quite high. Has anyone else just made some in a sensible place..? Without scuppers in the midships area it would have been a rollover waiting to happen.
 
Hey there is no provision for scuppers in this build...and that is silly , it would have had scuppers in the mid - deck area where the bulwarks are quite high. Has anyone else just made some in a sensible place..? Without scuppers in the midships area it would have been a rollover waiting to happen.
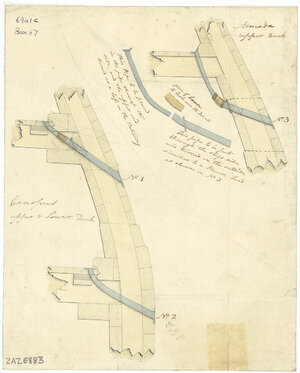
I have seen some pictures showing J shaped drains that cut through the wales just below the deck. I’m not sure if all the ships did that, but apparently some of the British ships did.
 
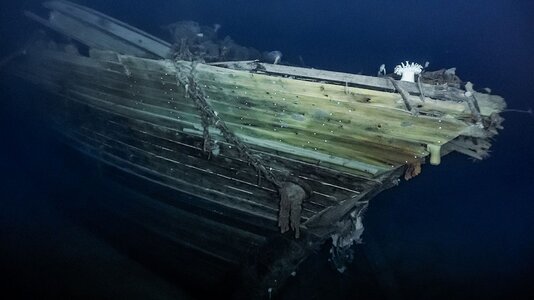
Bonjour Francois..yes I think you are right, but see this picture from 3000m down. The nails must have rusted to a reflecting surface. Your steering gear looks good.

View attachment 372245
Having painted your hull a beautiful black, I don't think nails will have added value (a very personal opinion, I know). I've seen both and while from up close and on macro pictures nails may look good, depending on the paint used, from normal viewing distance they are close to undiscernable.
 
Hey there is no provision for scuppers in this build...and that is silly , it would have had scuppers in the mid - deck area where the bulwarks are quite high. Has anyone else just made some in a sensible place..? Without scuppers in the midships area it would have been a rollover waiting to happen.
Bonjour,

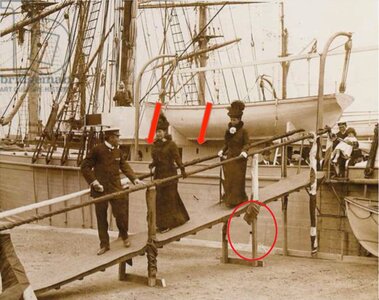
In the red circle you can see a hole to evacuate water. There is many inlet and outlet on a ship, it is up to you !

Endurance in white 6 drain.jpg
 
Back
Top