A very happy birthday Jeff.
You are using an out of date browser. It may not display this or other websites correctly.
You should upgrade or use an alternative browser.
You should upgrade or use an alternative browser.
Thank you.
Thank you.A very happy birthday Jeff.
Happy Birthday, Jeff!!! 

Thanks, Jim.Happy Birthday, Jeff!!!
Continuing with the first layer of planking. The planks included with the kit are square and evenly sized. This does help with the planking process. The planks in the last kit I build were not so consistent in size.
First plank laid according to the plans.
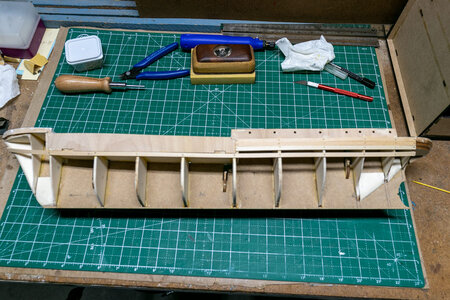
I decided to follow the OcCre suggestions and nail the planks in place along with Titebond glue. It certainly is easier than clamping each plank and waiting for the glue to dry. I laid the first 4 planks on both the sides within a day using this technique. Once I started on the lower part of the hull, I decided to go back to not nailing and only gluing and clamping. It turns out I just don't like the requirement to file off nail heads or pull nails. In my case I set the nails too deeply, so my only option is to file off the heads. I will be moving forward with just gluing from this point. Some nails around the bow may still be used as it is somewhat difficult to clamp the bow planks.
First plank laid according to the plans.

I decided to follow the OcCre suggestions and nail the planks in place along with Titebond glue. It certainly is easier than clamping each plank and waiting for the glue to dry. I laid the first 4 planks on both the sides within a day using this technique. Once I started on the lower part of the hull, I decided to go back to not nailing and only gluing and clamping. It turns out I just don't like the requirement to file off nail heads or pull nails. In my case I set the nails too deeply, so my only option is to file off the heads. I will be moving forward with just gluing from this point. Some nails around the bow may still be used as it is somewhat difficult to clamp the bow planks.

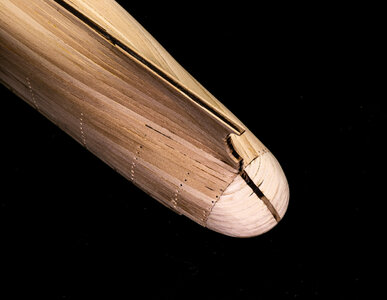
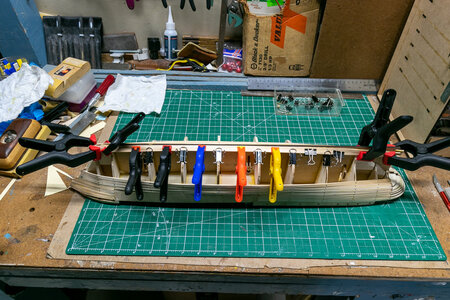
The first layer of planking went on reasonably well. As mentioned, I quit nailing which slowed me down somewhat, but I like the result better than the nailed planks. I used a combination of modified clips and thumbtacks to hold the planks in place while the wood glue dried. The clips work well until you get close to closing the hull opening, and then they don't fit anymore.
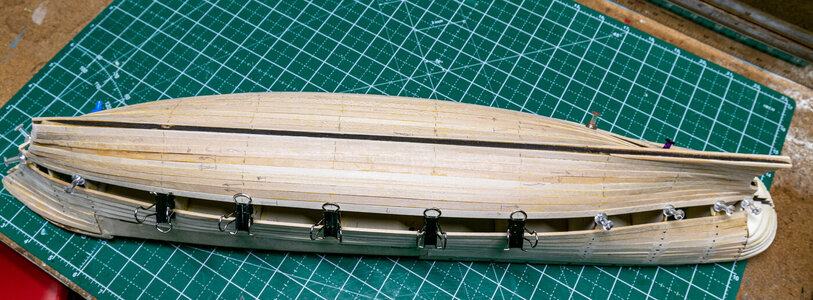
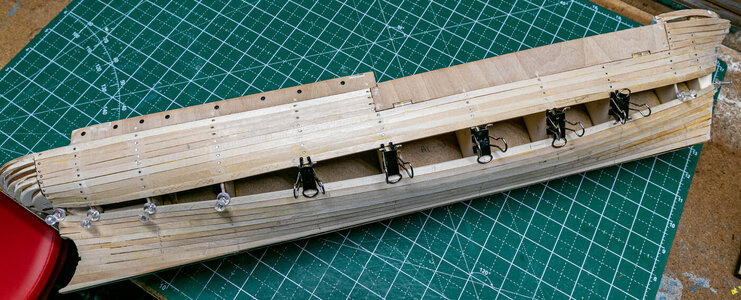
I used a small plane to reduce the width of the ends of planks near the bow and stern so that I would not have to make as many filler pieces. I still had a few odd shapes to have to fit, but once again the result is OK.
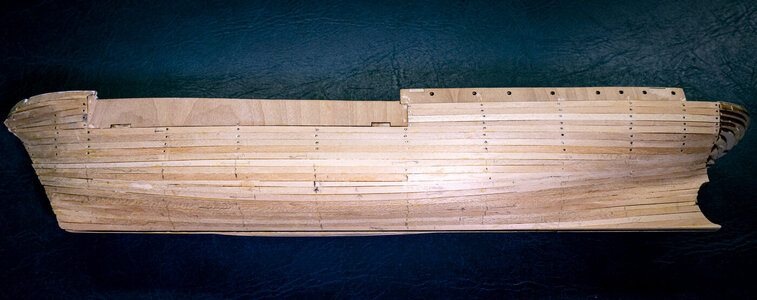
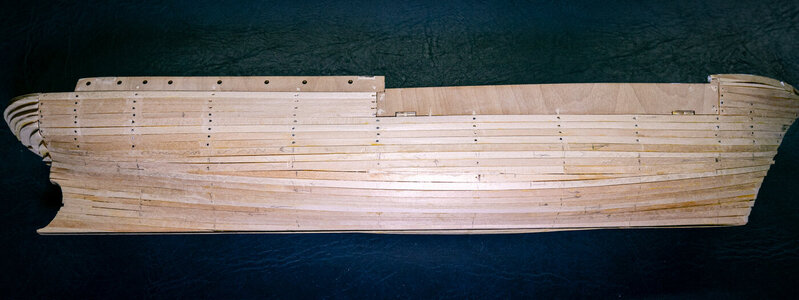
Next steps will be to counter stetting the nails, initial sanding, shaping the stern, and filling low spots & nail holes. Large amounts of sanding have to be done outside the house. We have some reasonable weather in the next week (above freezing during the midday), so I hope to get to it then.


I used a small plane to reduce the width of the ends of planks near the bow and stern so that I would not have to make as many filler pieces. I still had a few odd shapes to have to fit, but once again the result is OK.


Next steps will be to counter stetting the nails, initial sanding, shaping the stern, and filling low spots & nail holes. Large amounts of sanding have to be done outside the house. We have some reasonable weather in the next week (above freezing during the midday), so I hope to get to it then.
- Joined
- Oct 17, 2020
- Messages
- 1,336
- Points
- 393

Hi JeffT, see if this picture can give you some help WebThe first layer of planking went on reasonably well. As mentioned, I quit nailing which slowed me down somewhat, but I like the result better than the nailed planks. I used a combination of modified clips and thumbtacks to hold the planks in place while the wood glue dried. The clips work well until you get close to closing the hull opening, and then they don't fit anymore.
View attachment 290674View attachment 290675
I used a small plane to reduce the width of the ends of planks near the bow and stern so that I would not have to make as many filler pieces. I still had a few odd shapes to have to fit, but once again the result is OK.
View attachment 290676View attachment 290677
Next steps will be to counter stetting the nails, initial sanding, shaping the stern, and filling low spots & nail holes. Large amounts of sanding have to be done outside the house. We have some reasonable weather in the next week (above freezing during the midday), so I hope to get to it then.
Good morning Jeff. Yep - your endurance is going to come out really good with sanding and filler. I'm sure you are aware it will be a long and dusty ride but a rewarding experience and in your case a chilly one. Enjoy. Cheers GrantThe first layer of planking went on reasonably well. As mentioned, I quit nailing which slowed me down somewhat, but I like the result better than the nailed planks. I used a combination of modified clips and thumbtacks to hold the planks in place while the wood glue dried. The clips work well until you get close to closing the hull opening, and then they don't fit anymore.
View attachment 290674View attachment 290675
I used a small plane to reduce the width of the ends of planks near the bow and stern so that I would not have to make as many filler pieces. I still had a few odd shapes to have to fit, but once again the result is OK.
View attachment 290676View attachment 290677
Next steps will be to counter stetting the nails, initial sanding, shaping the stern, and filling low spots & nail holes. Large amounts of sanding have to be done outside the house. We have some reasonable weather in the next week (above freezing during the midday), so I hope to get to it then.
Jeff, I have to say I'm leaning toward foregoing nails except for some strategic spots where planks have to be significantly shaped. Grant's right, with a little sanding and filler you will be quite happy with your result I think.
As for GrantTyler, Don't be writing stuff about "how dusty" this process is - I've told the Admiral that the dust will be a "Small Matter", LOL!!!
As for GrantTyler, Don't be writing stuff about "how dusty" this process is - I've told the Admiral that the dust will be a "Small Matter", LOL!!!
- Joined
- Dec 7, 2021
- Messages
- 43
- Points
- 58

Cough....cough. What dust dear?
I set the hull aside for a while waiting for better weather so that I could work outside due to the amount of sanding required. Instead, I have been working on various other parts.
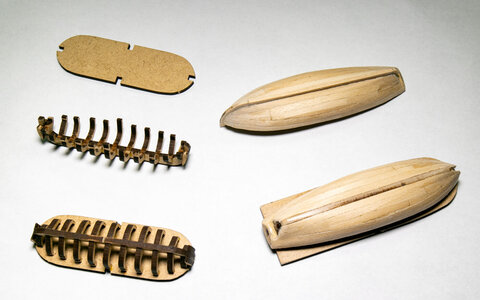
The ship's boats were my first thing to do. There are 4 in 2 styles. I started with the larger style and then worked on the smaller version. The construction is the same for both styles. First glue the ribs to the keel, followed by gluing to the support plate. Some fairing of the ribs and end pieces is required.
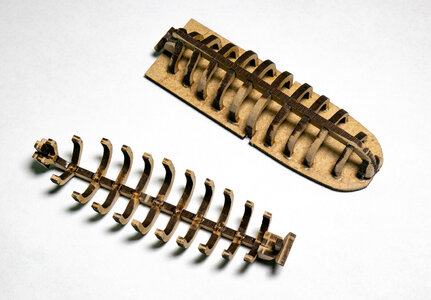
The sides of the boats are planked with 1x3mm. Some minor bending is required. After some puttying and sanding the hull is cut off the supporting plate.
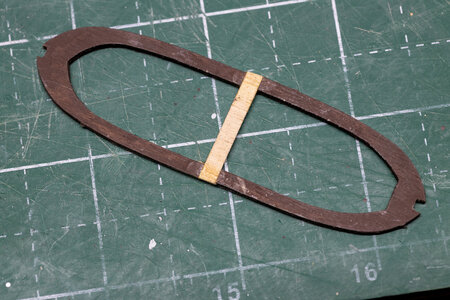
I ran into an interesting problem with the smaller boats. The piece representing the gunwales (not sure I am using that term correctly for small boats) was too short to reach the ends of the boats. I solved this by cutting the laser cut pieces and gluing in a spacer. As you can see, I didn't notice that there was a problem until I had already started painting the parts.
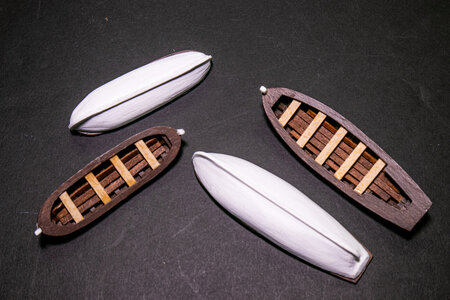
The fix worked well, and the boats have been completed.
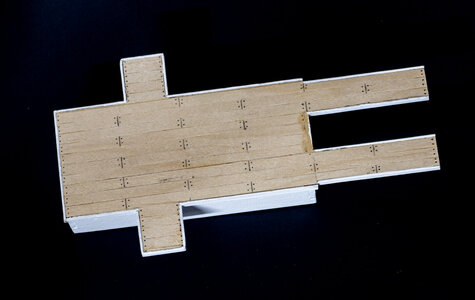
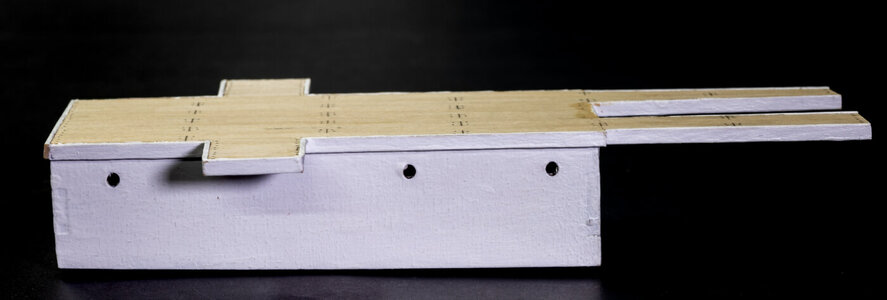
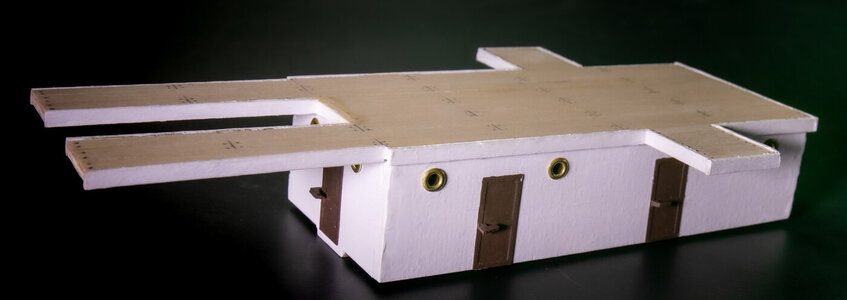
Next will be the main cabin and walkways for the deck.
The ship's boats were my first thing to do. There are 4 in 2 styles. I started with the larger style and then worked on the smaller version. The construction is the same for both styles. First glue the ribs to the keel, followed by gluing to the support plate. Some fairing of the ribs and end pieces is required.

The sides of the boats are planked with 1x3mm. Some minor bending is required. After some puttying and sanding the hull is cut off the supporting plate.

I ran into an interesting problem with the smaller boats. The piece representing the gunwales (not sure I am using that term correctly for small boats) was too short to reach the ends of the boats. I solved this by cutting the laser cut pieces and gluing in a spacer. As you can see, I didn't notice that there was a problem until I had already started painting the parts.

The fix worked well, and the boats have been completed.

Next will be the main cabin and walkways for the deck.
They look great.
- Joined
- Dec 7, 2021
- Messages
- 43
- Points
- 58

That's what is nice about this hobby. There is always a filler project to carry on without overtaxing your time. Great job.
Next up in the small items list to be constructed ended up being the ladders (not the deck cabin as previously thought). I struggled some trying to figure out a simple way to hold the sides of the ladders while gluing 1 or 2 rungs in place. I decided to use some modeling clay to hold the siders in place while adding the rungs. This technique, while not very elegant as jigs go, worked fairly well.
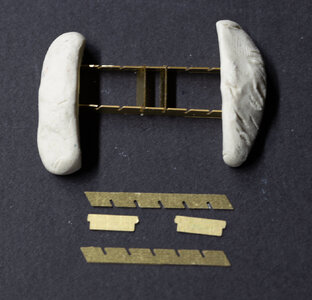
Final ladders before and after painting. I used a rotary tool to remove excess brass from the rungs after gluing. A bit of touch up painting will be needed before installation of the ladders.
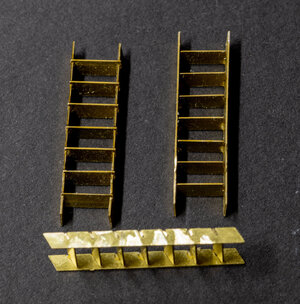
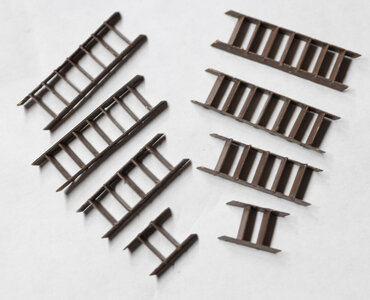

Final ladders before and after painting. I used a rotary tool to remove excess brass from the rungs after gluing. A bit of touch up painting will be needed before installation of the ladders.


Good morning Jeff. I always enjoy the “MacGyverism” modelers come up with as jig, methods etc. Your ladders look great. Cheers GrantNext up in the small items list to be constructed ended up being the ladders (not the deck cabin as previously thought). I struggled some trying to figure out a simple way to hold the sides of the ladders while gluing 1 or 2 rungs in place. I decided to use some modeling clay to hold the siders in place while adding the rungs. This technique, while not very elegant as jigs go, worked fairly well.
View attachment 305213
Final ladders before and after painting. I used a rotary tool to remove excess brass from the rungs after gluing. A bit of touch up painting will be needed before installation of the ladders.
View attachment 305214View attachment 305215
I have been spending some time on the masts; just measuring and such. I wonder if anyone else with this kit has noticed that the Main mast does not seem to be at the same scale as the mizzen mast in the supposed 1:1 drawings? The diameter is smaller, the total length of the main mast is smaller than the mizzen, but in the pictures of others Endurance builds on this site and the instructions, the main mast is clearly longer than the mizzen (even taking into account the deck levels and the length of mast inserted into the deck). I have been trying to take various ratios to figure out the correct length of the masts, but my numbers are coming out all over. (For example, spacing between masts in instruction pictures and the actual holes in the deck.) Even the diameter of the dowel is smaller for the main than the mizzen which doesn't make sense to me. The collars round all masts at the deck are about 5.5 mm (inside) while the main mast is shown with a 4mm diameter in the 1:1 drawing. All holes in the deck for masts are close to 5 mm.
Any thoughts would be helpful. This is my first OcCre kit, so I am not certain if this is a typical problem with OcCre kits.
Any thoughts would be helpful. This is my first OcCre kit, so I am not certain if this is a typical problem with OcCre kits.
I apparently had a senior moment related to my previous posting. I found the full-size mast plans in the kit box. They make a lot more sense than the ones I was looking at.


