ok.. cool I should see if I can find that book. whats the correct name for that book?
-

Win a Free Custom Engraved Brass Coin!!!
As a way to introduce our brass coins to the community, we will raffle off a free coin during the month of August. Follow link ABOVE for instructions for entering.
-

PRE-ORDER SHIPS IN SCALE TODAY!
The beloved Ships in Scale Magazine is back and charting a new course for 2026!
Discover new skills, new techniques, and new inspirations in every issue.
NOTE THAT OUR FIRST ISSUE WILL BE JAN/FEB 2026
- Home
- Forums
- Ships of Scale Group Builds and Projects
- Group Build Archives
- English Cutter - Half Hull Group Build
You are using an out of date browser. It may not display this or other websites correctly.
You should upgrade or use an alternative browser.
You should upgrade or use an alternative browser.
English Cutter Half Hull 1:32 scale by Mike 41 [COMPLETED BUILD]
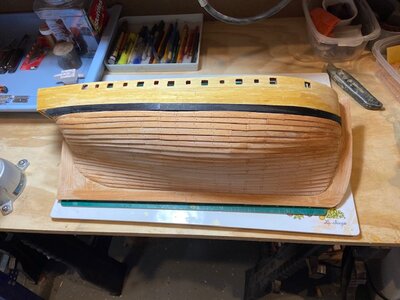
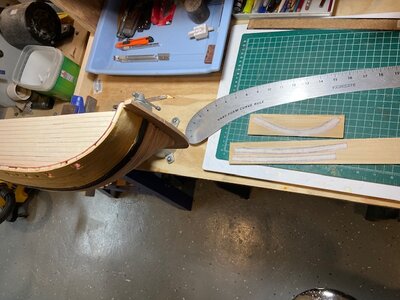
What a great idea using a contour gage for the curve. I bent mine like planking and it left some minor gaps, but like you said it won't be noticed.I spent all morning adding a waterway that will probably not be noticed. Since I did not do a particularly good job smoothing the filler between frames, I used a contour gauge and ship curve to make patterns. This is some progress photos.
View attachment 233019View attachment 233020View attachment 233021View attachment 233022View attachment 233023View attachment 233024
I agree three pounders or four seem small, but I'm sure that the higher ups at the time probably didn't want to waste heavier guns to a minor player when they probably had other things on their minds. Haha
Well, I guess we are all in the getting older position and bad parts. Woke up this morning and had to ice down my back from over use yesterday painting in the family room. Aloha, MikeJ
OK MIKE FULLY FAMILAR WITH ICE THE LAST WEEK TO 10 DAYS, GET BETTER. GOD BLESS STAY SAFE ALL DON
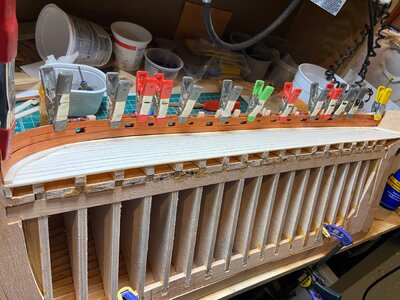
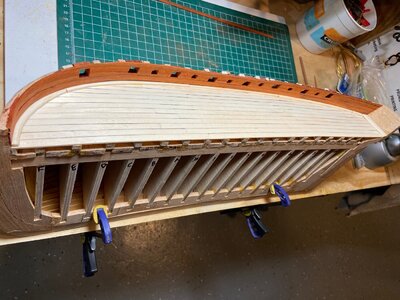
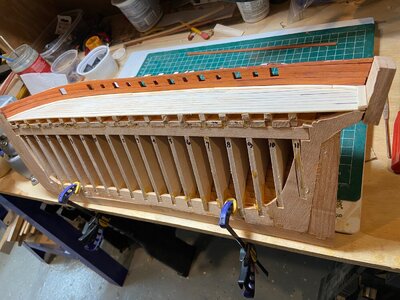
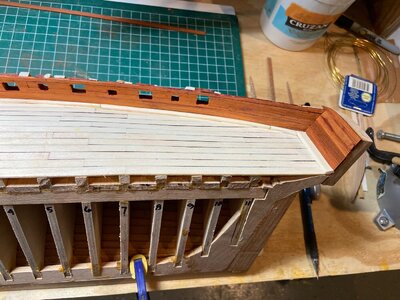
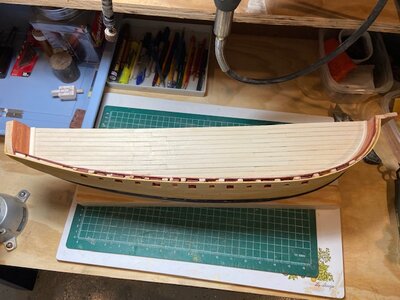
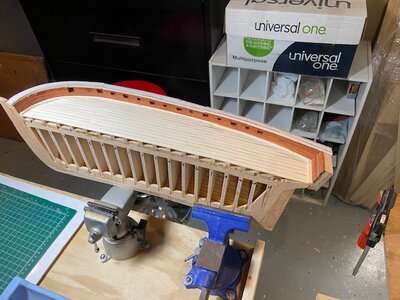
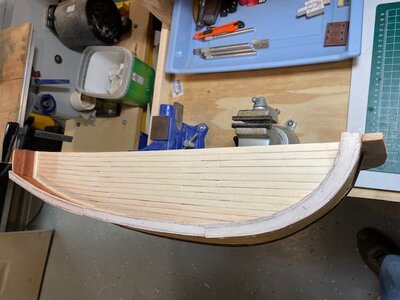
Hey, red with no painting. Great job Mike!I am using bloodwood for the lining, the board I used was extremely dry and brittle. I broke several pieces at the bow, but it will look nice when finished. This is some progress photos.
View attachment 233257View attachment 233258View attachment 233259View attachment 233260
Really nice, Mike! Makes me want to start.
WHEN DOC, WHEN. GOD BLESS STAY SAFE YOU AND YOURS DON
- Joined
- Aug 10, 2017
- Messages
- 1,706
- Points
- 538

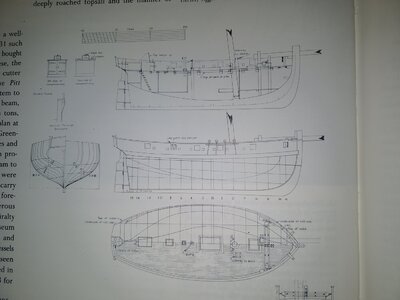
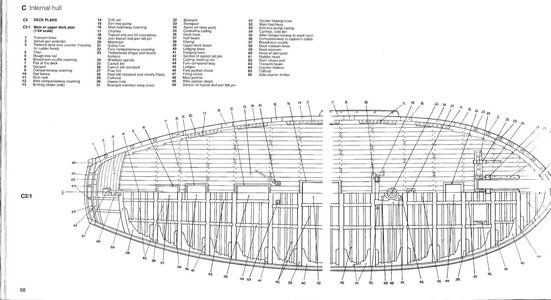
The drawing by Chapman does not show a plan for the deck layout, I am thinking about using the AOS book’s deck plan of the Alert. The drawing shows the bowsprit, windlass, mast, pumps, and deck openings. The bowsprit is shown offset to the port side of the ship centerline, I am thinking about mirroring it to the starboard side for this project.
Is there any reason it must be on the port side of the ship?
Is there any reason it must be on the port side of the ship?
I was thinking that also. For this models sake it probably doesn't matter. Unless you start over and just mirror everything to the other side.. 
R
I can't see how the off set side of the sprit would matter. Whatever "advantage " you would get from a particular rig on a specific course heading would be a disadvantage going the opposite direction!


The drawing by Chapman does not show a plan for the deck layout, I am thinking about using the AOS book’s deck plan of the Alert. The drawing shows the bowsprit, windlass, mast, pumps, and deck openings. The bowsprit is shown offset to the port side of the ship centerline, I am thinking about mirroring it to the starboard side for this project.
Is there any reason it must be on the port side of the ship?
I can't see how the off set side of the sprit would matter. Whatever "advantage " you would get from a particular rig on a specific course heading would be a disadvantage going the opposite direction!
DOC, COME AND JOIN US SO THAT I CAN LEARN SOMETHING, YOU CAN TAKE A SIMPLE BUILD AND TURN IT INTO AN AWARD WINNER IN NO TIME FLAT, LET US DO SOMETHING DIFFERENT OR TURN TO WEASELS. GOD BLESS STAY SAFE YOU AND YOURS DON
- Joined
- Aug 10, 2017
- Messages
- 1,706
- Points
- 538

R
I can't see how the off set side of the sprit would matter. Whatever "advantage " you would get from a particular rig on a specific course heading would be a disadvantage going the opposite direction!

That is good enough for me. I will use a stub about 2” past the stempost.
- Joined
- Aug 10, 2017
- Messages
- 1,706
- Points
- 538

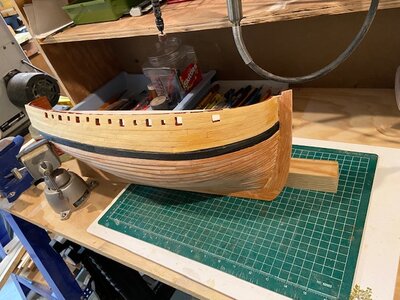
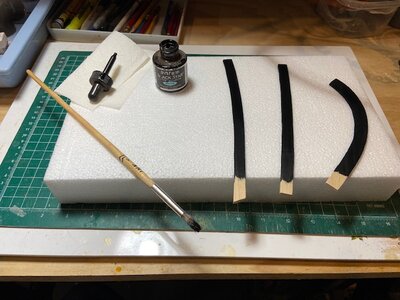
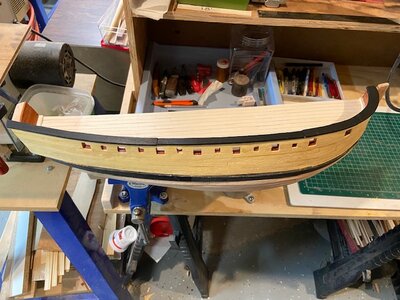
When I added the hull extensions it changed the shape of the rail. I used some tracing paper to make a pattern and added 1/16” to each side for the overlap, corrected the jagged edges with a ships curve, applied the patterns and used a bandsaw to cut out the rail pieces. Final shaping was done with a belt and drum sanders. I used ink to dye the wood black. The last photo shows the rail in place.


Really nice work, Mike! Beautiful!


