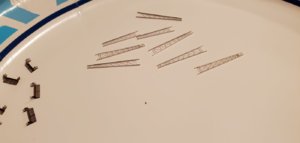
Thanks, yes they are maddeningly small. My least favorite thing so far is the repetition of bending these tiny parts. If it were five or six of them then I wouldn't have a problem with it. There are like 50 of those benches and I only did about half and some of those got messed up and had to be discarded. Not being able to see how to position them even with eye glasses really slows down the process. The good thing is as I do more of it I learn a few tricks that help it along. Still very slow going though!!Man those are some tiny parts - very nice Titanic - I will follow too.
-

Win a Free Custom Engraved Brass Coin!!!
As a way to introduce our brass coins to the community, we will raffle off a free coin during the month of August. Follow link ABOVE for instructions for entering.
-

PRE-ORDER SHIPS IN SCALE TODAY!
The beloved Ships in Scale Magazine is back and charting a new course for 2026!
Discover new skills, new techniques, and new inspirations in every issue.
NOTE THAT OUR FIRST ISSUE WILL BE JAN/FEB 2026
You are using an out of date browser. It may not display this or other websites correctly.
You should upgrade or use an alternative browser.
You should upgrade or use an alternative browser.
Haha, that's me too....but throw in a couple of curse words when I realize I don't see it on the floor right away!aye tiny indeed - I regularly suffer from 'dropsy' - ie crucial part dropped onto the floor and then 10 minutes wasted trying to find it. I'd like to do a Titanic one day but it would have to be the bigger one with my eyesight
Add another follower..
Thanks for the big detailed photos and for presenting your excellent work on what has been the BEST Titanic kit available.
When you do the 1/200 kit that you mentioned, It would be great to hear your comparison of the two models.
You got lucky finding the Lusitania. Hope the luck continues.
Nino.
P.S. Your work space is too neat. I'm lucky to keep a sq foot clear once I start a model. In other words, great Job!
Thanks. Just from handling the 1/200 I can see a huge difference in the sturdiness and straightness of the parts. The 1/350, I guess from being an old model kit has a ton of warped and wavy parts. Stuff just doesn't line up.
The Lusitania was hard to get. I'm in the US and wound up getting it from Australia......it was not cheap especially the shipping but I really wanted it. It has moulded on railings everywhere that I want to replace with photo etch which is going to be a real hassle cutting them off. I'm hesitant to do it as I don't want to ruin it but I think it would look a lot better with photo etch railings.
I would love to find some more ocean liners in 1/350 but the only other one I think that has ever been made is a Normandie in resin and it's too rich for my pocket. I don't know anything about how to deal with resin also. I'll be busy for a long time with the three I have so at least for now I'm satisfied. I wish someone would put out a few 1/350 ocean liners but I guess that's not to be. I'm trying not to look ahead as I have just took a quick peek at the other two and boxed them back up.
Even though with your frustrations, this Titanic is really going to be nice - I can tell that you are determined to make it into a good one.
Thanks. I'm grateful for all the responses and input I have received on this forum. In thinking about it I've realized that being able to share the photos and the process has inspired me to try and do a better job of it. Sharing with like minded folks is much more enjoyable to me than just putting it together by myself. Most people I know are like oh you're building a model, that's nice lol. So thanks again for being a friendly and supportive group!Even though with your frustrations, this Titanic is really going to be nice - I can tell that you are determined to make it into a good one.
Chris,
Looks to be a super well detailed project - Love those very tiny benches - great deck as well - excellent detail work on your part..
PS: In the mid 60s, when I was in HS, I drove a 1964 - 426 Fury with st. racing extras (slicks, traction bars - etc...- those were fun days haha - Looks like you're a Chevy guy
Will follow along as well Great start indeed.
Cheers,
I have a 67 Impala 427 SS 4 speed and a 392 Hemi Challenger. I like em all! That 426 Plymouth sounds great!Chris,
Looks to be a super well detailed project - Love those very tiny benches - great deck as well - excellent detail work on your part..
PS: In the mid 60s, when I was in HS, I drove a 1964 - 426 Fury with st. racing extras (slicks, traction bars - etc...- those were fun days haha - Looks like you're a Chevy guy
Will follow along as well Great start indeed.
Cheers,
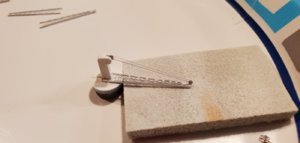
I finished up the crane bases. I have found I don't like having to use a brush as I did on the grey areas. I'm just not good at it and I don't like the way it turns out. The brush is fine for for some small irregularly shaped things but anything straight and flat does not come out smooth for me. I guess maybe it's something you get better at or try different brands of paint. It looks OK to the naked eye but getting in real close with a camera or magnifier show the lumpy texture. I'm going to try to keep painting by brush to an absolute minimum. I think I will leave assembling the cranes to later on as I can see me clumsily messing up the photo etch while doing something else if I put them together and on the ship now. More slow going lol!

Nice rides. The Fury was fun way back when (though 50s built up dual quad 327 Chevys usually gave me grief).I have a 67 Impala 427 SS 4 speed and a 392 Hemi Challenger. I like em all! That 426 Plymouth sounds great!
Stayed with my need for cars that I actually wanted to drive. Over the years; Toyota Supra, Mitsubishi Eclipse GSX (All wheel drive) now a 350Z - needed to special order it from Japan - Nismo, six speed, black with Burnt Orange leather interior - still looks brand new only about 50k miles on her. My next ride will be one those local vans that take old folks to the market - hahaha - Though Nissan is coming out with a totally new Z in late 2020 - hmmmm?
PS: did not mean to take thread posts away from your excellent build.......
Cheers,
Great job thus far, Chris! Man..., this wooden deck has really beautified the look. I am wondering if there is a chance to stain it (possibly). I know there is a thing adhesive film to attach to the plastic, not sure how it will react to stain. But it does look great, even without stain.
Well I want to spray everything with a dull clear when I'm done. I have wondered if that may darken it a bit.Great job thus far, Chris! Man..., this wooden deck has really beautified the look. I am wondering if there is a chance to stain it (possibly). I know there is a thing adhesive film to attach to the plastic, not sure how it will react to stain. But it does look great, even without stain.
Dull clear shouldn't darken, it just a coat of clear varnish (if I am correct). I would ask experienced folks, who use those wooden deck before, Again, it uses some sort of adhesive, what would be the reaction between the clear coat? The last thing you want the deck peeled off at the end or near the end...
I'm definitely going to glue a scrap piece of decking to some polystyrene and test spray it before I do the ship. I don't think I really need it for the look as I don't really have a lot of shiny glue to cover up yet. I want to protect the wood decks as I have found out the hard way that CA accelerator stains them if you get it on there. These decks don't like liquid!!
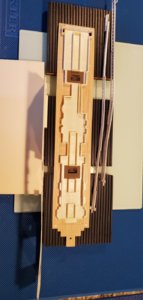
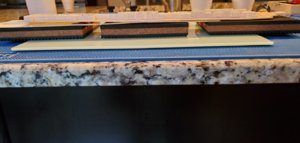
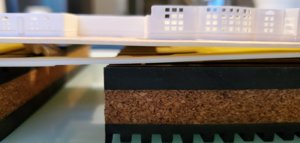
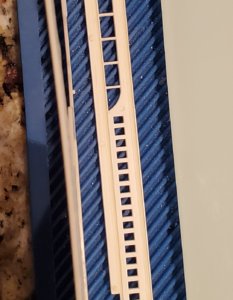
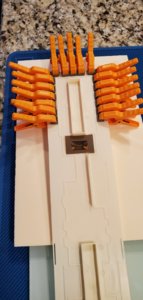
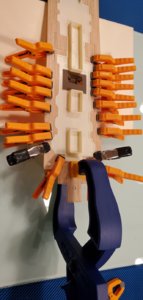
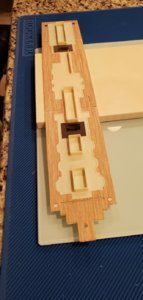
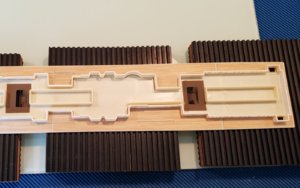
I'm trying to figure out how to wrestle this kits warped parts together. Aside from being warped, long, and thin, the addition of the wood veneer has caused the decks to increase in thickness hindering them from fitting into the channels on the boat deck walls. I filed the channels out bigger but it's like a juggling act trying to fit 4 warped pieces of really long plastic into a tiny slot that runs the length of the ship....with the decks being oversize to boot. I haven't gotten up to this yet as I have to do the windows but it is probably going to be an issue. It looks like this would be a real pain without the wood but obviously doable, the wood will make it a challenge. I don't want to wind up with glue all over the place. I'm getting ahead of myself but it's a concern. I have been disappointed with the quality of the moulds on this model and I think I would have designed this particular assembly procedure differently. But I'm not in charge lol.