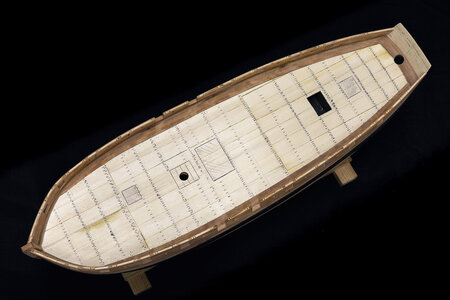
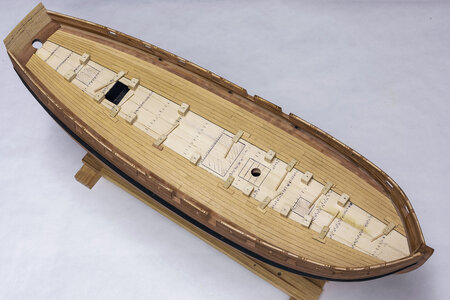
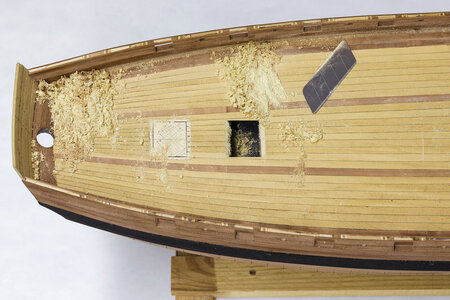
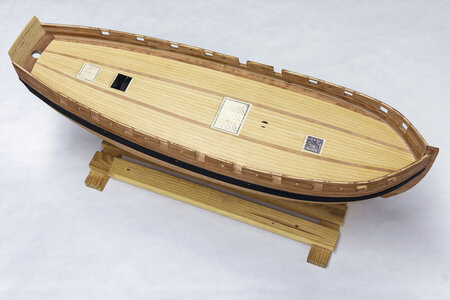
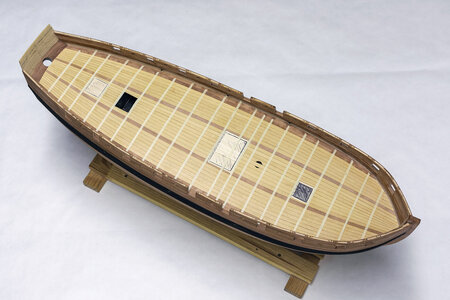
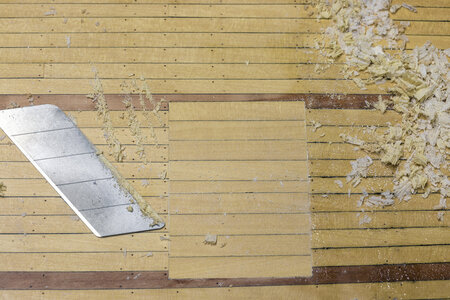
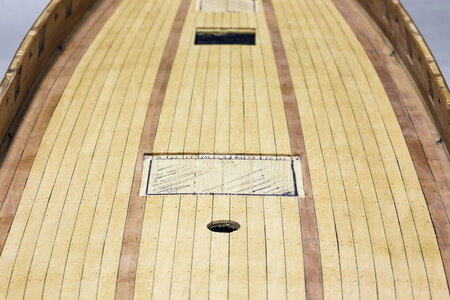
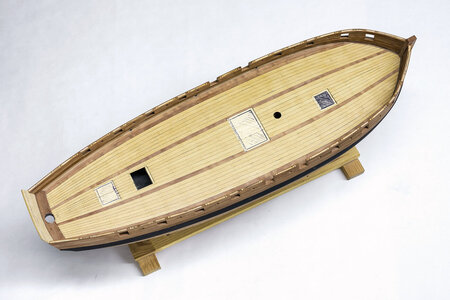
Yes, more tips on how to photograph a ship model is appreciated- from a complete and utter pre-beginner.
-

Win a Free Custom Engraved Brass Coin!!!
As a way to introduce our brass coins to the community, we will raffle off a free coin during the month of August. Follow link ABOVE for instructions for entering.
-

PRE-ORDER SHIPS IN SCALE TODAY!
The beloved Ships in Scale Magazine is back and charting a new course for 2026!
Discover new skills, new techniques, and new inspirations in every issue.
NOTE THAT OUR FIRST ISSUE WILL BE JAN/FEB 2026
You are using an out of date browser. It may not display this or other websites correctly.
You should upgrade or use an alternative browser.
You should upgrade or use an alternative browser.
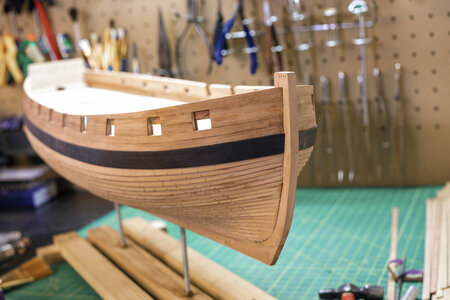
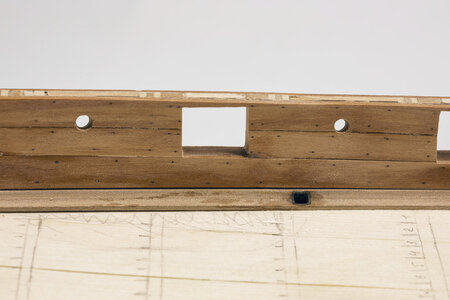
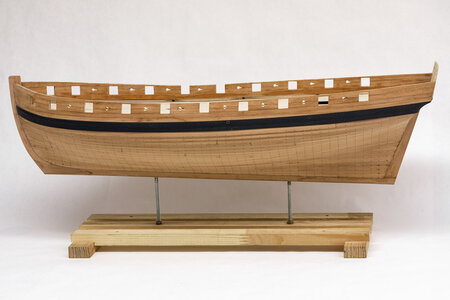
French cutter Le Cerf (1779-1780) - Scratch build 1:48 or just a DEER...
- Thread starter shipphotographer.com
- Start date
- Watchers 31
and?
will you now go further with your Le Cerf after finishing your Pinky Schooner?
will you now go further with your Le Cerf after finishing your Pinky Schooner?
Le_CERF - waiting for the supply of wood for deck planking))) and the purchase of brass ... And the rest of the tools, such as drills, sandpaper, thin blades for table saws ... My husband thought that one piece of pear wood would be enough for the whole model and was very surprised when I gave him a list of everything I need in the building process)))and?
will you now go further with your Le Cerf after finishing your Pinky Schooner?
And the most disappointing is that in Kyiv I left a stock of brass and copper sheets and wire, pear wood, black hornbeam, white maple, and the rest of the wood - which will be enough for more than one Le_Cerf. And I could afford an unlimited amount of consumables because I made my own budget. Here I am completely dependent on my husband and do not decide when and what to buy.
So I am just like you waiting for the moment when I can continue ...
Last edited:
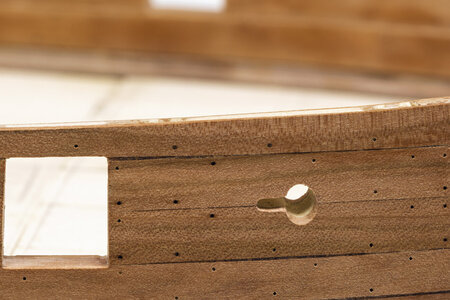
Always enjoy watching you working, Olya! I can only repeat, in your hands, everything looks so easy... The question I have, however, is the CA imitating nails. Since CA penetrates the wood, would you be able to use oil? I have had a number of occasions where CA blocked oil, and the surface looks 'spotty'. Is there a secret CA glue or you don't plan to use oil?
That's why I often completely soak the wood of CA - then the surface will not be spotty - and as a result the oil or other dye will lie evenly!Always enjoy watching you working, Olya! I can only repeat, in your hands, everything looks so easy... The question I have, however, is the CA imitating nails. Since CA penetrates the wood, would you be able to use oil? I have had a number of occasions where CA blocked oil, and the surface looks 'spotty'. Is there a secret CA glue or you don't plan to use oil?
Here are my experiments on different wood:
- Joined
- Feb 19, 2020
- Messages
- 47
- Points
- 78

This is looking great and thank you so much for the videos. I’m learning a lot from them!
-George
-George
I am very glad you liked it!Thanks for the video. I have one question, how are you measuring the planks to be tapered? And how are you tapering them?
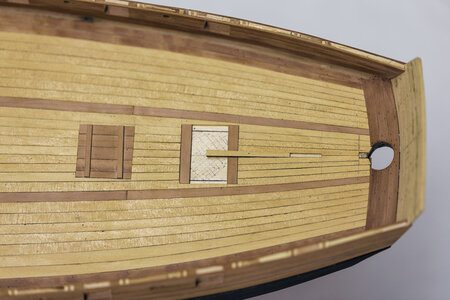
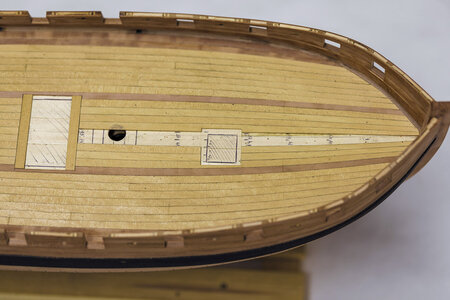
Before I started planning the deck, I laid out the running of the planks on the underlayer deck.
This part of the work is done in video №5:
This is really interesting way - and I have never seen this before
How small are the used drills? I am asking, because my nickname is also "Kill Drill" so I am surprised how easily you can make these holes with the Proxxon drill - High speed I guess?
How small are the used drills? I am asking, because my nickname is also "Kill Drill" so I am surprised how easily you can make these holes with the Proxxon drill - High speed I guess?
I killed 3 drills on this deck)))This is really interesting way - and I have never seen this before
How small are the used drills? I am asking, because my nickname is also "Kill Drill" so I am surprised how easily you can make these holes with the Proxxon drill - High speed I guess?
I really forgot to point out in the video that these were 0.35mm drills (that's about 0.014 inches)
I prefer to do it with a rotary tool, although I have a flexishaft - for some reason it is more convenient for me ...


