-

Win a Free Custom Engraved Brass Coin!!!
As a way to introduce our brass coins to the community, we will raffle off a free coin during the month of August. Follow link ABOVE for instructions for entering.
-

PRE-ORDER SHIPS IN SCALE TODAY!
The beloved Ships in Scale Magazine is back and charting a new course for 2026!
Discover new skills, new techniques, and new inspirations in every issue.
NOTE THAT OUR FIRST ISSUE WILL BE JAN/FEB 2026
You are using an out of date browser. It may not display this or other websites correctly.
You should upgrade or use an alternative browser.
You should upgrade or use an alternative browser.
- Joined
- Apr 20, 2020
- Messages
- 6,241
- Points
- 738

Dear Friends
I ask for help on another issue I would like to know where to buy the kit that Mario built
the amazing kit ,
Colonial Schooner Hannah by Cap'n Rat Fink - 1/4" scale - semi scratch
I contacted him directly as well as to the friends in the blog that he documented "The Shipbuilders Build Logs-Colonial Schooner Hannah by Cap'n Rat Fink - 1/4" scale - semi scratch ",
I have not yet answered
thank you
- Joined
- Apr 20, 2020
- Messages
- 6,241
- Points
- 738

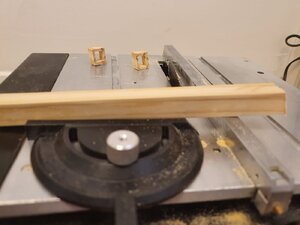
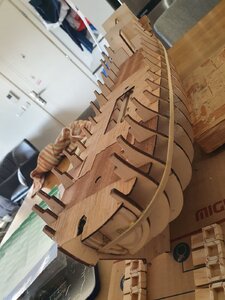
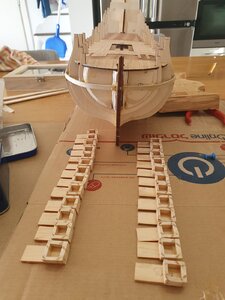
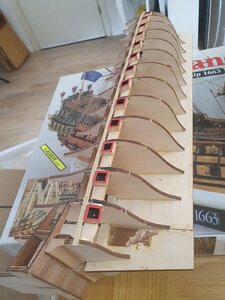
Today I took another small step on the long journey, I glued the cannon window frames to the supporting base, which was cut precisely to the space between each partition / wall. In addition, I glued the top strip of wood to the flanking, with the aim that all frames would be installed at the same height / line. After I paste the cannon frames, I paste the bottom strip of wood into them. Wish us all a fun and enjoyable journey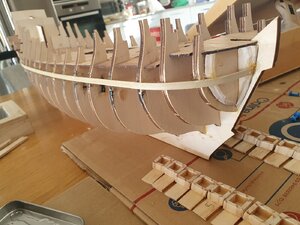


- Joined
- Apr 20, 2020
- Messages
- 6,241
- Points
- 738

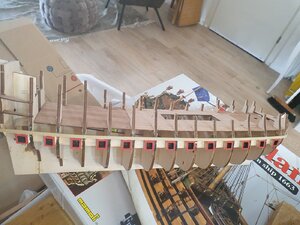
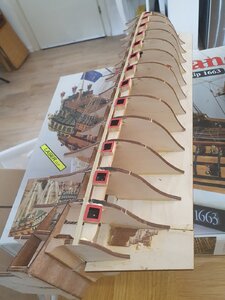
Hello friends
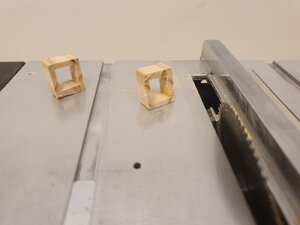
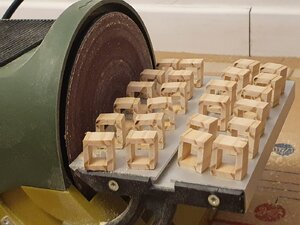
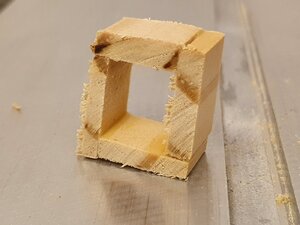
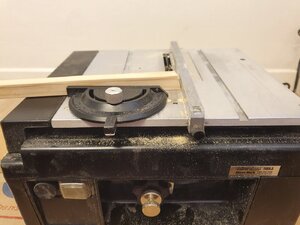
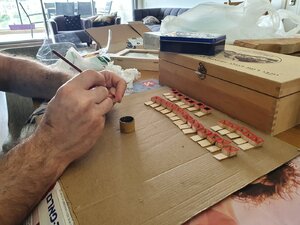
Today I spent about six hours on the next step of building the new cannon window frames.
First I sanded the frames so they were all the same size.
Next, I drilled the holes in the back of the frame, where I would mount the ship's cannons.
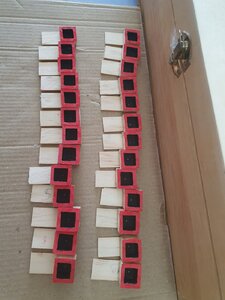
Next I painted the front of the frame in red and the interior in black.
Later I adjusted each unit to the space between the pages.
Next I pasted 13 window frames.
In the summary of the work, I am quite pleased with the result I have achieved.
Of course, I also attached some pictures of the process
I will keep updating next steps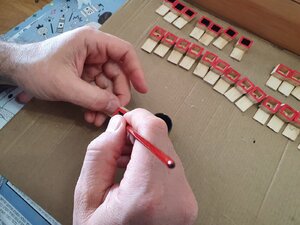


יום הולדת שמח 
Happy Birthday!!!

Happy Birthday!!!
Kurt Konrath
Kurt Konrath
A glad tidings on your birthday.
- Joined
- Apr 20, 2020
- Messages
- 6,241
- Points
- 738

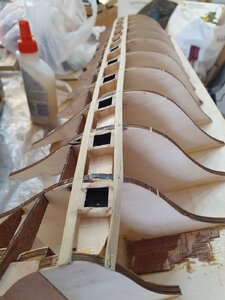
Hello to my dear colleagues for a passion of building a ships model
I would like to share with you the progress I have made today, after a few days break:
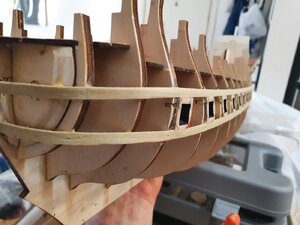
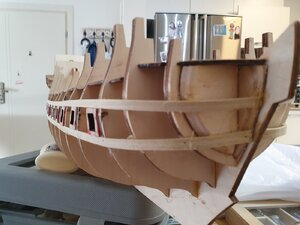
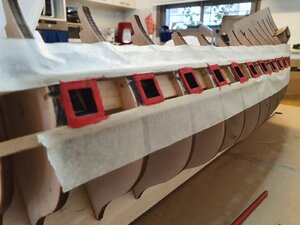
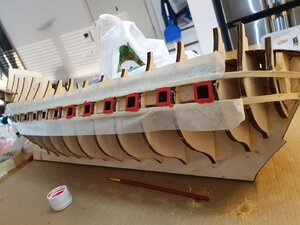
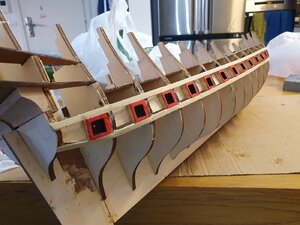
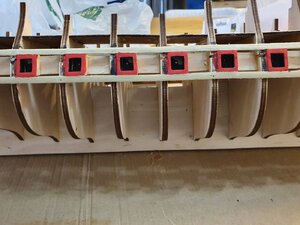
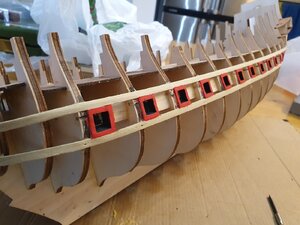
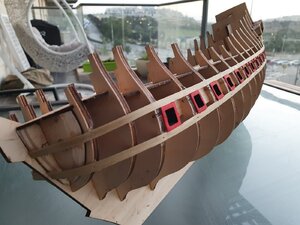
I glued the wood of the planking boards above and below the cannon window frames on the ship.
Then I sawed and sanded the excess wood so that the frame line was the same as the planking line.
In the last step I painted the frames in red (two layers).
I can say that I am Quite satisfied with the progress I have made , especially because the first round about two weeks ago, thet wasn't on level and quality required.
I wish to all of us a successful week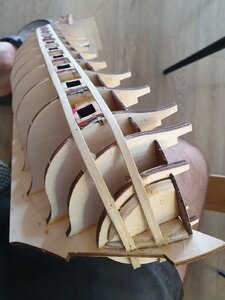


- Joined
- May 10, 2020
- Messages
- 73
- Points
- 103

I agree with @Mr.Deep, you should fair the frames both on the bow and on the stern otherwise you’ll run into problems with the laying of the planks. I built the Friesland myself quite a few years ago now, and she has a rather bluff bow, so another suggestion is to built up the bow with blocks and sand the frame down so it is level with the deck edge.
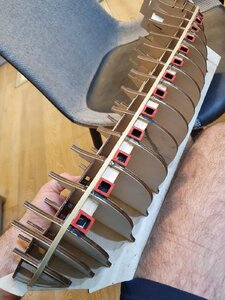
Hello Shota, this method we called - fairing the hull! Take the long sanding stick (so it will cover at least 3~4 bulkheads) and move on alone the bow or stern (one direction only: I mean NOT back and forth. Control removing amount buy touching a long planking strip from bow to stern, You shouldn't see any bumps or dents. It should form a nice line where each of the bulkheads touches the strip.This method is familiar to me , and I have implemented it in my previous ships.
- Joined
- Apr 20, 2020
- Messages
- 6,241
- Points
- 738

Thanks so much for the detailed explanation, I will apply itHello Shota, this method we called - fairing the hull! Take the long sanding stick (so it will cover at least 3~4 bulkheads) and move on alone the bow or stern (one direction only: I mean NOT back and forth. Control removing amount buy touching a long planking strip from bow to stern, You shouldn't see any bumps or dents. It should form a nice line where each of the bulkheads touches the strip.
- Joined
- Apr 20, 2020
- Messages
- 6,241
- Points
- 738

Hello dear friends
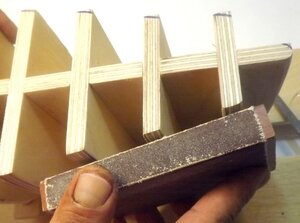
Following to the helpful comments that reminded me to not forget an important step, I created a new Grinding block and sanded the sides of the ship's edges.
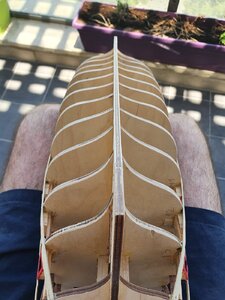
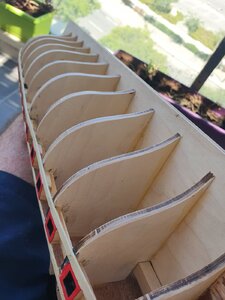
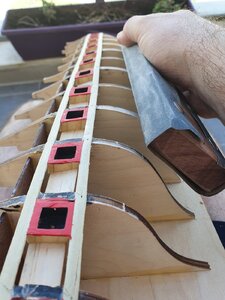
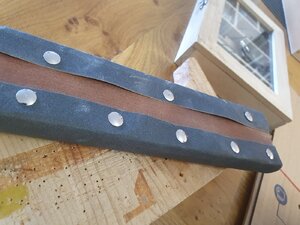 from there I will continue this weekend to fill in small wooden planks between the window frames.
May we all have a lovely and successful weekend
Following to the helpful comments that reminded me to not forget an important step, I created a new Grinding block and sanded the sides of the ship's edges.


 from there I will continue this weekend to fill in small wooden planks between the window frames.
May we all have a lovely and successful weekend
- Joined
- Nov 25, 2018
- Messages
- 635
- Points
- 403

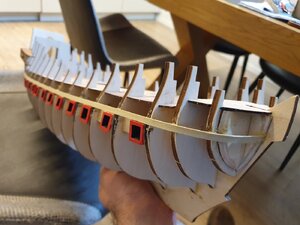
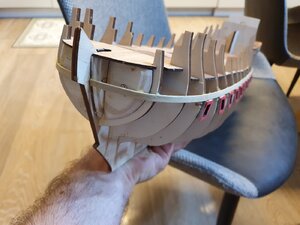
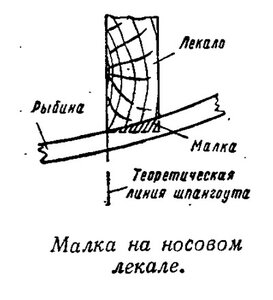
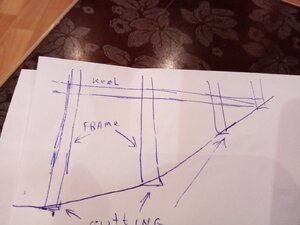
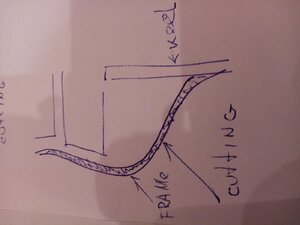
Once again.You need to stitch the front and rear frames.You need to stitch along the entire plane.Control is carried out with the help of a Reiki.Apply the rail to the frames so that there are no breaks.And you just sanded the ends with fine sandpaper.
- Joined
- Apr 20, 2020
- Messages
- 6,241
- Points
- 738

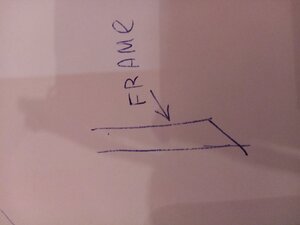
Thanks for the detailed guidanceI'll explain it again in pictures.Like this.View attachment 156918View attachment 156919View attachment 156920

