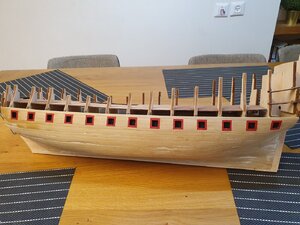
Friesland - Mamoli scale 1:75

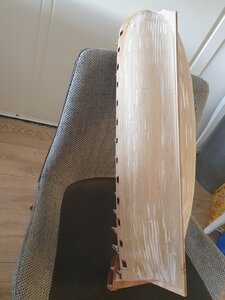
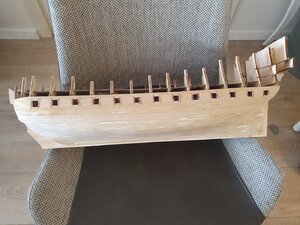
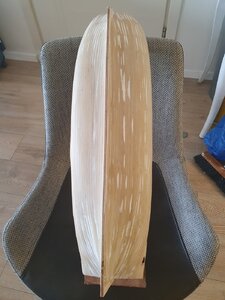
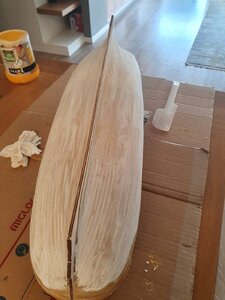
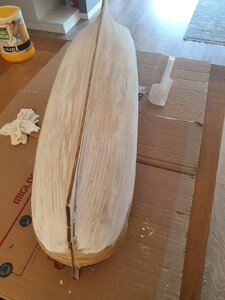
This is it friends I finished the planking on both sides,
I had more sanding and smoothing work left , and then wood filler and more smoothing.
If you ask yourself , why it's is taken a long time for me, then just juggling between the different layers of life including raising children, work, friends and other things. Building ships, it's for the soul, you probably understand how much
Wishing us all a fruitful and pleasant weekend
 
Hello dear friends
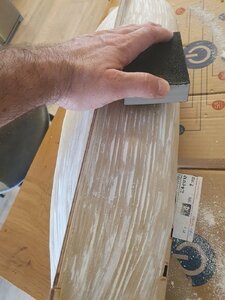
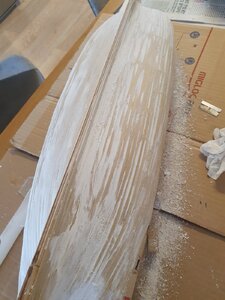
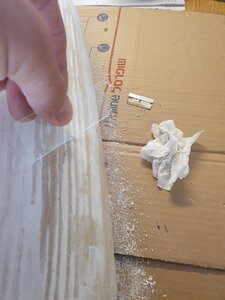
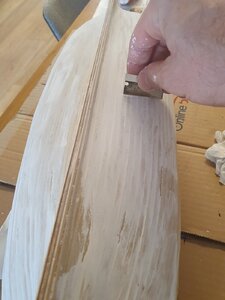
Today I focused on smoothing the planking first I applied to the surface with a wood filler and then I continued sanding and smoothing the surface.
I'm using a glass panel for a microscope and then with a sharp wooden knife and at the end with a two-level sanding cube.
I progressed another little steps on this road.
wishing a pleasant day for all of us
20200730_183946.jpg20200730_183926.jpg20200730_183855.jpg20200730_181606.jpg20200730_174733.jpg20200730_174317.jpg20200730_174012.jpg20200730_173323.jpg20200730_173320.jpg
 
Try using a rigid/hard sanding device when doing the hull, never a soft sanding sponge. Otherwise you will never get it smooth and only eventually go through the planking. Also, try sanding perpendicular to the run of the planks instead of with the planks, this is much more effective at removing the high spots. Good luck.
 
Hello dear friends:)
I will summarize for you the main points of the previous chapters:
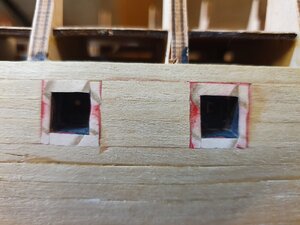
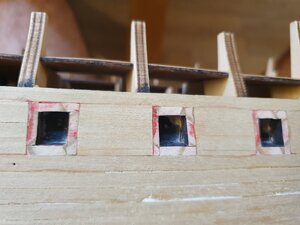
I re-installed the frames in the windows of the cannons, after it was not quality and accurate enough.
In the reinstallation the paint went down / polished.
I finished the first layer of planking and filled the spaces with wood filler.
I sanded and sanded the planking for many minutes with different tools.
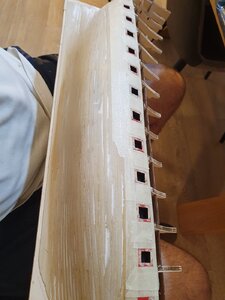
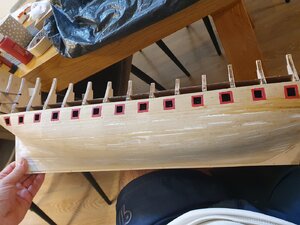
today's episode: I polished the planking a little more after filling a few more places with a little filler.
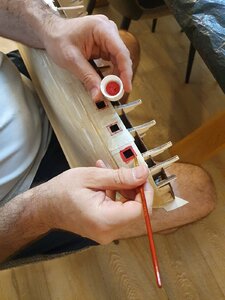
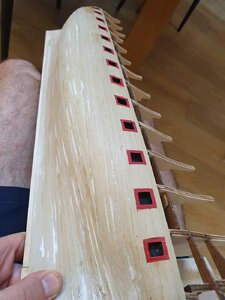
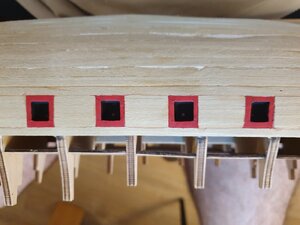
then I painted the inside of the windows in black.
then I glued sticky paper around the frames to prevent the red color from slipping. then I painted two Layers of the red color & when the paint dried I removed the sticky paper.
This is indeed another small step in the process, but with small steps we progressing forward:)
.
20200813_203220.jpg20200813_203437.jpg20200813_205242.jpg20200813_205346.jpg20200813_213710.jpg20200813_205356.jpg20200813_213740.jpg20200813_213844.jpg
 
Much better indeed - and when the double planking goes on, those red squares will be beautifully framed! Thumbs-Up
 
Back
Top