H.M.S. Fly by Amati 1:65 - Build log by Jcob

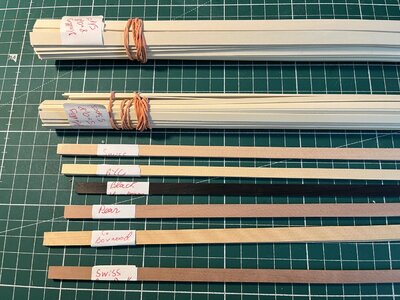
The American Holly lumber strips has arrived from hobbymill.eu and I'm happy with how they turned out. They also included some samples of their other wood types, thanks! Got 5 mm wide strips for the normal planks and 8 mm for the top and butt outboard planks.
IMG_5823.JPG
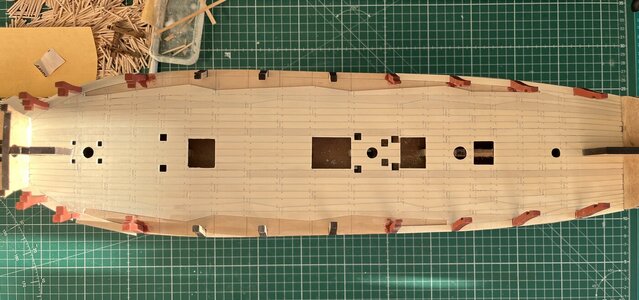
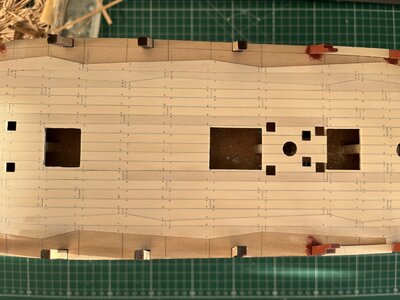
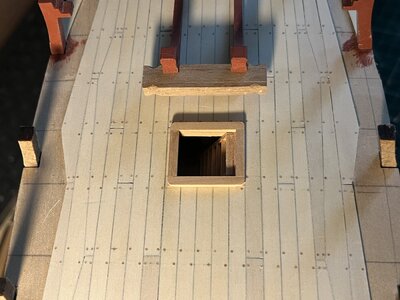
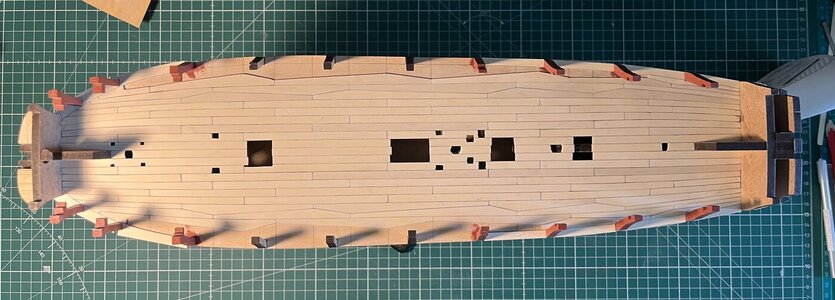
Even though the fore and aft planks of the top deck won't be visible when the build is finished, it was an opportunity to practice hooked planking for the quarterdeck and forecastle. Used the three butt shift pattern with the original plans' support beams as reference:
IMG_5829.JPG

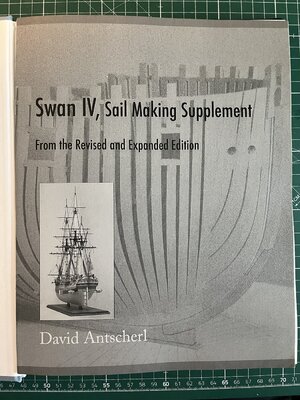
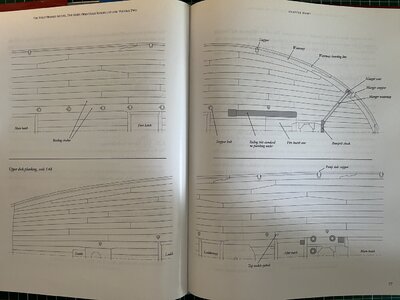
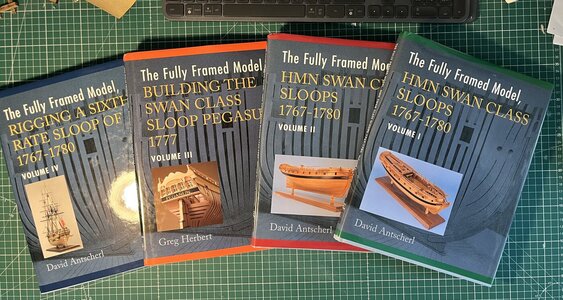
Also got my hands on the four books on building a Swan-class sloop by David Antscherl with a supplement on sail making. Found in an Oslo antique shop:
IMG_5833.JPGIMG_5842.JPG
They've been very helpful with the upper deck, I got the inspiration for the top and butt pattern of the most outboard planks from the second book. Apparently these were placed for strength and were replaceable due to the higher wear and tear coming from the gun carriage trucks moving over them.
In hindsight, there are some things I would've done different, such as having a broader king's plank in the center. Also the margin plank is missing its joints as it was interrupted by the support beams - I will add a joint in the middle when those uncoloured beams have been removed.
Overall, pretty happy with the outcome :).
IMG_5840.JPG
Next steps will be working on the hatch coamings and other details on the top deck.
/Jacob
 
Last edited:
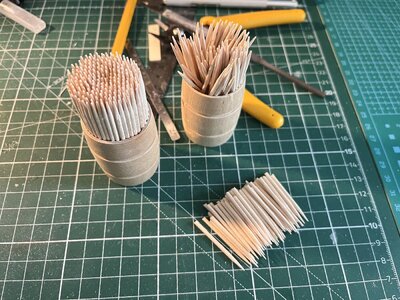
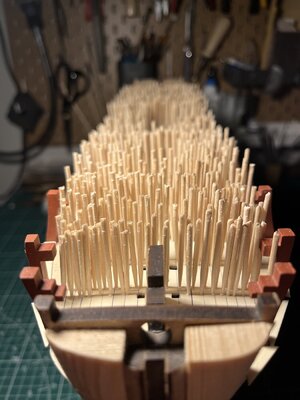
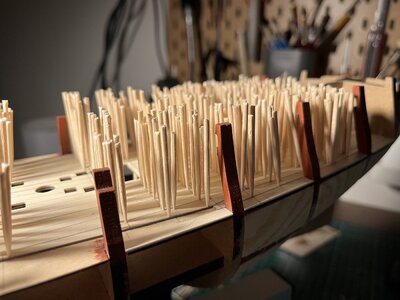
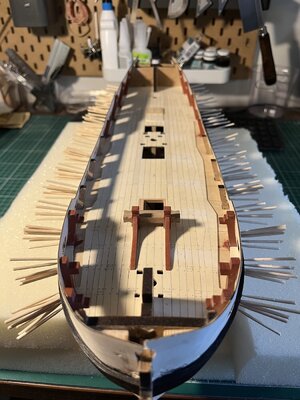
Used toothpicks from the grocery for the deck wood nails. Found the method on this forum and it worked out pretty well.

IMG_5850.JPG
IMG_5856.JPG
IMG_5854.JPG

I'm happy with the result. Quite the time consuming task with each toothpick point having to be sanded down individually to fit.
IMG_5862.JPG
IMG_5863.JPG

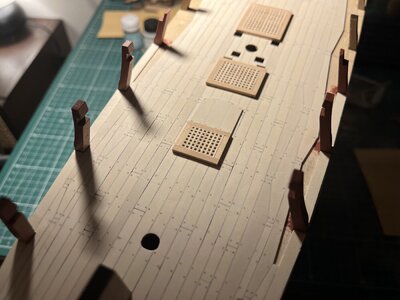
The kit provided walnut strips meant for the hatches I thought were a bit too dark against the light holly deck, so I used some of the light Swiss pear sample I got from Hobbymill.
IMG_5870.JPG

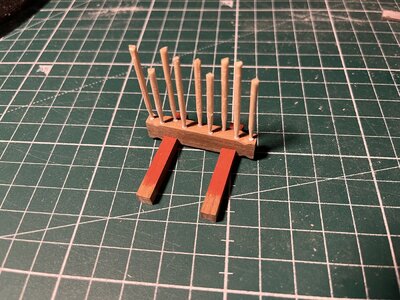
Made the riding bitt to the FFM instructions, with a replaceable backing piece. Was a challenge to figure out the colours on this one, I can't imagine the "working" part of the riding bitt was painted red as it would've been worn down from all the wear. So I went with a natural walnut on that one and painted the bitt pins and standards red.
IMG_5880.JPG
IMG_5907.JPG

This thin wooden sheet was a big challenge to fit properly. Used cannons to try to level it correctly and pins, clamps and all the tools available to keep it to shape whilst the glue dried. We'll find out later what I missed.
IMG_5895.JPG
IMG_5914.JPG
IMG_5918.JPG

Been a busy time with work and it doesn't look like it will let up for the rest of the year. Gonna be slow progress from here. See ya!

/Jacob
 
Last edited:
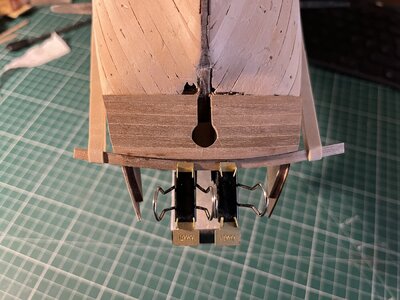
Finished the first layer of planking. Bit of a challenge getting the planks close to each other with minimal gaps:
IMG_5945.JPG
IMG_5943.JPG

As you can see, some mistakes were made cutting the planks short, hopefully it wont cause too much trouble later on:
IMG_5951.JPG

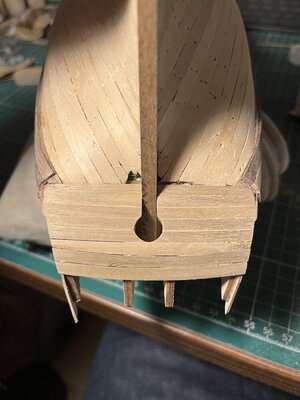
Placing the walnut strips for the upper and lower stern counters according to the instructions left a height gap between them. Solved it by placing strips on top of each other to level them out, then sanding down to get the right angle.
IMG_5959.JPG
IMG_5962.JPG

Forgot to take pictures while working on the wale, I went with placing two layers of walnut strips on top of each other in three rows. Sanded and painted them black and decided afterwards to place wood nails and cut out lines to show where the planks join.
IMG_5966.JPG
IMG_E5971.JPG
IMG_5972.JPG

Unfortunately all that is still visible under the new coat of paint are the cut lines, I spent all that time with wood nails in vain... o_O
IMG_5974.JPG
IMG_5976.JPG

Next will be planking with walnut strips below the wale. Will spend a bit more time on tapering the first layer of limewood and then perhaps marking out plank width on the deck to make it easier to track when placing the second layer. I don't know if it is necessary but I've seen a lot of people doing this measurement on their builds to help them with planking, so why not try it?

/Jacob
 
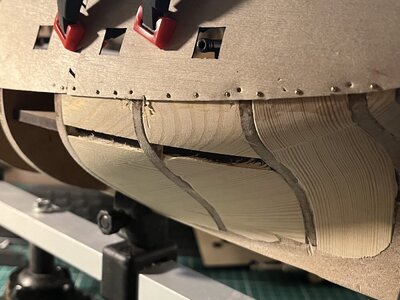
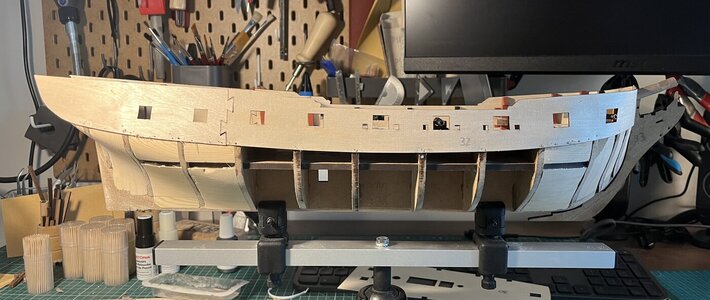
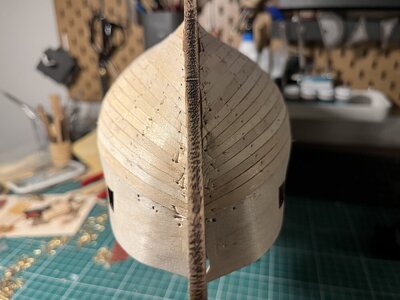
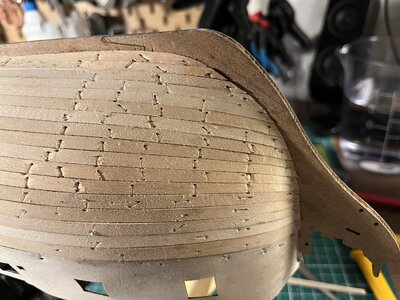
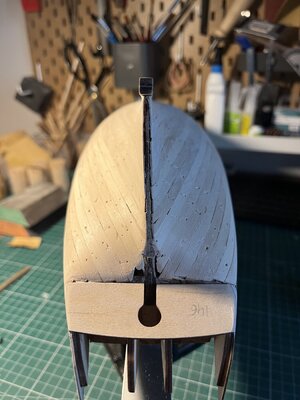
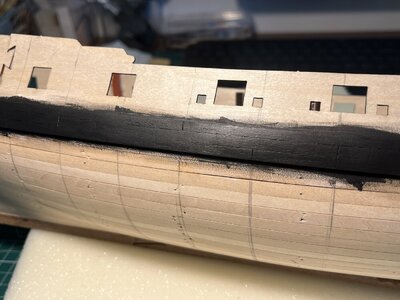
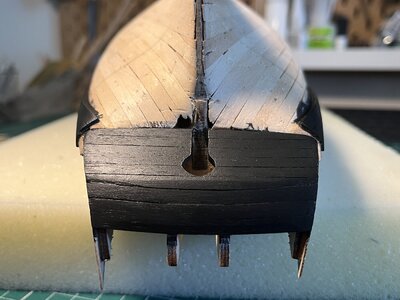
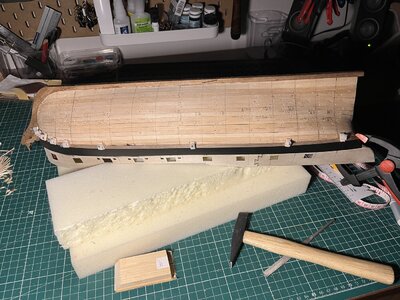
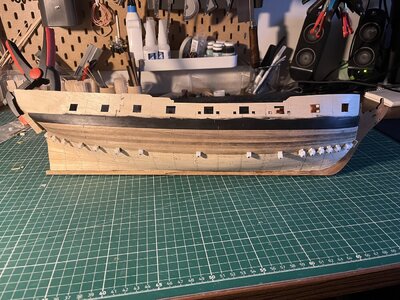
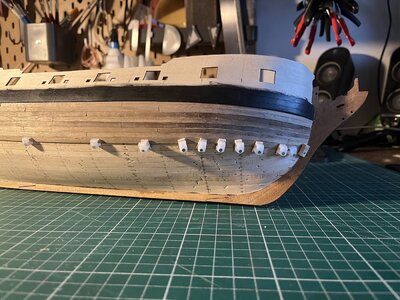
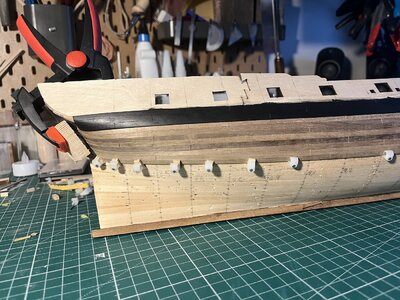
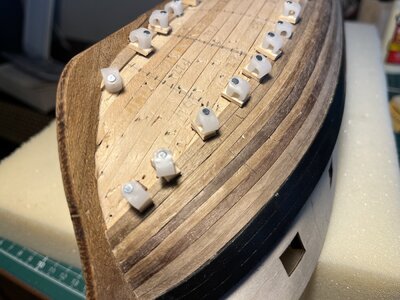
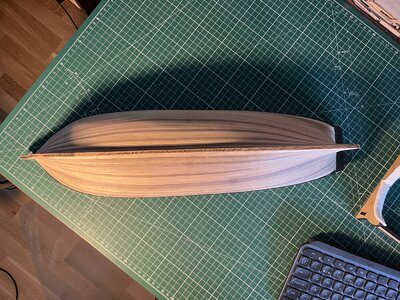
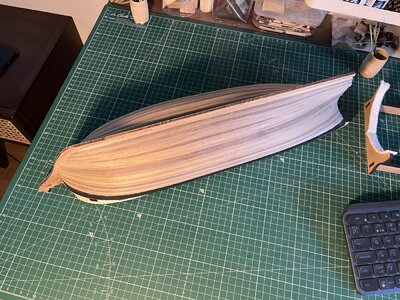
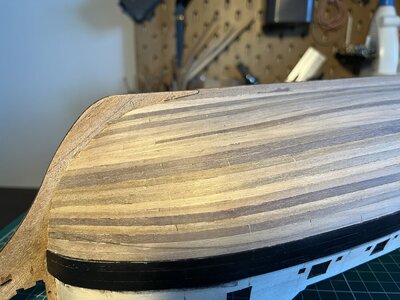
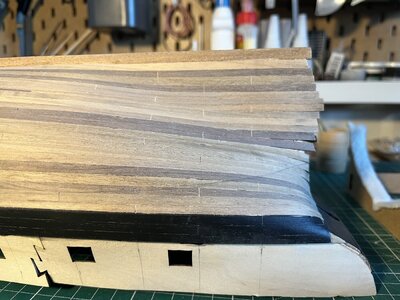
Been some slow progress during this hectic autumn with work taking over a lot of the free time I would otherwise put into my hobbies. But now the budget is practically finished and presented and life will hopefully come back to some balance. Been working on the final planking below the wale:
IMG_5984.JPG
IMG_5993.JPG
IMG_5994.JPGIMG_5995.JPG
IMG_5997.JPG
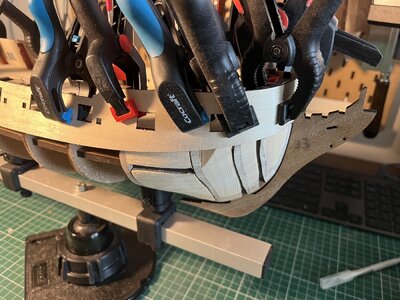
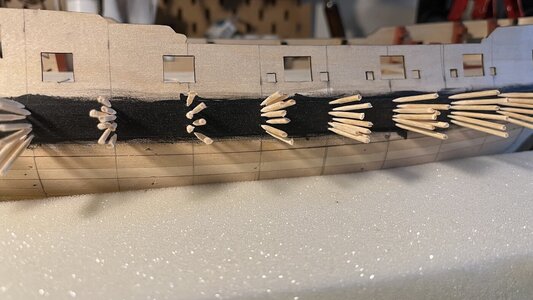
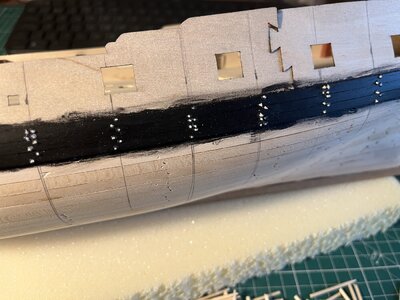
These cable clips with spikes are pretty useful to avoid spikes splitting the wood bits.

IMG_6013.JPG
IMG_6008.JPG
IMG_6010.JPG
IMG_6011.JPG
Next step will be planking the outer bulwark and start on the cannons. Will also be putting wooden spikes above the waterline and leave the part below for the upcoming white paint.

That's it for this time, seeya later!
 
Welldone and I likes your cable spike tip. I have somes so I retained your idea for my current Fly build.
Happy to help, do you have a build log of your Fly? Always interesting to see different ways people make their builds.
 
Been some slow progress during this hectic autumn with work taking over a lot of the free time I would otherwise put into my hobbies. But now the budget is practically finished and presented and life will hopefully come back to some balance. Been working on the final planking below the wale:
View attachment 409402
View attachment 409403
View attachment 409404View attachment 409406
View attachment 409407
These cable clips with spikes are pretty useful to avoid spikes splitting the wood bits.

View attachment 409414
View attachment 409415
View attachment 409416
View attachment 409417
Next step will be planking the outer bulwark and start on the cannons. Will also be putting wooden spikes above the waterline and leave the part below for the upcoming white paint.

That's it for this time, seeya later!
Good morning. Brilliant. Cheers Grant
 
Thank you Grant, been looking at your Xebec log, it looks great.
 
Back
Top