Hello all,
I got this HMS Fly kit in the mail a couple days ago. I started looking around after references and found plenty of good build logs on this and other forums as well as some books and original plans that will all be helpful for this build.
Some interesting info I found from the first search:
The HMS Fly was commissioned in 1776 after being built in the Sheerness Dockyard in Kent, GB. It was part of the Swan class of sloops, the 6th of a total of 25 ships ordered of this class. The original 1766 Swan class had 14 cannons and the revived plans featured an additional two gun ports which the Fly fitted with 6-pounder cannons in 1780. The Amati kit comes with 16 cannons which indicates the plans are made with the post-1780 refitting in mind. But interestingly, the kit does not include the coppering that was installed in the year before at Portsmouth. The instructions states the Fly was used mainly for convoy escort duties and dispatches, but also managed to capture two French privateers during its lifetime.
First impression of the kit is that it is overall of high quality. It comes with a large stack of instructions, mostly containing diagrams of the build.
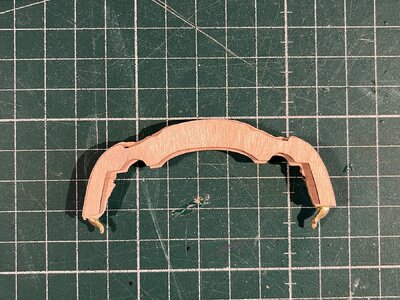
They made an interesting choice of material for the bulkheads and false deck, some sort of 5 mm thick fiber wood. Feels sturdy to the touch so I don't mind it:
Other materials look and feel great. First planking layer is lime wood. We have walnut for the prow, keel, rudder and the second layer of planking. Deck planks are made of Tanganyika wood which will look good with just clear varnish. Other bits and pieces I'm not so sure of.
Accessories also look detailed. I decided to order the upgrade kit for the cannons, but it haven't arrived yet which is alright since they will be worked on later in the future. I was interested in spinning my own rope but I might not be so anymore after looking into how people create their own improvised ropewalks. I couldn't find ready-made ropewalks anywhere online, so we'll see about that.
I have some initial questions that I will try to answer in the beginning of the project. The first being the deck planking which Amati splits in three sections on the gun deck, which I'm not sure if this is simply to avoid planking around the three mid bulkheads that will be removed later in the build or if this is accurate. I can't find any hints from the ship's original plans but maybe there are plans/photos of other Swan class sloops out there to help me. Here you can see how Amati splits the deck in three segments:
Then there is the question of colours. Amati provided a list of what to use for this build but I haven't bought any of it yet. Gotta find out where to buy "Indian Ink" and if there are alternatives. Black and white I already have and will be using all acrylics for this build (just personal preference), so I will need to find the correct blue, yellow and red tones that aren't oil based.
Lastly, the kit comes with 16 x 1/2-pound swivel guns and the plans put 10 on the quarterdeck and 6 on the forecastle of the ship. Wikipedia also states the Fly was commissioned with 16 swivels, but I can't find anything about that in the source cited (Winfield, 2008). Winfield 2007, on the other hand talks about the swivels for the Swan class, saying they had 12; 8 quarterdeck and 4 forecastle. So I don't know what to believe here and the original plans of the Fly do not show the swivels or cannons to help me out. I haven't looked much at plans from the other similar Swan class sloops, so that might give some clarification. Here are the swivel guns shown in the instructions from Amati:
Gonna start with dry fitting the bulkheads and will see where to go from there.
/Jacob


