Hi Max,
I am delighted that you found and are enjoying the forum. I love to hear the excitement and enthusiasm in your building. It reminds me of myself of years ago. If you want to caulk your planks, I suggest to just use a simple regular soft pencil lead. Just run the pencil lead down one side of the planking strip (and this is for the deck only). You might think that it is not enough, but you will see that it will be. Sometimes, less is more.
If you use a stain or oil, then please be careful. My opinion is that I have seen models that were soaked with shellac or some type of lacquer that did not look natural.
Think of a real ship. The real ship often had a dull flat paint on it. For a stain, I have always used something like Minwax golden oak or Minwax natural stain. If and only if I were to use a satin finish, it has always been Minwax polyurethane "satin" finish. It adds such a small amount of luster that it leaves the wood still natural.
Ok, so, I know I am getting way ahead of your game right now. Please do not use a glossy finish.
Key Point #1: Hot water is your friend. Use hot water (even running the plank back and forth under running hot water as you carefully bend the planks)
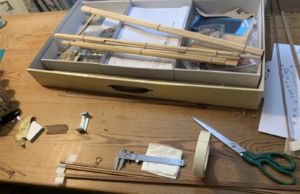
The large flat strips that follow fore and aft that you were having problems with the alignment...what are those for? Are those for just stability, or are they going to be used for the backdrop to mount the cannons to? I was wondering if those flat strips were preshaped to follow the "sweep of the hull". I can not tell.
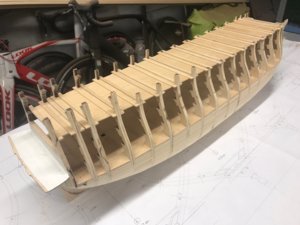
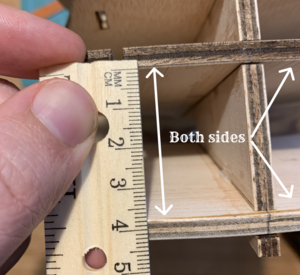
Key Point #2: Make 100% sure your hull is straight. Turn the FRAME upside down on a flat surface. Look and see if all four corners have the same measurement to the flat surface. You do NOT want to have any warp. Or very very little warp. Why? These small errors of warpage ADD UP to be a larger problem down the road.
Key Point #3: When you are at the part where you fit the (assuming a false deck) usually, you will have a false deck solid plywood that attaches to your bulkheads on top. THen your deck planking glues to this false deck. Why am I bringing this up? Well, this is also a problem that I see often. Make 100% sure that your Cannons on Deck, (the Cannon barrels) will LINE UP with your Cannon Port Lid openings on the DECK. I have seen many models that the Cannons (Barrels) on the Deck did not line up good with the Deck Cannon Port Frame Openings and the Cannons had to point a little downward. Sometimes, it was the opposite, the cannons were pointing upwards for the barrels to push through the port windows. By study and preparation, you might catch this beforehand. I have seen modelers have to remove the wheels from the carriages so that the Cannon Barrels would fit through the Port Lids on deck. This is mostly a DECK problem. You can MOCK up this situation by assembling one cannon carriage and barrel and placing the assembly on deck. How is this corrected? Well, I am not familiar with this kit, but most kits will have the BULWARK (which is one piece) that already has the Cannon port lids made for you in one piece. All you have to do is simply slightly raise or slightly lower the Bulwark to accommodate the best alignment of the cannons. Your kit might not apply to this, but I just wanted you to know just in case.
Oh, by the way, thanks for joining the SOS family. It is my desire to make your forum experience a happy and enjoyable one.
Sincerely,
Donald B. Driskell
Founder
Hi Donald, happy to meet you... on your forum, and my build log

.
First of all, thank you for building such a nice community of enthusiasts and supporters. I came from the software world where the community is one of the important parts of the journey. The SOS onboarding process was positive. I was surprised to see the approval process, but I understand why this is in place. And this is probably for the best. We don't want to have dead accounts or bots.
Second, the website, as well as the forum content and its quality, are very well maintained. One thing is to build the website, the other is to put high-quality content and encourage to create a new one daily. This is really hard work.
Thanks for the suggestion with the pencil lead. I will give a try to a regular pencil before applying it on the deck to ensure it looks nice. I hear different suggestions, starting with a regular pencil, 2B pencil, and a black marker. I believe, for me, it seems like the more natural and right combination between the size of the model and the approach, the pencil sounds just right.
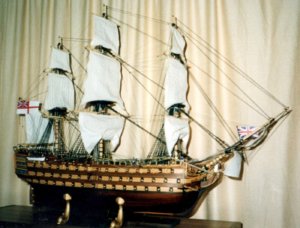
For the deck coverage, I am still trying to get used to all new words with the shipbuilding, I am thinking to make the model as natural as possible, that's was one of the reasons I stopped with this particular H.M.S. Victory 1:94 form Contructo. So it might sound like I will go with no oil or something very light, I am still not sure about this part. Do you recommend to use any paint or do you think the ship will look nice without deck paint?
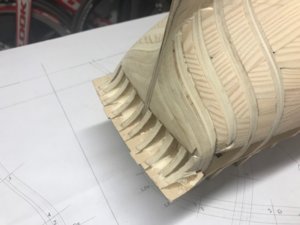
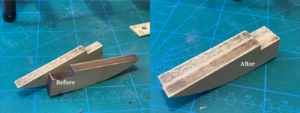
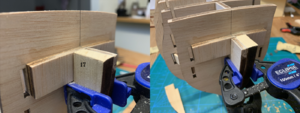
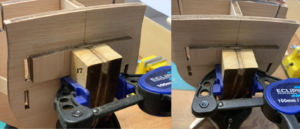
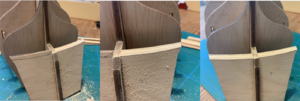
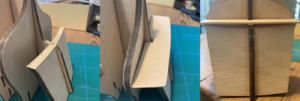
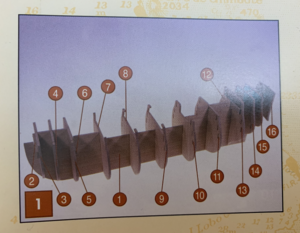
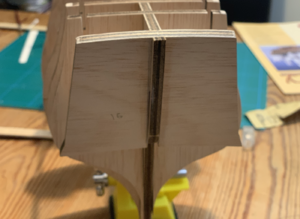
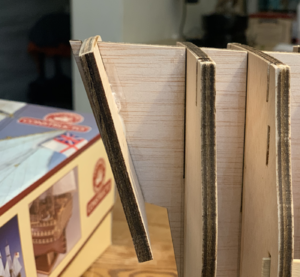
"The large flat strips that follow fore and aft that you were having problems with the alignment...what are those for?" - Today, I found out that I marked the wrong parts with the wrong numbers. The reason for this, I wasn't sure if the instructions book provides numbers for two frames with parts. That's why I assumed, that as a modeler, I have to find out myself what part has its number. I made a mistake, that is why one of my strips broke, as I was trying to find out why it doesn't go well into the 9th frame hole and just flies around the hole. But, it is great I triple checked everything and now all my strips are correctly marked with the right numbers. So I can follow visual instructions and read explanations in the textbook.
I am doing my best as per my knowledge, to make sure the hull is flat, but I am certain and pretty much sure I could miss something due to lack of experience and the complexity of the model. Thanks for the additional step, which I am going to definitely go through with my model to ensure all four corners are flat and straight. I am still not quite sure I understand all parts of the "measure 7 times and only then apply glue" and not sure I have all the required tools. I will do my best.
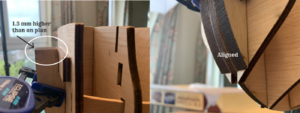
Also, if I spot the difference between right and left sides of a frame, or first and last one, should I just use sandpaper to put all four sides to be aligned? Please advise.
Gunports
I've checked the instructions and it seems like that the first three lines of the gunports. All these guns should be inserted into a 2mm hole in the gun sides (previously I used the no 19,20 fore sides).
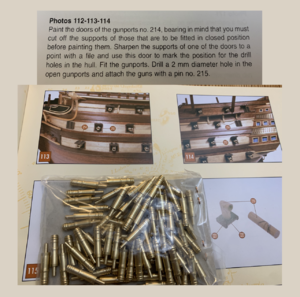
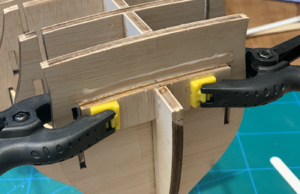
Gun sides 19 and 20 make the first line for the guns, 26 and 27 - the second line, 46 is the third line.
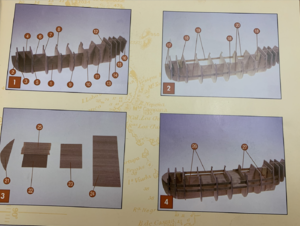
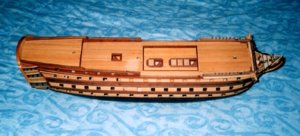
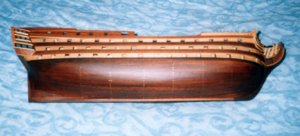
Here is my current 19 and 20 gun sides, the 19th that I accidentally used the wrong stick here. But now it is fine and the 19th on both sides of the model goes inside the whole of the 9th frame.
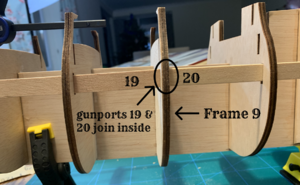
It seems like, only gun sides are somehow related to guns, that have to be directly installed into the gun sides.
Again, thank you for your detailed comments and advice. I am always open to hearing best practices on how to make the ship better. Or at least, how to make the ship from start to finish.
Looking forward to seeing more posts from you

.
P.S. Answering your next post, as I've read your post and went working

... and I didn't want to answer just in a few words.
. But I believe I would reuse these tools for the next model.


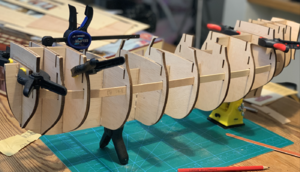
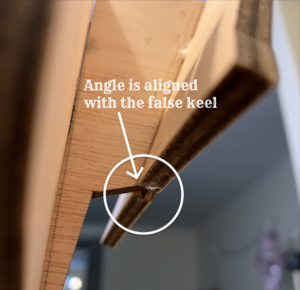
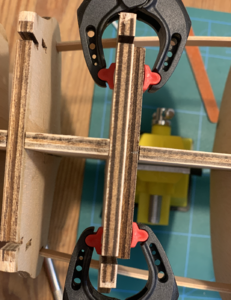
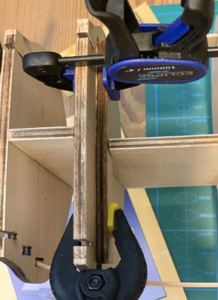
 Please let me know what you think about the video. In the video, I share my experience on how I install frames.
