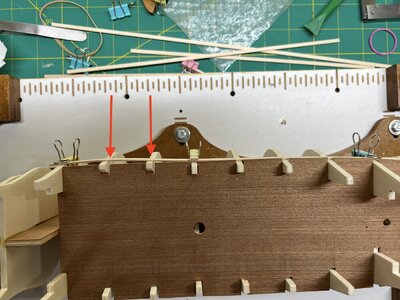
. The bulkheads are in and aligned as they should be. i had to trim the deck (is that a false deck?) fore/aft in places to insert it correctly. I didn't want to move the bulkheads (bulwark stems?? sticking up above the deck). I'm thinking I must have inserted some of the bulkheads in the wrong places as fairing looks a lot better now. I've been making a lot of mistakes so was likely me. Two bulkheads seem to stick out more that they should (on both port/starboard). I'm thinking they just need to be sanded down during the fairing???
Kurt. I should have checked the actual bulkhead shape against the plans. I already had them glued in. I even have a cheat sheet that I made for myself of things I need to do when progressing with the build. I forgot to check it as I tell myself to check the bulkheads before installing. I'm going to print it out and place it on the workbench and maybe for the next steps I'll look at it.
 View attachment 321881
Even if a couple of the bulkheads are swapped around on the keel, there is a method to restore each to its proper shape. The key is the drawings. Assuming that the drawings contain 1:1 scale outlines of each bulkhead, you can do the following to determine how to reshape bulkheads that require it:
1) make a copy of the drawing of the bulkheads and cut them out as paper patterns.
2) cut each bulkhead paper pattern, with the thickness of the keel plate removed from the center.
3) Lay the half-patterns on the wooden bulkheads and see which bulkhead requires wood shims to be added to the outboard edges and which need sanding in order to match the paper patterns.
4) Shim and trim the edges until the bulkheads match the patterns, the check the hull by placing a plank across the bulkheads like you did before and look at the results.
If shimming and trimming seems too much work, you can always replace an entire bulkhead but cutting it free from the keel, and making a new bulkhead from plywood you supply yourself. If the replacement plywood is too thick to fit into the keel plate slot, re-size the slot. You are at the stage where any of these frame parts can be altered or replaced. None of the changes you make are visible on the finished model, and this give you lots of freedom to make changes. The only important thing is that the shape of the bulkheads is correct such that you get a smooth and proper hull shape when planking is applied, and there is no bend or twist in the framework as you add the planks. Everything else after you assemble this framework can be built as the kit instructions show. The end result will look exactly as the box cover art in the end. Here's the bonus: by making these changes and corrections, you gain confidence and skill in building that is the foundation of scratch building, and you no longer fear to make changes to your model, because you know that each change is researched and verified that it will improve the model. Once you lessen the fear of making mistakes, you free yourself to add to the model and make it truly your own, and better than just the kit. The satisfaction that comes form this is enormous.

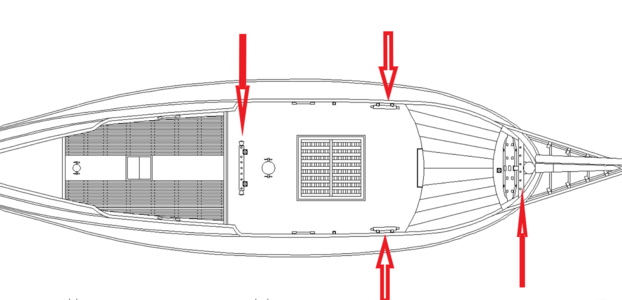


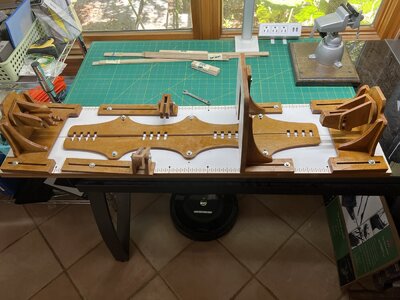
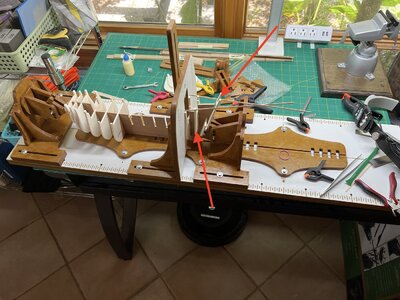
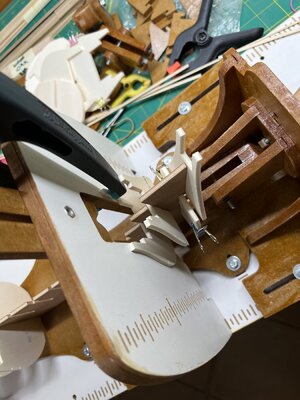
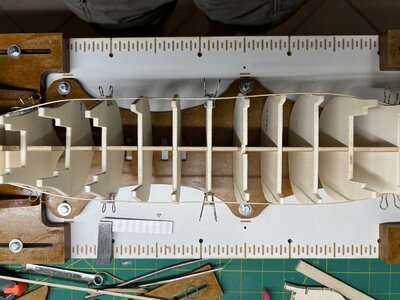

 . The bulkheads are in and aligned as they should be. i had to trim the deck (is that a false deck?) fore/aft in places to insert it correctly. I didn't want to move the bulkheads (bulwark stems?? sticking up above the deck). I'm thinking I must have inserted some of the bulkheads in the wrong places as fairing looks a lot better now. I've been making a lot of mistakes so was likely me. Two bulkheads seem to stick out more that they should (on both port/starboard). I'm thinking they just need to be sanded down during the fairing???