Half Moon (Corel) (SM18) 1:50 Scale [COMPLETED BUILD]

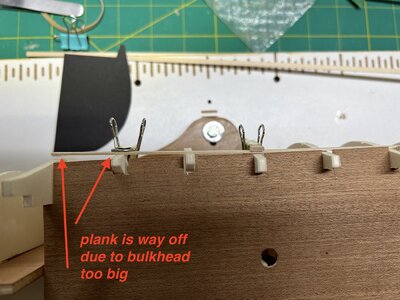
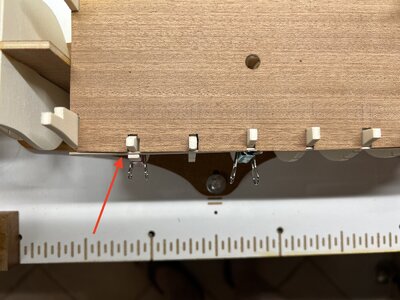
Even if a couple of the bulkheads are swapped around on the keel, there is a method to restore each to its proper shape. The key is the drawings. Assuming that the drawings contain 1:1 scale outlines of each bulkhead, you can do the following to determine how to reshape bulkheads that require it:

1) make a copy of the drawing of the bulkheads and cut them out as paper patterns.
2) cut each bulkhead paper pattern, with the thickness of the keel plate removed from the center.
3) Lay the half-patterns on the wooden bulkheads and see which bulkhead requires wood shims to be added to the outboard edges and which need sanding in order to match the paper patterns.
4) Shim and trim the edges until the bulkheads match the patterns, the check the hull by placing a plank across the bulkheads like you did before and look at the results.

If shimming and trimming seems too much work, you can always replace an entire bulkhead but cutting it free from the keel, and making a new bulkhead from plywood you supply yourself. If the replacement plywood is too thick to fit into the keel plate slot, re-size the slot. You are at the stage where any of these frame parts can be altered or replaced. None of the changes you make are visible on the finished model, and this give you lots of freedom to make changes. The only important thing is that the shape of the bulkheads is correct such that you get a smooth and proper hull shape when planking is applied, and there is no bend or twist in the framework as you add the planks. Everything else after you assemble this framework can be built as the kit instructions show. The end result will look exactly as the box cover art in the end. Here's the bonus: by making these changes and corrections, you gain confidence and skill in building that is the foundation of scratch building, and you no longer fear to make changes to your model, because you know that each change is researched and verified that it will improve the model. Once you lessen the fear of making mistakes, you free yourself to add to the model and make it truly your own, and better than just the kit. The satisfaction that comes form this is enormous.
I second this approach~! This is absolutely the most failsafe method to ensure your bulkheads conform to the plans. So very important to get this phase right, as many know, most of the time from "our" own experience! Solid advise Kurt. Thumbsup Thumbsup Thumbsup Thumbsup
 
That is why you have to fair the hull, Rob. Shimming is only done AFTER the hull has been thoroughly faired.
Heinrich. I read your reference on fairing. If I understood what you said a little later, you don't put in filler blocks until you have finished faring the hull. Is this correct?
 
Most of the time builders use filler blocks which are relatively soft wood and easy to sand, like Balsa. The rationale is that if the wood you use as filler blocks is softer than the bulkheads, you first finish the fairing, and then insert the filler blocks.
 
Heinrich. I read your reference on fairing. If I understood what you said a little later, you don't put in filler blocks until you have finished faring the hull. Is this correct?
To add to Heinrich's advice, the reason you add the filler blocks after fairing is two-fold. First, the faired frame edges act as a guide when sanding the fill blocks to match them. You can see where and how much to sand the fillers. You sand until they are level with, and the filler surfaces are at the same angle as the frame edges. Second, if you put the filler blocks in first, you will have to sand away a lot more wood, and you may not see when to stop sanding, and possible make the shape of one side of the hull not match that of the other side. Symmetry is something you observe carefully at the fairing stage, and at the stage where you are filling in low spots with filler and thus evening out the overall curves of the hull. Always check your work after some shaping by taking time to just LOOK at the hull from all angles, then make more adjustments. If you stare at it for more than 20 seconds looking for imperfections, don't worry. It won't burst into flames. The more time spent means a more perfect hull shape.
 
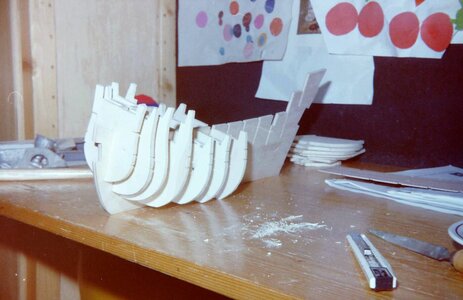
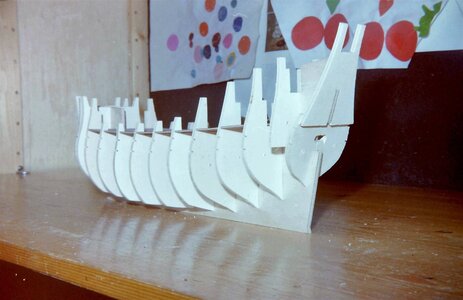
I am glad that my Half Moon in 1980 did not give me the same problems you meet today as she was only my second project. I think I could not have managed that and probably it would have been the end of my model building career.
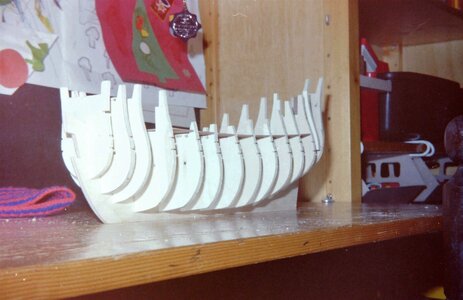
Together herewith some pictures.
Good luck!

1.jpg

2.jpg

3.jpg
 
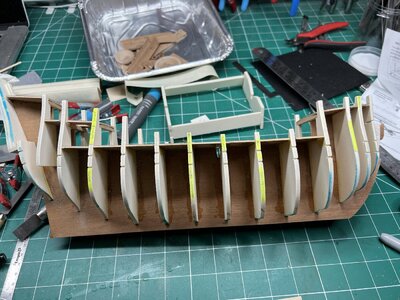
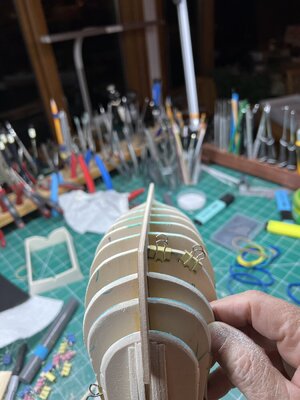
I have one side sanded. Fillers aren't installed yet.

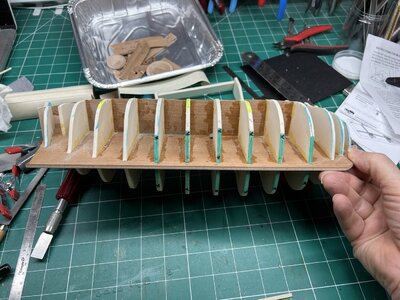
I marked the places that need shims in yellow.
IMG_2183.JPG

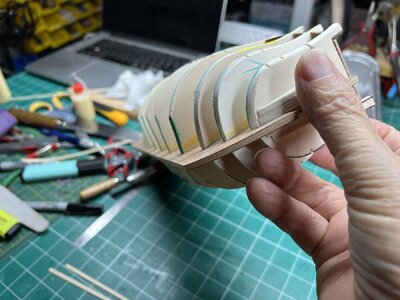
The bottom of some bulkheads are flat. I marked them in green so I wouldn't sand off the edges by mistake.
IMG_2185.JPG

I'm guessng I'll have to trim and bevel the edges of the strakes at these angle changes.
IMG_2184.JPG
 
Hi Rob

IMG_2185.png

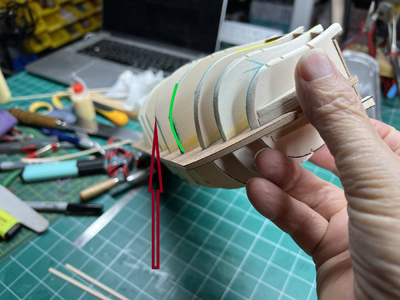
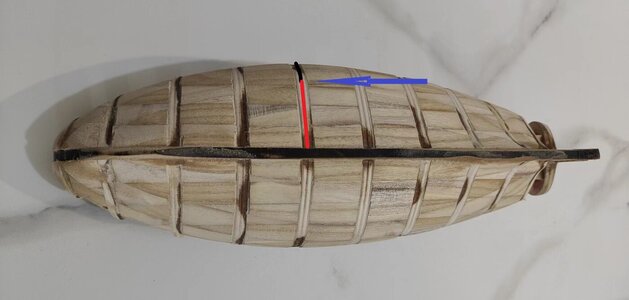
When fairing the bulkheads just keep in mind that you have to fair the WHOLE bulkhead, also at the bottom where it runs towards the keel. (I have indicated this with the green curve). You cannot have "sharp" or definitive edges like I have indicated with the red arrow.

Yes, you will have to taper the planks. My planks on the Willem Barentsz have a width of 6mm. Some of them have been tapered to 4mm, some to 3mm and, if need be, you can even go more radical than that. Forget about the old wives' tale that you cannot taper a plank to more than half its width - on Dutch ships you can taper as much as is needed. Remember when tapering that the tapered ends always butt up against the untapered or straight edge from the previous plank.

Beveling is used to make sure that the planks butt up evenly against each other without gaps or ridges. I only bevel where needed so I would advise to decide on the portions that need to be beveled only after you have properly dry-fitted a plank.
 
Rob, I am not saying change the shape, I am merely advising to shape the squared edges. If part of a plank falls over a square edge ...
 
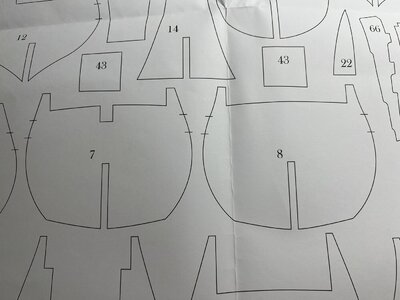
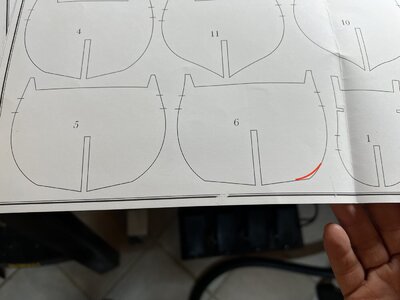
Heinrich. Want to make sure I understand. I have, I think, it's 6 bulkheads with a flat(ish) bottom. Look at the images.

IMG_2186.JPG

I need to do something like this to all of them??
IMG_2187.JPG
 
Rob. I understand your point perfectly. My concern is this though:

IMG_2187.png
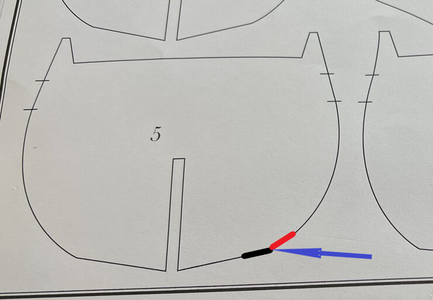
When planking, you will have to ensure that the edge of the red plank stops exactly at the edge of that curvature and that the edge of the black plank begins exactly at the following curvature. Let's say that you manage to do that, the angle at which the two planks meet will require serious beveling to ensure that the two planks butt up nicely and without gaps against each other. Maybe @Seastreet can come in here and give his opinion. I have never built this ship.

微信图片_20220714115222.jpg
On the Willem Barentsz I have virtually the same phenomenon, but where the two angles meet, it is rounded.
 
"When planking, you will have to ensure that the edge of the red plank stops exactly at the edge of that curvature and that the edge of the black plank begins exactly at the following curvature. Let's say that you manage to do that, the angle at which the two planks meet will require serious beveling to ensure that the two planks butt up nicely and without gaps against each other. Maybe @Seastreet can come in here and give his opinion. I have never built this ship."

Yes Heinrich. This exactly what I was saying in my earlier post.
If I use the bulkheads as provided in the kit then - whether coming down or going up with the planking I would need make sure I don't go past the corner with the plank and it would need to be beveled along that edge to match up with the next plank. Good idea... I'll ask SeaStreet what he did.
 
As far as I remember (it was by Christmas 1980, rather long time ago.....) I did not recognise this as a problem. According to my photographs I think I kept the bottom of the 6 bulkheads in the middle of the hull flat, and I probably planked the hull very carefully as indicated by Heinrich. I know that planking has cost very much time, unexperienced as I was.
Jan
 
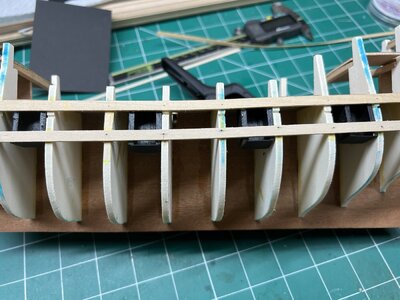
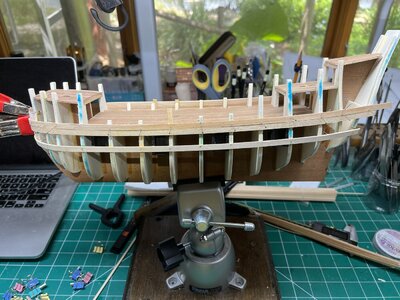
These 1st hull planks are 1.5x5mm. They are a little hard to bend, but getting it done.

Had to attach these two planks to glue in the gun ports.
IMG_2198.JPGIMG_2197.JPG

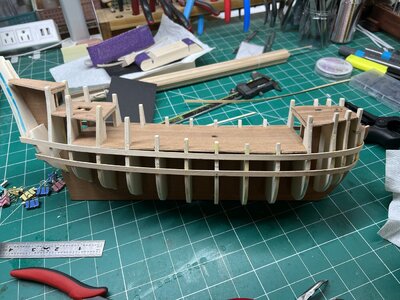
Directions say to plank the upper part 1st. I'll put another row or two of planks. The inside of the bulwark gets planked. Don't know yet if the directions call for this, but I've seen it planked on other builds and looks good. The bulkhead stems sticking up above the deck aren't even on the inside so I'll fix those. Then plank the deck. Don't know what wood I'll use on the deck yet. I have several woods cut and will rip a few thin planks to try out.
IMG_2200.JPG
 
Back
Top