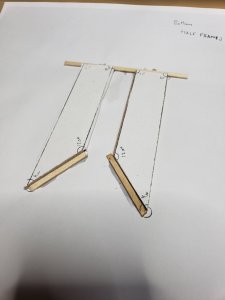
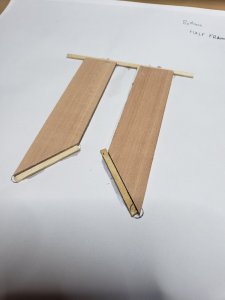
Hannah 1/48 - Lumberyard

Hi Gventura.
Nice to see you are building Lumberyards Hanna, I too are building Hanna I noticed you mentioned the strips of wood are not straight. I solved the
problem by using a piece of wood 18 inches long by 5/8 thick, then the important thing is to get it nice and straight, I then made some wooden
clamps to clamp the wood to using screws. Then take your piece of you are using for your build and clamp it down to your straight piece of wood leaving
about 1/4 of inch projecting past the edge all the way along, then run it through the saw slowly against the guide and cut off just enough to clean up the edge you can if you want to clean up the other side if you want to. I have other Lumberyard boats waiting to build and in all of them the wood supplied
is not straight. Dearest regards JANET


Hey Janet,

Thanks for the info! I've been following some of the photos of your build, it looks really good so far! Very nice frames.

Your suggestion is great, I should have thought about it myself earlier but I didn't and I've already cut everything. All my strips have been cut down to .8" with a little variance. I'm about to finish gluing my guides onto the wood and then I'll start cutting/sanding the pieces. I don't think the slight waviness will be much of an issue as long as my angles are right and the ribs are cut out properly and the bottom piece of each frame is at the same location.

How did you handle the thickness of the frames though. It looks like my frames are going to end up around .1" too thick for the framing jig. Should I just sand down the tops of the frames so they fit properly? I haven't actually checked them against the keel yet, I should probably do that because if they're too thick there I have a different problem.
 
Last edited:
G'day Gventura
Firstly I will be following this build.....good luck with it memattie.
To me, 0.1 inch in thickness for a frame is not too thick, that's 2.5 mm in metric. I don't know what's the correct size for the Hannah, but the Royal Caroline, for instance is quite thick as well....my penny's worth

Hello, welcome and thanks!

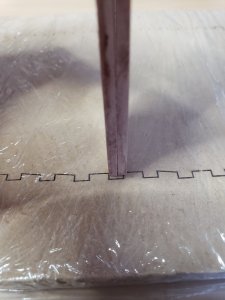
So normally it wouldn't matter to much, but here is the concern.

20190323_102802.jpg

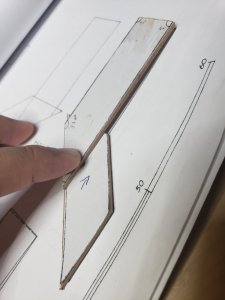
When the frames are glued together they aren't going to fit into the jig.

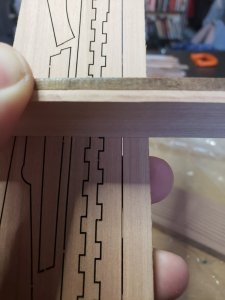
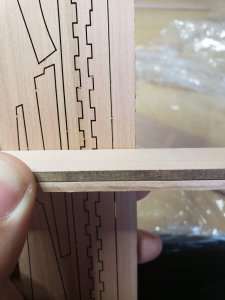
But it looks like they'll fit perfectly fine into the keel. So I'm wondering if they just need to be thinned at the top.
20190323_103121.jpg20190323_103123.jpg
 
Hi You may want to ask DAVE STEVENS ABOUT THAT, I think it is for adjustments you can see how I handeled it if you review my log on the HALIFAX remember the adjustments is on the PART OF THE FRAME THAT GETS CUT OFF JUST MAKE SURE THAT THE FRAMES ARE SQUARE, and check with DAVE HE WILL GET BACK TO YOU, HOPE THIS HELPS. Don
 
Hi Gventura,
I have a Byrnes thickness sander, I sanded all wood down to plus 2thou or .05 millimetre, once all glue has set I just run them through
the thickness sander. If you do not own a sander perhaps a local sawmill may help, it is not to difficult to make a thickness sander if you enter wanted thickness sander into the web you will see that many people have made there own. Making a sander is a very cheap way to own one, a few makers
will sell plans so you can build your own. I cant see that your .1 oversize will make a lot of difference so long as you modify the profile jig or top jig as you
called it, just make sure that if you open the slots in the jig that you use the same side of the slots on all of them. Before I had a sander I used a piece of
glass stuck the sanding sheet down and sanded the frames to size (it is hard work)but do check the thickness of the frame all round.
Dearest regards JANET
 
About a thickness sander, if you are like me and age is showing (81 next month) not what it once was eye site etc, time involved) I bought what is called a LUTHERES BEST FRIEND used by instrument makers(GUTARS, VIOLINS etc.) it cost $220.00, it may not get the exact dimensions you guys are working at but can get it pretty close, check my thread on the machine in the equipment section and you can see what I am talking about also can be used as a SPINDEL SANDER so 2 machines for the price of one. Don
 
Thanks for all the feedback on the matter.

I'm going to take a wait and see approach on the thickness and on the jig. I'm about to start cutting and shaping the blank templates. Once those have been glued together I take the final thickness measurements of all of them. My guess is that I'll probably do like @JANET suggests and tape some sandpaper to Plexiglas sheets that I have and sand the templates down to the right thickness.

After that we'll see just how much the jig is off from the rest of the ship. It may be as simple as making the slots in the jig a little bigger, or once everything is put together it'll all fit nicely.
 
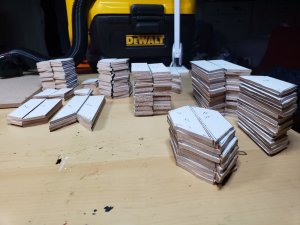
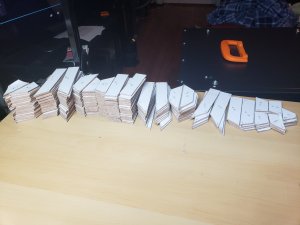
Here we go. Finished cutting out all the blanks from the strips.

20190325_212121.jpg

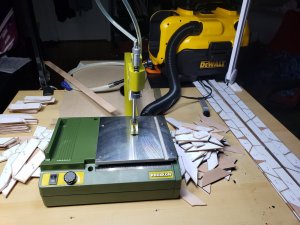
I used the jig saw because it was just so much easier than trying to change angles on the scroll saw all the time. I think you lose a little more wood with the scroll saw but not enough to really make a difference.

20190325_222123.jpg

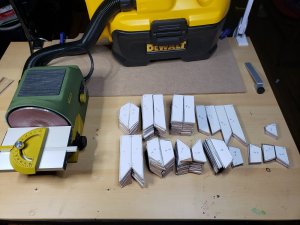
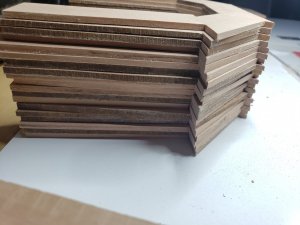
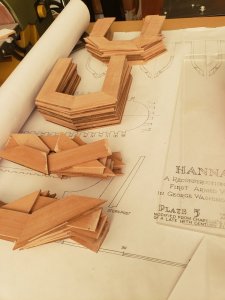
Here is everything stacked in their appropriate piles. Comparing them to the original outlines I made they look really good. Next I'll be sanding them down to their proper angles and then comparing them to the plans.

20190325_231148.jpg

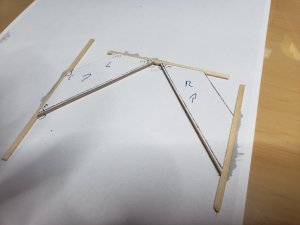
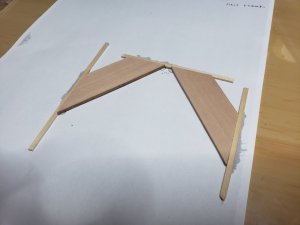
I think I need some sort of jig for these. I want each one to come out the same size and be able to check the angles on each piece without having to eyeball it on the plans. I'm considering taking some extra balsa strips and gluing together a quick jig, just to make sure everything fits properly. Otherwise we're looking good. Something I did notice is I don't think the pearwood liked the rubber glue very much, unless with previous woods the pear seems to have really absorbed the glue, when I sand down the final blanks I'm thinking I'm going to need to sand from the top after I remove the paper. Shouldn't cause any problems, especially since they're a little too thick anyway, but just a word of caution. I'm also using cotton gloves when handling the wood, as mentioned before it's really easy to leave oily finger prints on the wood.
 
first measure the notch on the keel and the notch in the jig, they should be the same if so then just sand down the thickness to the frame at the top.

We should be talking just thousandths of an inch here so making adjustments is well within building tolerences

there is the "hand of man " involved like more glue between halves of a frame compared to another frame,
also there is a + or - in sanding the framing stock the sander has a .012 leeway

this is a hand built model not a glue part A to part B and your done. There is involved the process of "fitting"


Thanks Dave!

Yeah, I'm not too concerned about the difference, just wanted to make note of it and see what people before have done. Everything has been going smoothly and I'm very happy with where things are going forward.
 
Hello, welcome and thanks!

So normally it wouldn't matter to much, but here is the concern.

View attachment 84619

When the frames are glued together they aren't going to fit into the jig.

But it looks like they'll fit perfectly fine into the keel. So I'm wondering if they just need to be thinned at the top.
View attachment 84620View attachment 84621
Hi Ventura, as regards the keel in your Lumberyard build by the time you have cleaned the burn from the laser you should find
that there in room to fit in your frames. If you look carefully at the cut outs in your keel you will notice that the slots are wider at
the bottom than the top, by the time you have carefully filled the slots you should find the frames will fit. However if the frames are a bit
tight just try to file a small amount of wood equally both sides of the slot just take your time. Regards JANET
 
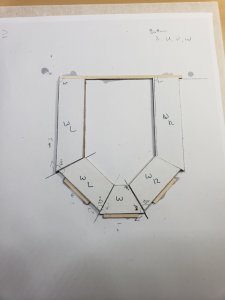
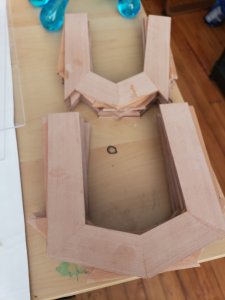
Well I finished cutting out the blanks and did some clean up on the edges with some fine grit sand paper. Also used some compressed air to clean off the saw dust that got stuck in them. They look good, they look uniform. I did have to go back and make a few more that were damaged, and as I'll point out I did have to go back and make some new ones where the angle was wrong for some reason.

20190331_192749.jpg

First up, and these look good. They're the right length, they're square, and the only have a little extra width on the bottom of the bottom piece. Of all of the pieces I think these really look the best in terms of fit.

20190331_192902.jpg

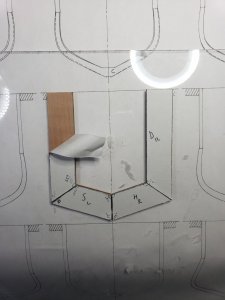
I tried a couple different ways of gluing everything together. First I made a jig to check overall fit. The bottom of the A, U, V, W, did need some extra cutting to make it fit properly. But in the end very nice fit. All four of these were glued and cleaned. By cleaned I'm talking about scrubbing them with a wet Q-tip to get the rubber glue and excess wood glue off of them.

20190331_195912.jpg

This next part is where I started running into my first set of issue. As it turns out, not all my angles were perfect. This was my biggest fear. The bottom of these blanks fit perfectly and their angles are right, but the top pieces weren't cut at the right angle, it seems too much was cut off one side making them too steep. And given that all of them are this way I was in a little bit of panic that I may have just made a huge mistake, because there isn't nearly enough wood to remake an entire set of the long pieces. But, I tested fitted one and overlayed it on ribs it will be used for, and despite the wrong angle it fits. And because all of them are the same angle they will all be uniform in their wrongness haha.

20190331_223623.jpg

I'll be continuing on my journey of gluing all of these blanks together and cleaning them off. After all the blanks are glued I will be sanding them down to evening them out. There are some pieces that are a little thicker than others. I think that once this is done it will remove any issues I may have had in the early thread of fitting into the jig. See, so many of these things work themselves out.
 
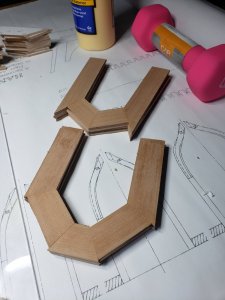
Finished gluing all of the blanks together.

20190402_234232.jpg 20190402_234938.jpg

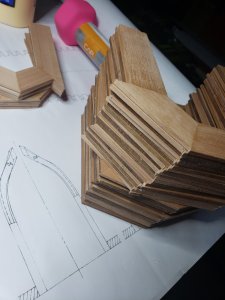
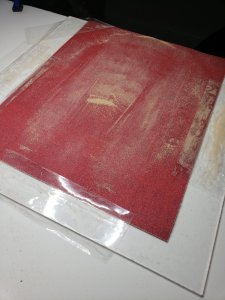
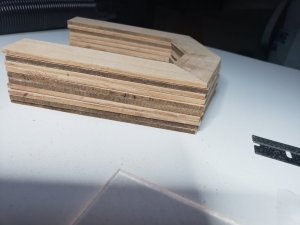
After being glued together they needed some clean up. They needed to have the excess glue cleaned off, the rubber glue needed to be removed, and they needed to be flattened on one side. After gluing the pieces together each one was then placed under 1'x1' plexiglas with a 3lb weight on top, this did a wonderful job of flattening out the blanks, making the bottom side of each blank perfectly flat and leaving the uneven sides all on the same side. Which made the next step much easier.

20190403_012633.jpg

To try and make everything as flat as possible I put down a new piece of foam core for a flat surface, put the plexiglas on top, and then taped the 120 grit sandpaper on top.

20190403_012644.jpg 20190403_012649.jpg

I'm still working but now the pieces are coming out very smooth and sit on top of each other very nicely.

Its a balance though, I can't sand off too much or they'll become too thin. My earlier concern about the strips being too thick wont matter going forward because every single piece will need to be sanded with this grit on both sides. Once I finish sanding then I'll need to move on to gluing the pieces together and that is the tricky part. The blanks aren't perfect, as mentioned, as in they don't follow the outline on the plans perfectly. So I need to figure out a way for them all to still be uniform before I cut anything.

I'm considering cutting out the keel slot and matching them all to that and sanding the tops down to the same length. We'll see what looks best, or if there are any recommendations out there.
 
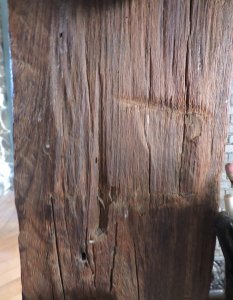
from the studies done on shipwrecks it was found the framing was not evenly spaced nor was the timbers all the same. Everything had a + or - of a few inches.
the idea of a model built perfect and everything done exact is just a modeling concept, sanding the keel notches to fit each frame is actually closer to actual building practices.

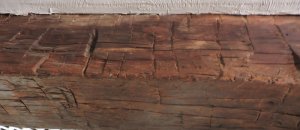
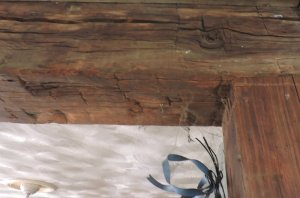
there is two types of build one the builder sands and actually polishes the final surface so there is no trace of tool marks or sanding. The other style is leaving the surface a little rougher which to me gives the model a hand finish, when looking at real ship timbers there are cut marks, personally I like a little "natural" look to a model.

this is really what the timbers looked like

DSCN9256.jpgDSCN9257.jpgDSCN9258.jpg


When Hahn drew the frame blanks he did leave a little room so the frame patterns should fit the blanks
 
Last edited:
Back
Top