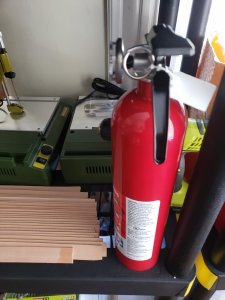
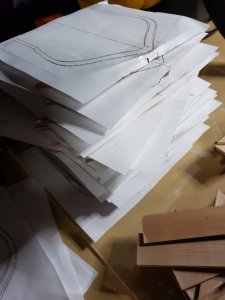
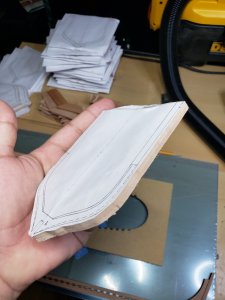
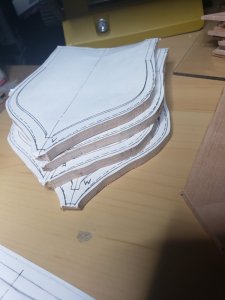
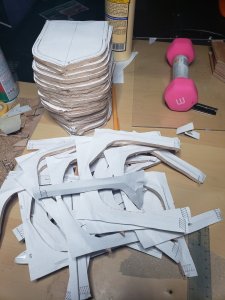
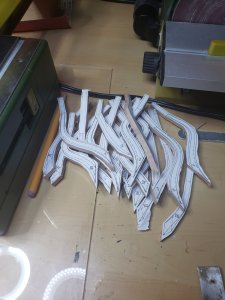
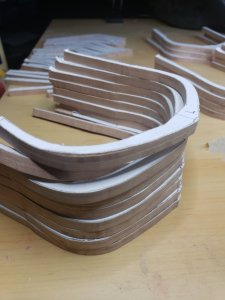
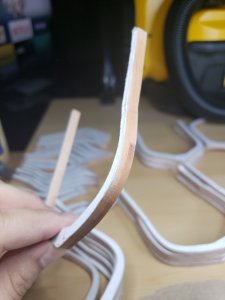
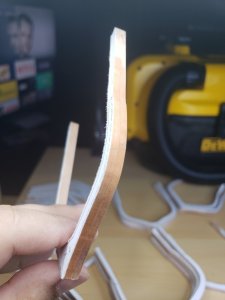
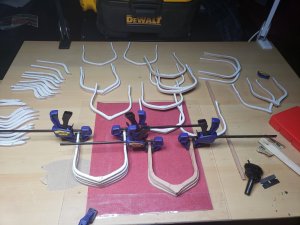
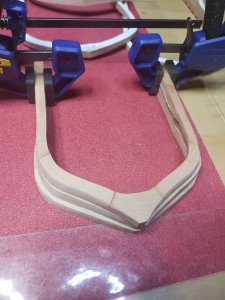
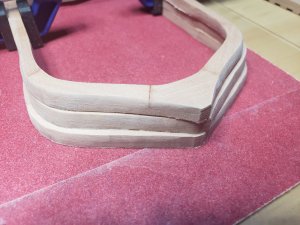
You will produce a lot of abrasive and sanding dust

Maybe you can show later on the work with your spindle sander.....would be interesting
I will try and do that!
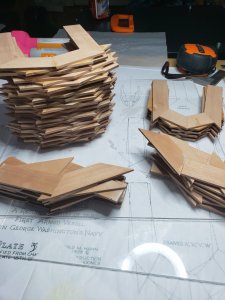
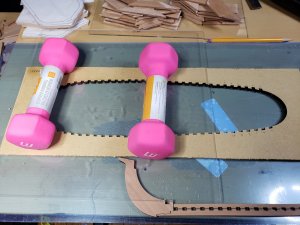
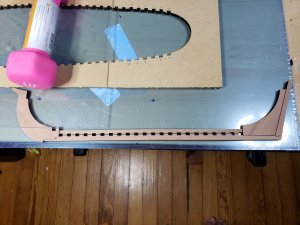
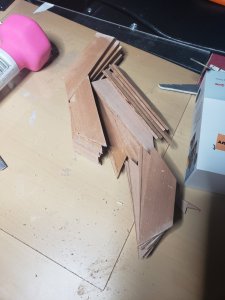
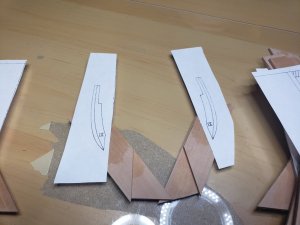
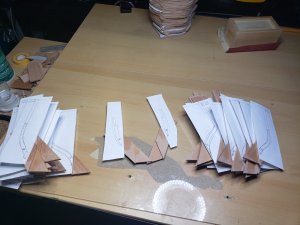
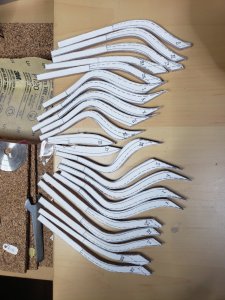
In the meantime work continues on the half frames. So to make the blanks for these you need 44 pieces, 4 different cuts of 11/11/11/11 to do it the way the plans lay it out. Because I had made a mistake and didn't want to do more cutting than I needed/waste any more wood I did 3 different cuts, 11/11/22. The bottom piece of both sides are the same cut just shorter on the right than on the left. I just didn't shorten the right side, as you'll see below.
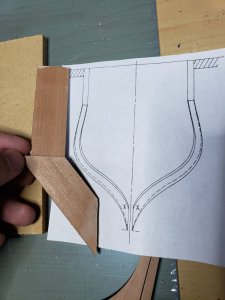
So that left me with needing one new cut of 11, and 11 more bottom pieces. The new cut is straightforward just a squared off piece. Which gives you this:
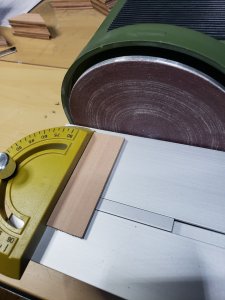
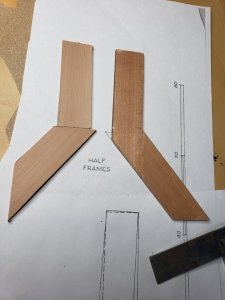
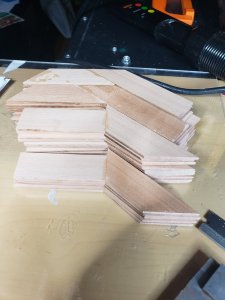
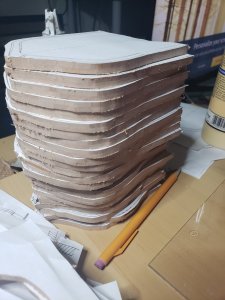
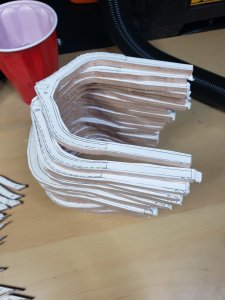
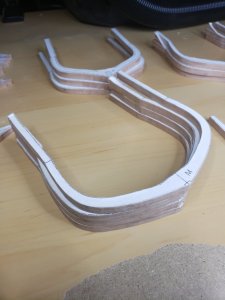
The color differences are because the right still has the residue from the rubber glue on it. This is my first time reading plans, as this is my first build from plans, but it wasn't really intuitive at all that this was supposed to be the layout or the cut. You live and learn; next they'll be sanded to even the thickness like the other blanks were and glued together.
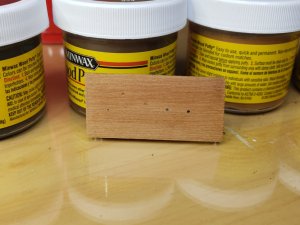
I don't think I'm going to make tree nails, instead I will just simulate them, so I've also started experimenting with different wood pastes. A method on saw being used on previous builds most recently:
Péji said:
- For the filling, it is wood paste, color "Wenge".
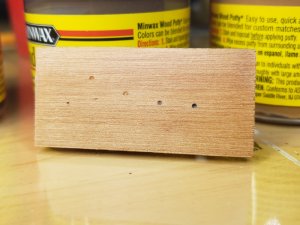
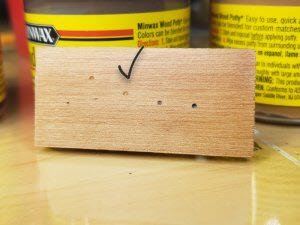
Here I tried four different colors.
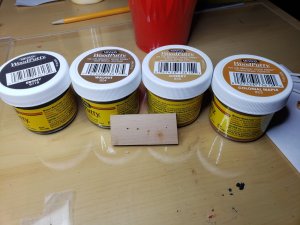
Ebony, Walnut, Cherry, Colonial Maple.
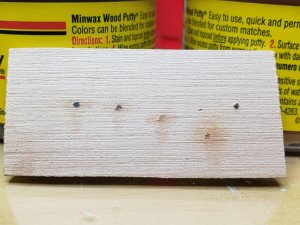
The drilled holes need to be bigger. But the decision that needs to be made is how visible I want the treenails to be. The ebony is a wonderful contrast and will look good when bigger. But the Cherry is subtle like it is in the photos of all the other Hannah's. Cherry is probably the color I will go with, happy to hear opinions!
