Hannah by DocBlake. 1:32 Scale - Scratch Built, Plank-on-Frame, Admiralty Style

Thanks, guys!

Kurt: You have to make sure both rubber band are around the frame before gluing. Then the come under the jig, outside, then up and over and loop around the top timbers. Cut with a scissors when no longer needed.
Thanks for the info, that is what I thought you were doing, but just wanted to check. I enjoy following along on your builds, they show me what I can do if I put my time and talents to work!
 
Thanks, guys!

Getting ready to make a little more sawdust. Templates for various parts rubber cemented to their boxwood blanks. Shown are the rudder, wing transom, 2 part rising wood, 4 part keelson, stem and stern deadwood and the sternpost. I'm trying to align edges where straightness is critical to the straight edge of the blanks.


View attachment 128760
Doc, how do you know how thick the sheet of wood should be? Do you have different thicknesses? I've never done a scratch build before. It looks interesting.
 
Doc, how do you know how thick the sheet of wood should be? Do you have different thicknesses? I've never done a scratch build before. It looks interesting.

The plans will tell you how thick the parts need to be. Hannah was a small ship. The double frames are 9/32" thick (two thicknesses of 9/64" each) which is equivalent to 9 scale inches... just about right. A Royal Navy ship of the line framed with both single and double frames might have the single frames one foot thick, the double frames 2 feet thick. Smaller frigates could have single frames 8" and double frames 16" thick.
 
The plans will tell you how thick the parts need to be. Hannah was a small ship. The double frames are 9/32" thick (two thicknesses of 9/64" each) which is equivalent to 9 scale inches... just about right. A Royal Navy ship of the line framed with both single and double frames might have the single frames one foot thick, the double frames 2 feet thick. Smaller frigates could have single frames 8" and double frames 16" thick.
Thanks. That explains things
 
For what you describe as a scratch build and milling your own lumber I am in awe and sit at your feet as allowed. What dimensions were the lumber that you started with to mill down to your working sizes? I am still learning how to use some of the expensive toys that I bought for model work and hope to attain an approximation of the accuracy that you have. Great project. PT-2
 
Thanks, guys!
PT: I have a full sized workshop for furniture building. Most of the boxwood timbers start out as about 3" X 5" X 36". I use a band saw or thin kerf blade on the table sat to reduce them to just under 1/32" greater than the final dimension. I take them down to final with my Byrnes thickness sander.

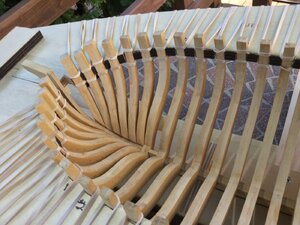
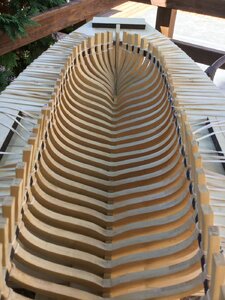
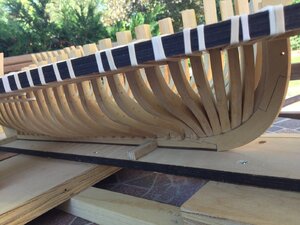
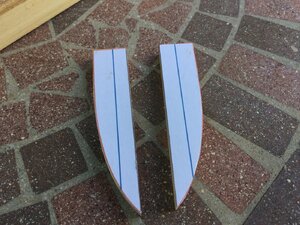
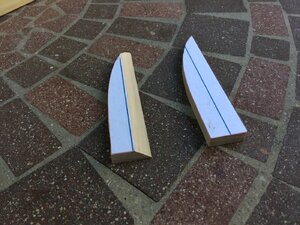
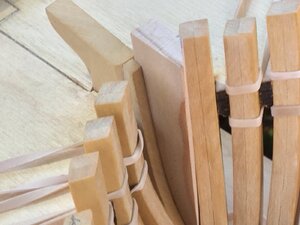
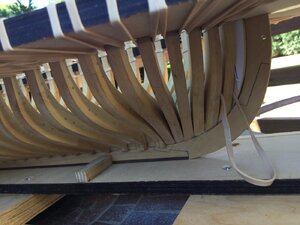
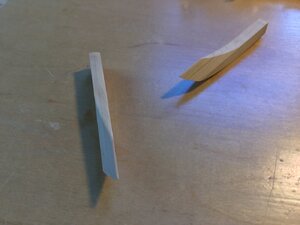
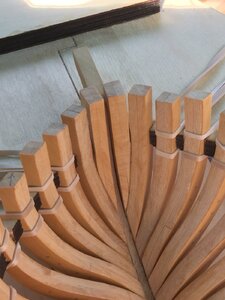
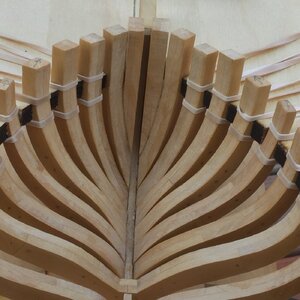
I finished gluing the 6 pair of forward cant frames in place, again using epoxy. Bob Hunt's lofting of the frames is pretty darned goo so tons of fairing won't be necessary. I cut out the blacks for the hawse timbers. I made a practice pair out of pine to check the fit. There is quite a bevel and a lot of waste needs to be removed. I'l trim the inside before fairing the inside of the ship. I'll save the outside for later on.


IMG_1745.JPGIMG_1745.JPGIMG_1747.JPGIMG_1749.JPGIMG_1750.JPGIMG_1753.JPGIMG_1757.JPGIMG_1758.JPG
 
Thanks, guys!
PT: I have a full sized workshop for furniture building. Most of the boxwood timbers start out as about 3" X 5" X 36". I use a band saw or thin kerf blade on the table sat to reduce them to just under 1/32" greater than the final dimension. I take them down to final with my Byrnes thickness sander.

I finished gluing the 6 pair of forward cant frames in place, again using epoxy. Bob Hunt's lofting of the frames is pretty darned goo so tons of fairing won't be necessary. I cut out the blacks for the hawse timbers. I made a practice pair out of pine to check the fit. There is quite a bevel and a lot of waste needs to be removed. I'l trim the inside before fairing the inside of the ship. I'll save the outside for later on.


View attachment 172775View attachment 172775View attachment 172776View attachment 172777View attachment 172778View attachment 172779View attachment 172780View attachment 172781
Hi Doc
it's looks really great
ThumbsupThumbsupThumbsupThumbsup
I will continue to follow & learn allot
 
Thanks, guys!
PT: I have a full sized workshop for furniture building. Most of the boxwood timbers start out as about 3" X 5" X 36". I use a band saw or thin kerf blade on the table sat to reduce them to just under 1/32" greater than the final dimension. I take them down to final with my Byrnes thickness sander.

I finished gluing the 6 pair of forward cant frames in place, again using epoxy. Bob Hunt's lofting of the frames is pretty darned goo so tons of fairing won't be necessary. I cut out the blacks for the hawse timbers. I made a practice pair out of pine to check the fit. There is quite a bevel and a lot of waste needs to be removed. I'l trim the inside before fairing the inside of the ship. I'll save the outside for later on.


View attachment 172775View attachment 172775View attachment 172776View attachment 172777View attachment 172778View attachment 172779View attachment 172780View attachment 172781
That makes this old troglodyte wonder if he can ever make anything nice. All I have is a couple of Exacto blades, old tweezers, a pair of cuticle scissors, and some glue. Oh yeah! I did pick up a dremel. Don’t know how I would have done it without that.
 
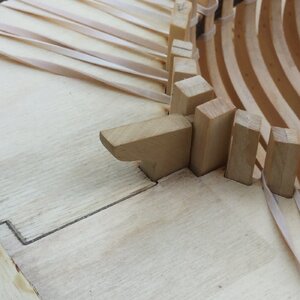
Once I was satisfied with the steps to make my practice hawse timbers, I made the real timbers out of the boxwood blanks. I refined the fit and set them in place. You can see that the shape is complex. Take your time with this series of steps. Before I glue the hawse timbers in place, I will shape the outboard surfaces so only minimal fairing will be needed later. There is still a bit of wood to hog off of them.


IMG_1774.JPGIMG_1778.JPGIMG_1780.JPGIMG_1781.JPG
 
Things look real good Dave!!!

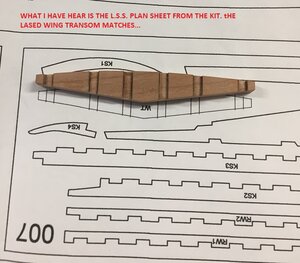
And to answer your question with a question...... The stern area is your wing transom fitting the jig and/or how the stern frames looking?

Remember I bought his kit. So my transom was lasered. Completely wrong size! Plus the 2 end frames fitted outside the cant frames! yes you are reading right. When I read your question it did not surprise, I was waiting for that to pop up!!!
 
Back
Top