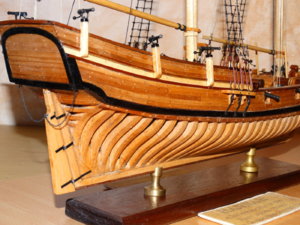
Hannah by DocBlake. 1:32 Scale - Scratch Built, Plank-on-Frame, Admiralty Style

In my defense (excuse)this was a learning exercise using a practicum. Never used lights ? really appropriate for this type of minimalist model, but Victory bow is up next and this will lend itself to illumination- so I'll certainly begin to study (check out blogs on this site). ALL comments are appreciated .

I actually meant "lights" in the sense of windows in the transom. "Sultana" had transom lights, and was described by Harold Hahn as the "smallest (schooner) of them all".
 
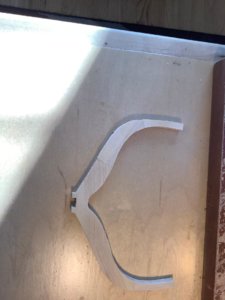
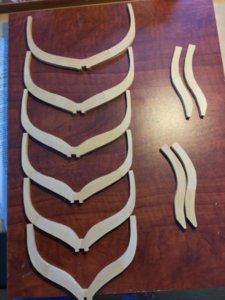
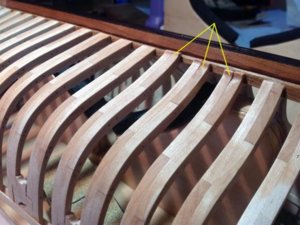
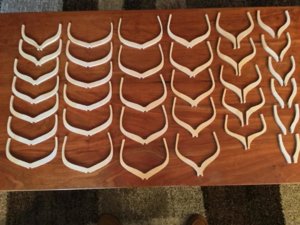
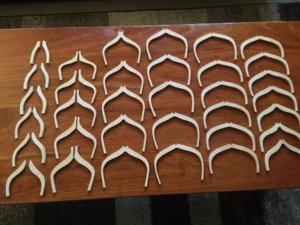
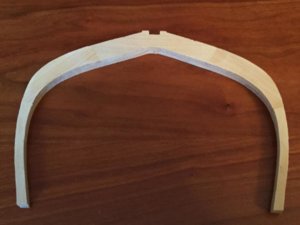
Lots going on, so I'm not posting as often. I started building the frames. They are "sistered" and made of boxwood. The little tabs on the floors of the frames help to strengthen the frame and prevent breakage while handling, finishing and installing them. They are trimmed off after all the frames are installed so the frames flow smoothly into the rabbet, This is a Bob Hunt idea, and it works very well. The frames have not yet been sanded, bevel or finished in any way. Just glued together after cutting from their billets.


frames1.jpgframes2.jpg
 
Hallo Dave,
I am happy to see that you start now with the frame construction.
I have one question related the form of these frames.
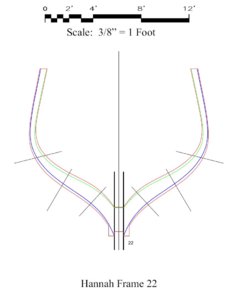
We can see on your photos, but also on the drawing you posted some time ago, these steps close to the later keel.
frames1.jpg plans3.jpg

Later on, off course they are removed, so they are only for temporary reasons
DSC05452.JPG

Please be so kind to explain, what is the reason to have them?
 
Hi Uwe!

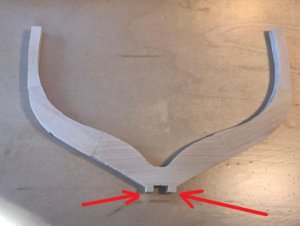
Those tabs are to protect the lowest part of the floors from any damage when handling and installing them. The tapered "saddle" that fits into the notches on the rising wood is very fragile. This protects the parts from splitting off. The tabs are removed later. Here's a photo of my 1:32 AVS showing the process of trimming.

tabs.jpg
 
Those tabs are much less necessary at the larger scales such as this 1:32 build. At 1;48 they make a lot of sense. The plans were drawn at 1:48 and we enlarged them to 1:32, so the tabs stayed!

The more I look at that transom, the more tempted I am to add a couple of windows ("lights" :):):)) to add some interest!
 
The more I look at that transom, the more tempted I am to add a couple of windows ("lights" :):):)) to add some interest!
The Hannah is not often shown on photos of model from her "back-side" - not so interesting without any windows - it seems, that there were no, or?
 
Finally completed all the frames. They are not sanded, beveled nor treenailed. There are over 300 parts making up the futtocks of the frames: 23 full frames, and 11 pair of half-frames and cant frames. All of boxwood. I wore out a dozen scroll saw blades cutting through that stuff. Fortunately the blades are cheap: about $0.50 a piece. The last photo shows a closeup of one of the full frames. I didn't use the Hahn method of cutting them out. All frames were constructed using individual futtocks assembled over a drawing of the frames. It IS possible to get tight joints between the individual timbers using that method.


futt1.jpgfutt2.jpgfutt3.jpg
 
Good progress Dave, good result so far, looking forward to the next show. Greeting-
 
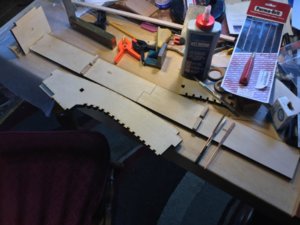
Rather that hand cut the building jig, My good friend Mike Shanks agreed to laser cut it for me out of some very nice 3/8" Baltic Birch plywood. The base of the jig has a pair of "clamps" that hold the keel straight. The stem and the sternpost fit into notches in the top , as do the arms of the frames. The principle is tyhe same as the Blandford build jig. Thanks, Mike!!

Jig1.jpg
 
Back
Top