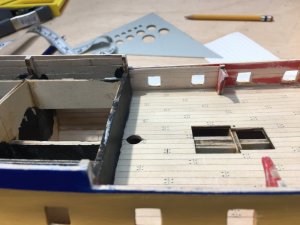
Hermione Lafayette by Artesania Latinia 1:89 Scale

Joined
Aug 11, 2017
Messages
60
Points
103

Location
Fairfax, VA
I started this build in August of 2017 and had a build log on Blogger, but the app I used no longer works so I am transferring the log here--plus seems like a nice community:). I have a few post to catch up with, so I will add a post or two a day until I catch up. I lost some pics of my phone of some of the work, so there will be jumps.

I chose this kit for a few reasons. First, I like the French ships. Second (and perhaps most important) my wife like how it looks. Third, I was on the Lafayette class of boats, so that was part of the decision, sea stories of use-ta-fish are always fun. Even though the original Hermione meet her fate grounding, she did participate in some naval battles and did bring Lafayette to the colonies during the revolution.

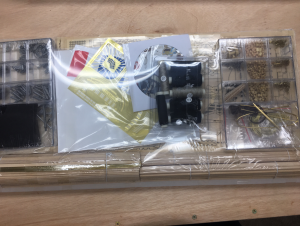
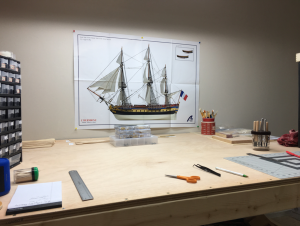
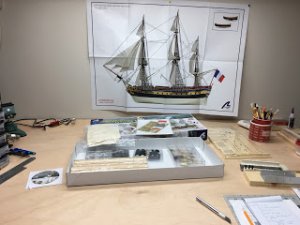
I am a bit particular with inventory and sorting, so I spent the better part of the weekend going though the kit. Right off the bat--I am no fan of anything on a DVD, Blue-Ray, Thumb Drive, and so on that requires me to make it--I want paper to spill coffee on, write on, lose and have to find, and so on. The kit did come with the full size plans only (on the wall, pic below), but all other documents are on the DVD. Back to my inventory habit, the inventory was not a list, but pictures on a blue background. While it was only 17 pages, I would have preferred a printed inventory with a list and pictures. I am ok with no paper build manual, I don't keep my computer at my work bench, and I would not say that I follow the build directions 100%. The paint colors are on the website, and I do plan on painting. Sail quality are like my my last kit, but I am going though my mind if I want to furl, or just no sails.

A few quirks in the inventory. The capstan or support ribs are wrong size, no big deal to make new ribs. Real picky is that 2 rolls of the black thread is listed at 0.75 but supplied at 0.80--perhaps I should mention that I worked in QA to help pay for my drinking habit while going through college. There was no quantity for the decking (part 17, 110 was my count) and part 167 (3 pieces).

Box Ready to be Unpacked
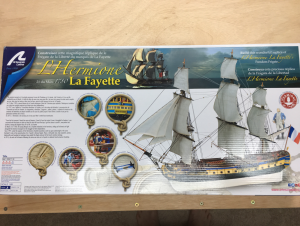
Box.png

Packaged quite well
2Contents.png

Said Capstan and Ribs
3CapstanandRibs.png

Clean Workbench ready to start
5ReadyToGo.png

Upacking.JPG
 
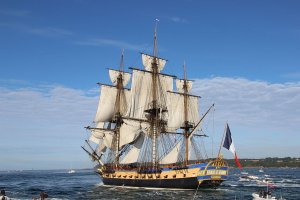
I am getting old.......Since the morning I was think about from where I know this vessel "L´Hermione".....
and now I remembered about the beautiful Replica ship laying in Brest
https://en.wikipedia.org/wiki/French_frigate_Hermione_(2014)

2015-08_L'hermione_à_Brest_(20492857228).jpg
taken from wikimedia

which was build based on the original Concord class frigate from 1779
https://en.wikipedia.org/wiki/French_frigate_Hermione_(1779)

BTW: there are several films and photo to be found in the web about the built of the replic.......
Sorry for high-jacking your log - Now I am much more interested in following your building log :cool:
 
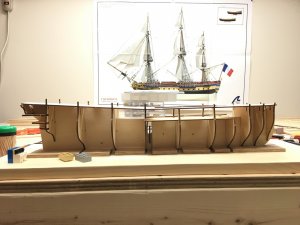
Keel Laid (post from August 11,2007)

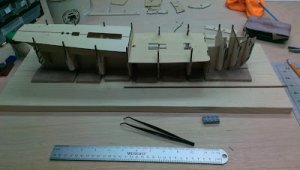
Glued the keel together, no issues except I have a piece of scrap I have been saving for such a purpose and didn't get to use:) Fitting up the bulkheads, and decks to start checking alignments. Some of the bulkheads have quite a bit of play, so getting them centered and square before filling and gluing. Made the keel holder out of scrap I have from some shelves I made a few years back--it is nice and flat.
KeelGlued.JPG
 
Bulkheads (post from August 11, 2017)

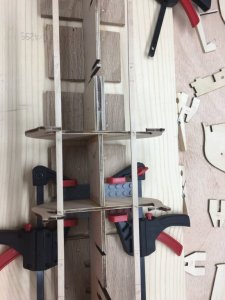
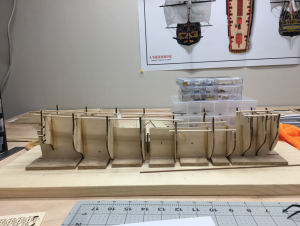
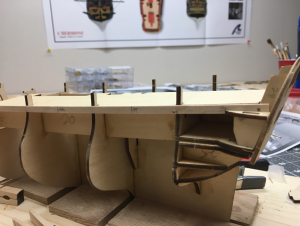
Started to glue on the bulkheads. Some have no wiggle, some have a few mm wiggle, none are too tall, a few sit about 0.5 to almost 1 mm low. Did some shimming on those to get at deck level. At the aft end, there is just a slight misalignment of the false keel near the last bulkhead, but does not seem like will impact the overall build.

KeelOff.JPG

Top of frames, look off center from the angle but it is good.

BulkheadTop.JPG


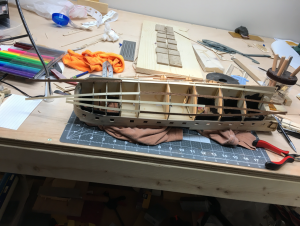
Overall, I had to shim 3 bulkheads. Frame 9 is held in the forward part by a small piece of the false keel, it breaks easy and I used glue and a pin to hold in place.
Overall.png
 
Main Deck (work from a few weeks in August).

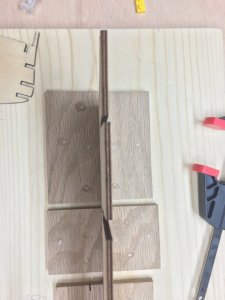
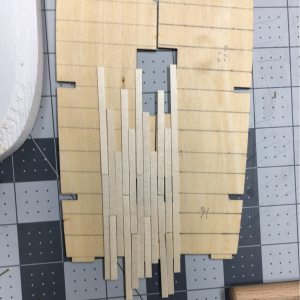
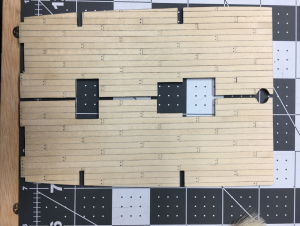
I will use a pattern of 13524 for the deck planning. I cut the deck planks to size, about 65 mm. The manual has planks at about 68, so 65 seems a good round number. That will be 15mm sections.

Deck in place to check fit, get reference lines drawn.
1502550862789.jpg


Reference line drawn, checking fit of planks.
planing.png

Started to do pencil marks. On the forward part, I was experimenting, hence the stray marks that will be hidden by the forecastle bulkhead.
maindone.png

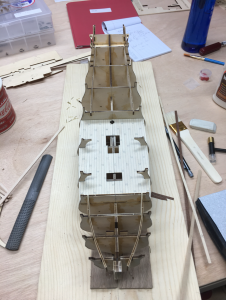
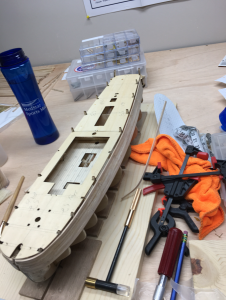
Main Deck Installed (took place later, but put pic here). Not happy with install, a bit wide in the center.

mdin.png
 
Aft Supports (More work in August, it was productive)

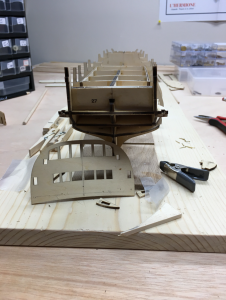
I curved and did a fit of the false part of the aft structure (sure has some name, but part at the very back, sitting below the hull in the pic below). The various parts have a bit too much play, so that is why I went with a test fit before setting with glue. From this pic, the hull looks curved but it is not.
aft1.png

Temporary put a plank in to fit the last two parts. These will be external much later in the build. So fitted now so won't have to fight later

aft2.png
 
Bulwarks and Wale (Into September)

Started the wale on up. Nothing to note, but I am always slow on prepping the bulkheads for planking--like molasses in the winter and I am slower at painting. Which brings me to that with the hull to be painted I was not too meticulous, and just following the supplied instruction (later, I found the template for the gun ports should not be used).

bul1.png

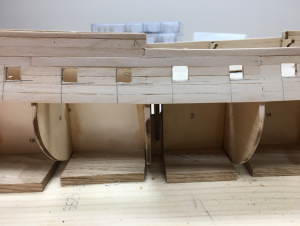
Here are the gun ports roughing in, and are too low, I did not notice at the time. The horzorantial line was not parallel with the deck.
gunp1.png

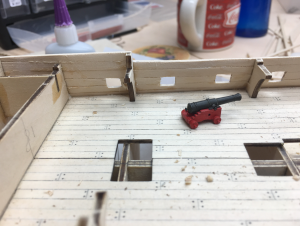
I even had a a cannon all made up, but did not notice the fit was off... You can also see the center of the main deck gap is a bit obvious...I like pictuers that are a bit further out as I see every flaw in this picture:)
gunp2.png
 
Start Planking (This was an exercise though most of the fall)

Finally finished gun ports and off to plank. Battens in and set. Next will be measurements. The manual has a guide that is cut to fit (many sharp ends) and that looks like an easy way to go. But, even though I will paint the hull, still gonna do planking as what is normal. The exception will be the garboard strake; there is no rabbit and did not seem readable. So, I did measurements with a 10 mm garboard, I will put in one 5mm strake then just fit one next to what would go into the rabbit. I could have bought a 10mm strake or tried to glue 2 5 mm, but this seemed like an easy solution.

startplanking.png

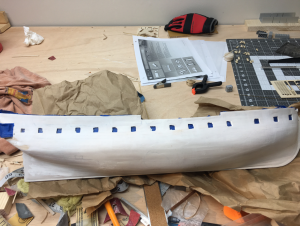
Primed and filling in a few trough spots (my dad was an autobody man, so took some of the experience working with him). After the plakining I put on modeling paste, sand, paste, sand, paste... and then a layer of gesso. Made sure some my aft parts fit. This was around December 2nd (so I took about 1.5 months to get this done). I still was oblivious that I would need to redo the gun ports. I started gun carriage assembly for when I had only a little time on my hand--station in the back right of the pic.
plankdone.png
 
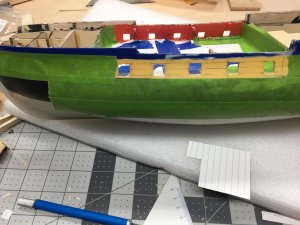
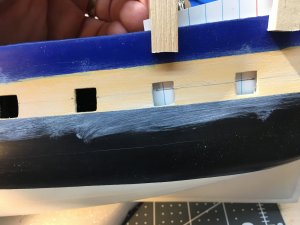
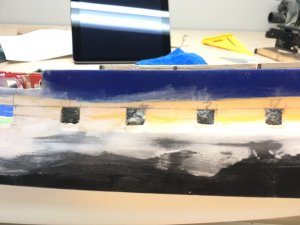
Lost a lot of pics, so we are up to mid-April and this is the only pic. I had "finished" painting and was checking the gun ports and well crap the ports are too low (did some inboard planking as well (the red). So in repair mode. I had to decided if I wanted a smooth finish with the repairs, or leave some imperfections. So, I will just do what I can and let the imperfections show up as an artistic license, but try to keep real.

Note, I paint with brush and artist acrylics. My son asked why, and I said 1) It was how I did it in the Navy, and 2) For some sick reason I like it. I may not get the best finish, but to me it looks great...I probably sanded the paint back to wood a few times and with the gun port fix I will again. For the Hull color, I mixed white, some black, and some yellow. Made a big batch and keeping in an good storage jar.

To redo the gun ports I took some carriages I had built and then put on the main deck and determined the center of the business end (put a tooth pick in the business end and had marked the center of the toothpick). From there, I measured 4.5 mm up, down, aft, forward. Then set the right angles with the bulkheads for the vertical cuts, and measured from the deck for the horizontal (and a bit of eyeball)--I think I drew (below is first draft) and redrew a few times. For the psudo-ports I measured down from the top planks after determining (yea for math) how far down the center should be (and some eyeballing again). Tomorrow I will post of pic of where I am at.

PS--the green tape is Frog tape--I like it better than the 3M.

crap.jpg
 
Love the pattern of your deck planking. Very nice.
 
@bikepunk ,
very interesting log and many thanks for sharing with us......I will follow "the old" posts and looking forward to see the actual status.....but step by step.....we want to see as much as possible
 
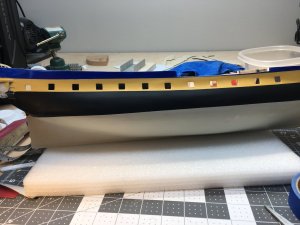
Here is today picture of the starboard side. I just put on a coat of yellow, with my eyes I really need the colors to see how things look. The gunports will need minor tweaks as I put in the trim (it is red). I will do a few more coats of yellow and then work on the port side, I will have pics of that progress.

Thanks for all your comments--wish I would have just done the log here in the first place:)

image1(1).jpeg
 
.........—

Thanks for all your comments--wish I would have just done the log here in the first place:)
]
It is never too late......we are happy and glad, that we can follow an interesting building log, and there is never the need to start the log beginning with the first activity at the model........ good work
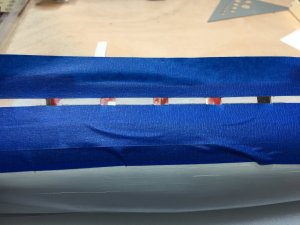
 
Started to correct the port side.

Started with sanding down and apply some Gesso to add a background for pencil marks.
IMG_2060.JPG

I use cheap blue tape for reference lines. Don't keep it on for long. I have two test gun carriages, I use both to get the business ends in center.
IMG_2061.JPG

With a toothpick (cut to fit) and center hole about. In addition, I checked with the casting marks (seemed in the center as well), then mark the hull. This will be the main reference line as 1) It will measure the actual cannon barrel in the center for looks, 2) The main deck is in, so I can use the two carriages as a reference. If I wanted to get a bit precise (didn't see the need), then I would have built each carriage and set the port holes for each; however, that seems too exact and may look abnormal in that the natural flow may get lost.
IMG_2065.JPG

After marking the centers (forward and aft), I put the blue tape across each line, then draw a line across using the tape as the guide.
IMG_2067.JPG

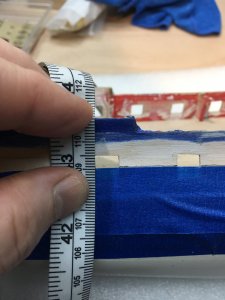
From there I used my handy vinyl tape to measure up 4.5mm (again, total is 9 mm from top to bottom) and mark again on fwd and aft. I know the 0.5 is a bit odd as the pencil is 0.1 at best, but hey gotta try.
IMG_2068.JPG

I put more blue on and do two things. 1) Using the vinyl tape I check the gap at 4.5mm and 2) Draw a reference line.
IMG_2070.JPG

After this I take the tape off and assess how the top is: I look at how out of aling these will be from the stbd side (and if it matters), and if I need to put in filler--that will be the next post.
 
This is the last part of my notes on how I fixed my gun ports.
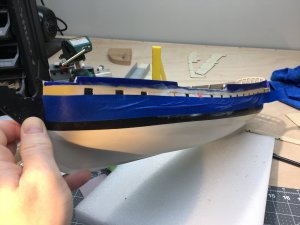
To draw the psudo gun ports (well, no deck to use as reference) I used an index card to find the center of the gun ports already done. The card goes from the bottom of the deck and a bit over the top, width is enough to fit between the bulkheads.

IMG_2080.JPG


Then I put the decks in and mark the top of the deck on the card. Not the best picture, but the goal is to use the top of the false deck as a reference.
IMG_2082.JPG

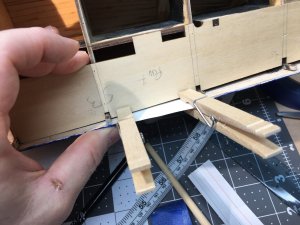
Then put the card in between the other bulkheads with the deck in place down to my reference line. One in place, I tack on with clips to keep in place (as well as hold with my hand).
IMG_2084.JPG

Check three times and transfer the center lines. I do the fwd and aft psudo gun ports. You can see where I had done some painting before I found out the ports where just pain crap (still kicking myself).
IMG_2086.JPG

Once all centers are drawn, I put some blue tape across all center lines to check the look. Like me, looks good from a distance.

IMG_2088.JPG

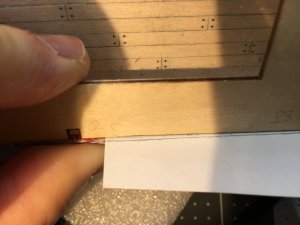
After I am fine with the centers, I do the top and bottom. Than I draw the keel to topside line by clipping the keel to my workbench and another right angle to draw the aft lines for each gun port. I just used the aft lines to be consistent.

IMG_2075.JPG

After that, I measure 9 mm fwd to get the fwd lines for each gun port. Then measure from these lines to 9 mm fwd and draw another set. Now, just look at fits and either live with it or fill in with wood, glue, and some modeling paste. It will be what I will do for the next few weeks as I get time. Full size image so you can see how poorly the ports were first done (some look odd shap, but that is excess paint I did not remove). The old Project Managament addage: rework cost more than work. IMG_2089.JPG
 
Thanks for the prod--been working here and there.

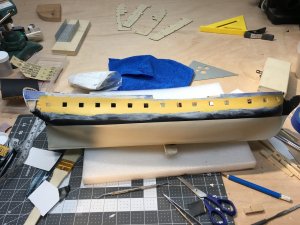
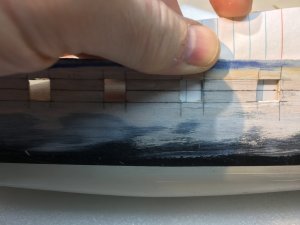
Finish up roughing in and checking the flow of the tops of the gun ports last month. I use the tops of the gun ports as the reference point for where the bottom blue paint starts and the top of the black paint ends. For the aft end, the yellow does bend up a bit and is visible (not clear in the provided instructions, so look ahead). This is before a bit of sanding--I found that if you put a lite layer of gesso over the pencil marks while working, you pencil marks don't go away that easy (until you paint or sand)--kind of a duh.

IMG_2100.JPG

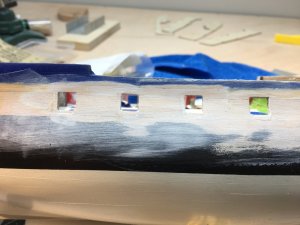
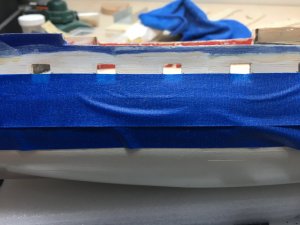
With the gunports roughed in, I laid out the lines for the blue and black paint. For the blue paint, I went about 6 mm above the top of the gun port (stbd side below). For the top of the black, just about 2 mm below. A bit of eyeballing to keep all parallel. The blue I just did a coat of gesso with a bit of blue, then a layer of blue--finish the blue when the rest of the bulwarks are completed later in the build. The blue/yellow transition will be covered, so just keeping about exact. The black, same with some gesso with a bit of black, and two layers (final once I complete the gun ports).
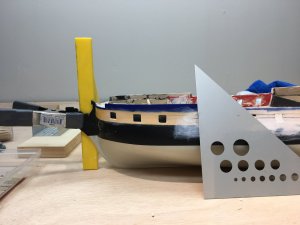
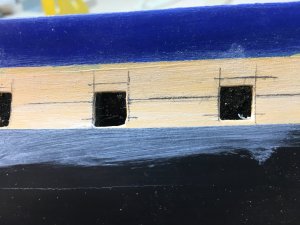
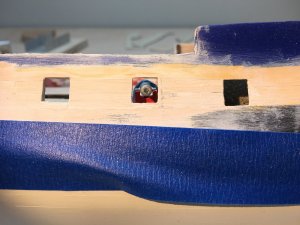
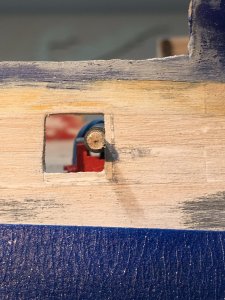
I put on a few layers of yellow--I was going back and forth for a smooth or more rough look. Since this not a yacht, not doing a smooth layer. Also, I dinged the hull here and there while working, and left a few dimples and there as I like the look (even the boats I was on had a few dings here and there). I will put in the red sills after doing the gun deck red bulkheads. There is some left over yellow paint from my sloppiness on the inside of the gun ports, I will clean up and do final tweaking when putting in the red sills.
IMG_2125.JPG


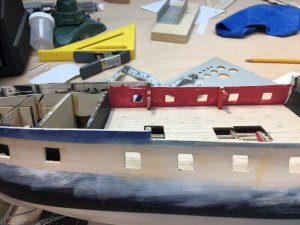
Since I had stared the bulkheads before, I am needing to patch up a bit. I put a bit of red tinted gesso so I can see where I need to fill in a bit better (a nice pink to show the defects). Once this is done, paint read, redo the black backgrounds on the fwd and aft bulkheads, and then the sills (I will redo the black throughout the inside before I do the rest of the decks). You can see I have the port side still in plain gesso until I like what I have finished on the stbd side. IMG_2127.JPG
 

Attachments

  • IMG_2126.JPG
    IMG_2126.JPG
    168.7 KB · Views: 7
Back
Top