Hello Everyone - let me show you what I am up to today.
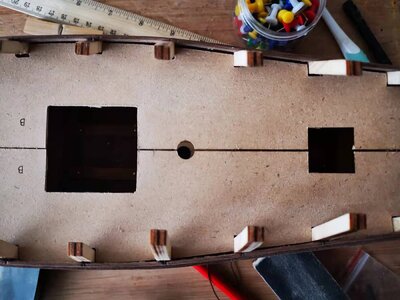
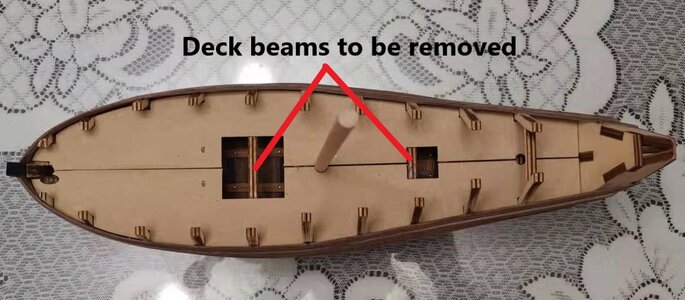
First on the agenda was removing the protruding deck beams (indicated in the previous photograph) from the deck hatches. For that my little saw from Kolderstok proved its worth once more.
Then I felt like making the deck grating today. I woke up late this morning and just felt like doing something small and precise - tomorrow I have a medical examination (all part of my residence-and work permit applications for the new school) and this was the ideal thing to take my mind away from that. I think I am as healthy as can be, but one never knows what the doctors may discover. Ah well ... back to the Barentsz.
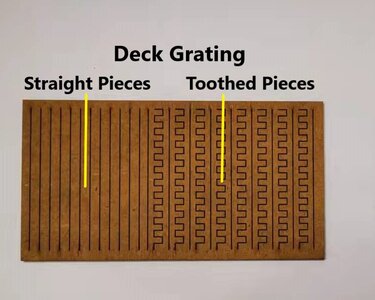
The laser cut pieces that Kolderstok provides for this, consist of both toothed and straight pieces which are then interlocked.
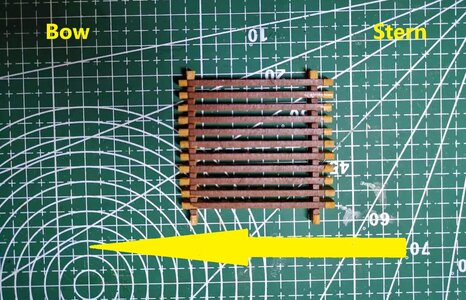
The first step was to place four toothed pieces in a square conforming to the 4cm x 4cm square which is the size of the cut-out in the deck. Once that was done, I then filled up the one side with toothed pieces. The massive yellow arrow indicates the direction that the straight pieces need to follow on the deck of a Dutch ship, running in a bow-stern (lengthwise) direction.
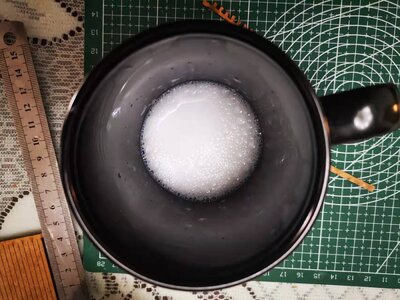
Next, I concocted my home-brew solution consisting of PVA diluted with hot water in a 50-50 mix.
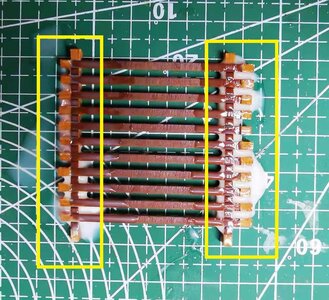
With an old paint brush this mixture is then brushed into the joints and left to dry.
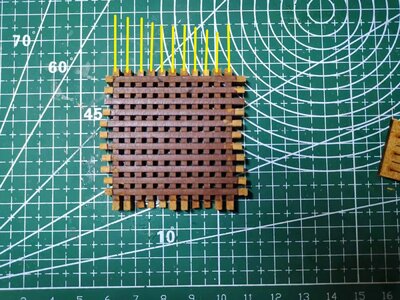
When dry, the assembly is then turned out around and all the straight pieces are laid down into the now upwards-facing, toothed pieces (indicated by the yellow lines).
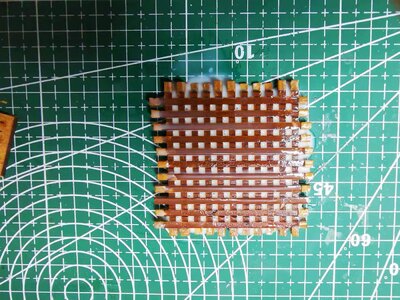
The PVA mixture is now brushed (liberally) into all the joints and left to dry.
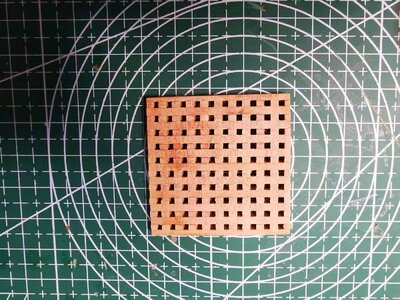
When the glue has thoroughly dried, the extra pieces were sawn off (once again I used the handsaw for this) and sanded. Measuring against the cut-out on the deck, the grating is carefully sanded to size.
Now comes a tricky part.
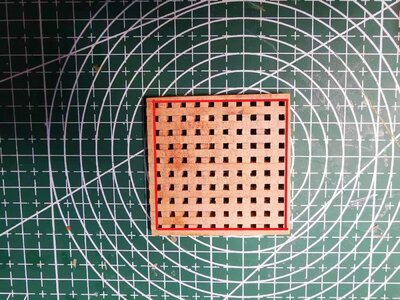
The grating is trimmed further by removing all the straight pieces from the edges following the red cutting line as shown above. This is because i will be replacing the edges with a 2mm x 3mm strip of walnut which will then restore the size of the grating once more. This is done as a finishing touch and will just round-off things nicely when completed.
This is all for now, I will continue posting as I make progress.

 - it is without doubt the most accurate way of bending a plank according to a set curvature. I don't have such a pin board, so I will try my idea tomorrow. However, if it fails, then I will most certainly take the time to construct a board like that. Luckily I am not in a mad rush with the bending of the planks, because I also have a deck that needs planking, grating and a hatch.
 - it is without doubt the most accurate way of bending a plank according to a set curvature. I don't have such a pin board, so I will try my idea tomorrow. However, if it fails, then I will most certainly take the time to construct a board like that. Luckily I am not in a mad rush with the bending of the planks, because I also have a deck that needs planking, grating and a hatch.


