Hello Everyone. Today is planning-and-looking-ahead-day!

Earlier, when I showed you how I removed all the bulkheads, I mentioned that I left one in place - #10. So why did I do this and why did I deviate from the instructions? Simply, because
@pietsan Piet is brilliant - and you will soon see why!
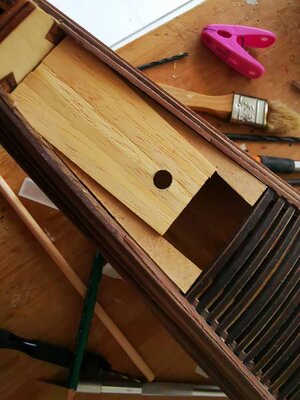
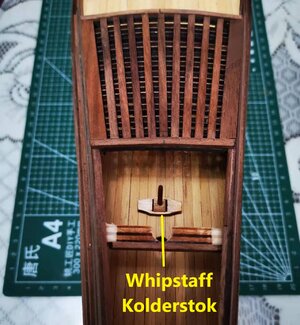
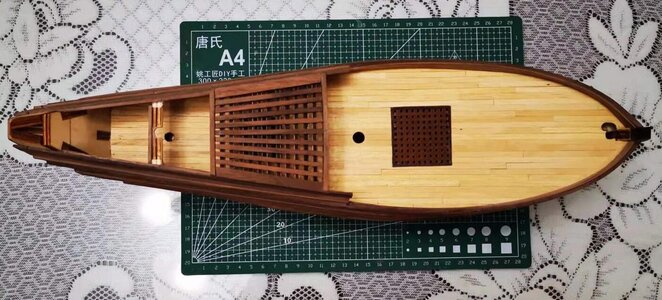
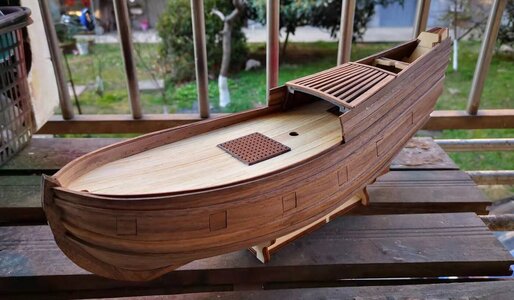
Before I can frame the canopy and finish off its borders, I first have to see how Deck C fits behind it as that may influence the way that I place the borders. So I roughly cut Deck C to size and planked the center portion quickly so that I could turn it around and accurately drill out the mast hole.

And here you see the first reason for leaving Bulkhead #10 in place. It provided a nice platform for the Deck to lay on and later to be glued to.

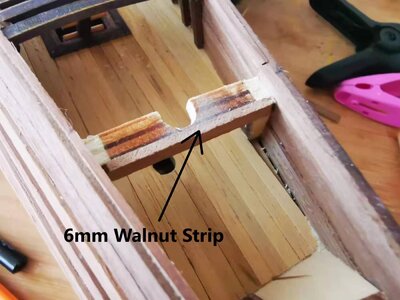
Still following Piet's example I glued a 6mm x 1.5mm walnut strip to the back of the Bulkhead. This allowed me the space to drill first and then file open an exact groove for the mizzen mast to fit into.

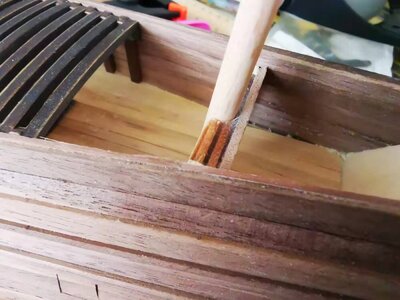
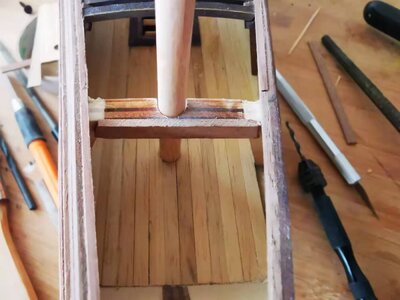
The mizzen mast is in position at the lower deck and can be glued into the supporting groove that Bulkhead #10 provides.

Just look how precise everything fits - the fit in both in the lower deck and in the bulkhead groove are just perfect!
@pietsan Piet you are a genius!

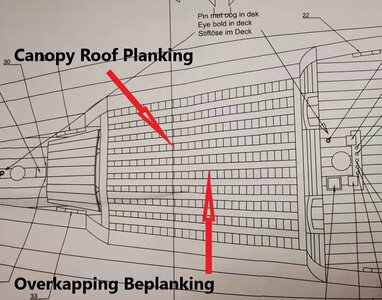
And because Deck C fits so snugly up against the canopy, I could now make a final call on how I want to do the borders of the canopy. First off, I will show you what Piet did.

Photograph: Piet Sanders.
The red lines indicate 2mm x 3mm strips while the two blue strips are 4mm x 1.5mm.
Using Piet's photograph again, this is what the build instructions suggest:

The red lines still indicate the 2mm x 3mm planks, but in this case the green planks are in fact 6mm x 1.5mm walnut strips. In the end I chose to go with the
@Kolderstok instructions - not because I think it is better - I just think I have a better chance of pulling off that configuration successfully.


