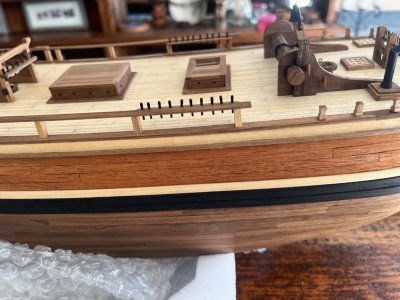
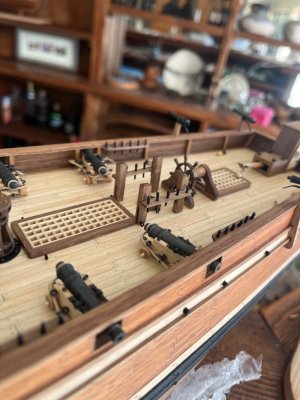
Excelent, excellent, don't know what to say besides excellent, excellent .
Jan
Jan
 |
As a way to introduce our brass coins to the community, we will raffle off a free coin during the month of August. Follow link ABOVE for instructions for entering. |
 |
 |
The beloved Ships in Scale Magazine is back and charting a new course for 2026! Discover new skills, new techniques, and new inspirations in every issue. NOTE THAT OUR FIRST ISSUE WILL BE JAN/FEB 2026 |
 |

Those belong to the hors category, no use trying to raise the bar to those standards.Unless of course you are those highly skilled chaps...
Good afternoon Jan. Thank you kindly. Much appreciated. Cheers GrantExcelent, excellent, don't know what to say besides excellent, excellent .
Jan
True storyThose belong to the hors category, no use trying to raise the bar to those standards.
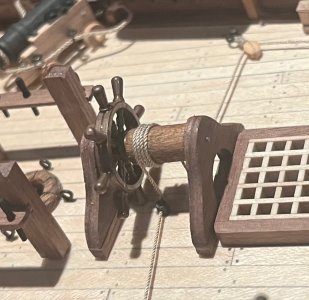
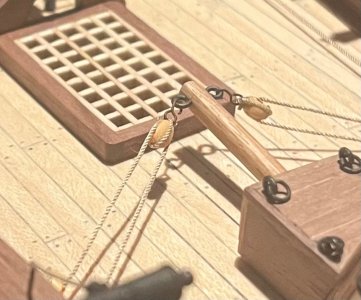
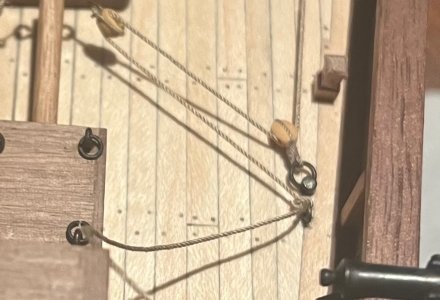
Good morning Mark. Thank you. It has been quite the challenge trying to do this at a zero spend however the most fun I have had building a model. The outcome is not the best but way better than I expected when I started. It’s rather satisfying finding scraps of wood and laminating say a 2x4 strake together - and it works ok. The only disappointment is it does not hold its edges when cutting or shaping nor keeps a perfect circle when drilling. So the details fail a tad. Anyway fun. Cheers GrantHa! Found your new thread Grant, and your new ambitious venture ... Voyage of the Bounty
Already looking like a huge success, great work meneer

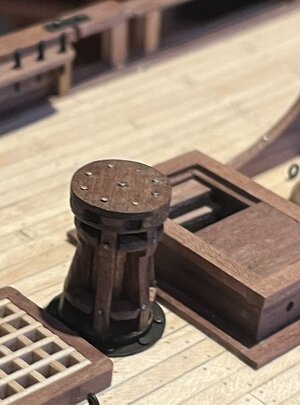
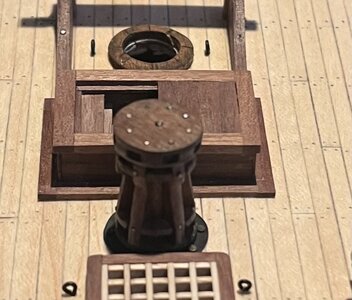
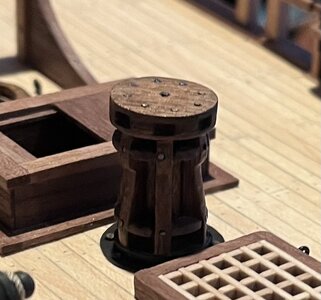
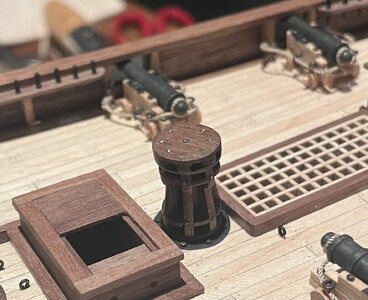
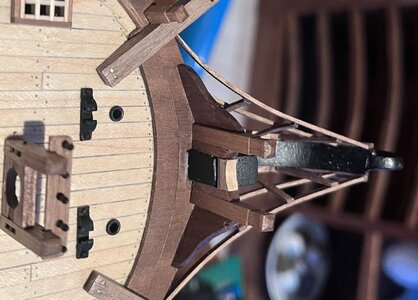
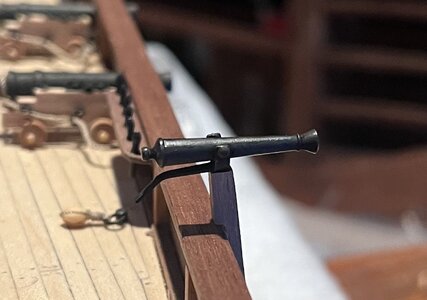
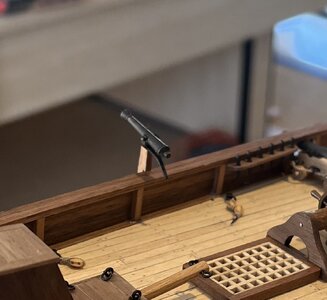
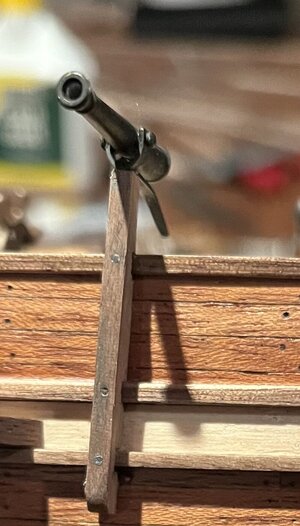
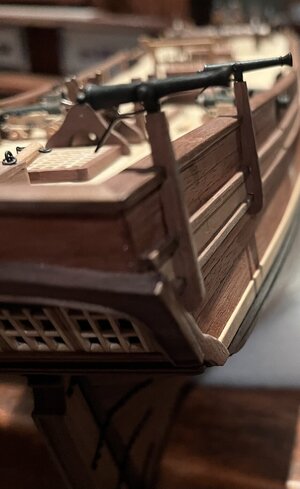
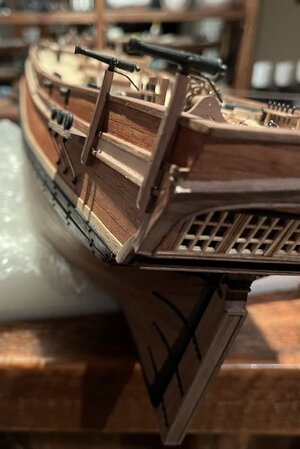
Looks perfectly ok from where I'm standing and I'm loving this quest for a zero-cost build.Good morning : Ricochet Rabbit at it again.
Struggle time. Still maintaining a zero cost however starting to feel the pain


Good morning Jan. It is getting near its end.Wow, the no cost bet/venture must be draining your "I might use this sometime stash"

Thanks Mark. The pain is thereLooks perfectly ok from where I'm standing and I'm loving this quest for a zero-cost build.
As for the pain... nah, I can't feel it. Must just be your imagination
 - mental anguish personified. Pleasurable pain…
 . Cheers Grant
Hi Grant.Good morning Jan. It is getting near its end.. This is how I have managed so far :
View attachment 466079
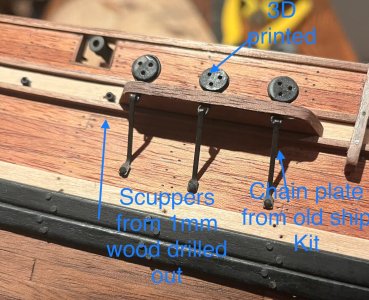
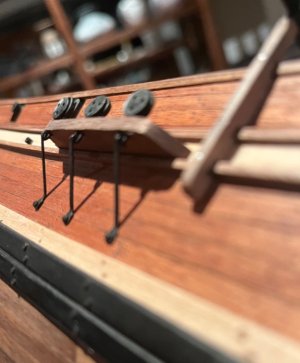
1. I use the previous kit part, cover with veneer (which I have an endless free supply courtesy of a buddy who owns a kitchen business). I have to sand the veneer down to almost nothing or I increase the scale of each part by a mm. Here I’m making a channel.
2. I make wood by laminating the veneer and then cut to size. Most of the ship is built from this.
3. For solid wood I have used the solid walnut left from my Xebec - again cut to size.
4. I have a few bits from the Victory left.
Definitely not the best and I do struggle getting detail and sharp edges/notches etc from the laminates. Us South Africans are a stubborn bunch and “n Boer maak n plan” is part of life.
Onwards we go
Cheers Grant
Yes, I too am often fascinated by Grant. But I'm wondering if we mean the same thing...I’m fascinated by what you have managed to accomplished.


Thanks Jan. Me tooHi Grant.
That is resourceful, ingenious and inspiring. I’m fascinated by what you have managed to accomplished.
Jan
I have been called many things- fascinating is a first…Yes, I too am often fascinated by Grant. But I'm wondering if we mean the same thing...


 . I will take that as a compliment…..I think? Cheers Grant
Well, your vaccination with the scratch-virus turn out very fascinating, Grant.fascinating is a first…
Good morning Tobias. Thank you kindly - have an awesome holiday in Croatia. I am envious- absolutely love Croatia. Cheers GrantHi Grant,
I had to read about your MTB accident and I wish you a speedy recovery and a successful operation in September.
As for your construction/facelift, I am still impressed with your work, what you do is indescribable and all of that so far for absolutely nothing.
 .
.